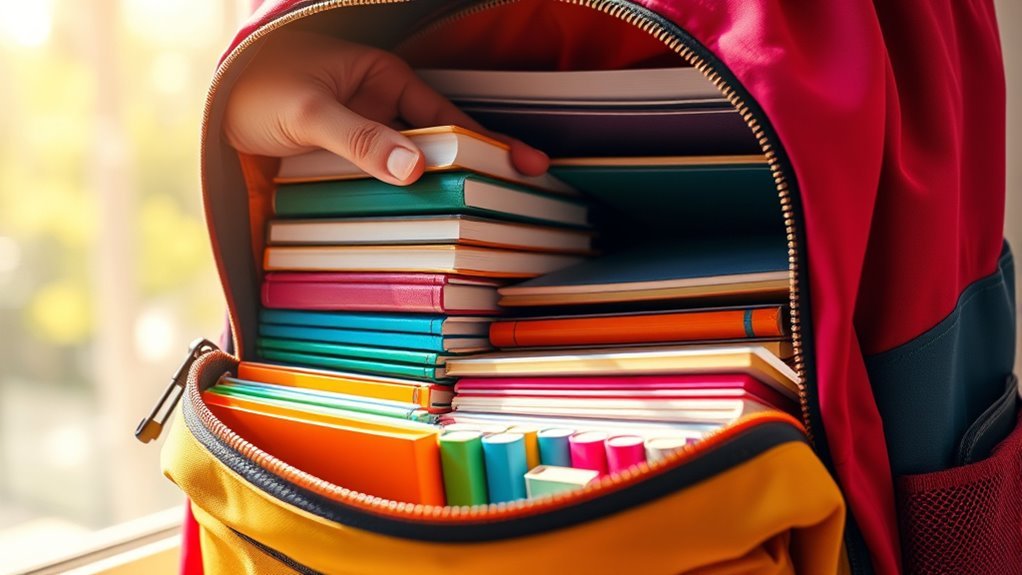
How to Remove Walls From School Bag
To remove walls from your school bag, first check its structure and gather tools like a seam ripper and scissors. Identify the dividers or walls—whether sewn, pinned, or glued. Carefully cut threads or detach pins without damaging fabric. If adhesive or Velcro is used, gently separate those. After removal, reinforce the bag with flexible materials to keep its shape and support. You’ll find more on keeping your bag sturdy and functional with a few simple steps ahead.
Assessing the Structure of Your School Bag
Before you begin removing walls from your school bag, you’ll need to carefully evaluate its structure. Start by examining the material quality—identify whether it’s sturdy canvas, leather, or synthetic fabric—as this affects how easily walls can be removed without compromising integrity. Next, study the internal weight distribution; note how the bag supports your belongings and where the heaviest loads rest. This insight is essential because altering walls may shift weight balance, impacting comfort and durability. Check seams and reinforcements around the walls you plan to remove to understand how they contribute to overall support. By methodically evaluating these factors, you guarantee your modifications maintain function and freedom, avoiding damage or uneven weight that could strain your shoulders during daily use.
Gathering the Necessary Tools
Although removing walls from your school bag might seem straightforward, having the right tools on hand is crucial for a clean and effective modification. Start by gathering basic tool types like a sharp utility knife or scissors for cutting, a seam ripper for delicate stitching, and a small screwdriver if your bag uses screws. Don’t forget a pair of tweezers to pull out threads or small parts. Before you begin, prioritize safety precautions—wear protective gloves to avoid cuts, and work on a stable surface with good lighting. Keep a first aid kit nearby just in case. Being methodical with your tools guarantees you maintain control and achieve a smooth removal without damaging your bag or risking injury.
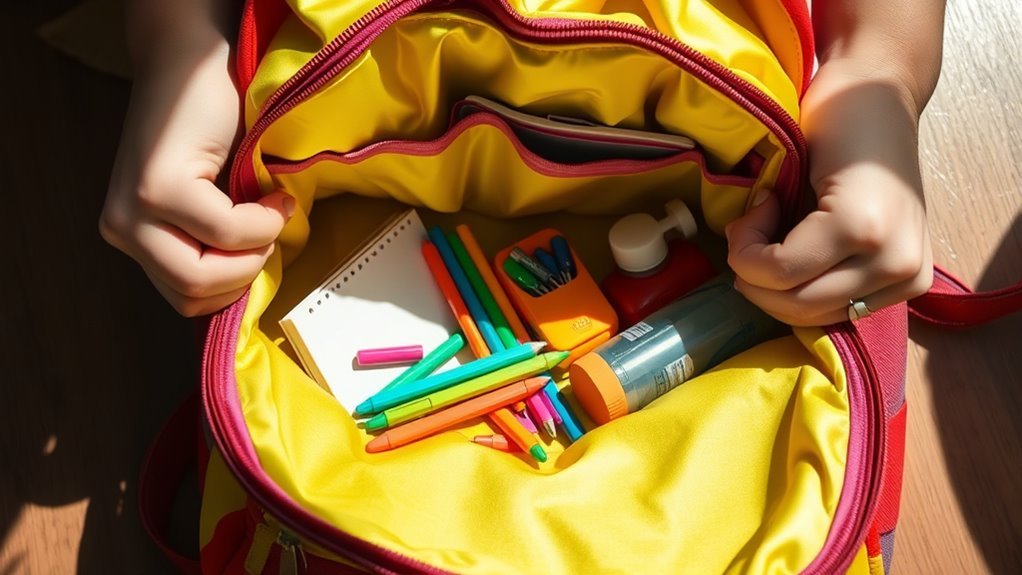
Identifying the Walls and Dividers to Remove
With your tools ready and safety measures in place, the next step is to pinpoint which walls or dividers in your school bag you want to remove. Start by examining the bag’s interior to identify wall types—whether they’re rigid plastic, foam-padded, or simple fabric panels. Understanding these wall types helps you determine removal difficulty and required tools. Next, look closely at the divider materials; common ones include stitched fabric, glued cardboard, or thin plastic sheets. Note which dividers restrict space or limit access. Mark these sections clearly, so you don’t mistakenly remove structural parts that maintain the bag’s shape. By carefully identifying the walls and divider materials, you set the foundation for a smooth removal process, enhancing your bag’s freedom and usability.
Carefully Detaching Sewn or Pinned Walls
When you’re ready to remove sewn or pinned walls from your school bag, take your time to work carefully to avoid damaging surrounding fabric. Start by examining the sewing techniques used—whether it’s a straight stitch, zigzag, or overlock—to understand how the wall is attached. Use a seam ripper or small scissors to gently cut the threads, working slowly along the seams. For pinned walls, carefully remove each pin to prevent fabric tears. Be mindful of the fabric types involved; delicate materials like nylon or canvas require extra caution to prevent fraying. Support the fabric as you detach walls to maintain the bag’s structure. This methodical approach guarantees you preserve the integrity of your bag while removing unwanted dividers efficiently and safely.
Handling Adhesive or Velcro Attachments

Dealing with adhesive or Velcro attachments requires a different approach than sewn walls. First, identify the adhesive types used—some are water-based and soften with warm soapy water, while others need an adhesive remover. Gently apply the appropriate solvent to loosen the bond without damaging the bag’s material. For Velcro, carefully peel apart the strips, starting at a corner and pulling slowly to avoid tearing fabric. If you want less bulky or more discreet options after removal, consider velcro alternatives like magnetic strips or snap fasteners. These provide flexibility without the bulk of traditional Velcro. Handling these attachments methodically guarantees you free your bag’s interior space without compromising its durability or your freedom to customize.
Reinforcing the Bag After Wall Removal
After removing the walls from your school bag, you’ll need to reinforce the structure to maintain its shape and durability. Start by selecting suitable reinforcement materials such as flexible plastic sheets, lightweight cardboard, or fabric stiffeners. Cut these to fit the bag’s dimensions and insert them where the walls used to be. For a more creative approach, consider alternative designs like adding internal compartments or external straps that provide additional support without compromising freedom of movement. Secure reinforcement materials firmly using strong adhesive or stitching, ensuring they don’t interfere with the bag’s flexibility. This methodical reinforcement will keep your bag functional and sturdy, allowing you to enjoy a more open interior while maintaining the integrity you need for daily use.
Tips for Maintaining Bag Durability and Shape
To keep your bag durable and in shape after removing the walls, focus on reinforcing the seams with strong stitching or fabric glue. Adding supportive inserts inside the bag helps maintain its structure without adding bulk. These steps will extend your bag’s lifespan and keep it functional.
Reinforcing Bag Seams
Strengthening the seams of your school bag is essential for keeping it durable and maintaining its shape, especially after removing internal walls. Focus on choosing the right seam types and fabric choices to handle the extra stress. Double-stitched or reinforced seams work best with sturdy fabrics like canvas or nylon. Use heavy-duty thread to avoid wear and tear.
| Seam Type | Fabric Choice | Best Use |
|---|---|---|
| Double Stitch | Canvas | Heavy loads, durability |
| Flat-Felled Seam | Nylon | Water resistance, strength |
| Overlock Stitch | Polyester | Flexibility, edge protection |
Using Supportive Inserts
Three types of supportive inserts can help maintain your bag’s shape and durability once internal walls are removed. First, rigid plastic panels provide firm structure, preventing sagging without adding much weight. Second, foam inserts offer flexibility and cushioning, adapting to your bag’s contents while preserving form. Third, metal or plastic frames create an external skeleton, ideal if you want extra reinforcement. Choose supportive materials based on your lifestyle—plastic for lightweight support, foam for comfort, or frames for durability. Insert types vary in thickness and flexibility, so test what fits your needs. By integrating these inserts, you retain freedom of movement without sacrificing your bag’s integrity. Properly selected supportive materials guarantee your modified bag stays functional and sturdy over time.
Frequently Asked Questions
Can Removing Walls Reduce My Bag’S Storage Capacity?
Yes, removing walls can reduce your bag’s storage capacity because those compartments help maximize storage efficiency by keeping items organized. Without them, you might lose the ability to separate and access things easily, which can impact bag organization. However, if you prefer more freedom to fit larger items, fewer walls offer flexibility. Just balance your need for open space against how much organized storage you want inside your bag.
Will Wall Removal Affect the Bag’S Warranty?
You should check your bag’s warranty policies before making any modifications. Most manufacturers’ warranty coverage won’t protect against damage caused by altering the bag, like removing walls. This means if something goes wrong, your warranty could be voided. To keep your freedom while staying covered, review the terms carefully, and consider contacting the manufacturer directly. This way, you know exactly what’s allowed without risking your warranty benefits.
How Do I Clean My Bag After Removing Walls?
You might think cleaning your bag after removing walls is tricky, but it’s simpler than you expect. Start by emptying it completely, then use gentle cleaning techniques like a soft brush and mild detergent with warm water. Avoid harsh chemicals to preserve fabric integrity. For maintenance tips, air-dry the bag thoroughly and store it in a cool, dry place. Following these steps keeps your bag fresh and ready for everyday freedom.
Are Certain Materials Easier to Modify Than Others?
Yes, certain fabric types are definitely easier to modify than others. Natural fabrics like cotton or canvas respond well to common modification techniques such as cutting, sewing, or gluing. Synthetic materials like nylon or polyester might need specialized tools or adhesives due to their slick surfaces. If you want freedom in customizing your bag, choose fabrics that’re flexible and durable enough to handle your desired changes without fraying or losing shape.
Can Wall Removal Improve Bag Comfort or Weight?
Imagine your bag as a river flowing smoothly along your back. By conducting a comfort analysis, you can see if removing internal walls helps the bag conform better to your shape. Adjusting weight distribution this way often reduces pressure points and lightens the load, giving you more freedom to move. So yes, thoughtful wall removal can enhance both comfort and weight balance, making your daily carry feel less like a burden and more like a breeze.


