Seasonal Maintenance Tips for Dryer
For seasonal dryer maintenance, you should inspect and clean the lint filter regularly to prevent blockages and fire risks. Check and clear the dryer vent and exhaust to guarantee efficient airflow. Examine the drum and seals for damage or wear, and test the heating element with a multimeter. Don’t forget to clean the moisture sensor to avoid false readings. Scheduling professional maintenance annually helps catch hidden issues early. Keep these steps in mind, and you’ll understand how to extend your dryer’s life effectively.
Inspect and Clean the Lint Filter

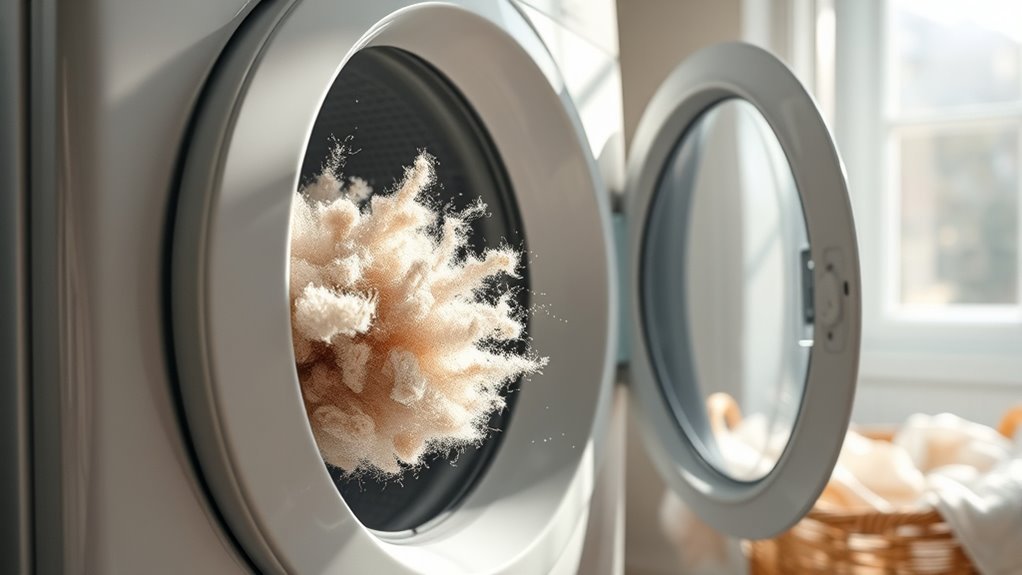
Before you begin your seasonal dryer maintenance, make certain to inspect and clean the lint filter thoroughly. Lint buildup prevention is critical to maintaining dryer efficiency and safety. Start by removing the lint screen and clearing all visible debris. Use a soft brush or vacuum attachment to remove fine particles trapped in the mesh. Filter maintenance techniques also include washing the screen with warm soapy water if lint has hardened or residue has accumulated; verify it’s completely dry before reinstalling. Regularly cleaning the lint filter not only improves airflow but reduces fire risk and extends your dryer’s lifespan. By integrating these steps into your routine, you’ll maintain peak performance and enjoy the freedom of hassle-free drying seasons.
Check and Clear the Dryer Vent
Since the dryer vent plays an essential role in exhausting moist air, you need to check and clear it regularly to prevent blockages that reduce efficiency and pose fire hazards. Effective dryer vent maintenance starts with inspecting the vent for lint buildup, debris, or damage. Look for vent blockage signs such as longer drying times, excessive heat near the dryer, or a burning smell. Disconnect the vent hose from the dryer and the wall, then use a vent brush or vacuum to remove lint and obstructions thoroughly. Verify the vent duct is properly reattached and sealed to maintain airflow. Regularly performing this maintenance helps you avoid costly repairs and keeps your dryer running safely and efficiently, giving you the freedom to focus on what matters.
Examine the Dryer Drum and Seals

You should inspect the dryer drum for any dents, cracks, or worn areas that could damage your clothes or affect performance. Also, check the door seal for cracks or gaps that might allow heat to escape. Addressing these issues promptly helps maintain efficiency and prevents further damage.
Inspect Drum for Damage
Although it may seem minor, inspecting the dryer drum and seals is essential for maintaining efficient operation and preventing damage to your clothes. During your drum inspection, carefully look for dents, scratches, or any signs of wear that could catch fabric or reduce drying performance. Pay close attention to the drum’s interior surface and edges, as damage here can lead to fabric snags or tears. A thorough damage assessment also includes checking for loose or missing screws and guaranteeing the drum rotates smoothly without wobbling. Addressing these issues early prevents costly repairs and maintains your dryer’s freedom to run efficiently. Regular drum inspection keeps your appliance reliable, protects your garments, and guarantees maximum airflow during drying cycles.
Check Door Seal Integrity
Examine the door seal closely to confirm it forms a tight barrier when the dryer is closed. A compromised seal can cause heat loss, reducing efficiency and increasing drying time. Start door seal maintenance by inspecting for cracks, tears, or warping around the edges. Clean the seal with a damp cloth to remove lint and debris that may prevent a proper seal. If you notice any damage or the seal feels brittle, consider seal replacement tips: purchase a model-specific gasket, remove the old seal carefully to avoid damaging the frame, and make sure the new seal fits snugly without gaps. Regularly maintaining the door seal preserves dryer performance and prevents energy waste, giving you the freedom to rely on your appliance without unexpected issues.
Test the Dryer’s Heating Element
To test the dryer’s heating element, first locate it behind the panel inside the dryer. Use a multimeter set to the ohms setting to check for continuity across the element terminals. A proper resistance reading indicates the element is functioning; no continuity means it needs replacement.
Identify Heating Element Location
The heating element is a crucial component responsible for generating the heat that dries your clothes. To identify its location, first unplug the dryer to guarantee safety. Most dryer models house the heating element within the rear panel or near the blower housing. Remove the necessary access panels using a screwdriver to expose the internal dryer parts. Look for a coiled wire assembly—this is the heating component. On electric dryers, the heating element typically resembles a metal coil secured in a metal housing. Gas dryers have a burner assembly instead, so the heating element differs. Familiarizing yourself with your specific model’s manual helps pinpoint the exact location. Once identified, you can proceed with testing or replacement, giving you control over maintaining your dryer’s efficiency and extending its lifespan.
Use a Multimeter Properly
Before testing the heating element, you’ll need a multimeter set to the appropriate resistance (ohms) setting. Practice multimeter safety by unplugging the dryer and discharging any residual power before starting. To test the heating element, follow these steps:
- Disconnect the heating element wires and isolate the component.
- Place the multimeter probes on each terminal of the heating element.
- Observe the resistance measurement displayed.
This process guarantees you get an accurate resistance measurement without interference from other components. Proper use of the multimeter not only protects you but also assures reliable diagnostics. Always handle the probes carefully and avoid touching metal parts during testing to maintain safety and precision. This approach lets you confidently assess whether the heating element is functioning as intended.
Interpret Resistance Readings
Once you’ve measured the resistance of the heating element, understanding what those numbers mean will tell you if it’s working properly. Using your multimeter, typical resistance measurements for a healthy heating element usually range between 10 and 50 ohms. If you get a reading considerably outside this range—either infinite resistance or zero—it indicates a break or short in the element. Keep in mind, infinite resistance means the circuit is open, so no current flows; zero or near zero means a short, which can cause safety issues. Accurate multimeter usage is critical: confirm probes contact clean terminals and the dryer is unplugged to avoid false readings or injury. Interpreting resistance measurements correctly lets you decide if the heating element needs replacing, maintaining your dryer’s efficiency and your freedom from costly repairs.
Verify Proper Dryer Exhaust
Although many overlook it, verifying your dryer’s exhaust system is essential for efficient operation and safety. Ignoring this can lead to exhaust blockage, reducing performance and increasing fire risk. For ideal dryer safety, follow these steps:
- Inspect the vent hose for kinks, damage, or disconnections that could restrict airflow.
- Check the exterior vent cap to verify it opens freely and isn’t obstructed by debris or nests.
- Clean the vent path by removing lint buildup using a long brush or vacuum attachment designed for dryer ducts.
Clean the Moisture Sensor

Since your dryer’s moisture sensor directly affects drying efficiency, keeping it clean is crucial. The moisture sensor importance lies in its ability to measure humidity levels accurately, preventing over-drying and saving energy. Over time, residue from fabric softeners and lint can coat the sensor, leading to false readings and extended drying cycles.
To maintain peak function, use a soft cloth dampened with rubbing alcohol to gently clean the sensor bars located inside the drum. Avoid abrasive materials that might damage the sensor’s surface. Perform this cleaning regularly, especially if you notice longer drying times or damp clothes after cycles.
Applying these cleaning techniques guarantees your dryer runs efficiently, reduces wear, and gives you the freedom to rely on consistent, energy-saving performance every season.
Schedule Professional Dryer Maintenance
Keeping the moisture sensor clean helps maintain your dryer’s efficiency, but there are maintenance tasks that require professional expertise. Scheduling regular professional dryer maintenance guarantees safety, extends appliance lifespan, and optimizes performance. To maximize these professional service benefits, consider the following:
- Dryer Maintenance Frequency: Arrange for a technician’s inspection and cleaning at least once a year, or more often if you use your dryer heavily.
- Vent and Duct Cleaning: Professionals thoroughly clear lint buildup that can cause fires and reduce drying efficiency.
- Component Inspection: Experts assess belts, motors, and heating elements, identifying issues before they lead to costly repairs.
Frequently Asked Questions
How Often Should I Replace My Dryer’S Drum Belt?
You should replace your dryer’s drum belt every 3 to 5 years, depending on wear and usage. Sticking to a maintenance schedule helps prevent unexpected breakdowns and keeps your dryer running smoothly. Check the belt during routine inspections for cracks, fraying, or signs of slack. If you notice any damage or hear unusual noises, replace the drum belt immediately to maintain peak performance and avoid more costly repairs down the line.
Can Using Dryer Balls Improve Drying Efficiency?
Yes, using dryer balls can improve drying efficiency by reducing drying time. Dryer ball benefits include separating clothes, allowing better air circulation inside the drum. This helps heat distribute more evenly, cutting down moisture retention and overall drying duration. Plus, they soften fabrics naturally, so you can skip chemical softeners. If you’re looking to save energy and speed up drying, incorporating dryer balls is a practical, cost-effective choice.
What Types of Detergent Work Best for Dryer Sheets?
You want detergents that complement dryer sheets, so choose liquid detergents or powder detergents designed for softness and static reduction. Detergent types with built-in fabric softeners work best, enhancing the dryer sheets’ effects. Avoid detergents with strong fragrances or heavy chemicals—they can interfere with the dryer sheets’ performance. By selecting compatible detergent types and using fabric softeners properly, you’ll boost drying efficiency while keeping your fabrics soft and static-free.
Is It Safe to Run the Dryer Overnight?
Running your dryer overnight isn’t recommended for dryer safety reasons. Leaving it unattended increases fire risk due to potential lint buildup or mechanical issues. Plus, dryers consume significant energy, so overnight use can spike your energy consumption and costs. To stay safe and efficient, run your dryer during the day when you can monitor it. This way, you maintain control, reduce hazards, and manage your energy use responsibly.
How Can I Reduce Static Cling in Dryer Loads?
You might notice static electricity sparking up just as you toss your clothes in the dryer—coincidence? To reduce static cling, use fabric softeners or dryer sheets; they coat fibers, preventing static buildup. Also, avoid over-drying your loads, as excess heat increases static. Adding a damp cloth or wool dryer ball helps maintain moisture balance. These simple, practical steps let you enjoy fresh, static-free clothes without hassle or extra effort.


