Step-By-Step Guide to Cleaning Washer
To clean your washer, start by gathering eco-friendly supplies like vinegar, baking soda, microfiber cloths, and brushes. Empty the drum and wipe away visible debris. Remove and clean the detergent drawer and filter carefully. Run a hot water cycle with two cups of vinegar, then a second cycle with baking soda. Wipe down the drum, door seal, and exterior. Always leave the door open to air dry. Following a regular cleaning schedule guarantees peak washer performance and longevity—discover how to maintain it most effectively.
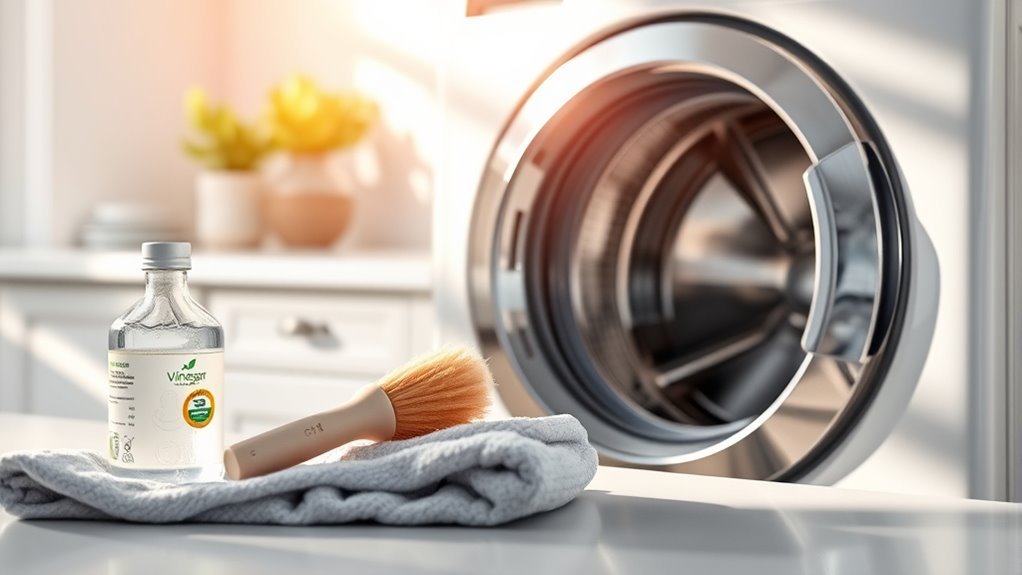
Gather Necessary Cleaning Supplies
Before you begin cleaning your washer, you’ll need to gather the necessary supplies to guarantee an effective process. Start by selecting essential cleaning tools: a microfiber cloth, a soft brush with nylon bristles, and a measuring cup. Include a spray bottle for targeted application. Opt for eco friendly options such as white vinegar, baking soda, and plant-based detergent, which effectively remove grime without harsh chemicals. Avoid abrasive tools that could damage surfaces. Prepare distilled water to rinse components if needed, ensuring no mineral deposits form. Having these precise supplies on hand streamlines your cleaning routine, giving you control and freedom from unnecessary waste or toxic substances. This preparation phase sets the foundation for a thorough, environmentally conscious wash cycle maintenance.
Prepare Your Washing Machine for Cleaning
Before you start cleaning, make certain you’ve gathered all the necessary supplies to avoid interruptions. Next, check and completely empty the washing machine drum to guarantee effective cleaning. This preparation sets the foundation for a thorough and efficient cleaning process.
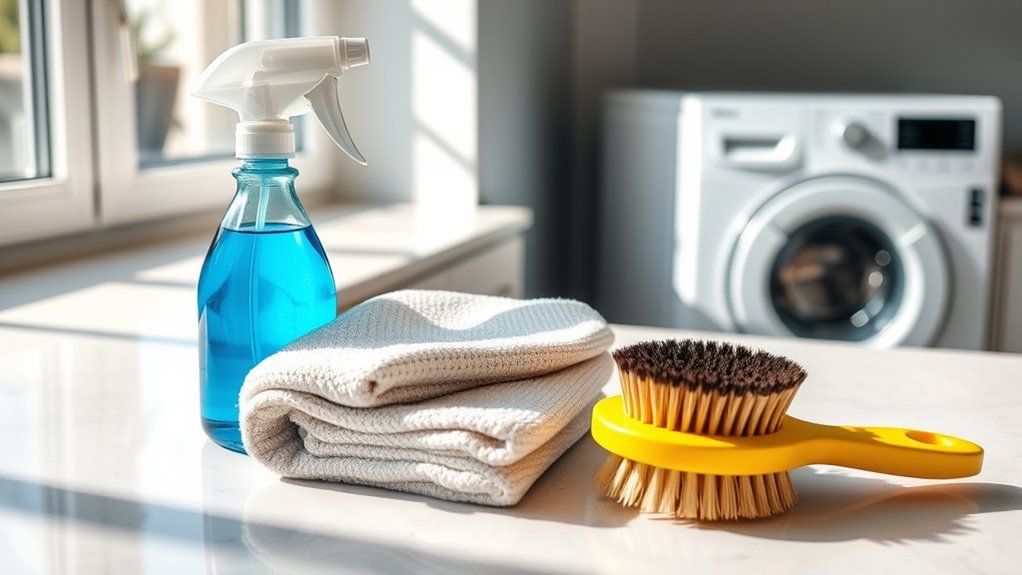
Gather Cleaning Supplies
To effectively clean your washing machine, you’ll need three essential supplies: a cleaning agent, a soft cloth or sponge, and a measuring cup. Choose cleaning products designed specifically for washers, ensuring they remove residue and prevent buildup without damaging components. For those valuing environmental freedom, opt for eco friendly options like vinegar, baking soda, or biodegradable detergents. These reduce chemical exposure and minimize ecological impact. Select a soft cloth or sponge that won’t scratch surfaces, facilitating gentle yet thorough cleaning. Use a measuring cup to accurately dispense cleaning agents, preventing overuse that could harm your machine or the environment. Having these supplies ready allows you to proceed efficiently and maintain your washer’s performance while supporting sustainable cleaning practices.
Empty the Drum
Start by ensuring there are no clothes, detergent pods, or other items left inside the drum. This step is essential for effective drum maintenance and overall washer hygiene. Removing all objects prevents interference with the cleaning process and avoids damage to the machine. Open the door fully and visually inspect the drum cavity, checking all corners and the rubber gasket for hidden debris. If you spot any residue or buildup, wipe it away with a damp cloth before proceeding. Ensuring the drum is completely empty allows cleaning agents to circulate freely during the cleaning cycle, enhancing the removal of dirt and bacteria. This practice not only improves washer hygiene but also extends the lifespan of your washing machine, granting you the freedom of reliable, clean laundry loads every time.
Clean the Detergent Dispenser Drawer

Start by carefully removing the detergent dispenser drawer according to your washer’s manual to avoid damage. Use warm water and a soft brush to clean all compartments, ensuring you remove detergent residue and mold buildup. Allow the drawer to dry completely before reinstalling to maintain ideal washing performance.
Removing the Drawer
One essential step in cleaning your washer is removing the detergent dispenser drawer, which often accumulates residue and mold. Start by opening the drawer fully. Locate the release mechanism—usually a small lever or tab inside the drawer—and press or lift it to release the drawer from its housing. Gently pull the drawer straight out; avoid forcing it, as this can damage the tracks. This precise removal allows you to address drawer maintenance effectively, preventing detergent buildup that impairs detergent flow and promotes mold growth. Once removed, you can inspect the drawer’s compartments and the cavity for residue. Proper removal is key to thorough cleaning and maintaining peak washer performance, giving you the freedom to keep your machine hygienic and efficient without unnecessary hassle.
Cleaning Methods and Tips
After you’ve removed the detergent dispenser drawer, you’ll want to clean it thoroughly to eliminate detergent residue and mold buildup. Start by soaking the drawer in warm water mixed with eco friendly products such as vinegar or baking soda. Use a soft brush to scrub all compartments, focusing on corners where buildup accumulates. Rinse the drawer completely to remove cleaning agents. Before reinserting, wipe inside the drawer slot with a damp cloth to clear any remaining debris. Regularly cleaning the dispenser drawer is essential for machine maintenance, preventing odors and ensuring detergent flows smoothly during cycles. Following this simple procedure not only extends your washer’s lifespan but also supports your freedom from frequent repairs or replacements by maintaining ideal performance.
Remove and Clean the Washing Machine Filter
Locate the washing machine filter, usually positioned near the bottom front of the machine behind a small access panel. Before removal, unplug your washer to guarantee safety. Open the panel and prepare a shallow tray or towels to catch residual water when you remove the filter. Carefully unscrew or pull out the filter, depending on your model.
For effective filter maintenance, follow these cleaning techniques:
- Rinse the filter under running water to remove lint and debris.
- Use a soft brush to dislodge stubborn residues without damaging the mesh.
- Inspect the filter housing for blockages and clear them as needed.
Regularly cleaning the filter guarantees ideal water flow and prevents drainage issues, granting you freedom from unexpected washer malfunctions.
Run a Hot Water Cycle With Vinegar
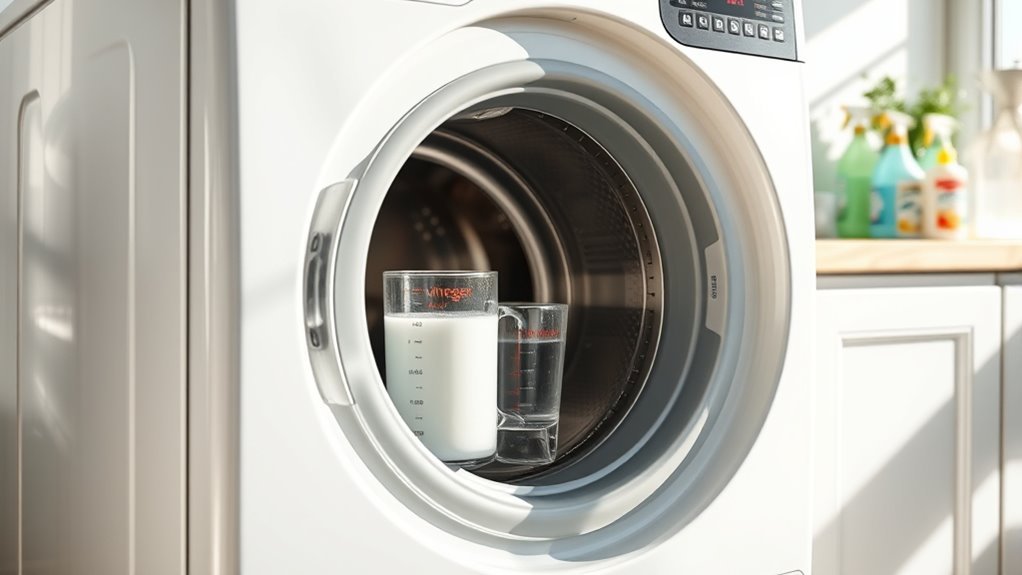
You should run a hot water cycle with vinegar to break down mineral deposits and eliminate odors effectively. Set your washer to the hottest and longest cycle, then add two cups of white vinegar directly into the drum or detergent dispenser. For ideal maintenance, repeat this process every one to three months depending on usage frequency.
Benefits of Vinegar
Vinegar serves as a powerful natural cleaner when used in a hot water cycle, effectively breaking down mineral deposits, soap scum, and residue inside your washer. Leveraging vinegar benefits means you’re choosing an eco-friendly, cost-effective solution that’s safe for most washers and prevents buildup that can cause odors or mechanical issues. If you prefer vinegar alternatives, options like citric acid or baking soda can also help, but vinegar remains the most straightforward and versatile.
Utilizing vinegar in your cleaning routine provides:
- Efficient removal of hard water deposits and detergent residues
- Natural deodorization, leaving your washer smelling fresh
- Prevention of mold and mildew growth, enhancing machine longevity
Incorporate vinegar to maintain your washer’s peak performance and enjoy freedom from harsh chemicals.
Hot Water Cycle Setup
Before starting the hot water cycle, verify your washer is empty and set to the highest temperature and longest wash cycle available. The hot water benefits include effectively dissolving residues and activating the vinegar’s natural cleaning properties. Pour two cups of white vinegar directly into the detergent dispenser or the drum. Select a cycle duration that maximizes exposure of the vinegar to internal components, typically 60 minutes or more. The extended cycle duration combined with high heat guarantees thorough sanitization and buildup removal. Avoid interrupting the cycle to maintain consistent temperature and agitation. Once complete, your washer’s interior will be free from odors, mineral deposits, and detergent residues, granting you the freedom to enjoy fresh, clean laundry with every use. This method is efficient, chemical-free, and essential for peak washer maintenance.
Frequency of Cleaning
Although the frequency of cleaning can vary based on usage, it’s recommended to run a hot water cycle with vinegar at least once a month to prevent buildup and maintain top washer performance. This cleaning frequency guarantees ideal washing machine maintenance by eliminating detergent residue, mold, and odors. Skipping this step can lead to reduced efficiency and unpleasant smells.
To maintain freedom from frequent repairs, follow these guidelines:
- Run a maintenance cycle monthly using hot water and 2 cups of distilled white vinegar.
- Increase cleaning frequency if you wash heavily soiled clothes or use fabric softeners regularly.
- Always leave the washer door open after cycles to promote drying and prevent mold growth.
Run a Second Cycle With Baking Soda
Once you’ve completed the initial cleaning cycle, run a second one using baking soda to further eliminate odors and residue. Baking soda benefits include neutralizing acidic and basic odors, enhancing odor removal, and gently scrubbing internal surfaces without damage. Add about 1/2 cup of baking soda directly into the drum. Select the hottest water setting and a full wash cycle to maximize cleaning efficacy.
| Step | Action | Purpose |
|---|---|---|
| Add Baking Soda | 1/2 cup in drum | Neutralize odors, clean residue |
| Select Hot Cycle | Use hottest water | Increase cleaning power |
| Run Full Cycle | Complete wash cycle | Guarantee thorough odor removal |
This method guarantees your washer stays fresh and odor-free, granting you freedom from lingering smells.
Wipe Down the Drum and Door Seal
Grab a clean microfiber cloth and dampen it with a mild detergent solution to thoroughly wipe down the drum and door seal. This step is essential for effective drum maintenance and seal care, preventing mold, mildew, and residue buildup. Focus on removing all visible grime and moisture trapped in the folds of the door seal.
When wiping, pay special attention to:
- The entire drum surface, including any crevices or holes
- The rubber door seal’s folds and edges where water collects
- Areas around the door frame to prevent odor and damage
Consistent seal care and drum maintenance extend your washer’s lifespan and improve its performance. After wiping, leave the door open to air dry, ensuring no moisture remains trapped.
Clean the Exterior of the Washing Machine
To effectively clean the exterior of your washing machine, start by unplugging the unit to secure safety. Identify the exterior materials—typically painted metal, plastic, or stainless steel—as this determines suitable cleaning products. Use a soft cloth dampened with a mild, non-abrasive cleaner to avoid damage. Avoid harsh chemicals that can strip finishes or degrade plastics. Gently wipe down all surfaces, including control panels and knobs, paying attention to crevices where dust and detergent residue accumulate. For stainless steel exteriors, a specialized cleaner enhances shine without corrosion. After cleaning, use a dry microfiber cloth to remove moisture, preventing streaks or corrosion. This method preserves your machine’s appearance and guarantees long-term durability, giving you freedom from frequent deep maintenance and keeping your laundry area neat and functional.
Leave the Door Open to Air Dry
Although cleaning the exterior is essential, leaving the washer door open after each cycle prevents moisture buildup inside the drum and gasket. This simple step enhances air circulation, allowing residual water to evaporate quickly, reducing the risk of mold and mildew. To maximize moisture prevention, follow these tips:
Leaving the washer door open after use prevents moisture buildup and reduces mold and mildew growth.
- Keep the door ajar for at least one hour post-wash to guarantee proper drying.
- Regularly inspect the gasket for trapped water and wipe it dry if necessary.
- Position the washer in a well-ventilated area to support continuous airflow.
Establish a Regular Cleaning Schedule
Setting a consistent cleaning schedule for your washer guarantees peak performance and longevity. To maintain ideal function, establish a cleaning frequency based on your usage—typically, a deep clean every one to three months suffices. Incorporate maintenance tips such as wiping seals, running cleaning cycles with appropriate detergents, and inspecting hoses regularly. Schedule these tasks into your calendar to make certain they aren’t overlooked. Consistency prevents mold buildup, foul odors, and mechanical issues, giving you the freedom to rely on your washer without interruption. By adhering to a precise cleaning frequency and following recommended maintenance tips, you protect your investment and enhance efficiency. This structured approach to upkeep simplifies the process, helping you avoid costly repairs and maintain a fresh, reliable washer.
Frequently Asked Questions
How Often Should I Replace My Washing Machine Filter?
You should replace your washing machine filter every 6 to 12 months, depending on usage and water quality. Regular filter maintenance guarantees debris doesn’t clog your machine, which helps maintain peak performance and extends the washing machine lifespan. If you notice reduced efficiency or drainage issues, check the filter sooner. Staying proactive with replacements gives you the freedom to enjoy hassle-free laundry without unexpected breakdowns or costly repairs.
Can I Use Bleach Instead of Vinegar for Cleaning?
Did you know that 90% of washing machine issues stem from mold and residue buildup? When cleaning, you can use bleach benefits for powerful disinfecting, especially against mold and mildew. However, vinegar effectiveness lies in breaking down mineral deposits and soap scum without harsh chemicals. If you want a thorough sanitization, bleach is your best bet, but for regular maintenance and eco-friendliness, vinegar works well. Always follow manufacturer guidelines to avoid damage.
What if My Washing Machine Doesn’T Have a Removable Filter?
If your washing machine doesn’t have a removable filter, focus on alternative washing machine maintenance methods. Regularly clean the drum, door seal, and detergent dispenser to prevent buildup. Use high-efficiency detergent and run maintenance cycles with vinegar or specialized cleaners to break down residue. Also, inspect hoses for blockages. These filter alternatives guarantee your machine stays efficient without needing a removable filter, giving you freedom from complicated disassembly while maintaining peak performance.
Is It Safe to Clean the Washing Machine While It’S Plugged In?
Think of your washing machine as a powerful river of electricity; cleaning it while plugged in risks you being swept away by electrical hazards. For your safety, always unplug the machine before cleaning to eliminate any chance of electric shock. Taking these safety precautions guarantees you maintain control and freedom during maintenance, preventing accidents. Never bypass this essential step if you want a safe, efficient cleaning process without risking injury.
How Can I Prevent Mold Buildup in My Washing Machine?
To prevent mold buildup in your washing machine, focus on mold prevention and moisture control. Always leave the door and detergent drawer open after use to allow air circulation and drying. Regularly wipe down seals and gaskets to remove residual moisture. Use high-efficiency detergents sparingly and run a monthly maintenance cycle with hot water and a washing machine cleaner. These steps help maintain a dry environment, reducing mold growth and ensuring your machine stays fresh longer.