Budget-Friendly DIY Cleaning Products for Air Fryer
You can keep your air fryer clean on a budget using household items like white vinegar mixed with water to cut grease and odors, or a baking soda paste for tougher stains. A lemon juice and salt scrub works great for grime, while dish soap with warm water easily tackles everyday messes. For a natural polish, try olive oil and salt. Adding essential oils freshens your fryer naturally. Want to discover more effective, easy DIY cleaning tricks?
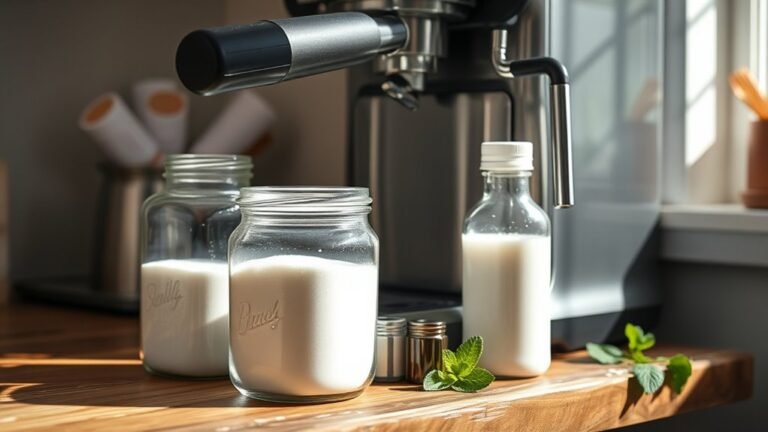
White Vinegar and Water Solution

Although you might be tempted to reach for harsh chemicals, a simple white vinegar and water solution is an effective, natural way to clean your air fryer. Vinegar benefits include its ability to break down grease and eliminate odors without leaving harmful residues. To create this cleaning solution, mix equal parts white vinegar and water in a spray bottle. Spray the mixture onto the air fryer’s basket and interior surfaces, then let it sit for a few minutes to loosen grime. Wipe everything down with a soft cloth or sponge, and rinse thoroughly with water to remove any vinegar smell. This DIY cleaning solution is budget-friendly, eco-friendly, and safe, giving you freedom from store-bought chemicals while maintaining your appliance’s performance.
Baking Soda Paste for Tough Stains
You’ll need just baking soda and a little water to make an effective paste for tackling tough air fryer stains. Apply the paste directly to the stubborn spots, let it sit for 15-20 minutes, then gently scrub with a soft brush or cloth. For best results, rinse thoroughly and dry to prevent residue buildup.
Ingredients Needed
When tackling tough stains in your air fryer, a baking soda paste is an effective, natural solution you’ll want to prepare carefully. To make this paste, you’ll need just two common household ingredients: baking soda and water. Baking soda acts as a gentle abrasive, lifting grime without damaging surfaces, while water helps you achieve the right consistency. For an eco friendly alternative, you can substitute water with white vinegar, which adds mild acidity to boost stain removal. Both options are safe, affordable, and free from harsh chemicals. Keep your measurements simple—start with about three tablespoons of baking soda and add water or vinegar gradually until you get a thick paste. This minimal ingredient list makes your DIY cleaner practical, budget-friendly, and perfect for maintaining your air fryer’s freedom from stubborn stains.
Application Method
Two simple steps will get your baking soda paste ready for tackling tough stains in your air fryer. First, mix baking soda with a small amount of water until you achieve a spreadable consistency. Then, apply the paste using gentle circular motions to loosen grime without damaging surfaces.
| Step | Detail |
|---|---|
| Prepare Paste | Mix baking soda and water to paste form |
| Apply Paste | Use circular strokes on stained areas |
| Let Sit & Wipe | Allow 15 minutes, then wipe clean |
For best results, focus on stubborn spots during each cleaning session. Adjust your application techniques based on stain severity, and maintain a regular cleaning frequency to prevent buildup. This method guarantees your air fryer stays fresh without costly cleaners, giving you freedom and control over your kitchen care.
Cleaning Tips
Although baking soda paste is a powerful natural cleaner, applying it correctly can make all the difference in removing tough stains from your air fryer. To start, mix baking soda with a little water to form a thick paste. Apply it directly onto stubborn spots and let it sit for 15-20 minutes. Then, gently scrub with a soft brush or sponge to avoid scratches. Rinse thoroughly and dry completely. For best results, stick to a regular cleaning frequency—ideally after every few uses—to prevent buildup. Incorporate this into your maintenance tips routine to keep your air fryer functioning efficiently and extend its lifespan. This approach not only frees you from harsh chemicals but also saves money while maintaining your appliance’s performance.
Lemon Juice and Salt Scrub
You can use lemon juice and salt to naturally break down grease and grime in your air fryer without harsh chemicals. Just mix the juice of a lemon with a tablespoon of salt to create a gentle scrub that’s easy to apply. Rub the mixture onto the dirty areas, let it sit for a few minutes, then wipe clean for a fresh, residue-free finish.
Natural Cleaning Benefits
Since air fryers often accumulate stubborn grease and food residue, using natural cleaning agents like lemon juice and salt can be an effective and safe way to restore their cleanliness. These natural ingredients not only break down grime but also avoid harsh chemicals that might damage your appliance or harm your health. Lemon juice acts as a natural degreaser and deodorizer, cutting through buildup while leaving a fresh scent. Salt’s gentle abrasiveness helps scrub away stuck-on particles without scratching surfaces. By choosing this eco friendly solution, you reduce waste and chemical exposure, aligning with a sustainable lifestyle. Incorporating lemon juice and salt into your cleaning routine gives you freedom from toxic cleaners and guarantees your air fryer stays fresh, clean, and ready for your next meal.
Easy Application Steps
Taking advantage of lemon juice and salt’s natural cleaning power is simpler than it seems. Start by mixing equal parts lemon juice and coarse salt to create a scrub. Apply this mixture directly to your air fryer’s basket and interior surfaces, focusing on stubborn grease spots. Let it sit for about 10 minutes to loosen grime, then gently scrub with a soft cloth or sponge. Rinse thoroughly with warm water and dry completely. For best results, adjust your cleaning frequency based on usage—clean after every 3–4 uses to prevent buildup. Maintenance tips include wiping the air fryer exterior regularly and avoiding abrasive tools that could damage the non-stick coating. This natural scrub keeps your air fryer fresh and functioning well without harsh chemicals or extra cost.
Dish Soap and Warm Water Mix

A simple mixture of dish soap and warm water is one of the most effective and accessible DIY cleaning solutions for your air fryer. The dish soap benefits include breaking down grease and food residue without harsh chemicals, making it safe and gentle on your appliance. Warm water effectiveness lies in its ability to loosen stubborn grime, allowing the soap to penetrate and lift dirt more efficiently. To use, mix a few drops of dish soap in a bowl of warm water, soak a soft cloth or sponge, and gently scrub the air fryer basket and interior. After cleaning, rinse with a damp cloth to remove soap residue. This method saves money, reduces waste, and gives you the freedom to maintain your air fryer with ease and confidence.
Hydrogen Peroxide and Baking Soda Cleaner
While dish soap and warm water handle everyday cleaning well, tougher stains and stuck-on grease call for a stronger solution. Mixing hydrogen peroxide and baking soda creates a powerful cleaner that tackles stubborn grime in your air fryer without harsh chemicals. The hydrogen benefits include its natural ability to break down grease and eliminate bacteria, making it a safe, effective option. To use, combine three tablespoons of baking soda with enough hydrogen peroxide to form a paste. Apply this to the dirty surfaces, let it sit for 10–15 minutes, then scrub gently with a soft brush or cloth. Rinse thoroughly afterward. Always remember peroxide safety—avoid mixing with vinegar or bleach and store it in a cool, dark place. This DIY cleaner gives you freedom from pricey, chemical-laden products.
Olive Oil and Salt Polish
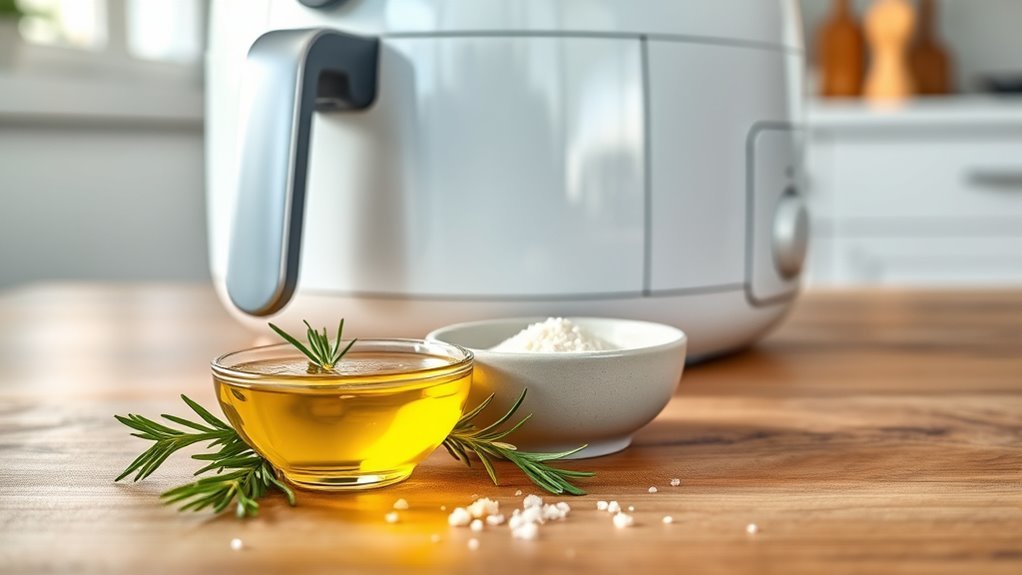
Olive oil combined with coarse salt creates an effective polish that can restore the shine of your air fryer’s surfaces while gently removing residue. The olive oil benefits you by providing a natural, non-toxic lubricant that nourishes and protects metal or plastic parts, preventing drying and cracking. Meanwhile, salt properties as a mild abrasive help scrub away stuck-on grime without scratching delicate surfaces. To use, mix a tablespoon of olive oil with two tablespoons of coarse salt, then apply the mixture with a soft cloth in circular motions. This DIY polish effortlessly loosens buildup and leaves a subtle sheen. Afterward, wipe clean with a damp cloth to remove excess. This method lets you maintain your air fryer’s finish without harsh chemicals, giving you freedom to clean safely and affordably.
Essential Oils for Deodorizing
Beyond just cleaning and polishing, keeping your air fryer smelling fresh is just as important for an enjoyable cooking experience. Essential oils offer a natural, budget-friendly way to tackle lingering odors. Their antibacterial and deodorizing properties make oils like lemon, tea tree, and eucalyptus excellent choices. To deodorize, add a few drops of your preferred essential oil to a damp cloth and wipe down the interior after each use. Alternatively, mix essential oils with water in a spray bottle and mist the air fryer, then wipe clean. These deodorizing techniques not only neutralize odors but also leave behind a subtle, invigorating scent. Incorporating essential oils into your cleaning routine guarantees your air fryer stays fresh without harsh chemicals, giving you the freedom to cook confidently every time.
Frequently Asked Questions
Can These DIY Cleaners Damage the Air Fryer’S Non-Stick Coating?
Imagine your air fryer’s non-stick coating as a delicate shield, protecting your meals from sticking and burning. When you choose DIY cleaners, you’ve got to balance non-stick safety with cleaner effectiveness carefully. Harsh abrasives or acidic ingredients can erode that shield, so stick to gentle, natural solutions like baking soda and vinegar in small amounts. This way, you maintain your fryer’s freedom to cook perfectly without risking damage.
How Often Should I Deep Clean My Air Fryer Using These Methods?
You should aim for weekly maintenance to keep your air fryer in top shape, especially if you use it often. Regularly wiping down the basket and trays after each use helps prevent buildup. For a deeper clean, adjust your cleaning frequency based on usage—once a month usually works well. This routine keeps odors and grease at bay, ensuring your air fryer performs efficiently without any hassle, giving you the freedom to cook worry-free.
Are These Cleaning Products Safe to Use on All Air Fryer Brands?
You’ll want to check your air fryer compatibility before using any cleaning products. Most DIY solutions with gentle ingredients like vinegar, baking soda, or mild dish soap are safe for all brands. However, avoid harsh chemicals or abrasive materials that can damage non-stick coatings. Always review your air fryer’s manual to guarantee the cleaning product ingredients won’t harm its surface. This way, you keep your appliance in great shape without restrictions.
Can I Use These DIY Cleaners for Other Kitchen Appliances?
You can definitely enjoy DIY cleaner versatility by using these homemade solutions for multi appliance cleaning. They’re great for wiping down ovens, microwaves, and even stovetops, giving you freedom from harsh chemicals. Just make sure to test a small area first to avoid any damage. These cleaners are practical, budget-friendly, and effective, making it easier for you to keep your entire kitchen sparkling without juggling multiple products.
What Should I Do if My Air Fryer Has a Persistent Odor?
Think of your air fryer as a loyal compass guiding your culinary adventures; a persistent odor clouds its true direction. This smell often comes from trapped food particles or oils, signaling the need for thorough air fryer maintenance. To clear it, disassemble and soak removable parts in warm, soapy water, then scrub gently. Wipe the interior with a vinegar-water solution to neutralize odors. Regular cleaning guarantees your air fryer stays fresh, freeing you to cook without limits.