How to Clean and Inspect Smoke Detectors
To clean and inspect your smoke detector, start by turning off its power and gently removing it from the wall or ceiling. Use a soft brush or vacuum to clear dust from vents, and check the battery—replace it if needed. Look closely for cracks, corrosion, or worn parts, and replace the unit if damaged. After cleaning, press the test button to confirm it works properly. Following these steps keeps your home safe, and there’s more to help you maintain your detectors all year.
Understanding the Importance of Regular Smoke Detector Maintenance
Although smoke detectors are often out of sight, you shouldn’t overlook their maintenance. Keeping up with a regular maintenance schedule is key to ensuring your smoke detector is always ready to protect you and your home. Remember, these devices don’t last forever—their smoke detector lifespan typically ranges from 8 to 10 years. By sticking to a maintenance routine, you can catch issues early, replace batteries, and even know when it’s time for a full replacement. When you take charge of your smoke detector’s upkeep, you’re not just maintaining a device; you’re preserving your freedom to live safely and confidently. Staying proactive means fewer worries and more peace of mind. Don’t wait—make maintenance a priority.
Tools Needed for Cleaning and Inspecting Smoke Detectors
To properly clean and inspect your smoke detector, you’ll need a few essential tools that make the job quick and effective. Using the right cleaning supplies and inspection tools guarantees you maintain safety without hassle. Here’s a handy list to keep you free from worries:
| Tool Name | Purpose | Tips for Use |
|---|---|---|
| Soft Brush | Dust removal | Gently brush vents and surface |
| Vacuum Cleaner | Deep cleaning | Use a soft nozzle attachment |
| Screwdriver | Accessing detector | Choose the correct size |
| Flashlight | Visual inspection | Check for dirt or damage |
| Battery Tester | Check battery health | Test and replace if needed |
With these tools, your smoke detector stays reliable, giving you peace and freedom in your space.
How to Safely Remove Your Smoke Detector
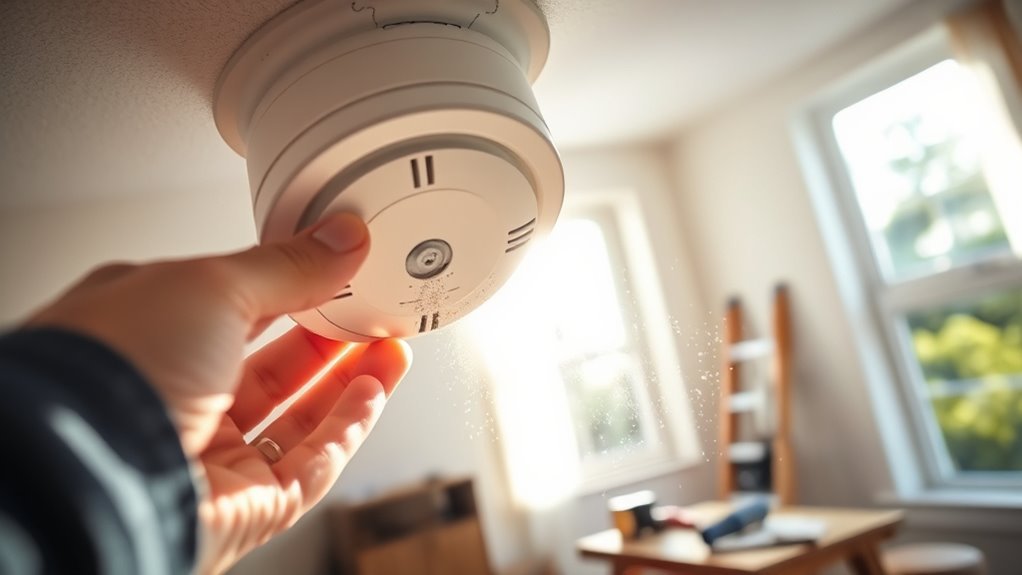
Before you start cleaning or inspecting your smoke detector, make certain you know how to safely remove it without causing damage or triggering the alarm. First, take essential safety precautions: turn off the power supply at the circuit breaker to avoid electrical shocks. Next, gently twist or slide the detector off its mounting bracket, depending on your model. Use removal techniques that respect the device’s design—never force it, as this could break components or set off the alarm. If your detector has a battery, carefully disconnect it once removed. Handling your smoke detector with care guarantees you maintain its functionality and freedom to perform routine checks safely. Following these steps gives you control and confidence when removing your smoke detector.
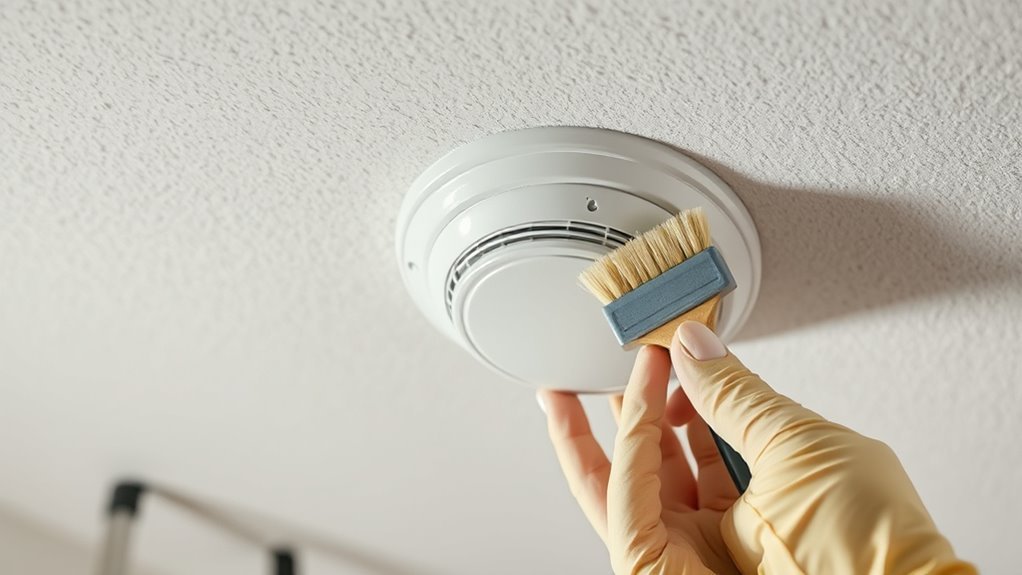
Cleaning Techniques for Smoke Detectors
Now that you’ve removed your smoke detector carefully, it’s time to clean it properly to guarantee it works effectively. Start by using a soft brush or compressed air to perform thorough dust removal, freeing your detector from tiny particles that can hinder its function. While you’re at it, check the battery replacement date and swap out batteries if needed—nothing should hold you back from safety. Here’s a quick guide to keep your freedom intact:
| Task | Tool Needed | Feeling You Deserve |
|---|---|---|
| Dust Removal | Soft brush/air | Clear & Unburdened |
| Battery Replacement | New batteries | Secure & Confident |
| Reassembly | Hands | Empowered & Free |
| Final Test | Push button | Peaceful & Assured |
Clean it right, and enjoy peace of mind on your terms.
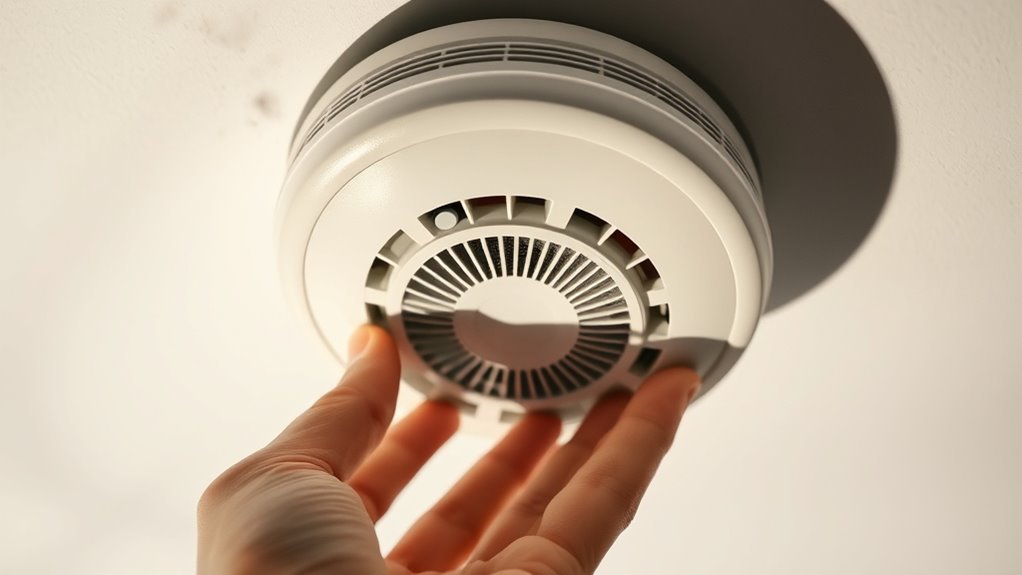
Inspecting Smoke Detectors for Damage or Wear
Although cleaning keeps your smoke detector in good shape, inspecting it for damage or wear is just as essential to guarantee it functions properly. Start with a thorough visual inspection, looking closely for cracks, discoloration, or any physical damage that could impair performance. Check the battery compartment and wiring for corrosion or loose connections. Pay special attention to wear indicators, which some models have to signal when the detector needs replacement. If you spot any signs of wear or damage, don’t hesitate to replace the unit to maintain your home’s safety. Remember, regular inspections free you from unexpected failures and keep your freedom intact, knowing your smoke detector is ready when you need it most.
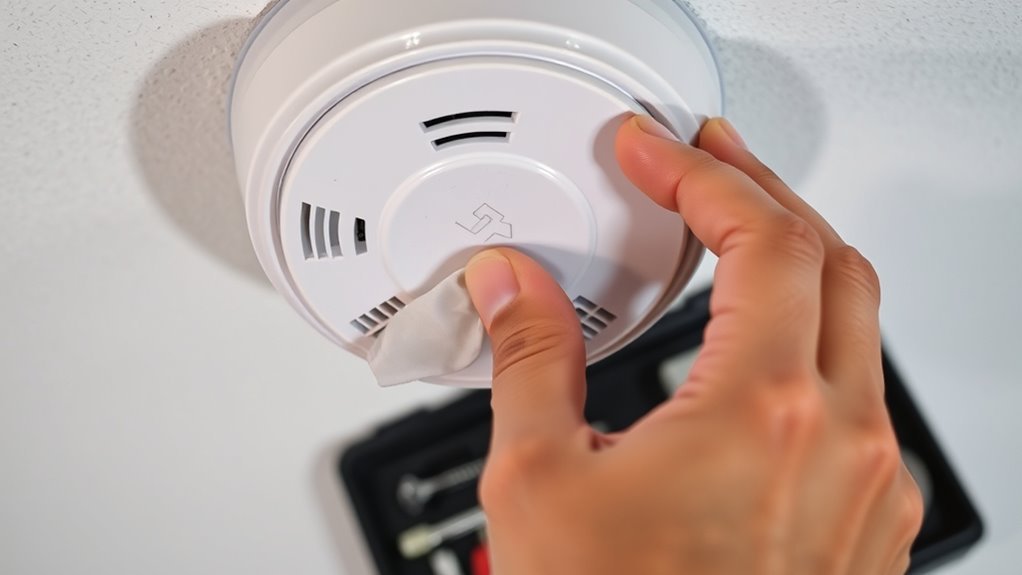
Testing Your Smoke Detector After Maintenance
After cleaning and inspecting your smoke detector, it’s crucial to test it to confirm it’s working correctly. Regular testing guarantees your safety and freedom from worry. Aim for a testing frequency of at least once a month to check the alarm response. Press and hold the test button until you hear a loud beep. If the alarm fails, replace the battery or the unit immediately.
| Test Step | Expected Result | Action if Failed |
|---|---|---|
| Press Test Button | Loud alarm sound | Replace battery or unit |
| Visual Inspection | No physical damage | Clean or replace detector |
| Battery Check | Battery indicator green | Replace battery |
Stay vigilant—your freedom depends on a working alarm.
Tips for Maintaining Smoke Detectors Year-Round
Once you’ve tested your smoke detector and confirmed it’s working properly, keeping it in good condition throughout the year helps prevent malfunctions. To stay on top of this, create a yearly schedule for maintenance tasks. Mark reminders to check batteries, clean dust from the sensors, and test alarms regularly. Use a maintenance checklist to track what you’ve done and what’s next, making sure nothing slips through the cracks. This simple routine gives you peace of mind and freedom from unexpected failures. Remember, a well-maintained detector protects your space without hassle. Stick to your schedule, update your checklist as needed, and enjoy the confidence that your smoke detectors will perform when you need them most.
Frequently Asked Questions
Can I Use a Vacuum Cleaner to Remove Dust From Smoke Detectors?
Yes, you can use a vacuum cleaner for dust removal on your smoke detectors, but make sure to use a soft vacuum attachment to avoid damaging them. Gently run the vacuum over the detector’s exterior to suck up loose dust and debris. This method helps keep your detectors clear without hassle, giving you peace of mind. Just don’t press too hard or you risk harming the sensitive parts inside.
How Often Should I Replace the Batteries in Smoke Detectors?
Think of your smoke detector’s battery lifespan like the ticking of a clock—you don’t want it to stop unexpectedly. You should replace the batteries at least once a year to keep your home safe and your mind free from worry. Sticking to a regular replacement schedule guarantees your detector works when you need it most, giving you the freedom to live confidently without constant safety concerns.
Are There Specific Brands of Smoke Detectors Recommended for Better Maintenance?
When choosing smoke detectors, brand recommendations often highlight Nest Protect and Kidde for their reliability and user-friendly features. These brands make maintenance easier with smart alerts and long-life batteries, so you don’t have to worry constantly. For better upkeep, follow maintenance tips like testing monthly and replacing units every 10 years. Picking a trusted brand gives you peace of mind and the freedom to focus on what matters most.
What Should I Do if My Smoke Detector Frequently Gives False Alarms?
If your smoke detector frequently gives false alarms, don’t ignore it. Common false alarm causes include dust buildup, low batteries, or placement near cooking areas. Start with troubleshooting tips like replacing batteries, cleaning the unit gently, and moving it away from steam or smoke sources. If problems persist, consider upgrading to a model with advanced sensors. Taking control of these steps helps you maintain safety without unnecessary disruptions.
Can Smoke Detectors Be Interconnected for Better Home Safety?
Yes, you can definitely have interconnected systems for your smoke detectors, which means when one goes off, they all do. This setup offers enhanced safety because you’re instantly alerted no matter where you are in your home, giving you the freedom to relax knowing everyone’s protected. It’s especially great for larger homes or multi-level spaces, ensuring you never miss an alarm and can act quickly in case of emergency.