How to Clean Your Home After Windowsills
After cleaning your windowsills, start by gathering soft cloths, a brush, and gentle detergent. Dust surrounding areas and vacuum any debris from frames and floors. If paint or stains remain, gently use a plastic scraper with a mild solvent, then wipe away residue with a damp cloth. Next, clean nearby furniture and floors carefully without harsh chemicals. Finish by wiping surfaces for a polished look and opening windows briefly to freshen the space. You’ll find helpful tips to keep your home spotless ahead.
Gather Essential Cleaning Supplies

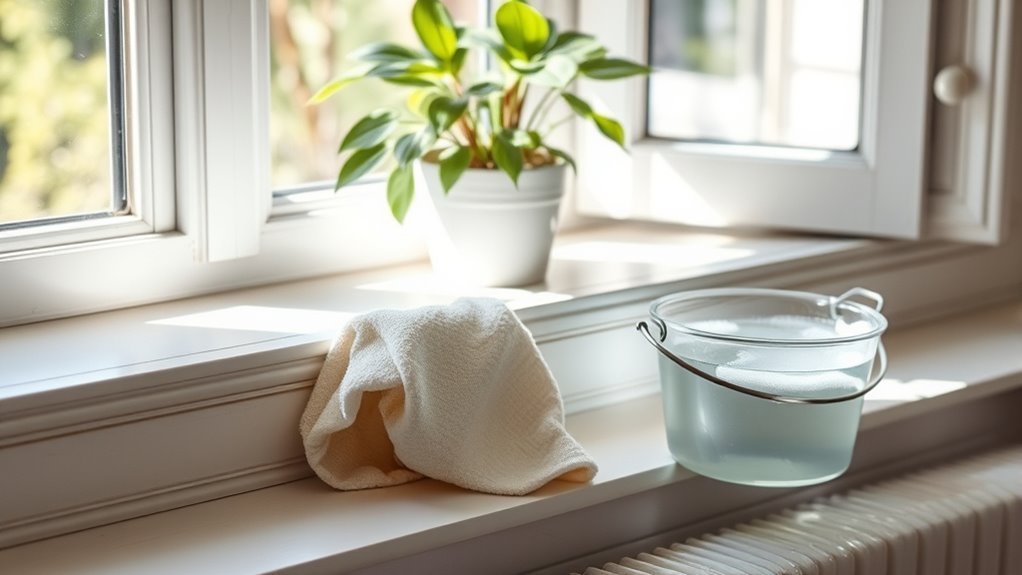
Before you begin cleaning your windowsills, you’ll want to gather a few essential supplies. Having the right cleaning tools on hand makes the task quicker and more effective, giving you the freedom to enjoy your space sooner. You’ll need a soft cloth or sponge to wipe away dirt without scratching surfaces. A small brush or an old toothbrush works perfectly for reaching tight corners. Grab a bucket with warm water mixed with a gentle detergent to loosen grime, plus a spray bottle filled with a natural cleaner for stubborn spots. Don’t forget gloves to protect your hands and a microfiber cloth for a streak-free finish. Keeping your essential supplies organized lets you tackle the job confidently and efficiently, freeing you from hassle and wasted time.
Remove Dust and Debris From Surrounding Areas
Although it might seem like a small step, removing dust and debris from the areas around your windowsill is essential to a thorough clean. You want to free your space from hidden dirt that can accumulate on nearby surfaces like window frames, sills, and even the floor beneath. Start with effective dusting techniques—use a microfiber cloth or a soft-bristled brush to gently sweep away dust without scattering it. For stubborn debris, a handheld vacuum with a brush attachment works wonders. Choose cleaning tools that fit your style and make the process effortless, giving you control and freedom over your environment. By tackling the surrounding areas carefully, you prevent dust from resettling and keep your windowsill shining longer.
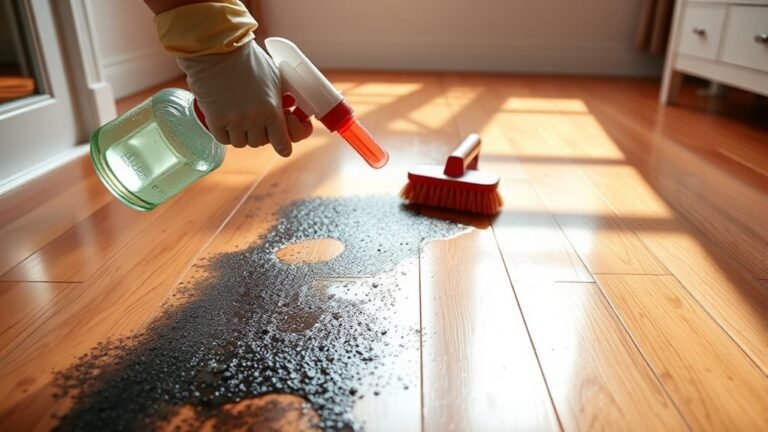
Address Paint and Stain Residues
Since paint and stain residues can be tough to remove, you’ll want to tackle them carefully to avoid damaging your windowsill. Using the right paint removal techniques and stain treatment methods guarantees a clean finish without limiting your options.
Here’s how you can handle it:
- Test a small area with a gentle solvent like mineral spirits to loosen paint without harming the surface.
- Use a plastic scraper to lift softened paint, avoiding metal tools that could scratch.
- Apply a wood-safe stain remover for stubborn discolorations, following manufacturer instructions closely.
- Wipe the area with a damp cloth to remove residue, then let it dry completely before deciding if a second treatment is needed.
This approach frees you to restore your windowsill’s natural look without hassle or damage.
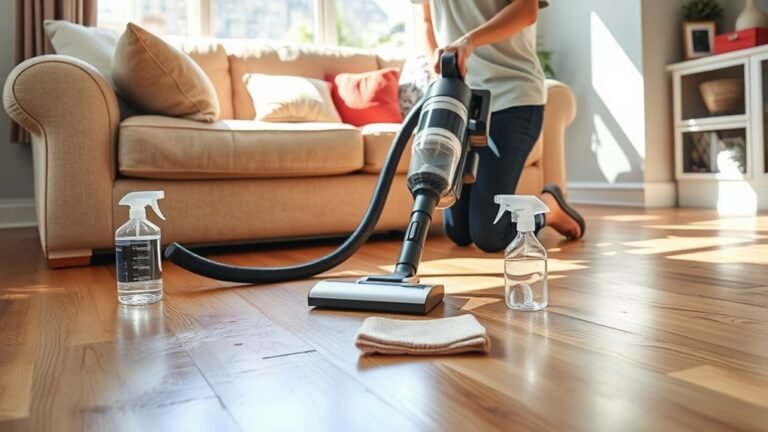
Clean Floors and Furniture Near Windows
Three simple steps can help you protect the floors and furniture near your windows while cleaning. First, clear the area by moving lightweight items away and covering larger pieces with old sheets or drop cloths. This creates a barrier against dust and cleaning solutions. Next, use gentle cleaning techniques—like a soft brush or vacuum with a brush attachment—to remove dirt and debris without scratching surfaces. Avoid harsh chemicals that might damage your furniture’s finish. Finally, after cleaning your windowsills, wipe down the exposed floor and furniture with a damp microfiber cloth to catch any remaining dust. These steps guarantee effective furniture protection while keeping your space tidy, letting you enjoy a clean, fresh home without worrying about damage or extra mess.
Final Touches for a Fresh, Polished Look

Once you’ve thoroughly cleaned your windowsills, adding the final touches will give your space a fresh, polished look. These steps help you regain control and freedom over your environment:
- Conduct a final inspection to guarantee no dust or smudges remain.
- Wipe down surrounding surfaces for a consistent clean feel.
- Add decorative accents like small plants or candles to personalize the space.
- Open the windows briefly to air out the area and let natural light enhance the shine.
Frequently Asked Questions
How Often Should I Clean My Windowsills to Prevent Buildup?
You should stick to a regular cleaning frequency for your windowsills to keep buildup at bay. Ideally, giving them a quick wipe every one to two weeks works well. For maintenance tips, use a damp cloth and mild cleaner to tackle dust and grime without fuss. This easy routine helps you enjoy a fresh, clutter-free space without feeling tied down by chores. Keep it simple, and you’ll feel more freedom in your home care.
Can I Use Natural Cleaners Instead of Chemical Ones on Windowsills?
Absolutely, you can use natural cleaning methods on your windowsills! Choosing eco friendly products not only keeps your space fresh but also respects the environment. Natural cleaning solutions like vinegar, baking soda, or lemon juice are effective and safe alternatives to harsh chemicals. You’ll enjoy the freedom of a clean home without worrying about toxins. Plus, these natural cleaners are usually affordable and easy to make, giving you control over what goes into your living space.
What Is the Best Way to Prevent Mold on Windowsills?
To keep mold off your windowsills, focus on mold prevention by controlling humidity levels in your home. You’ll want to use dehumidifiers or open windows regularly to let fresh air circulate. Also, wipe down any condensation quickly to stop moisture buildup. Keeping your space well-ventilated and dry gives you the freedom to enjoy a clean, mold-free environment without worrying about pesky mold invading your personal space.
Are There Specific Tools for Cleaning Hard-To-Reach Windowsills?
If you’re struggling with hard-to-reach windowsills, you’ll love using specialized cleaning gadgets designed just for that. Reach tools with extendable handles and flexible heads make it easy to get into tight corners without hassle. Some even come with microfiber pads or brushes to trap dust effectively. These gadgets give you the freedom to clean thoroughly without awkward stretching or risking damage, making your cleaning routine much smoother and more efficient.
How Do I Repair Small Cracks or Chips on My Windowsills?
Think of your windowsills as the frame to your home’s eyes—small cracks or chips can dim their shine. To fix these, you’ll want to explore repair techniques like filling gaps with wood filler or epoxy putty. Once smooth, apply sealant options such as silicone or acrylic caulk to protect them from the elements. This way, you reclaim control, ensuring your windowsills stay strong and free from further damage.