How to Make Homemade Window Cleaner
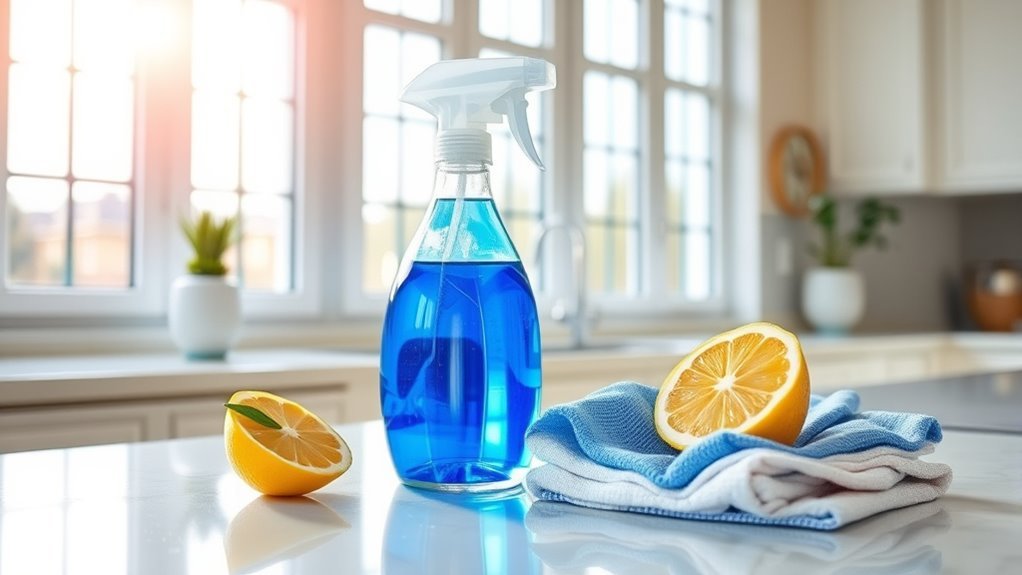
You can make an effective homemade window cleaner by mixing equal parts distilled water and white vinegar with a tablespoon of rubbing alcohol. Pour water first, then add vinegar and alcohol, swirling gently to combine. Use a spray bottle and a microfiber cloth for streak-free shine. Clean on cloudy days to avoid fast drying. With the right tools and method, your windows will sparkle, and you’ll also discover tips for storage, safety, and tackling tough spots.
Essential Ingredients for Homemade Window Cleaner
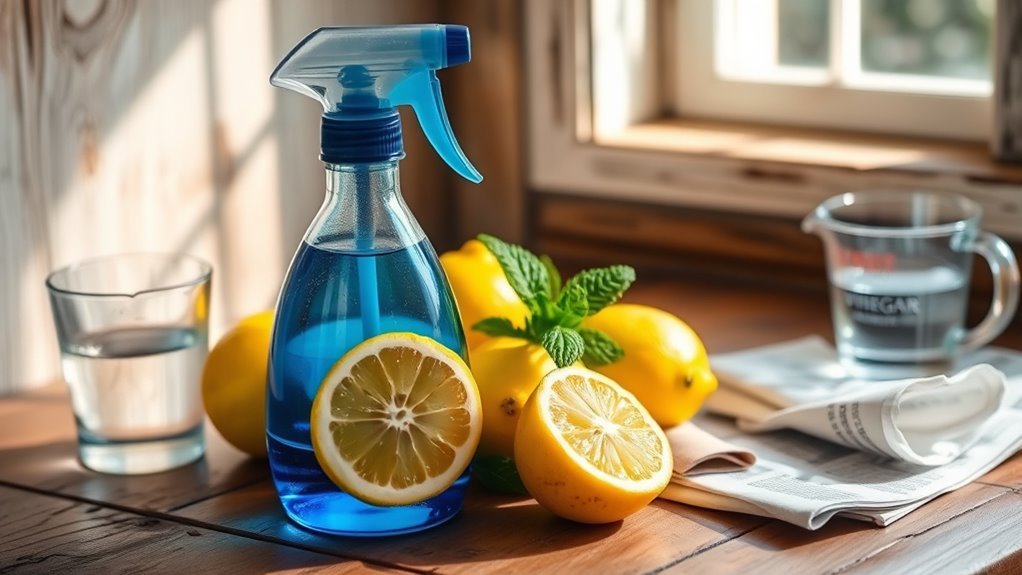
To make an effective homemade window cleaner, you’ll need just a few essential ingredients that are easy to find. You’ll want distilled water as your base for streak-free results, white vinegar for its natural cleaning effectiveness, and a small amount of rubbing alcohol to speed drying and add shine. The key to freedom in your cleaning routine lies in mastering the right ingredient ratios—typically, one cup of water, one cup of vinegar, and a tablespoon of rubbing alcohol. This balance guarantees you get powerful cleaning without harsh chemicals. You can adjust these ratios slightly to suit your preference, but sticking close to this formula assures your windows come out sparkling clear, giving you the satisfaction of doing it yourself with simple, natural components.
Tools Needed for Effective Window Cleaning
To get your windows sparkling, you’ll need the right tools on hand. Picking the best cloth and having essential cleaning supplies makes all the difference. Don’t forget basic safety gear to protect yourself while you work.
Essential Cleaning Tools
Although homemade window cleaner is key, having the right tools will make your job much easier and more effective. To truly embrace freedom from harsh chemicals, choose eco friendly options like a natural sponge or a reusable spray bottle. A sturdy squeegee is essential for streak-free results, helping you cut down on time and effort. Incorporate these tools into your cleaning schedules to keep windows sparkling without hassle. A bucket for mixing your cleaner and a long-handled scrubber for hard-to-reach spots round out the essentials. With these simple, sustainable tools, you’ll enjoy the satisfaction of clean windows and a cleaner planet—giving you the freedom to maintain your home your way, on your schedule.
Choosing the Right Cloth
Picking the right cloth can make a big difference in how well your homemade window cleaner works. You want to reach for microfiber cloths because they’re designed to trap dirt and grime without scratching surfaces. Their fine fibers give you a streak-free shine that regular rags just can’t match. Avoid cotton or any fabric that leaves lint behind; lint free fabrics are your best friends here. They keep your windows crystal clear, letting the sunlight pour in without distractions. Plus, microfiber cloths are reusable and easy to wash, which means you stay eco-friendly and save money. Choosing the right cloth gives you freedom from streaks and frustration, making your window-cleaning routine quicker and more satisfying every time.
Safety Equipment Basics
Before you start cleaning, you’ll want to make sure you have the right safety equipment to protect yourself and work efficiently. Wearing proper protective gear isn’t just about comfort; it’s about taking safety precautions that give you freedom to work confidently without worry. Here’s a quick guide to essential tools that’ll keep you safe and effective:
| Equipment | Purpose |
|---|---|
| Gloves | Protect hands from chemicals |
| Safety Glasses | Shield eyes from splashes |
| Non-slip Shoes | Prevent slips on wet surfaces |
| Ladder/Stool | Reach high windows safely |
| Mask | Avoid inhaling fumes |
Step-by-Step Guide to Mixing Your Cleaner
Now that you have your tools ready, let’s gather the essential ingredients for your homemade window cleaner. I’ll walk you through simple mixing instructions so you can make it quickly and easily. Plus, you’ll get tips on how to store and use your cleaner effectively.
Essential Ingredients Needed
There are three essential ingredients you’ll need to mix an effective homemade window cleaner: water, white vinegar, and rubbing alcohol. Water acts as the base, diluting the solution for safe, streak-free cleaning. White vinegar offers powerful vinegar benefits—it naturally cuts through grime and dissolves mineral deposits without harsh chemicals. Rubbing alcohol helps the cleaner evaporate quickly, preventing streaks and leaving your windows crystal clear. To get the best results, pay attention to cleaning ratios; a common mix is 2 parts water, 1 part vinegar, and 1 part rubbing alcohol. This balance guarantees your cleaner is strong enough to tackle dirt but gentle enough to protect your surfaces. With these ingredients, you’re free to clean efficiently and eco-consciously.
Mixing Instructions Simplified
Mixing your homemade window cleaner only takes a few simple steps. You’ll combine water, vinegar, and a touch of liquid soap for maximum cleaning efficiency while sticking to eco friendly options. Here’s a straightforward guide to help you get it right every time:
| Ingredient | Amount |
|---|---|
| Water (distilled) | 2 cups |
| White vinegar | 1/2 cup |
| Liquid soap (eco) | 1 tsp |
| Optional: essential oil | 5 drops |
| Spray bottle | 1 (16 oz) |
Start by pouring water, then add vinegar and soap. Gently swirl to mix without creating too many bubbles. Your cleaner is ready to free your windows from grime naturally and effectively!
Storage and Usage Tips
Once you’ve prepared your homemade window cleaner, storing it properly will keep it fresh and effective for future use. Choose container options like spray bottles made of glass or durable plastic with tight seals to prevent leaks and contamination. Label your container clearly with the date you mixed it to track the shelf life, which typically lasts up to one month. Keep your cleaner in a cool, dark place away from direct sunlight to maintain its potency. When using, give the bottle a gentle shake to remix any separated ingredients. Always test a small window area first to verify no streaks or residue. These storage and usage tips empower you to enjoy spotless windows while embracing the freedom of eco-friendly, homemade cleaning solutions.
Tips for Achieving a Streak-Free Shine
Although homemade window cleaner can be highly effective, achieving a streak-free shine requires a few key techniques. To enjoy crystal-clear freedom from streaks, follow these streak prevention tips and drying techniques:
- Use a soft microfiber cloth or lint-free paper towel to avoid scratching and lint residue.
- Clean windows on a cloudy day or in the shade to prevent the cleaner from drying too fast and leaving streaks.
- Apply the cleaner sparingly; too much liquid can cause drips and streaks.
- Dry the window immediately with a clean, dry cloth using circular motions for an even finish.
Natural Alternatives to Vinegar and Their Benefits
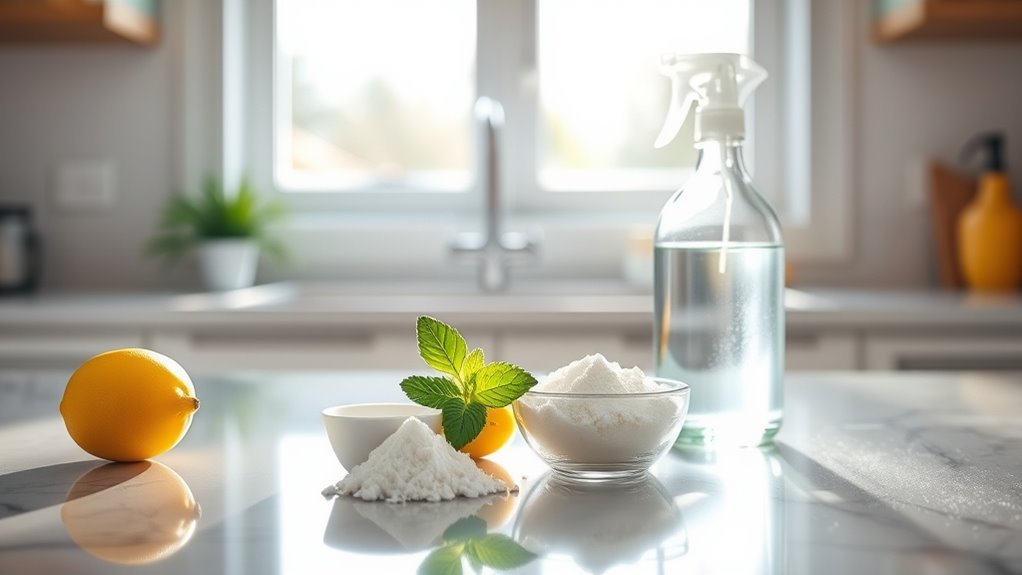
If you’re sensitive to vinegar’s strong smell or simply want to try something different, there are several natural alternatives that work just as well for cleaning windows. Citrus extracts benefits make them a fantastic choice—they naturally cut through grease and leave a fresh, uplifting scent without harsh chemicals. Lemon or orange essential oils add a burst of cleanliness and boost your homemade cleaner’s effectiveness. Baking soda alternatives also shine here; they gently lift dirt and grime while neutralizing odors, perfect if you want a gentle yet powerful solution. By choosing these natural options, you maintain control over what’s in your cleaner and enjoy a streak-free shine without sacrificing your freedom from strong smells or synthetic ingredients. You’ll find your windows sparkling and your cleaning routine more enjoyable.
How to Store Your Homemade Cleaner Safely
Choosing natural ingredients for your homemade window cleaner is just the start; knowing how to store it properly will help maintain its effectiveness and keep your space safe. To enjoy the freedom of DIY cleaning, follow these storage tips:
- Use suitable containers like glass spray bottles or BPA-free plastic to prevent chemical reactions and leaks.
- Make certain containers have tight-fitting lids to avoid spills and evaporation.
- Follow label requirements by clearly marking the bottle with the cleaner’s contents and date made—this keeps you informed and prevents accidental misuse.
- Store your cleaner in a cool, dark place away from direct sunlight and children’s reach to preserve potency and make certain safety.
Best Techniques for Cleaning Different Types of Windows
Where should you start when cleaning different types of windows? First, identify your window types to choose the right cleaning techniques. Not all windows respond the same way, so tailoring your approach gives you freedom from streaks and damage. Here’s a quick guide:
| Window Type | Best Cleaning Technique | Tips |
|---|---|---|
| Single Pane | Spray cleaner + microfiber | Use vertical strokes |
| Double Pane | Use gentle spray + squeegee | Avoid excess water inside frame |
| Tinted Windows | Mild cleaner + soft cloth | Avoid ammonia-based products |
With this table, you can approach each window confidently. Embrace your freedom to clean smartly, preserving your windows’ clarity and lifespan with the right techniques for each type.
Troubleshooting Common Window Cleaning Issues
Even the most careful cleaning can leave you facing streaks, smudges, or residue that ruins your window’s sparkle. Don’t let these common issues steal your freedom to enjoy crystal-clear views. Here’s how to troubleshoot them:
Streaks, smudges, and residue can dull your windows—learn how to restore that sparkling, clear view.
- Streak Removal: Use a microfiber cloth and clean in a circular motion to prevent streaks. Avoid cleaning in direct sunlight.
- Residue Buildup: If you notice sticky spots, your cleaner might be too concentrated. Dilute your homemade solution with more water.
- Smudges: Always wipe with a dry cloth after cleaning to catch any remaining moisture.
- Cloudiness: Use distilled water to mix your solution, avoiding minerals that cause cloudiness.
With these tips, you’ll regain control over your window cleaning and enjoy freedom from annoying streaks and residues.
Frequently Asked Questions
Can Homemade Window Cleaner Damage Tinted Windows?
You might be worried about tinted window safety when using homemade cleaner recipes, and that’s smart. Some DIY solutions with vinegar or ammonia can damage the tint film, causing bubbles or fading. To keep your freedom to clean without harm, opt for gentle ingredients like water and mild soap. Always test a small area first, so you can enjoy spotless windows without risking your tint’s integrity.
How Often Should I Clean My Windows for Best Results?
You might think cleaning windows often is a hassle, but staying on top of it actually saves you time and frustration later. For best results, aim for seasonal cleaning—about four times a year—to keep your view crystal clear. This routine window maintenance not only brightens your space but also protects your glass from damage. By doing this, you’ll enjoy the freedom of natural light and a spotless home without endless scrubbing.
Is Homemade Window Cleaner Safe for Pets and Children?
You’ll be glad to know homemade window cleaner can be safe for pet safety and child safety, as it usually contains natural ingredients like vinegar and water. Just make sure to keep it out of reach and use it in well-ventilated areas to avoid any irritation. By choosing DIY cleaners, you’re embracing freedom from harsh chemicals, giving your family a safer, healthier environment without sacrificing effectiveness.
Can I Use Essential Oils in My Window Cleaner Mix?
You might think essential oils are just for relaxing scents, but they actually bring serious cleaning benefits to your window cleaner mix. You can definitely add them, like lemon or tea tree, to boost freshness and fight germs naturally. Just remember, a little goes a long way, and some oils might not be pet-friendly. So, enjoy the freedom of customizing your cleaner, but keep safety in mind for your whole home.
What’S the Environmental Impact of Homemade vs. Commercial Cleaners?
When you choose homemade window cleaners, you’re often opting for eco friendly ingredients with a simpler chemical composition, which means less harmful runoff and waste. Commercial cleaners can contain harsher chemicals that impact waterways and ecosystems more negatively. By making your own, you enjoy freedom from toxic additives and reduce your environmental footprint. So, you’re not just cleaning windows—you’re supporting a greener planet with every spray.