Spring Cleaning Guide for Dryer
You should clean your dryer every spring to prevent lint buildup, which can cause fires and lower efficiency. Start by unplugging the dryer and wearing gloves for safety. Clean the lint trap after each use, then remove and vacuum the vent hose and inside drum to keep airflow clear. Inspect ducts and cords for wear to avoid costly repairs. Maintaining your dryer regularly saves energy and extends its lifespan. Keep going to discover how to do each step properly.
Why Regular Dryer Cleaning Matters

Although you might not think about it often, regular dryer cleaning is crucial for both safety and efficiency. When lint buildup accumulates inside your dryer, it restricts airflow, causing your machine to work harder and use more energy. This inefficiency not only wastes your time but also your money, limiting your freedom to focus on what truly matters. More importantly, lint buildup creates significant fire hazards, as it’s highly flammable and can ignite from the dryer’s heat. By keeping your dryer clean, you reduce the risk of dangerous fires, protecting your home and loved ones. Taking a few minutes to clean your dryer regularly guarantees it runs smoothly, giving you peace of mind and the freedom to enjoy life without unnecessary worries.
Tools Needed for Dryer Maintenance
To keep your dryer running smoothly, you’ll need a few essential cleaning tools like a vacuum attachment and a soft brush. Don’t forget safety gear such as gloves and a dust mask to protect yourself during maintenance. It’s also smart to have a checklist of replacement parts ready in case anything needs swapping out.
Essential Cleaning Tools
Keeping your dryer in top shape requires a few essential tools that make the cleaning process easier and more effective. You’ll want to gather basic cleaning supplies like a vacuum with a hose attachment, a microfiber cloth, and a soft brush to reach tight spots. A flexible dryer vent brush is an essential tool for clearing lint buildup deep within the vent, helping your dryer run efficiently and safely. Don’t forget a screwdriver to open panels if needed, and a mild detergent for wiping surfaces. By having these essential tools on hand, you’re set to maintain your dryer without hassle, giving you more freedom from costly repairs and keeping your laundry routine smooth and safe.
Safety Equipment Must-Haves
Why should you never skip using proper safety equipment when maintaining your dryer? Because your freedom to fix things yourself depends on staying safe. Protect your eyes with safety goggles to prevent dust and debris from causing injury. Slip on rubber gloves to shield your hands from sharp edges and grime. These simple tools empower you to work confidently without risking harm. Remember, a quick cleanup can release hidden lint and dust that might irritate your skin or eyes. Taking these precautions means you maintain your dryer without sacrificing your well-being or independence. Don’t let a minor injury sideline your DIY spirit—gear up properly. Safety goggles and rubber gloves aren’t just accessories; they’re essential for keeping your freedom intact while you care for your dryer.
Replacement Parts Checklist
Before you plunge into dryer maintenance, having the right replacement parts on hand can save you time and frustration. Knowing which replacement part types to keep ready helps you tackle common replacement issues swiftly and keep your dryer running smoothly. Here’s a quick checklist to get you started:
- Lint filter and housing: Often clogged or damaged, affecting airflow and drying efficiency.
- Belt: A common culprit for drum not spinning, replacement is usually straightforward.
- Thermostats and thermal fuses: These regulate temperature and prevent overheating; they wear out over time.
How to Unplug and Prepare Your Dryer
Before you start cleaning, make certain you locate your dryer’s power source and unplug it completely. This step is vital to avoid any electrical hazards during maintenance. Taking a moment to guarantee safety precautions will keep you protected throughout the process.
Locate Power Source
To start your dryer cleaning safely, you’ll need to locate and unplug the power source. First, find the power cord connected to your dryer—it’s usually at the back. Next, identify the outlet location where the dryer plugs in. This could be a standard electrical outlet or a dedicated dryer socket. Once found, unplug the power cord from the outlet to cut off electricity.
Keep these quick tips in mind:
- Trace the power cord carefully to avoid tugging or damaging it.
- Make sure the outlet location is accessible and not blocked by other appliances.
- If you’re unsure about the outlet type or power cord, take a moment to inspect or ask for help.
Getting this step right lets you enjoy your freedom from worries while cleaning.
Ensure Safety Precautions
Although unplugging your dryer might seem straightforward, taking the right safety precautions guarantees you avoid accidents or damage. Before you begin, make certain the dryer is off and cool. Unplugging prevents fire hazards and maintains electrical safety, so don’t skip this crucial step. Handle the cord gently to avoid fraying.
Here’s a quick safety checklist to keep you on track:
| Step | Why It Matters | Tip |
|---|---|---|
| Turn off dryer | Avoids accidental start | Wait for cooling |
| Unplug power cord | Prevents shock/fire hazards | Pull plug, not cord |
| Check cord for damage | Electrical safety | Replace if frayed |
| Clear area around dryer | Fire hazards | Remove flammable items |
| Wear gloves | Protect hands | Use if cleaning vents |
Stay safe and enjoy your freedom to maintain your home!
Cleaning the Lint Trap and Filter
A clean lint trap is key to keeping your dryer running efficiently and safely. Regular lint trap maintenance not only boosts drying performance but also reduces fire risk. When you’re ready to tackle filter cleaning, keep these steps in mind:
Maintaining a clean lint trap improves dryer efficiency and safety while lowering fire hazards.
- Remove the lint trap after every load to clear away collected fibers.
- Use a soft brush or vacuum attachment to get rid of stubborn lint buildup.
- Wash the filter gently with warm, soapy water once a month to remove residue.
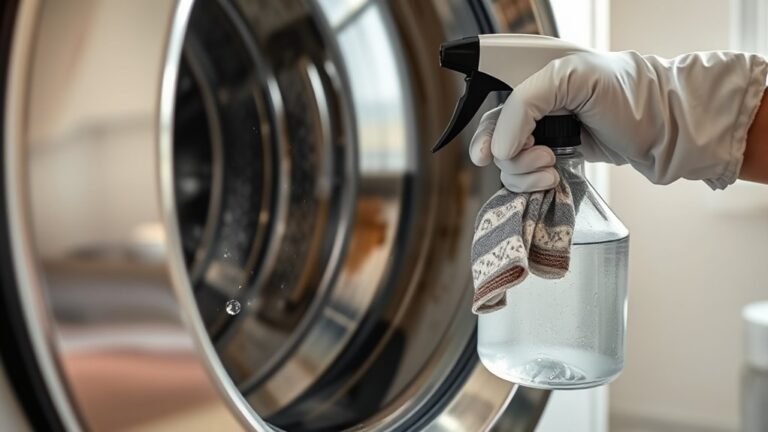
Removing and Cleaning the Dryer Vent Hose
Two main reasons make removing and cleaning your dryer vent hose essential: improving dryer efficiency and preventing fire hazards. When you take charge of vent hose maintenance, you’re freeing your dryer to work at its best, speeding up drying times and saving energy. Start by unplugging the dryer and detaching the vent hose from both the dryer and the wall. Use a brush or vacuum to clear out lint and debris trapped inside the hose, restoring proper airflow. This airflow improvement not only boosts performance but also keeps your home safer by reducing the risk of overheating. Once cleaned, securely reconnect the hose and plug your dryer back in. Regular vent hose maintenance gives you the freedom to enjoy a safer, more efficient laundry routine.
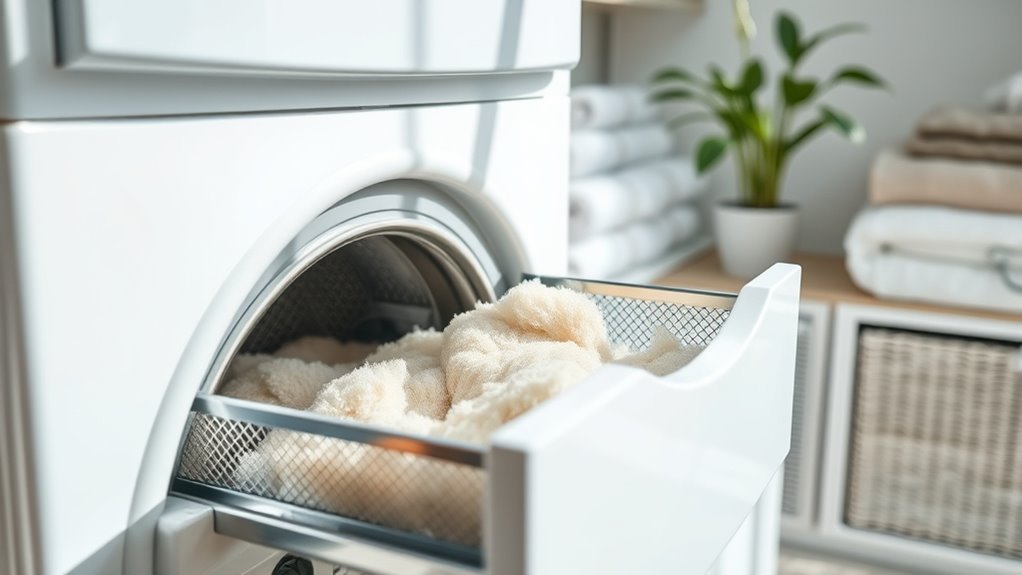
Vacuuming the Inside of the Dryer Drum

Before you start vacuuming the inside of your dryer drum, make certain the appliance is unplugged to keep things safe. Taking this step guarantees you’re free from any electrical hazards while you clean. When vacuuming the dryer drum, use gentle vacuuming techniques to avoid scratching the drum’s surface. Focus on these key areas:
- The drum’s interior walls, where lint often clings.
- Around the door seal, to clear trapped debris.
- The crevices near the drum’s edges, which can harbor dust.
Using a vacuum attachment with a soft brush helps loosen lint without damaging the drum. By mastering these vacuuming techniques, you’ll maintain a clean dryer drum, improving your dryer’s efficiency and keeping your laundry routine hassle-free.
Inspecting and Cleaning the Dryer Exhaust Duct
Once you’ve vacuumed the dryer drum, it’s important to turn your attention to the dryer exhaust duct. Proper dryer vent maintenance guarantees your appliance runs efficiently and safely, giving you peace of mind and freedom from unexpected breakdowns. Start by disconnecting the duct from the dryer and inspecting it for any lint buildup or blockages. Use simple duct cleaning techniques like a long brush or a vacuum attachment to clear out debris. Don’t forget to check the vent outlet outside your home as well—it should be free of obstructions. Regularly cleaning and inspecting this duct prevents fire hazards and improves airflow, helping your dryer work better and last longer. Taking control of this task puts you in charge of your home’s safety and efficiency.
Checking for Signs of Wear and Tear
How often do you take a close look at your dryer’s components for signs of wear and tear? Performing a regular wear inspection and tear assessment helps you avoid unexpected breakdowns and keeps your dryer running freely. Here’s what to focus on:
- Drum belt: Check for cracks or fraying, which can cause slipping or noise.
- Lint trap and seals: Look for damage or gaps that let lint escape, risking a fire hazard.
- Electrical cords and plugs: Inspect for worn insulation or loose connections that could interrupt power.
Tips for Maintaining Dryer Efficiency Year-Round
Although regular cleaning is essential, there are simple habits you can adopt year-round to keep your dryer running efficiently. First, always clean the lint filter after every load—this prevents blockages and enhances energy efficiency. Make sure the dryer vent is clear and properly connected; clogged vents reduce airflow and waste energy. Avoid overloading your dryer; too many clothes can strain the motor and extend drying time. Use sensor drying settings when available—they stop the cycle once clothes are dry, saving power. Periodically inspect the drum seals and interior for wear to catch issues early. Following these dryer maintenance tips not only boosts performance but also gives you freedom from costly repairs and high energy bills. Keeping your dryer efficient means more time enjoying life, not fixing appliances.
Frequently Asked Questions
How Often Should I Replace My Dryer’s Heating Element?
You should replace your dryer’s heating element when it reaches the end of its heating element lifespan, typically around 8-10 years. Keep an eye out for signs replacement needed, like clothes taking longer to dry or the dryer not heating at all. Don’t let a faulty element limit your freedom—addressing these issues promptly keeps your dryer running smoothly and saves you from unexpected breakdowns.
Can Dryer Sheets Cause Lint Buildup Inside the Dryer?
You might not realize it, but dryer sheet effects can actually contribute to lint accumulation inside your dryer. The softening agents in the sheets can leave a residue, causing lint to stick more easily to the drum and vents. This buildup can reduce efficiency and even pose a fire risk. To keep your freedom from laundry hassles, consider using dryer balls or natural alternatives and clean your lint trap regularly.
What Are Safe Alternatives to Chemical Dryer Vent Cleaners?
If you’re looking for safe alternatives to chemical dryer vent cleaners, you’ll want to explore natural cleaning methods like using a vacuum with a long hose attachment or a dryer vent brush to clear out lint. DIY vent solutions, such as a mix of vinegar and baking soda, can also help break down buildup safely. These approaches give you freedom from harsh chemicals while keeping your dryer running efficiently and your home safe.
How Do I Know if My Dryer Needs Professional Servicing?
You’ll know your dryer needs professional servicing if you notice dryer performance indicators like longer drying times or clothes coming out damp. Unusual noise detection—like rattling, squeaking, or banging—also signals trouble. Trust your instincts; if your dryer’s acting up or you want to avoid bigger issues, calling a pro gives you the freedom to relax, knowing your appliance is running safely and efficiently without any hassle.
Are There Energy-Efficient Dryers That Require Less Cleaning?
Yes, you can find energy-efficient dryers with energy saving features that help cut down on power use. While these models might require less frequent cleaning due to advanced sensors and better lint traps, you still need to follow basic dryer maintenance tips to keep them running smoothly. Staying on top of simple tasks lets you enjoy the freedom of hassle-free drying and lower energy bills without sacrificing performance.