The Best Way to Clean Your Laptop and Keyboard
To clean your laptop and keyboard effectively, first power down and unplug your device. Use a soft microfiber cloth slightly dampened with water or a gentle alcohol-based solution to wipe the screen carefully. Shake out loose debris from the keyboard, then blow dust away with compressed air. For stubborn grime, use cotton swabs dipped in isopropyl alcohol. Avoid harsh chemicals and spraying liquids directly. Follow these steps, and you’ll keep your laptop spotless—there’s more to discover about protecting your device.
Essential Tools and Materials for Cleaning
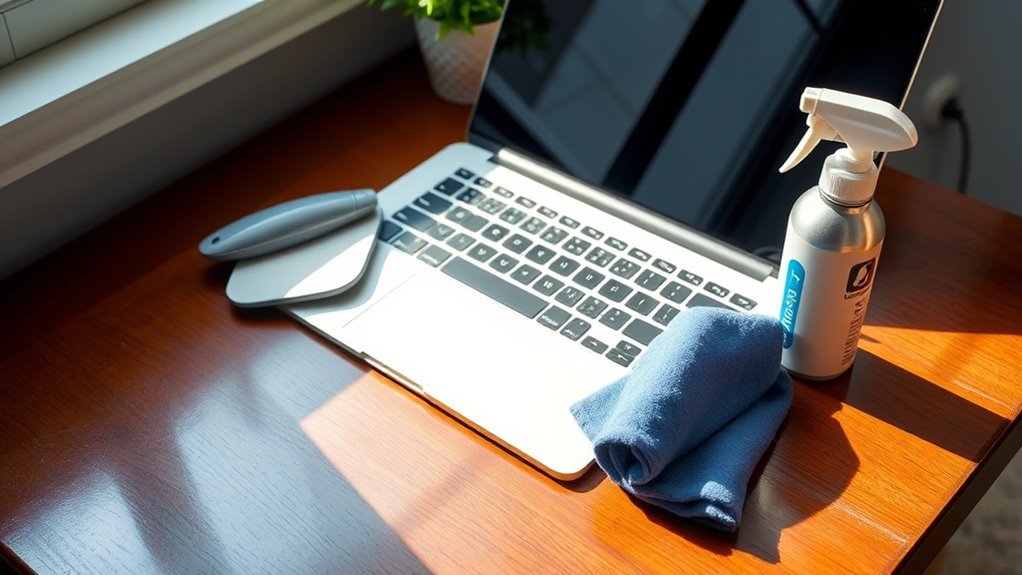
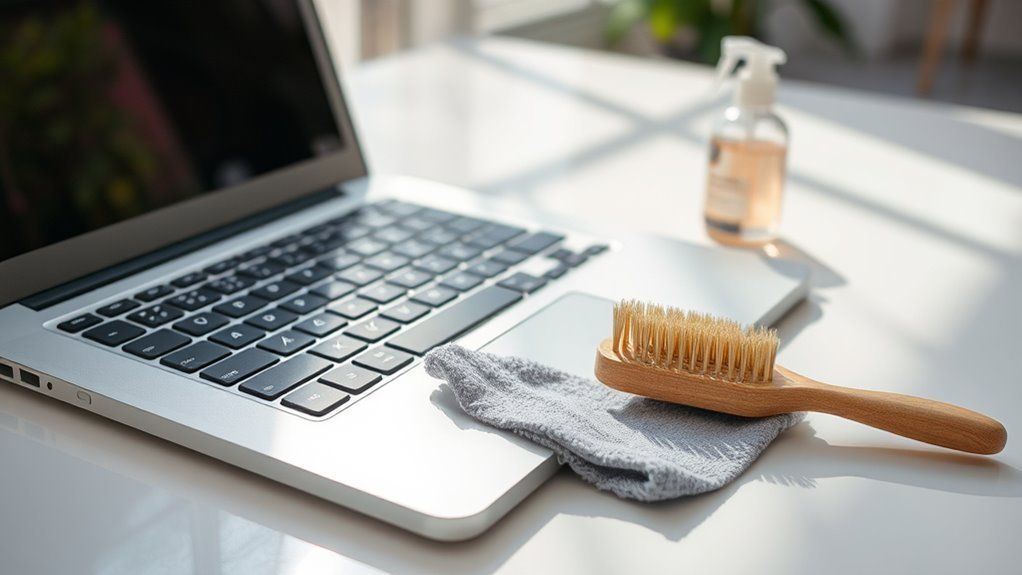
To clean your laptop and keyboard effectively, you’ll need a few essential tools and materials. Start with basic cleaning supplies like a microfiber cloth, isopropyl alcohol (at least 70%), and cotton swabs to reach tight spots. These items let you wipe away dirt without damaging your device. Maintenance tools such as a small, soft-bristle brush and compressed air can help dislodge dust from crevices and between keys. Avoid harsh chemicals or abrasive materials that can strip finishes or harm screens. By having the right cleaning supplies and maintenance tools, you gain control over your laptop’s upkeep, ensuring it stays in top shape. This approach not only preserves functionality but also gives you the freedom to maintain your gear on your own terms.
How to Power Down and Prepare Your Laptop
Before you start cleaning, make certain you completely power down your laptop to avoid any accidental damage or data loss. Proper laptop preparation is key to a smooth cleaning process and protecting your device. Here’s how to get ready:
Always fully power down your laptop before cleaning to prevent damage and protect your data.
- Save all your work and close any open programs to prevent losing important data.
- Shut down your laptop fully—don’t just put it to sleep—so there’s no power running through the components.
- Unplug the power adapter and disconnect any external devices like USB drives or headphones to avoid interference while cleaning.
Following these steps guarantees you’re safely powering down and prepping your laptop, giving you the freedom to clean it thoroughly without worry. Now, you’re ready to move on confidently to the actual cleaning.
Cleaning the Laptop Screen Safely
When cleaning your laptop screen, always use a soft microfiber cloth to avoid scratches. Don’t use harsh chemicals, as they can damage the screen’s coating. Gently wipe in circular motions to remove smudges without applying too much pressure.
Use Microfiber Cloth
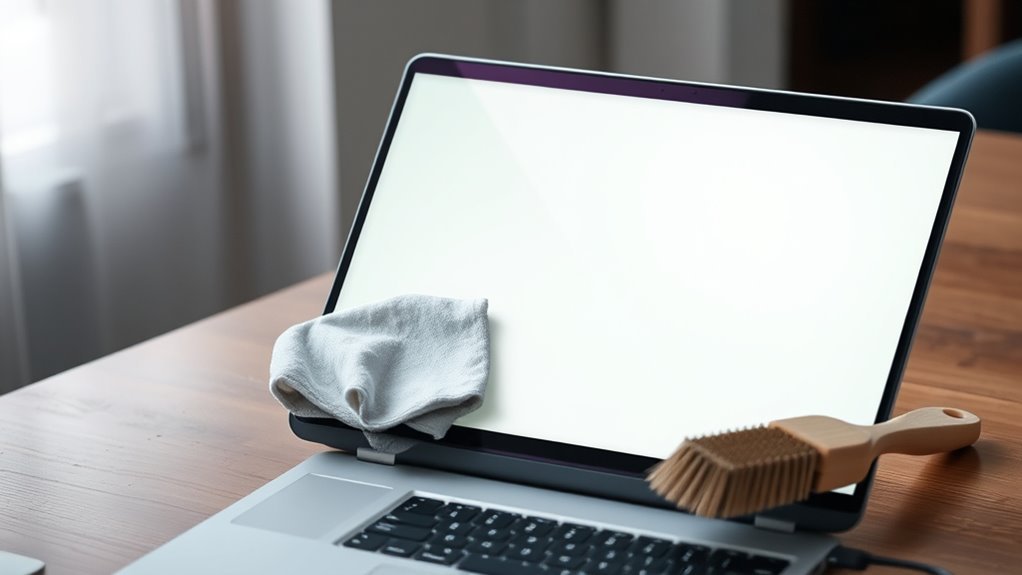
One of the easiest and safest ways to clean your laptop screen is by using a microfiber cloth. You’ll appreciate the microfiber benefits—it gently lifts dust and smudges without scratching or leaving lint behind. To get the most from your cloth, follow these steps for proper cloth care:
- Use a dry microfiber cloth to wipe the screen in gentle, circular motions.
- If needed, slightly dampen the cloth with water—never spray liquid directly on the screen.
- After use, wash the cloth separately without fabric softener to maintain its effectiveness.
Avoid Harsh Chemicals
While a microfiber cloth is great for gentle cleaning, you should be careful about what cleaning products you use on your laptop screen. Harsh chemicals like ammonia, bleach, or alcohol-based cleaners can damage the delicate screen coating, leading to discoloration or permanent marks. To keep your screen safe, opt for safe alternatives such as distilled water, a mix of water and white vinegar, or screen-specific cleaning solutions designed to protect your device. Avoid sprays that can seep into the edges and cause internal damage. By steering clear of chemical risks, you maintain your laptop’s clarity and functionality without compromising its integrity. Remember, your freedom to clean confidently comes from choosing products that respect your device’s delicate surface while keeping it spotless.
Gentle Circular Motions
Using gentle circular motions is key to cleaning your laptop screen without causing damage. When you embrace circular motion techniques, you avoid pressure points that can scratch or distort your display. To keep your screen spotless and safe, follow these effective cleaning patterns:
- Lightly dampen a microfiber cloth with distilled water or a screen-safe cleaner.
- Move the cloth in slow, overlapping circles, covering the entire surface evenly.
- Apply minimal pressure, letting the cloth do the work to lift dust and smudges gently.
Removing Dust and Debris From the Keyboard
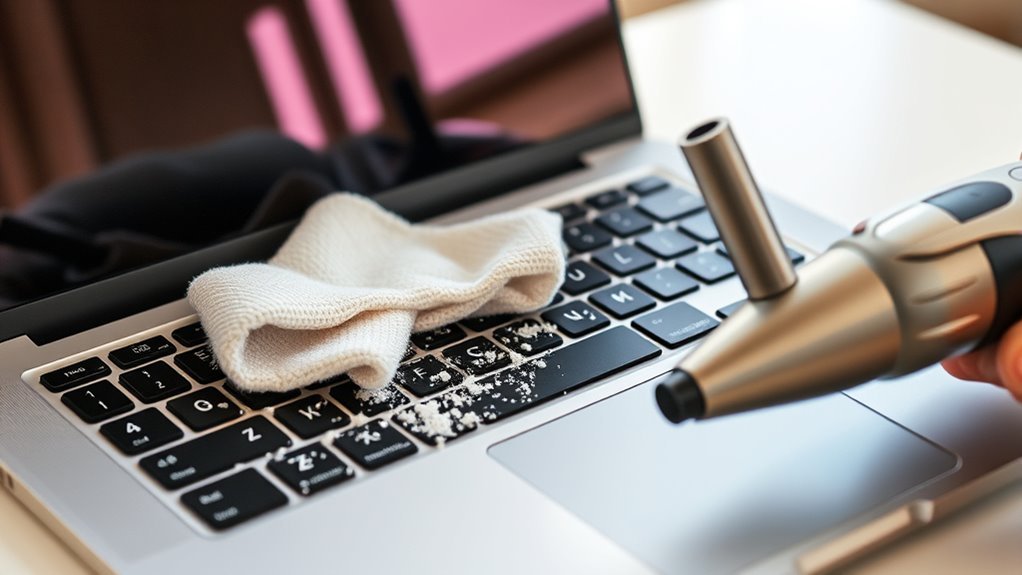
Several effective methods can help you remove dust and debris from your keyboard without causing damage. First, turn your laptop upside down and gently shake it to dislodge loose particles trapped between keys. You can also use a can of compressed air to blow away dust accumulation from hard-to-reach spaces. Avoid using excessive force or liquids that might harm the electronics. To speed up your workflow while cleaning, remember some useful keyboard shortcuts that let you pause or close apps, so you won’t accidentally trigger anything. Regularly removing dust prevents buildup and keeps your keyboard responsive, giving you the freedom to work without distractions. Taking these simple steps guarantees your laptop stays clean and functional, helping you maintain both hygiene and productivity.
Deep Cleaning Between Keyboard Keys
After you’ve removed the surface dust and debris, it’s time to focus on the stubborn grime that hides between your keyboard keys. Deep cleaning between keyboard keycaps frees you from buildup that slows your typing flow and dulls your device’s look. Here’s how to reclaim that clean freedom:
- Gently pry off the keyboard keycaps using a keycap puller or flat tool, being careful not to damage the switches underneath.
- Use compressed air first, then soft cleaning brushes to sweep away dust, crumbs, and dirt from the exposed keyboard base and keycaps.
- Wipe each keycap individually with a lightly dampened cloth or cotton swab to remove stubborn grime before reassembling.
This targeted approach restores your keyboard’s crisp feel and keeps your workspace fresh without hassle.
Disinfecting Your Laptop and Keyboard
One simple step you shouldn’t skip is disinfecting your laptop and keyboard to keep germs at bay. Regular disinfecting surfaces not only protects your health but also prolongs your device’s lifespan. Consider your cleaning frequency based on use—daily for shared devices, weekly for personal ones.
| Cleaning Frequency | Purpose |
|---|---|
| Daily | High-touch areas |
| Weekly | Personal use |
| Monthly | Deep clean |
| As needed | After exposure |
Use alcohol-based wipes or sprays with at least 70% isopropyl alcohol. Avoid soaking; instead, gently wipe to prevent damage. This simple habit frees you from worry, letting you focus on what matters without compromise.
Tips for Cleaning Laptop Ports and Vents
When dust and debris build up in your laptop ports and vents, they can cause overheating and connectivity issues. To keep your device running smoothly, mastering effective cleaning techniques is key. Here’s how you can take control with simple port maintenance:
- Use compressed air cans to blow out dust gently from vents and ports without opening your laptop.
- Employ a soft brush or cotton swab to carefully remove stubborn particles, ensuring no damage to sensitive components.
- Regularly inspect your ports for dirt buildup and clean them monthly to prevent performance drops.
Handling Stubborn Stains and Spills
When dealing with stubborn stains and spills on your laptop or keyboard, it’s important to first identify the type of stain you’re facing. You’ll want to use safe cleaning solutions that won’t damage your device’s surface or components. Acting quickly after a spill can prevent long-term damage and make cleanup much easier.
Identifying Stain Types
How do you tell what kind of stain you’re dealing with on your laptop or keyboard? Stain identification is key to tackling common stains effectively without causing damage. First, note the stain’s texture and color:
- Sticky residues usually come from sugary drinks or food spills. They feel tacky and often attract dust.
- Oily spots are smoother, often from skin oils or lotions, and can darken keys or surfaces.
- Dry, powdery stains might be dust, dirt, or residue from chalky substances, leaving a light film.
Safe Cleaning Solutions
Although some stains might seem stubborn, you can safely tackle them using the right cleaning solutions without risking damage to your laptop or keyboard. Opt for eco friendly solutions that won’t harm your device or the environment. Simple homemade cleaners, like a mix of distilled water and white vinegar or a mild dish soap solution, can work wonders on grime and smudges. Just dampen a soft cloth slightly—never soak it—and gently wipe the affected areas. Avoid harsh chemicals or abrasive materials that could strip finishes or damage sensitive components. By choosing these gentle, effective options, you maintain your laptop’s freedom from harmful residues while keeping it spotless. This approach empowers you to clean confidently, protecting both your tech and the planet.
Immediate Spill Response
Even with the safest cleaning solutions at hand, spills can happen unexpectedly and require quick action to prevent lasting damage. When you face stubborn stains or liquid mishaps, your immediate actions are essential for effective spill containment. Here’s what you should do:
- Power Down and Unplug: Quickly turn off your laptop and disconnect it from any power sources to avoid electrical issues.
- Contain the Spill: Use a lint-free cloth or paper towel to gently blot, not rub, the spill. This prevents liquid from spreading further inside your device.
- Air Dry and Assess: Leave your laptop open in a dry, airy spot to let moisture evaporate. Avoid using heat sources that might damage components.
Best Practices for Regular Maintenance
Since your laptop and keyboard are used daily, keeping them clean through regular maintenance is essential to guarantee they function properly and last longer. Start by setting a maintenance schedule that fits your lifestyle—weekly or biweekly works for most. Incorporate simple preventive measures like wiping surfaces with a microfiber cloth and using compressed air to clear out dust from between keys. Avoid eating near your laptop to reduce grime buildup. Regularly checking for sticky keys or buildup helps you catch issues early, so your device stays responsive. Consistency is key; by sticking to your maintenance schedule, you free yourself from unexpected malfunctions and extend your laptop’s lifespan. This approach keeps your gear ready for whatever freedom your day demands without interruptions.
Avoiding Common Cleaning Mistakes
When you clean your laptop and keyboard, avoiding common mistakes is essential to prevent damage and guarantee effective results. You want your device to stay in great shape without unnecessary risks. Keep these points in mind:
- Don’t overdo the cleaning frequency. Too often can wear down surfaces and push dust deeper into crevices. Stick to a routine that fits your use and environment.
- Avoid harsh chemicals. Use gentle solutions specifically designed for electronics to protect your keyboard care and laptop finish.
- Never spray liquids directly onto your device. Always apply cleaning fluids to a cloth first to prevent moisture from seeping inside and causing harm.
Frequently Asked Questions
Can I Use Compressed Air Cans for Cleaning My Laptop Keyboard?
You can definitely use compressed air to clean your laptop keyboard. It’s a great tool for keyboard maintenance because it blasts away dust and debris from hard-to-reach spots without needing to dismantle anything. Just hold the can upright and use short bursts to avoid moisture build-up. This way, you keep your keyboard free and clear, letting you work or play without sticky keys slowing you down.
How Often Should I Clean My Laptop to Prevent Damage?
You should set a cleaning frequency that fits your lifestyle—ideally, every one to two weeks for regular maintenance. This keeps dust and grime from building up and damaging your laptop’s performance. As part of your maintenance tips, don’t forget to wipe the screen gently and use compressed air for the keyboard. Sticking to this routine means you’re free to enjoy your device without worrying about preventable issues slowing you down.
Is It Safe to Use Household Cleaners on Laptop Screens?
Back in the days of the quill and parchment, you’d never imagine using household cleaners on delicate tech. Nowadays, you shouldn’t use typical household cleaners on your laptop screen—they can damage the screen protection layer. Instead, choose gentle cleaning materials like microfiber cloths and a bit of distilled water or screen-specific solutions. This approach lets you maintain your device’s freedom to perform without risking harm from harsh chemicals. Keep it safe, keep it clean!
What Should I Do if Liquid Spills Inside the Laptop?
If liquid spills inside your laptop, act fast to minimize liquid damage. First, power it off immediately and unplug it to prevent short circuits. Don’t try to use it right away, or you risk keyboard malfunction or worse damage. Turn it upside down to let the liquid drain out, then let it dry completely for at least 24-48 hours. Consider seeking professional repair to guarantee your freedom from lasting issues.
Can Cleaning My Laptop Improve Its Performance?
Absolutely, cleaning your laptop can give you a noticeable performance boost. Dust and debris can clog fans and vents, causing overheating and slowing things down. By regularly following maintenance tips like wiping down your keyboard and ensuring vents are clear, you help your device run cooler and more efficiently. Taking these simple steps frees you from unnecessary lag and keeps your laptop feeling fresh and responsive, so you’re always ready to roll.