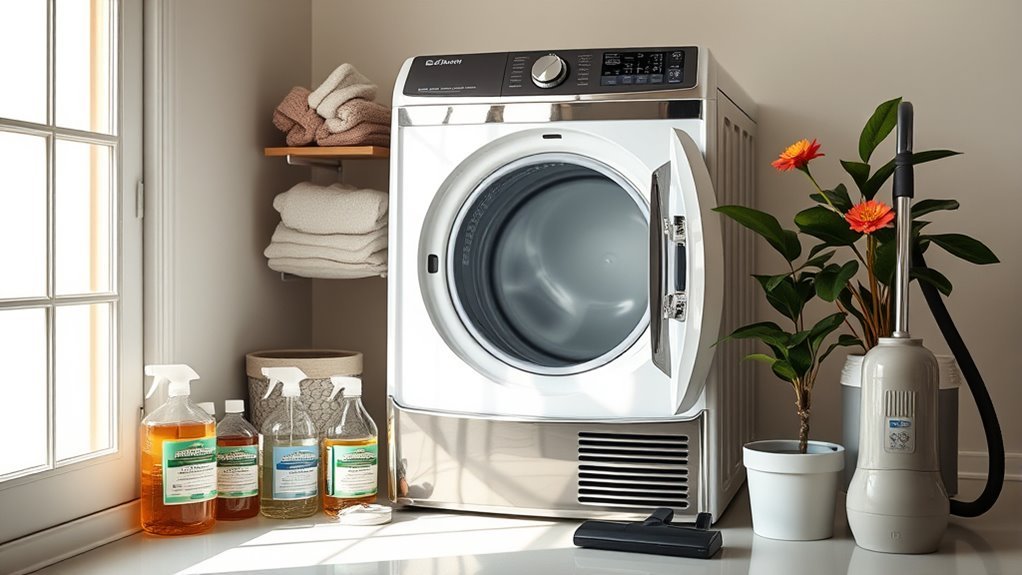
Top 10 Tips for Cleaning Dryer
You should start by removing and thoroughly cleaning the lint trap to prevent fire hazards. Vacuum the dryer vent and duct to maintain airflow and efficiency. Wipe down the drum and clean moisture sensors with rubbing alcohol for accurate drying cycles. Inspect and clear the exhaust vent, then clean the exterior gently. Use vinegar and baking soda for deep cleaning, and schedule biannual maintenance checks. Following these steps boosts performance and safety—explore the full process for detailed guidance.
Remove and Clean the Lint Trap

Before you start any deep cleaning, make certain to remove the lint trap from your dryer. This simple step is essential for effective lint trap maintenance and optimizing drying efficiency. Carefully extract the lint screen and clear off all visible lint by hand or with a soft brush. For a thorough clean, rinse the screen under warm water to remove fine particles that reduce airflow. Allow the trap to dry completely before reinsertion to prevent mold growth. Regular maintenance of the lint trap not only improves your dryer’s performance but also minimizes fire risks and energy consumption. By consistently maintaining the lint trap, you guarantee your dryer operates freely and efficiently, giving you more control over your laundry routine and enhancing appliance longevity.
Vacuum the Dryer Vent and Duct
After cleaning the lint trap, the next step is to address the dryer vent and duct system. Proper dryer vent cleaning guarantees ideal airflow, preventing overheating and reducing fire risk. Use a vacuum with a hose attachment specifically designed for duct maintenance to remove accumulated lint and debris from the vent and duct. This step frees your dryer to work efficiently and safely.
| Benefit | Emotion |
|---|---|
| Improved safety | Peace of mind |
| Energy efficiency | Empowerment |
| Reduced drying time | Freedom |
| Extended dryer life | Confidence |
| Lower utility bills | Satisfaction |
Wipe Down the Dryer Drum
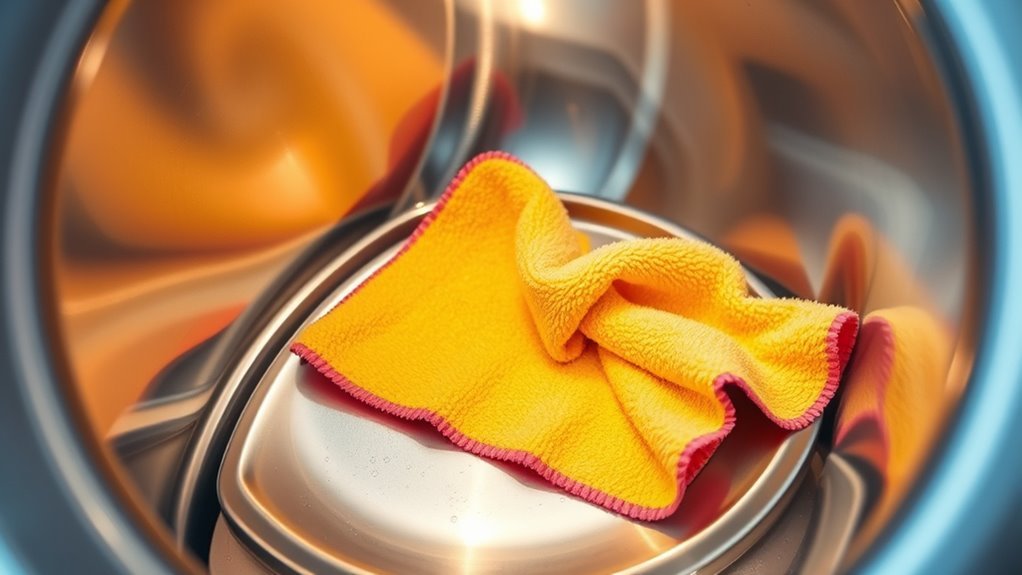
Although the lint trap and vent system handle most debris, you should regularly wipe down the dryer drum to remove any residual lint, fabric softener buildup, or dirt. Depending on the drum materials—typically stainless steel or porcelain-coated metal—use a soft, non-abrasive cloth dampened with a mild detergent solution to avoid damage. Avoid harsh chemicals that could degrade the surface or affect your clothes. Establish a cleaning frequency based on usage: for heavy use, wipe the drum monthly; for occasional use, every two to three months suffices. This maintenance prevents odor, staining, and fabric damage, ensuring efficient drying cycles and prolonging your dryer’s lifespan. By incorporating this simple step, you maintain peak performance while enjoying the freedom of a clean, reliable appliance.
Clean the Moisture Sensor
Since the moisture sensor directly affects your dryer’s efficiency, it’s important to clean it regularly to secure accurate readings. Locate the moisture sensor bars inside the drum, usually near the lint filter. Over time, residue from fabric softeners and lint can coat these sensors, causing false moisture levels and longer drying times. Use a soft cloth dampened with rubbing alcohol to gently wipe the sensor bars. Avoid abrasive materials or harsh chemicals that could damage the sensor. Incorporate this cleaning technique into your routine every few months or when you notice your dryer running longer than usual. Maintaining the moisture sensor secures your dryer stops precisely when clothes are dry, saving energy and preserving fabric quality. Consistent moisture sensor cleaning techniques help you enjoy efficient, hassle-free drying freedom.
Inspect and Clean the Dryer Exhaust Vent
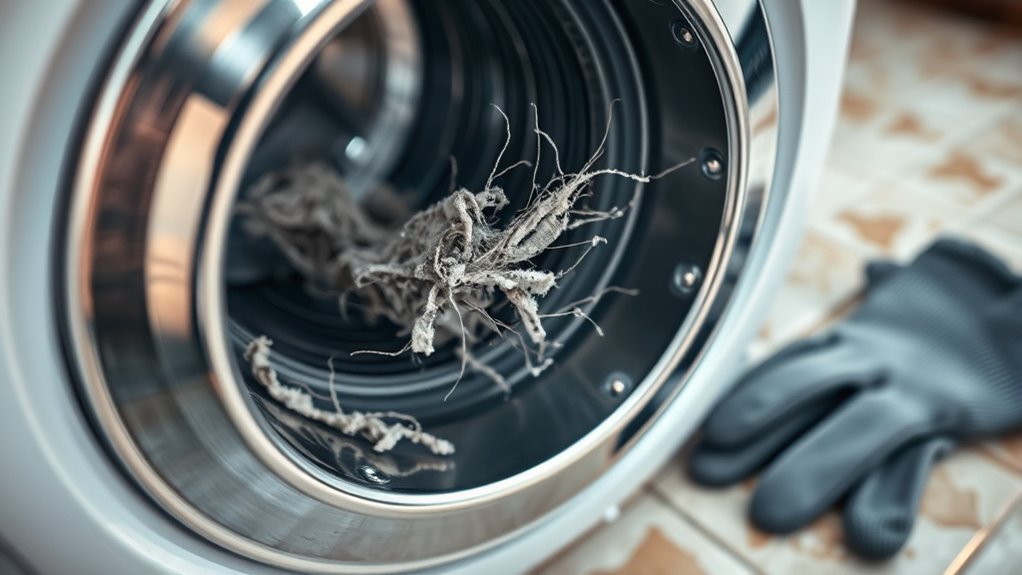
When you neglect to inspect and clean your dryer exhaust vent regularly, lint buildup can restrict airflow, reducing drying efficiency and increasing the risk of fire. To maintain peak performance and safety, detach the vent hose from the dryer and visually check for vent blockage. Use a vent brush or vacuum attachment to remove accumulated lint from the hose and vent duct thoroughly. Pay special attention to bends in the duct where airflow issues commonly develop. After cleaning, reconnect the vent securely to prevent air leaks. Regular inspection and cleaning—ideally every six months—ensure your dryer operates freely, cutting drying times and energy consumption. Staying vigilant about vent blockage not only extends your dryer’s lifespan but also safeguards your home from potential hazards tied to restricted airflow.
Check and Clean the Dryer Door Seal
You should regularly inspect the dryer door seal for any damage or wear that could affect its efficiency. Remove any accumulated lint and debris to maintain a proper seal and prevent airflow issues. Use mild cleaning agents to gently clean the seal without causing deterioration.
Inspect Seal Integrity
Although it might seem minor, inspecting the dryer door seal is essential for maintaining peak performance and preventing heat loss. Start with a thorough seal inspection: look for cracks, tears, or hardened areas that compromise the airtight barrier. Use a bright light and magnifying glass if needed to perform a detailed integrity check. A compromised seal lets warm air escape, reducing drying efficiency and increasing energy consumption. If you spot damage, consider replacing the seal promptly to restore optimal performance. Regular integrity checks help you avoid costly repairs and keep your dryer running smoothly. Remember, maintaining the seal’s condition directly impacts both your freedom from frequent maintenance and your energy bills. Prioritize this step in your cleaning routine for reliable, efficient drying.
Remove Lint and Debris
Two critical areas demand your attention during dryer maintenance: the lint trap and the door seal. Removing lint and debris from the door seal is crucial for lint buildup prevention and overall dryer safety. Neglecting this can compromise the seal’s effectiveness, allowing lint to accumulate in hard-to-reach places, increasing fire risk.
To effectively clean the dryer door seal:
- Use a soft brush or cloth to gently remove visible lint and dust.
- Inspect crevices and folds where lint often hides.
- Verify the seal is dry and intact after cleaning to maintain proper closure.
Incorporating these dryer safety tips into your routine keeps your appliance running efficiently and reduces fire hazards, giving you peace of mind and freedom from avoidable risks.
Use Mild Cleaning Agents
Maintaining the dryer door seal involves more than just removing lint and debris; using mild cleaning agents guarantees the seal stays in good condition without damage. Choose mild detergent options such as diluted dish soap or gentle all-purpose cleaners to avoid degrading the rubber or silicone components. Avoid harsh chemicals, bleach, or abrasive scrubbing, which can cause cracks or weaken the seal integrity. Apply the cleaning solution with a soft cloth or sponge, ensuring you reach all crevices along the seal. After cleaning, wipe the area with a damp cloth to remove any residue, then dry thoroughly to prevent mold growth. By adopting these safe cleaning methods, you preserve the seal’s flexibility and airtightness, maintaining dryer efficiency and prolonging its lifespan without compromising your freedom from frequent repairs.
Use a Dryer Sheet to Eliminate Odors
A dryer sheet can effectively neutralize and prevent unpleasant odors in your dryer. Leveraging dryer sheet benefits, you can enhance odor elimination while maintaining fabric softness. To maximize effectiveness, place a dryer sheet inside the drum before each drying cycle. This method offers a practical, chemical-free approach to odor control.
Consider these key points when using dryer sheets for odor elimination:
- Choose hypoallergenic dryer sheets to avoid chemical sensitivities.
- Replace sheets regularly to maintain consistent odor neutralization.
- Avoid overuse, which can lead to residue buildup affecting dryer performance.
Clean the Dryer Exterior
Keeping the dryer exterior clean is essential for both appearance and functionality. Start by unplugging the unit to guarantee safety. Use a soft, damp cloth with mild detergent to wipe down the entire dryer surface, removing dust and grime. Avoid abrasive cleaners that can damage the finish. After drying the surface thoroughly, apply a quality exterior polish designed for appliances to restore the dryer surface shine. Focus on even application to prevent streaks and enhance protection against future dirt buildup. Regularly maintaining the exterior not only keeps your dryer looking sleek but also helps you spot potential issues early. By dedicating a few minutes to this task, you maintain your dryer’s freedom from grime while preserving its efficiency and aesthetic appeal.
Perform a Deep Cleaning With Vinegar and Baking Soda
Once the dryer’s exterior is spotless, it’s time to address the interior buildup that can affect performance. Utilizing the vinegar benefits and baking soda effectiveness, you can perform a deep clean safely and efficiently. Begin by mixing equal parts white vinegar and water in a spray bottle. Then, follow these steps:
After cleaning the exterior, use a vinegar and baking soda mix to deep clean the dryer’s interior safely and effectively.
- Spray the solution inside the drum and let it sit for 10 minutes to break down residues.
- Create a paste with baking soda and water; apply it to stubborn spots to neutralize odors and grime.
- Wipe the drum thoroughly with a damp cloth, removing loosened dirt and residue.
This method uses natural, non-toxic ingredients to restore your dryer’s functionality, ensuring peak airflow and drying efficiency without harsh chemicals.
Schedule Regular Maintenance Checks
Although regular use can seem routine, scheduling maintenance checks for your dryer is crucial to prevent malfunctions and extend its lifespan. To maintain peak performance, adhere to a maintenance frequency of at least twice a year, or more often if you use your dryer heavily. Set up check reminders on your phone or calendar to guarantee you never miss these essential inspections. During each check, verify the venting system is clear, inspect the drum and seals for wear, and clean lint filters thoroughly. Regular maintenance not only reduces fire risks but also improves energy efficiency, saving you time and money. By staying consistent with these checks, you keep your dryer running smoothly, giving you the freedom to focus on what matters most without unexpected breakdowns.
Frequently Asked Questions
How Often Should I Replace My Dryer Vent Hose?
You might not realize it, but your dryer vent hose could be silently deteriorating right now. For proper dryer vent maintenance, you should replace the hose every 3 to 5 years, or sooner if you notice cracks or damage. Vent hose materials like foil or plastic degrade faster than rigid metal, so choose wisely. Keeping a fresh, intact vent hose guarantees ideal airflow, safety, and freedom from fire hazards.
Can I Use Bleach to Clean the Dryer Drum?
You shouldn’t use bleach on your dryer drum because it can damage the surface and cause discoloration. Instead, opt for bleach alternatives like white vinegar or baking soda mixed with water; they effectively clean without harming the drum. Simply apply the solution with a soft cloth and wipe gently. This approach keeps your dryer drum in good shape while giving you the freedom to maintain your appliance safely and efficiently.
What Are the Signs of a Failing Dryer Motor?
Like a car struggling uphill, your dryer may show motor symptoms such as unusual noises, slow drum rotation, or failure to start. These repair indicators point to a failing motor. You might also notice overheating or the dryer shutting off mid-cycle. If you want to keep your freedom from costly replacements, addressing these signs early with professional diagnostics or replacement can save you time and hassle.
Is It Safe to Clean the Dryer With Compressed Air?
When it comes to compressed air safety, you need to be cautious cleaning your dryer. Using compressed air can blow debris deeper into the machine or damage delicate components if not done properly. Instead, combine dryer cleaning techniques like vacuuming lint traps and wiping accessible parts. If you do use compressed air, keep pressure low and avoid direct blasts on sensitive areas. This guarantees effective cleaning without risking harm to your dryer’s internals.
How Do I Prevent Static Cling in My Dryer?
To prevent static cling in your dryer, you need to control static electricity buildup. Use dryer sheets during the drying cycle; they contain antistatic agents that reduce static charge on fabrics. Also, avoid over-drying your clothes, as excess heat increases static electricity. Adding a damp cloth or wool dryer balls can help maintain moisture balance, further reducing static. These practical steps give you freedom from clingy laundry without extra hassle.