Weekly Cleaning Routine for Car
For a weekly car cleaning routine, start by gathering microfiber cloths, pH-balanced cleaners, a vacuum, and brushes. Wash the exterior with car soap and rinse thoroughly, focusing on wheels with specialized cleaners. Dry using microfiber towels and polish for shine. Vacuum seats and floors carefully, treat upholstery or leather with appropriate cleaners, and organize the interior to reduce clutter. Finish with a detailed inspection to catch missed spots. Following these precise steps guarantees lasting cleanliness and protection—discover how to optimize each phase for best results.
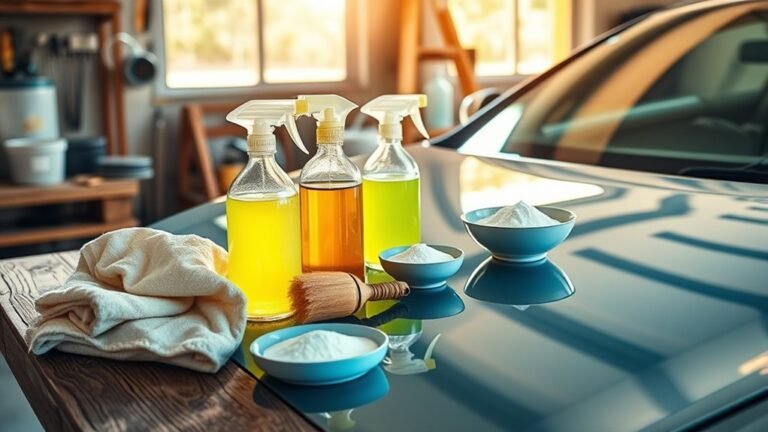
Preparing Your Cleaning Supplies
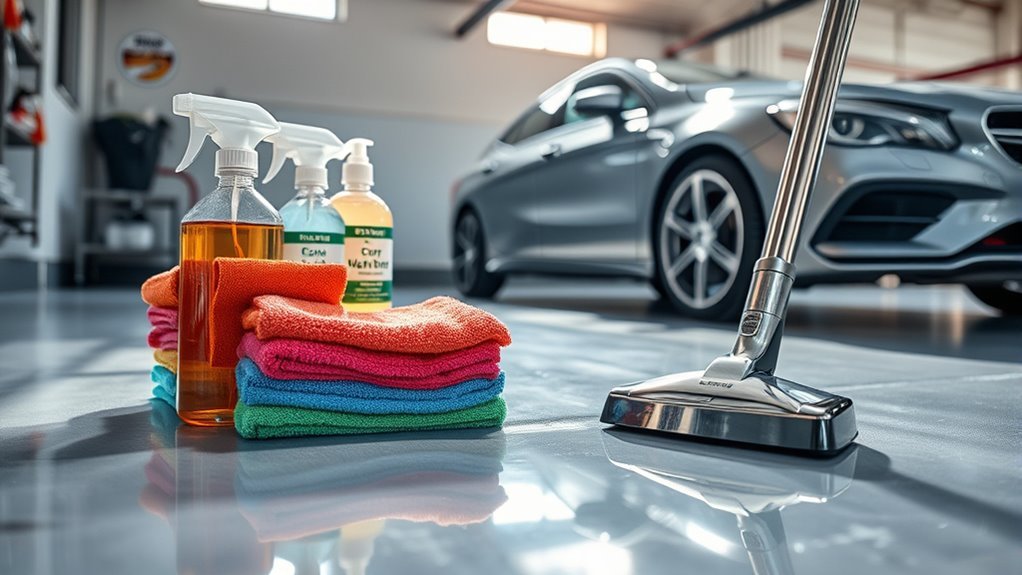
To begin your weekly car cleaning routine efficiently, gather five essential supplies: a microfiber cloth, an all-purpose cleaner, a soft-bristled brush, a vacuum with attachments, and a bucket with water. These cleaning tools are fundamental for addressing various surfaces and tight spaces inside your vehicle. Choose cleaning solutions that are specifically formulated for automotive interiors to avoid damage and guarantee peak results. The microfiber cloth is vital for streak-free wiping and dust removal, while the soft-bristled brush helps dislodge dirt from fabric and crevices without abrasion. The vacuum with attachments enables thorough debris extraction from carpets and seats. Preparing these supplies beforehand streamlines your process, giving you the freedom to clean methodically and effectively, minimizing effort while maximizing cleanliness and vehicle care.
Exterior Wash and Rinse
Once your interior supplies are ready, focus shifts to the exterior wash and rinse process. Proper soap selection and water temperature are critical here to protect your vehicle’s finish and guarantee thorough cleaning.
- Start with lukewarm water; it dissolves contaminants effectively without risking paint damage that hot water might cause.
- Choose a pH-balanced car soap designed specifically for automotive surfaces—household detergents strip wax and degrade paint.
- Rinse the entire vehicle with water to loosen dirt, preventing scratches during the wash.
- Use a microfiber mitt soaked in soap solution, washing in straight lines from top to bottom to avoid trapping debris.
This methodical approach preserves your car’s freedom from grime while maintaining its protective coating.
Cleaning the Wheels and Tires
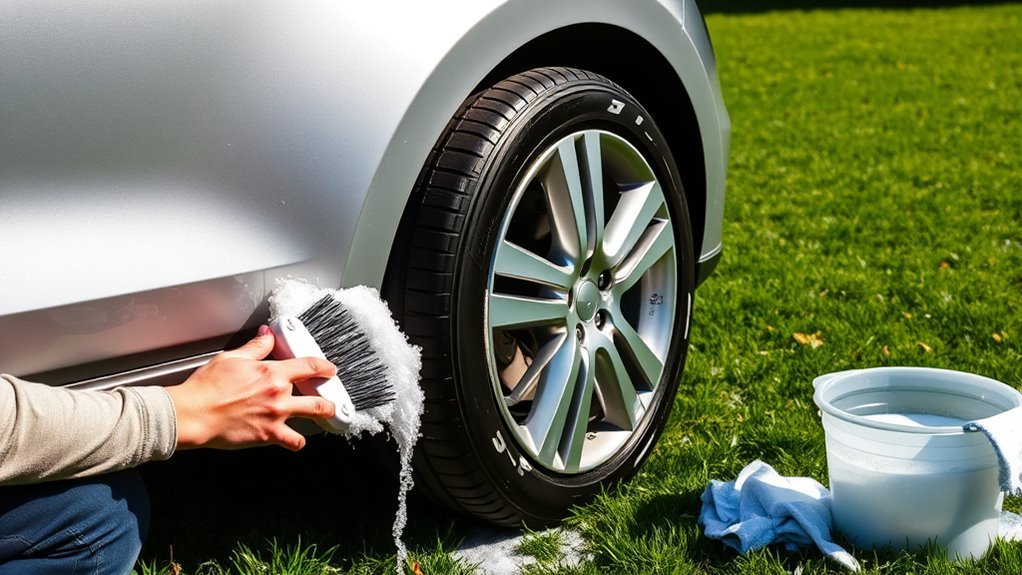
When cleaning your tires, use a stiff-bristled brush and a dedicated tire cleaner to effectively remove grime and brake dust without damaging the rubber. For wheels, select a pH-balanced wheel cleaner suited to your wheel’s material, and apply a protective sealant afterward to prevent corrosion and facilitate future cleanings. Following these precise techniques guarantees both ideal appearance and long-term durability.
Tire Cleaning Techniques
Three essential steps will help you effectively clean your wheels and tires: loosening dirt and brake dust, applying the appropriate cleaner, and scrubbing with the right tools. Start by rinsing tires to remove loose debris, especially before tire rotation. Next, apply a specialized tire cleaner designed to break down stubborn grime without damaging rubber or metal. Use a stiff-bristled brush to agitate the surface thoroughly, focusing on sidewalls and tread. Finally, rinse off all residues and dry the tires completely. For ideal results, apply a quality tire shine product to restore a sleek, protected finish. Here’s your detailed approach:
- Rinse tires and wheels pre-cleaning
- Spray tire cleaner liberally
- Scrub with a stiff brush
- Rinse, dry, and apply tire shine
This method guarantees clean tires and wheels ready for the road.
Wheel Protection Tips
After thoroughly cleaning your wheels and tires, protecting them from future damage and buildup is key to maintaining their appearance and performance. Applying wheel coatings forms a durable barrier against brake dust, road grime, and corrosion, prolonging wheel life. Tire protectants restore flexibility, repel UV rays, and prevent cracking, ensuring safety and aesthetics.
| Protection Type | Application Frequency | Key Benefit |
|---|---|---|
| Wheel Coatings | Every 3-6 months | Long-lasting surface shield |
| Tire Protectants | Weekly to biweekly | UV protection & hydration |
| Sealants | Monthly | Additional grime resistance |
| Dressings | After washing | Enhanced tire shine |
Consistently using these products guarantees your wheels and tires stay free, vibrant, and durable on every drive.
Drying and Polishing the Car Body
To achieve a streak-free finish, you’ll need a high-quality microfiber towel or chamois to dry the car body thoroughly after washing. Proper drying techniques prevent water spots and prepare the surface for polishing. Follow these steps:
- Gently blot excess water, avoiding harsh rubbing that can cause micro-scratches.
- Use a clean, dry microfiber towel to absorb remaining moisture with light, even strokes.
- Select polishing products suited to your car’s paint type; apply sparingly using a foam applicator.
- Buff the surface with a separate plush microfiber cloth in circular motions to enhance shine and protection.
Vacuuming the Interior Floors and Seats
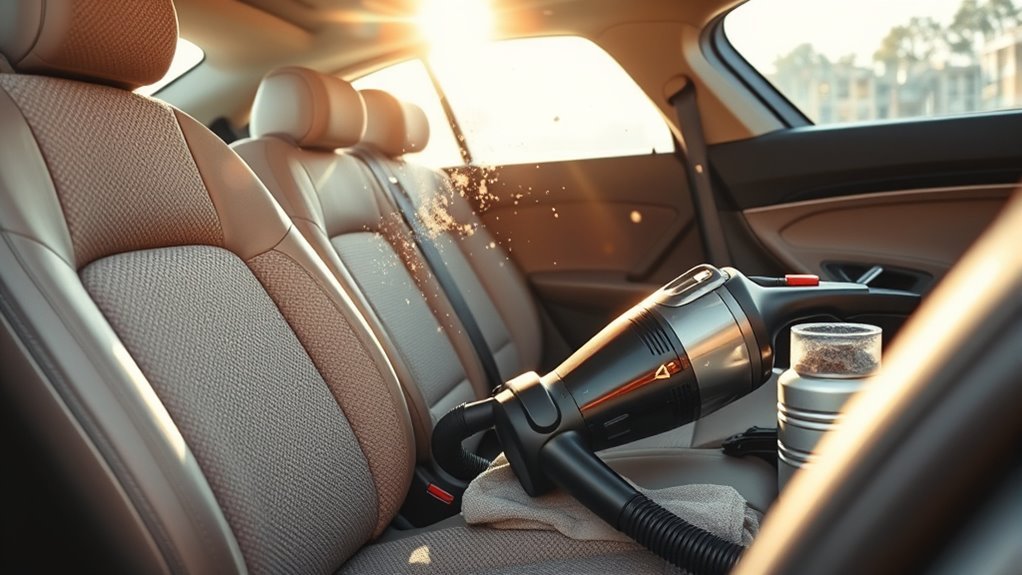
Vacuuming the interior floors and seats requires a systematic approach to remove dirt, debris, and allergens effectively. Start by detaching floor mats for separate cleaning, then use a vacuum with adjustable power settings and specialized attachments to reach tight spaces. Focus on seat cleaning by gently vacuuming seams and under cushions. Maintain consistent pressure to avoid fabric damage while ensuring thorough dirt extraction.
| Task | Tool Needed | Key Tip |
|---|---|---|
| Floor vacuuming | Wide nozzle + brush | Use strong suction on carpets |
| Seat cleaning | Crevice tool | Target seams and under cushions |
| Mat cleaning | Handheld vacuum | Remove mats for separate cleaning |
This precise method in interior vacuuming keeps your car’s cabin fresh, promoting a sense of freedom and cleanliness.
Wiping Down the Dashboard and Console
While cleaning the interior floors and seats tackles dirt accumulation, wiping down the dashboard and console removes dust, fingerprints, and smudges that can impair visibility and device functionality. Effective dashboard cleaning and console maintenance guarantee a clear view and peak performance of controls.
Follow these steps for thorough care:
- Use a microfiber cloth slightly dampened with a gentle cleaner designed for automotive interiors to avoid damage.
- Carefully wipe all surfaces, including vents, buttons, and screens, to remove grime without scratching.
- For stubborn residues, apply a soft brush to loosen debris before wiping.
- Finish by drying the area with a clean, dry microfiber cloth to prevent streaks and moisture buildup.
This routine preserves your vehicle’s interior integrity while granting you the freedom of a pristine, functional cockpit.
Cleaning the Windows and Mirrors
After ensuring the dashboard and console are spotless, attention should shift to the windows and mirrors, as they directly impact your visibility and safety. Use high-quality window products designed for automotive glass to avoid residues. Apply a streak free technique: spray cleaner, wipe with a microfiber cloth in horizontal strokes, then vertically to eliminate streaks. Don’t forget the inside surfaces and side mirrors for thorough clarity.
| Aspect | Importance | Result |
|---|---|---|
| Front windshield | Primary forward visibility | Clear view, safer driving |
| Side mirrors | Monitor blind spots | Confident lane changes |
| Rear window | Backward visibility | Secure reversing |
| Interior glass | Eliminate smudges | Reduced glare, night safety |
| Technique | Proper cleaning method | Streak free, crystal clear |
Master this for freedom on the road.
Treating Leather and Upholstery
Because leather and upholstery require different care methods, treating them correctly preserves their appearance and extends their lifespan. You’ll want to address each material with precision to maintain your vehicle’s interior freedom.
- Begin by vacuuming upholstery to remove loose dirt before stain treatment.
- For upholstery stain removal, use a fabric cleaner suitable for your specific material—test in an inconspicuous area first.
- Clean leather surfaces with a pH-balanced leather cleaner to avoid damage.
- Apply leather conditioner benefits by moisturizing and protecting the leather, preventing cracks and keeping it supple.
Following this routine weekly lets you maintain a clean, comfortable interior that resists wear and tear, so you can enjoy your car without restrictions or discomfort.
Organizing and Decluttering the Interior
Although cleaning removes dirt and stains, organizing and decluttering the interior guarantees your car functions efficiently and feels spacious. Start by evaluating all items inside—remove unnecessary objects to reduce clutter. Use designated interior storage compartments systematically, assigning specific places for essentials like documents, chargers, and emergency kits. Employ clutter management techniques such as compartmentalized organizers or seat-back storage to prevent items from shifting during transit. Keep frequently used objects accessible but secured to avoid distractions while driving. Regularly inspect these storage areas to maintain order and prevent accumulation of debris. By optimizing interior storage and actively managing clutter, you enhance both safety and comfort. This disciplined approach maximizes your vehicle’s functional space, giving you the freedom to enjoy a clean, organized environment every time you drive.
Final Inspection and Touch-Ups
With your interior organized and clutter-free, you’re ready to perform a detailed final inspection and apply any necessary touch-ups. This step confirms your vehicle looks pristine and ready for the road, freeing you from lingering imperfections. Follow this final checklist for maximum efficiency:
- Inspect all surfaces for missed dust or smudges; use a microfiber cloth for precise cleaning.
- Check windows and mirrors for streaks; apply a glass cleaner as needed for clarity.
- Examine upholstery for stains or debris; spot-clean with appropriate products.
- Verify floor mats are correctly positioned and free of dirt to maintain a neat appearance.
Completing these last touches assures your car’s interior is immaculate, reflecting your commitment to thorough maintenance and freedom on every drive.
Frequently Asked Questions
How Often Should I Deep Clean My Car’s Engine Bay?
Isn’t your engine bay the heart of your car, silently powering your freedom? For ideal engine cleaning frequency, aim to deep clean it every six months or 12,000 miles, whichever comes first. Regular engine bay maintenance prevents grime buildup, guarantees better heat dissipation, and prolongs component life. If you drive in harsh conditions—dust, mud, or salt—consider more frequent cleanings to keep your engine running smoothly and your journey unrestricted.
What Are the Best Products for Removing Pet Hair From Seats?
When tackling pet hair on your car seats, you’ll want cleaning tools designed specifically for this challenge. Rubber brushes or gloves generate static electricity that lifts pet hair effectively. A high-quality vacuum with a pet hair attachment also works well, reaching deep into fabric fibers. For synthetic seats, sticky lint rollers can quickly pick up loose hair. Combining these tools guarantees a thorough, efficient removal, giving you freedom from stubborn pet hair without damaging your seats.
Can I Use Household Cleaners on My Car’s Interior?
Using household cleaners on your car’s interior can be like playing with fire if you’re not careful. Household cleaner safety is essential; many contain chemicals that might damage leather, vinyl, or fabric. Before using any product, check interior material compatibility to avoid discoloration or deterioration. It’s best to consult your car’s manual or use products specifically designed for automotive interiors to keep your freedom intact without risking costly damage.
How Do I Prevent Mold Buildup in My Car’s Air Vents?
To prevent mold buildup in your car’s air vents, prioritize vent maintenance by regularly cleaning them with compressed air or a specialized vent cleaner to remove dust and debris. Moisture control is essential—avoid leaving wet items inside and make sure your cabin air filter is replaced on schedule to reduce humidity. Use your AC’s recirculation mode sparingly and run the heater occasionally to dry out vents, keeping your airflow fresh and mold-free.
What Is the Safest Way to Clean a Car’s Sunroof?
For sunroof maintenance, start by gently removing debris with a soft brush or microfiber cloth to avoid scratches. Use a mild, pH-neutral cleaner diluted with water to clean the glass and seals, ensuring you don’t saturate the edges. Employ precise cleaning techniques like wiping in straight lines and carefully drying to prevent water spots. Regularly check and lubricate the sunroof tracks with silicone-based lubricant to keep it operating smoothly and avoid damage.