Pre-Holiday Cleaning Checklist for Keyboard
Before the holidays, gather disinfecting wipes, a small brush, microfiber cloth, and gentle cleaning solution. First, power down and unplug your keyboard for safety. Use a keycap puller to remove keys carefully, then blow out debris with compressed air and brush between keys. Wipe the surface clean and dry the keycaps before reassembling them row by row. Finally, test every key to guarantee smooth performance. Keep going to uncover more tips for a spotless, reliable keyboard this season.
Gather Your Cleaning Supplies

Before you begin cleaning your keyboard, you’ll want to gather a few essential supplies. Having the right cleaning tools on hand makes the process quick and effective, giving you more time to enjoy your freedom without worrying about germs. Start with disinfecting wipes—they’re perfect for safely removing dirt and bacteria from your keyboard’s surface. You’ll also want a small brush or compressed air to clear out crumbs and dust trapped between the keys. A microfiber cloth is handy for wiping down without scratching. If you prefer, a gentle cleaning solution can be useful alongside these tools, but make sure it’s safe for electronics. By preparing these supplies beforehand, you empower yourself to clean thoroughly and confidently, keeping your workspace fresh and healthy.
Power Down and Disconnect Your Keyboard
Now that you’ve gathered all your cleaning supplies, it’s time to power down and disconnect your keyboard. This step is essential for your safety and to protect your device from accidental damage. Unplugging your keyboard frees you to clean without restrictions, ensuring every corner is accessible. Following keyboard maintenance tips, always turn off your computer or put it to sleep before disconnecting. It’s a simple but important habit that supports longevity and performance. Cleaning frequency recommendations suggest doing this at least once a month, or more often if you’re a heavy user. Remember, powering down not only safeguards your gear but also grants you the freedom to clean thoroughly and confidently, preparing your keyboard for smooth, hassle-free use during the busy holiday season ahead.
Remove Keycaps Safely
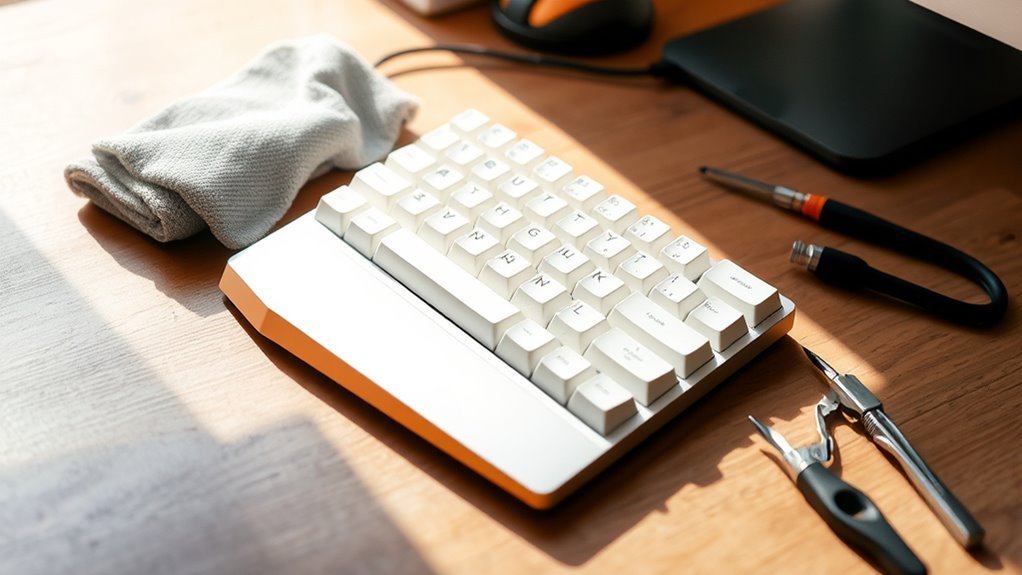
Carefully removing your keycaps is the next step to a deep clean. Proper keycap removal guarantees you avoid damage and keep your keyboard in top shape. Here’s how to approach it confidently:
- Use a keycap puller tool to gently lift each keycap, preventing scratches or breaks.
- Take your time, especially with larger keys like Spacebar or Enter, as they have stabilizers that need delicate handling.
- Keep track of your keycaps’ arrangement by snapping a photo before removal, so you can easily reassemble later.
Mastering keycap removal is essential for effective keyboard maintenance. It grants you freedom to clean thoroughly without risking your keyboard’s functionality. Once your keycaps are off, you’re ready to proceed with a deep, satisfying clean that breathes new life into your typing experience.
Clean Between the Keys
Although removing the keycaps gives you better access, cleaning between the keys is just as important to keep your keyboard spotless. You’ll want to tackle stubborn key residue with the right cleaning techniques, ensuring freedom from crumbs and dust hiding in tight spaces. Here’s a quick guide to help you:
| Tool | Purpose | Tip |
|---|---|---|
| Compressed Air | Blows out debris | Hold at an angle |
| Soft Brush | Dislodges dust | Use gentle strokes |
| Cotton Swab | Removes sticky residue | Slightly dampen with alcohol |
| Toothpick | Clears tight gaps | Be gentle, avoid scratching |
Wipe Down the Keyboard Surface
Grab a soft, lint-free cloth and gently wipe down the keyboard surface to remove oils, dust, and grime. This simple step is a key part of your keyboard maintenance tips, helping to keep your workspace fresh and your device looking sharp. When choosing cleaning products, a quick cleaning products comparison can save you from harsh chemicals that might damage your keyboard’s finish.
Keep these points in mind for effective wiping:
- Use a slightly dampened cloth with water or a mild cleaner.
- Avoid spraying liquids directly onto the keyboard.
- Wipe in gentle, circular motions to lift dirt without scratching.
Clean and Dry the Keycaps
Once you’ve wiped down the keyboard surface, it’s important to focus on cleaning the keycaps themselves to remove any stubborn dirt or oils. Depending on your keycap materials—whether ABS, PBT, or POM—you’ll want to choose the right cleaning solutions to avoid damage. A gentle mix of warm water and mild dish soap usually works well. Soak the keycaps for about 15-20 minutes, then use a soft brush or cloth to scrub away grime. After cleaning, rinse them thoroughly with clean water to remove any soap residue. Finally, dry each keycap completely with a lint-free towel or air dry them on a clean surface. Taking the time to clean and dry your keycaps properly will keep your keyboard looking fresh and ready for holiday use.
Reassemble Your Keyboard
After thoroughly cleaning and drying your keycaps, you can start putting your keyboard back together. This step is essential for smooth keyboard maintenance and to enjoy the freedom of a fully functional device. When doing keycap replacement, take your time and follow these tips:
- Align each keycap carefully with its switch to avoid damage.
- Press down firmly but gently until you feel it snap into place.
- Work row by row to keep track and prevent losing any keys.
Reassembling your keyboard isn’t just about putting pieces back; it’s reclaiming control over your workspace. With everything in place, you’ll be all set for a holiday season free from keyboard hassles. Enjoy the satisfaction of a clean, well-maintained keyboard ready for whatever you type next!
Perform a Final Functionality Check
Anyone can hit a snag after reassembling their keyboard, so it’s important you perform a final functionality check. This step verifies every key registers correctly and your keyboard responsiveness is back to full strength. Start by running simple functionality tests—press each key to confirm it outputs the right character. Don’t forget to test modifier keys like Shift, Ctrl, and Alt, as well as function keys and the spacebar. If your keyboard has customizable features or backlighting, validate those work too. This quick, thorough check assures you won’t face surprises during your next session, keeping your typing experience smooth and unrestricted. Taking a few minutes now frees you from frustration later, letting you enjoy your keyboard’s full potential without limits.
Frequently Asked Questions
How Often Should I Deep Clean My Keyboard?
Did you know your keyboard can harbor up to 400 times more bacteria than a toilet seat? To keep your device fresh and functional, you should consider keyboard maintenance seriously. Cleaning frequency depends on use, but deep cleaning every 1-3 months is ideal if you want freedom from grime and sticky keys. Regular upkeep lets you enjoy a smooth typing experience without worrying about germs slowing you down.
Can I Use Compressed Air to Clean My Keyboard?
You can definitely use compressed air for keyboard maintenance—it’s a quick way to blow out dust and crumbs trapped between the keys. Just hold the can upright and spray in short bursts to avoid moisture buildup. It’s a simple, freeing method that keeps your keyboard clean without dismantling it. Remember, though, compressed air won’t replace a deep clean, but it’s perfect for regular upkeep to keep your setup fresh and functional.
Are Mechanical Keyboards Harder to Clean Than Membrane Ones?
Cleaning mechanical keyboards can feel like unraveling a tangled necklace compared to membrane ones. You’ve got more parts to handle, like individual keycaps and switches, so your cleaning techniques need to be a bit more precise. While membrane keyboards often just require surface wipes, mechanical keyboards demand deeper maintenance to keep them in top shape. If you want freedom in your typing experience, investing time in proper keyboard maintenance is worth it.
What Cleaning Products Should I Avoid on Keyboards?
You’ll want to avoid harsh cleaning solutions like bleach, ammonia, or abrasive sprays when doing keyboard maintenance. These can damage the keys or the electronics underneath. Instead, steer clear of anything too strong or liquid-heavy that might seep inside and cause issues. Stick to gentle, electronics-safe cleaners or a lightly dampened microfiber cloth. Keeping your keyboard safe means you can clean freely without worrying about ruining it.
How Do I Prevent Dust Buildup on My Keyboard?
Imagine a soft, invisible shield gently wrapping your keyboard, keeping dust at bay like a protective breeze. To prevent dust buildup, you can use keyboard covers or dust shields that act as barriers against tiny particles. These simple tools let you enjoy a clean, carefree workspace without constant wiping. With them, you’re free to focus on what matters—typing away without worrying about grime slowing you down or cluttering your flow.