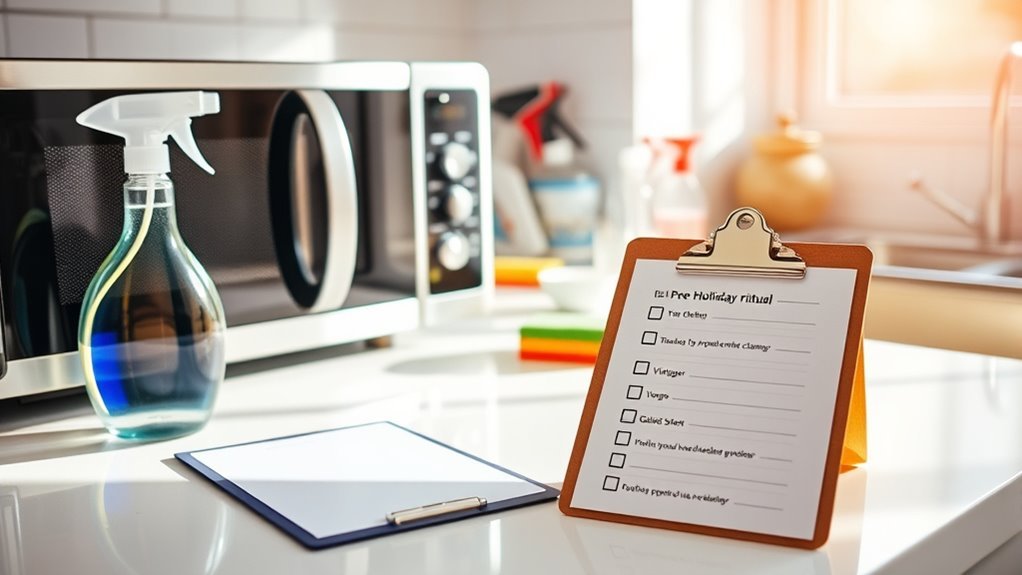
Pre-Holiday Cleaning Checklist for Microwave
To prepare your microwave for the holiday rush, start by gathering microfiber cloths, a soft sponge, and a vinegar-water spray. Remove and soak the turntable in warm soapy water, then gently scrub and dry it completely. Wipe the interior walls and ceiling with the vinegar solution, then deodorize using lemon juice and baking soda mixtures. Clean the exterior and door carefully, focusing on handles and controls. Finally, clear dust from vents to maintain airflow. Follow these steps to guarantee your microwave is spotless and ready for heavy use.
Gather Your Cleaning Supplies
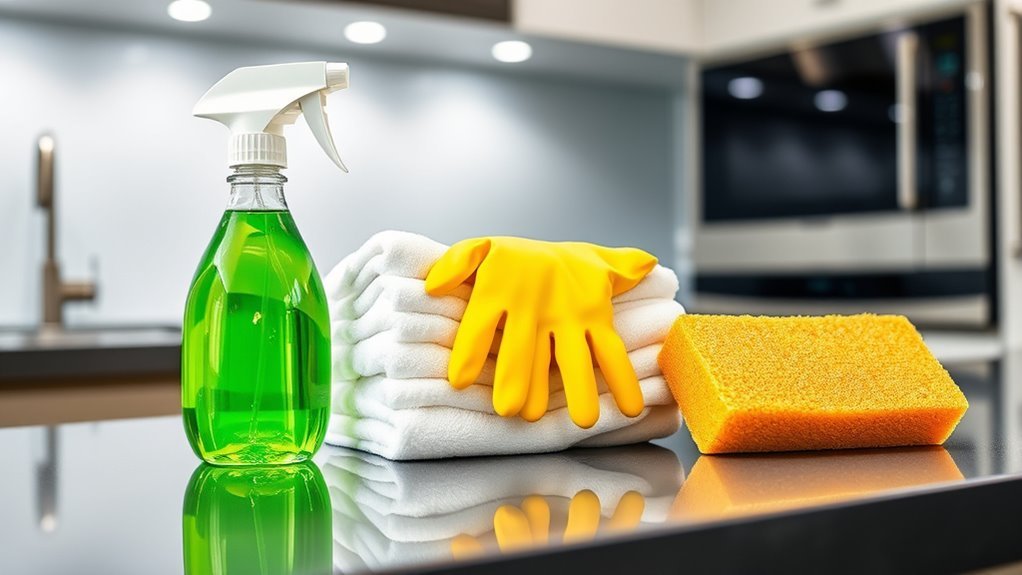
Before you begin cleaning your microwave, gather all the necessary supplies to guarantee an efficient process. Start with essential cleaning tools: a microfiber cloth, a non-abrasive sponge, a spray bottle filled with a water-vinegar solution, and a small brush for crevices. Organization tips will help you maintain focus—lay out your tools on a clean surface within reach. Avoid clutter by placing used cloths in a separate container to prevent cross-contamination. Consider wearing gloves to protect your hands from cleaning agents. Having everything organized before you start saves time and keeps the process smooth. This methodical preparation assures you won’t need to pause midway, allowing you the freedom to clean thoroughly and swiftly, leaving your microwave spotless for the upcoming holiday season. Maintaining a clean environment like this can also help reduce exposure to allergens in bedding that affect overall sleep quality.
Remove and Wash the Turntable
With your cleaning supplies ready and organized, turn your attention to the microwave’s turntable. Proper turntable maintenance is essential for smooth operation and even heating. Carefully remove the turntable and its support ring to avoid damage. Use gentle washing techniques: soak in warm, soapy water, then scrub with a soft sponge to remove stuck-on food particles. Rinse thoroughly and dry completely before reinstalling. Regular cleaning prevents buildup and residue that can affect performance.
| Step | Action | Tip |
|---|---|---|
| 1 | Remove turntable | Handle with care to avoid chips |
| 2 | Separate support ring | Clean both parts individually |
| 3 | Soak in warm, soapy water | Loosen stubborn residue |
| 4 | Scrub gently | Avoid abrasive materials |
| 5 | Dry completely | Prevent moisture build-up |
Clean the Interior Walls and Ceiling
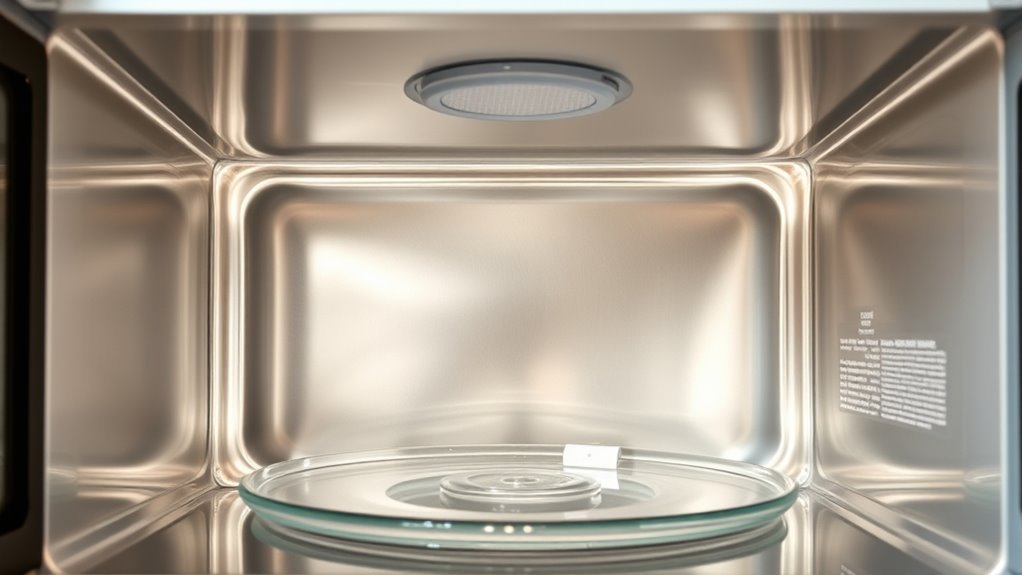
You’ll want to use a gentle, effective cleaning solution like a mix of water and vinegar to wipe down the interior walls and ceiling. Apply the solution carefully with a soft cloth, avoiding excessive moisture to protect the microwave’s electrical components. This method helps remove residue and prevents lingering odors, keeping your microwave fresh for holiday use.
Effective Cleaning Solutions
A reliable cleaning solution is essential for tackling the interior walls and ceiling of your microwave effectively. Choosing eco friendly cleaners guarantees you’re not only protecting your appliance but also your health and the environment. Remember, microwave safety is paramount, so avoid abrasive chemicals that can damage the interior surface.
Here are four effective cleaning solutions to think about:
- A mixture of equal parts water and white vinegar, heated for five minutes, loosens grime effortlessly.
- Lemon juice diluted in water offers a natural, fresh-scented alternative.
- Baking soda paste, applied gently, tackles stubborn stains without scratching.
- Commercial eco friendly microwave-safe sprays provide convenience with guaranteed safety.
Use these solutions methodically for a spotless, safe microwave ready for holiday use.
Safe Cleaning Techniques
Choosing the right cleaning solution is only part of the process; applying it correctly guarantees the microwave’s interior walls and ceiling are thoroughly cleaned without damage. Start by unplugging your microwave for safety. Use a soft sponge or microfiber cloth dampened with an eco friendly product to gently wipe the interior surfaces. Avoid abrasive scrubbing, which can scratch the walls and degrade the finish. For stubborn spots, apply the cleaner and let it sit briefly before wiping. Be methodical—clean the ceiling first, then the walls, moving in sections to make sure no area is missed. Rinse your cloth frequently to avoid spreading grime. Finally, dry the interior with a clean, dry cloth to prevent moisture buildup. This safe cleaning approach preserves your microwave’s longevity while keeping your kitchen eco conscious.
Preventing Odor Build-Up
Three key steps help prevent odor build-up inside your microwave when cleaning the interior walls and ceiling. Tackling microwave odors early guarantees effective odor elimination and maintains a fresh cooking environment. Follow this precise approach:
- Remove the turntable and soak it in warm, soapy water to loosen food residues causing odors.
- Wipe the interior walls and ceiling with a sponge dipped in a vinegar-water solution to neutralize smells.
- Use a soft cloth dipped in baking soda paste on stubborn spots to absorb lingering odors.
- Leave the microwave door open after cleaning to air out and prevent moisture-related odor build-up.
Deodorize With Natural Ingredients
Although microwaves are convenient, they often trap lingering odors that can affect your food’s taste. To deodorize effectively, rely on natural odor eliminators like lemon and baking soda. Cut a lemon in half, squeeze the juice into a microwave-safe bowl, and add water. Heat it for three minutes, allowing the citrus freshness to permeate and loosen grime. Afterward, wipe down the interior with a clean cloth. Alternatively, place a bowl of water mixed with two tablespoons of baking soda inside and microwave for five minutes. This method neutralizes stubborn smells without harsh chemicals. These precise steps help you maintain a fresh microwave environment, ensuring your meals taste just as they should—free from unwanted odors and full of natural zest. For best results, always use a microwave-safe bowl when heating cleaning mixtures.
Wipe Down the Microwave Door and Exterior
Before you tackle the interior, focus on wiping down the microwave door and exterior to remove fingerprints, spills, and dust. This step is essential for effective microwave maintenance tips and aligns with cleaning frequency recommendations to keep your appliance looking fresh.
Follow these precise steps:
- Use a soft microfiber cloth dampened with a mild detergent solution to gently wipe the door and exterior.
- Pay special attention to the handle and control panel where grease and fingerprints accumulate.
- Avoid abrasive cleaners or scrubbing pads that can scratch surfaces.
- Dry thoroughly with a clean, dry cloth to prevent streaks and moisture buildup.
Additionally, ensuring the microwave is unplugged before cleaning is a key safety precaution to prevent electrical hazards.
Check and Clean the Ventilation Areas
Start by locating all the ventilation openings on your microwave, usually found on the sides or back. Carefully remove any dust or debris using a soft brush or a vacuum with a brush attachment. Make sure to use appropriate tools to avoid damaging the vents while ensuring they’re thoroughly clean.
Locate Ventilation Openings
One critical step in maintaining your microwave’s efficiency is to locate and inspect the ventilation openings carefully. Proper ventilation maintenance guarantees ideal airflow, which is essential for preventing overheating and prolonging your microwave’s lifespan. To locate these openings effectively, follow these steps:
- Examine the sides and back of the microwave for vent slots or grilles.
- Check underneath the microwave where vents may be positioned.
- Consult your microwave’s manual to identify all ventilation points.
- Confirm vents are unobstructed by kitchen items or walls to maintain proper airflow.
Remove Dust and Debris
After you’ve identified all the ventilation openings on your microwave, it’s time to remove any dust and debris that may have accumulated. Start by using gentle dusting techniques to loosen particles without pushing them further inside. A soft brush or a microfiber cloth works well to capture dust effectively. Focus on corners and crevices where debris tends to gather. For stubborn buildup, tap the microwave lightly to dislodge trapped particles before dusting again. Make sure you don’t miss any vents to maintain ideal airflow and prevent overheating. This precise debris removal not only improves efficiency but also extends your microwave’s lifespan. By methodically clearing these areas, you’re taking an essential step toward a cleaner, safer appliance ready for holiday use.
Use Appropriate Cleaning Tools
Selecting the right cleaning tools is essential when checking and cleaning your microwave’s ventilation areas to avoid damage and guarantee thorough removal of dirt. Using improper tools can scratch surfaces or push debris deeper into vents. Choose microwave accessories designed specifically for delicate electronics and tight spaces. Here’s what you’ll need:
- A soft-bristle brush to gently dislodge dust without scratching.
- Compressed air canisters to blow out hard-to-reach particles.
- Microfiber cloths for wiping away loosened dirt without leaving fibers.
- Mild cleaning solution applied sparingly with cotton swabs for stubborn grime.
Perform a Final Inspection and Test Run
Before wrapping up your microwave cleaning, conduct a thorough final inspection to verify every surface is spotless and all residues are removed. Check the interior walls, ceiling, and turntable for any missed spots or leftover moisture. Don’t forget to inspect the door seal and exterior controls to ascertain they’re clean and dry. Once satisfied, test microwave functionality by heating a microwave-safe cup of water for one minute. Observe if the microwave operates smoothly without unusual noises or sparks. Confirm the water heats evenly to guarantee proper heating performance. If everything functions as expected, your microwave is ready for holiday use. This methodical step not only safeguards your appliance but also grants you the freedom to rely on it confidently during festive cooking.
Frequently Asked Questions
Can I Use Bleach to Clean My Microwave Safely?
While bleach might seem like a quick fix, using it in your microwave isn’t the safest choice due to harsh fumes and potential damage. Instead, consider bleach alternatives like vinegar or baking soda, which effectively cut grease and odors without compromising microwave safety. You want a method that’s thorough yet gentle, preserving your appliance’s integrity. So, embrace these safer options to keep your microwave clean and your freedom to enjoy worry-free meals intact.
How Often Should I Deep Clean My Microwave?
You should aim for deep cleaning your microwave about once a month to maintain peak performance and hygiene. Regular cleaning frequency prevents buildup of food residue and odors, ensuring your appliance stays fresh and efficient. Between deep cleanings, wipe down spills promptly to avoid tougher stains. This methodical approach gives you freedom from stubborn grime and keeps your microwave ready for use anytime without hassle or lingering smells.
Are Microwave-Safe Covers Necessary During Cooking?
You don’t have to use microwave-safe covers, but they’re highly recommended for microwave safety and cooking tips. Covers prevent food splatters, keeping your microwave clean and reducing the risk of uneven heating or burns from steam. Just make sure the cover is labeled microwave-safe to avoid harmful chemicals or melting. Using them methodically can give you more freedom to cook without mess, while maintaining safety and efficiency every time.
Can I Clean the Microwave With Vinegar Alone?
You can clean your microwave with vinegar alone, thanks to vinegar’s benefits like natural antibacterial properties and deodorizing power. Simply mix equal parts vinegar and water, heat it inside the microwave until it steams, then wipe down surfaces. However, if you want stronger cleaning alternatives, consider adding baking soda for scrubbing or lemon juice for extra freshness. This method keeps things simple while letting you maintain freedom from harsh chemicals.
What Should I Do if My Microwave Sparks?
When your microwave sparks, it’s like a sudden storm disrupting calm skies—an urgent signal. First, unplug it immediately to prevent damage. Check for metal objects inside, like foil or utensils, as removing these is key in spark prevention methods. Inspect the interior for chipped paint or food debris, and clean thoroughly following microwave maintenance tips. Regular care guarantees your freedom from hazards, letting your microwave serve you safely and efficiently.