Removing Bathroom Stains From Microwave
If you want to remove bathroom stains from your microwave, start by unplugging it and wiping away loose debris. Use a mix of equal parts vinegar and water in a microwave-safe bowl, heat until it steams, and let it sit to loosen grime. For tougher stains, apply a baking soda paste and let it rest before scrubbing gently. Don’t forget to clean the turntable separately and dry everything well. Keeping up these habits prevents future stains—there’s more you can do to maintain a spotless microwave.
Common Types of Bathroom Stains Found in Microwaves
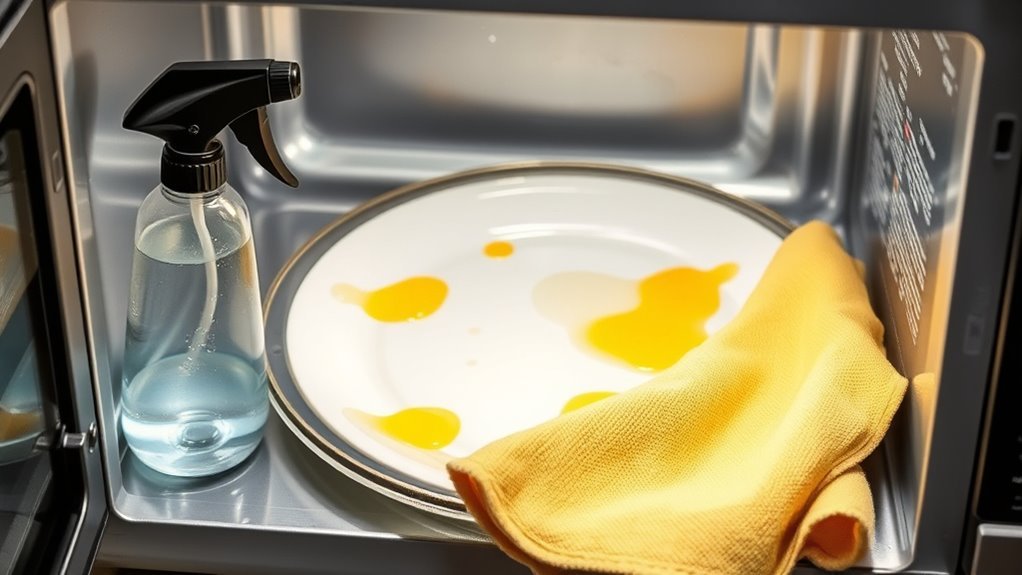
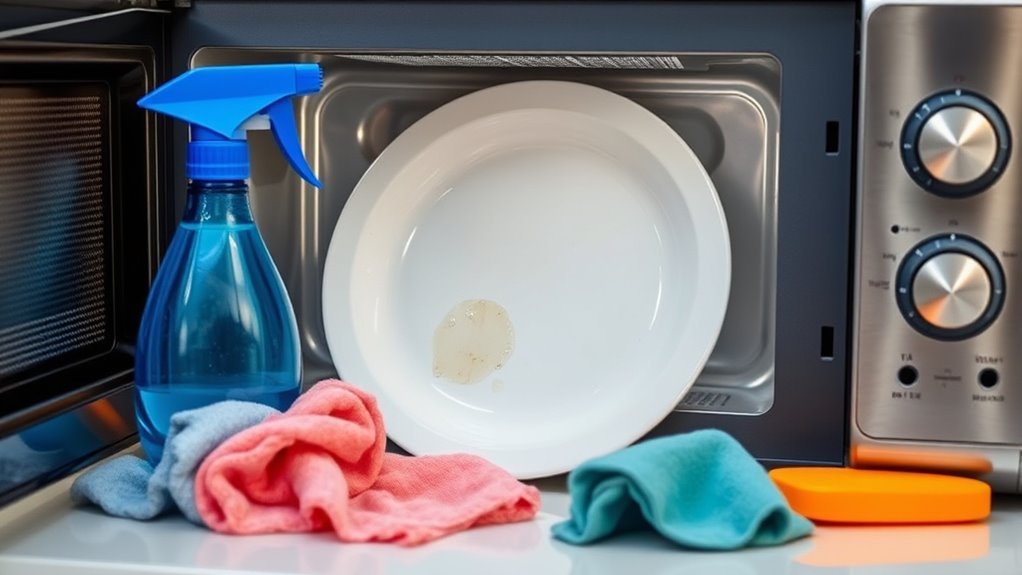
Although it might seem unusual, bathroom stains can sometimes end up in your microwave. You might wonder how, but if you use your microwave near a bathroom or handle items carrying soap residue, it’s possible. Hard water stains, caused by minerals left behind after water evaporates, can cling stubbornly to surfaces. Soap residue, too, can transfer from damp hands or cloths, leaving a filmy layer inside your microwave. Both these types of stains resist quick wiping and can dull the interior’s appearance. Knowing this, you can stay alert to these common bathroom stain culprits and tackle them before they set. Keeping your microwave clean means staying free from buildup that restricts your appliance’s performance and your freedom to enjoy a spotless kitchen space.
Essential Cleaning Supplies for Removing Stains
To effectively remove bathroom stains from your microwave, you’ll need a few essential cleaning supplies that target mineral deposits and soap residues without damaging the appliance. Start with eco friendly cleaners—they’re gentle on surfaces and better for your health and the planet. Look for ones specifically designed to cut through tough stains but safe for electronics. Alongside these, keep reliable stain removers handy; they’ll tackle stubborn marks that eco cleaners might not fully lift. A soft microfiber cloth will help you wipe away grime without scratching. Finally, a small brush or sponge can reach crevices where buildup hides. With these supplies, you’re equipped to restore your microwave’s cleanliness while maintaining your freedom from harsh chemicals and excessive scrubbing.
Preparing Your Microwave for Cleaning
Before you start cleaning, make sure to unplug your microwave and open the door to let it air out. Gather all the cleaning supplies you’ll need, like cloths and mild cleaners. Don’t forget to remove any loose debris inside to make the process easier.
Unplug and Ventilate Microwave
Start by unplugging your microwave to secure safety while cleaning. This simple step confirms microwave safety by cutting off power, preventing any electrical mishaps. Next, focus on ventilation—it’s vital for clearing out any lingering cleaning fumes or moisture.
Here’s what you should do:
- Unplug the microwave from the power source.
- Open the microwave door to allow air circulation.
- If possible, open a nearby window or turn on an exhaust fan to enhance ventilation.
Gather Cleaning Supplies
Now that your microwave is safely unplugged and aired out, you’ll want to gather the right cleaning supplies to tackle those bathroom stains effectively. Start with a gentle, non-toxic cleaner—vinegar or a mild dish soap works wonders without harsh chemicals. Grab a soft sponge or microfiber cloth to avoid scratching surfaces while applying your cleaning techniques. Having a spray bottle filled with water helps in rinsing and wiping down afterward. Don’t forget gloves to protect your hands and paper towels or a lint-free cloth for drying. These supplies not only help remove stubborn stains but also assist in stain prevention by allowing you to clean regularly with ease. Preparing your tools in advance guarantees a smooth, efficient cleaning process that frees you from lingering grime.
Remove Loose Debris
Clear away any loose debris inside your microwave to guarantee a thorough cleaning. Removing these particles not only makes the cleaning process easier but also plays an essential role in stain prevention. When loose debris lingers, it can bake onto surfaces, making stains tougher to eliminate and restricting your freedom from stubborn messes.
Here’s how to efficiently remove loose debris:
- Open the microwave door and carefully lift out the turntable.
- Use a soft brush or cloth to sweep away crumbs and food bits from the interior surfaces.
- Check corners and vents where debris often hides, ensuring nothing is left behind.
Using Vinegar and Water to Eliminate Stains
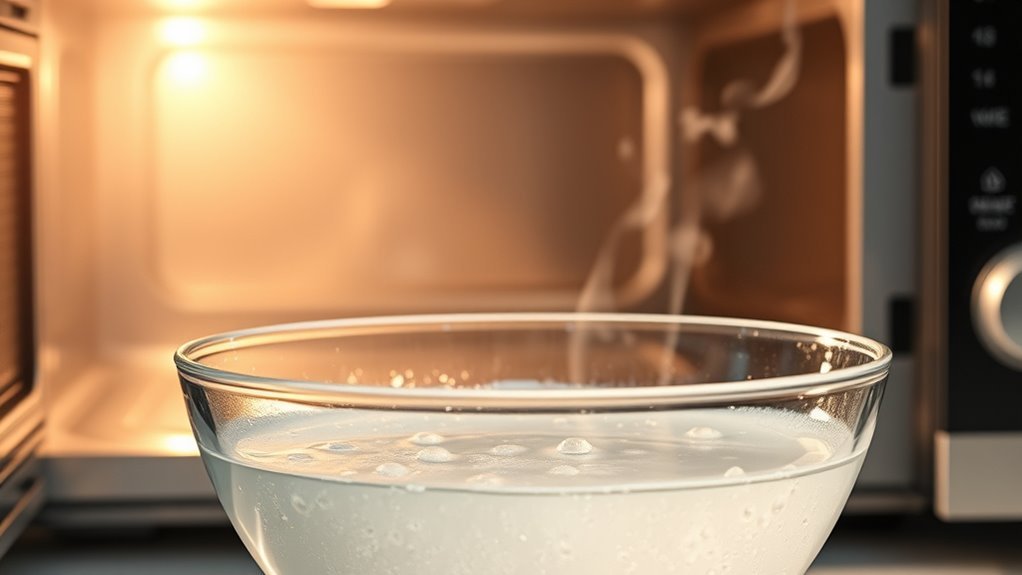
You’ll want to mix equal parts vinegar and water in a microwave-safe bowl to tackle those stubborn stains. Place the bowl inside and heat it until the mixture boils and steams up the interior. This steam loosens grime, making it easier for you to wipe away bathroom stains from your microwave.
Vinegar-Water Mixture Ratio
A simple mixture of one part vinegar to one part water works best for removing bathroom stains from your microwave. This ratio balances vinegar benefits—like its natural acidity that breaks down grime—with water properties that dilute the solution, making it safe and effective. Using this blend, you gain a powerful yet gentle cleaner.
Here’s why this ratio rocks:
- Optimal cleaning power: Vinegar’s acidity tackles stains without damaging surfaces.
- Safe dilution: Water prevents the vinegar from being too harsh or overwhelming.
- Easy preparation: Equal parts mean no guesswork—just mix and use.
Stick to this ratio, and you’ll enjoy a free, chemical-free way to keep your microwave spotless with minimal effort.
Microwave Cleaning Procedure
Before you start cleaning, make sure you’ve mixed equal parts vinegar and water as recommended. Pour the solution into a microwave-safe bowl and place it inside the microwave. Heat it on high for about five minutes, allowing the steam to loosen stubborn stains. Keep the microwave door closed for a few more minutes after heating to maximize effectiveness. When you open it, be cautious—steam can cause burns, so prioritize microwave safety by using oven mitts or a cloth. Carefully remove the bowl, then wipe down the interior with a clean cloth or sponge. This method not only tackles existing stains but also helps with stain prevention, keeping your microwave fresh and spotless without harsh chemicals. It’s a simple, freeing way to maintain your space effortlessly.
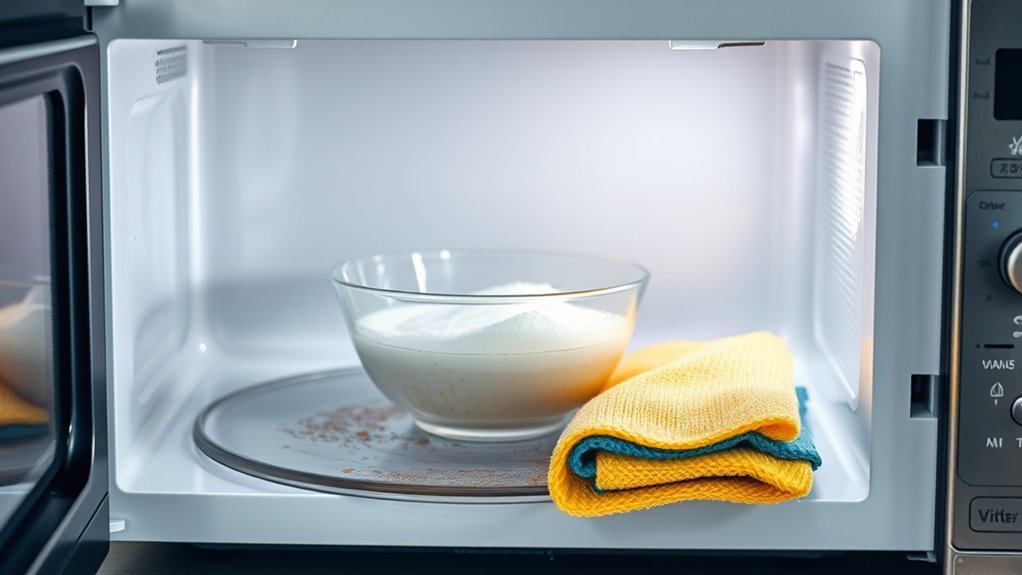
Baking Soda Paste for Tough Stain Removal
When stains in your microwave just won’t budge, baking soda paste offers a powerful yet gentle solution. It’s a natural stain removal method that frees you from harsh chemicals and lets you reclaim your space with ease. Here’s how to make and use it effectively:
- Mix baking soda with a small amount of water to form a thick paste.
- Apply the paste directly onto the tough stains inside your microwave.
- Let it sit for 10-15 minutes, then scrub gently with a sponge or cloth before wiping clean.
This simple approach targets stubborn grime without damaging surfaces, giving you the freedom to maintain a spotless microwave effortlessly. Baking soda’s mild abrasiveness and natural cleaning power make it your go-to for tough stain removal.
Steam Cleaning Method for Microwave Interiors
If baking soda paste isn’t enough to tackle those stubborn microwave stains, steam cleaning can offer an effective alternative. You just need a bowl filled with water and a few slices of lemon or a splash of vinegar. Place it inside your microwave and run it on high for about five minutes. The steam will loosen grime and stains, making them much easier to wipe away. This method not only tackles dirt but also promotes microwave hygiene by killing bacteria and neutralizing odors. Once the timer’s up, carefully remove the bowl—it’s hot!—then wipe down the interior with a clean cloth or sponge. Steam cleaning is quick, chemical-free, and gives you the freedom to keep your microwave fresh without harsh scrubbing or toxic cleaners.
Tips for Cleaning Microwave Turntables and Racks
Two simple steps can make cleaning your microwave turntable and racks much easier. First, remove these parts carefully before starting your cleaning routine. This prevents damage and allows thorough cleaning. Next, focus on turntable cleaning and rack maintenance to keep your microwave functioning freely and efficiently.
Removing your microwave turntable and racks first ensures safe, thorough cleaning and maintains appliance efficiency.
- Soak the turntable and racks in warm, soapy water for 10-15 minutes to loosen grime.
- Use a non-abrasive sponge or cloth to scrub away stains without scratching surfaces.
- Rinse and dry completely before placing them back to avoid moisture buildup.
Preventing Future Bathroom Stains in Your Microwave
Although it might seem unusual, preventing bathroom stains in your microwave is easier than you think. Taking simple preventive measures can save you time and hassle. First, avoid placing your microwave near bathroom vents or open windows where moisture and splashes can reach it. You might also consider covering food securely to avert spills that mimic those stubborn stains. Regular maintenance is key—wiping down your microwave’s exterior and interior with a damp cloth after use helps keep stains from setting in. By staying proactive and mindful of your microwave’s placement and cleanliness, you’ll enjoy a freedom from constant scrubbing and staining worries. These straightforward steps guarantee your microwave stays spotless, making your daily routine smoother without sacrificing your independence.
Maintenance Habits to Keep Your Microwave Spotless
Since regular care prevents stubborn buildup, adopting simple maintenance habits can keep your microwave spotless with minimal effort. Maintaining microwave hygiene not only extends its life but also guarantees stain prevention, saving you time and hassle.
Here are three easy habits to follow:
- Wipe Down After Each Use: Quickly clean spills and splatters with a damp cloth to prevent stains from setting.
- Use a Covered Container: Always cover your food to minimize splashes, making cleanup easier and reducing odor buildup.
- Monthly Deep Clean: Steam-clean with lemon water or vinegar inside the microwave to loosen grime and eliminate lingering smells.
Frequently Asked Questions
Can Bathroom Stains in Microwaves Affect Food Safety?
You know what they say, “Cleanliness is next to godliness.” When you leave bathroom stains in your microwave, you’re inviting bacteria growth, which can lead to food contamination. That’s risky because those germs can transfer to your meals, messing with your health and freedom to eat safely. So, keeping your microwave spotless isn’t just about looks—it’s about protecting yourself and enjoying your food without worry or limits.
Are Microwave-Safe Cleaning Products Safe for Bathroom Stains?
When you’re choosing microwave-safe cleaning products, you’re prioritizing both microwave safety and cleaning effectiveness. These products are designed to work without damaging the appliance or leaving harmful residues, so you can feel free to use them confidently. Just make sure to follow the instructions carefully to keep your microwave in great shape while effectively tackling stains. That way, you keep your space clean without sacrificing your freedom to use your microwave safely.
How Often Should I Deep Clean My Microwave to Avoid Stains?
You should aim for regular microwave maintenance by deep cleaning it about once a month to avoid stubborn stains and buildup. This cleaning frequency keeps your microwave fresh and efficient without taking up too much of your freedom or time. If you use it heavily or spill often, you might want to clean it more frequently. Staying on top of this lets you enjoy a spotless microwave without hassle or harsh scrubbing later.
Can Microwave Radiation Cause Bathroom Stains to Worsen?
Microwave radiation won’t cause bathroom stains to worsen since it’s designed to heat food safely, not affect stains elsewhere. If you’re looking for microwave maintenance tips, focus on regular cleaning to prevent buildup and odors. For bathroom cleaning hacks, use natural cleaners like vinegar or baking soda to tackle stains efficiently. Keeping both spaces clean gives you the freedom to enjoy a fresh environment without worrying about stubborn marks or damage.
Is Professional Cleaning Necessary for Severe Microwave Stains?
Did you know 70% of people avoid tackling tough stains themselves? When it comes to severe stains, professional cleaning can save you a lot of hassle and guarantee a deep, lasting clean. You don’t have to be stuck scrubbing endlessly or risking damage—experts use the right tools and solutions. If you want your space spotless and free, investing in professional cleaning for severe stains is definitely worth considering.


