Removing Ceilings Stains From Laundry
If you find ceiling stains on laundry, start by identifying the stain type—whether water, mold, or smoke—to choose the right cleaner. Pre-treat stains with a gentle homemade solution like baking soda and vinegar or use an enzyme-based commercial stain remover. Soak clothes in warm water for 15–20 minutes, then wash using a gentle cycle for delicate fabrics. Always dry air or use low heat to avoid setting stains. Keep going, and you’ll uncover more effective stain removal tips.
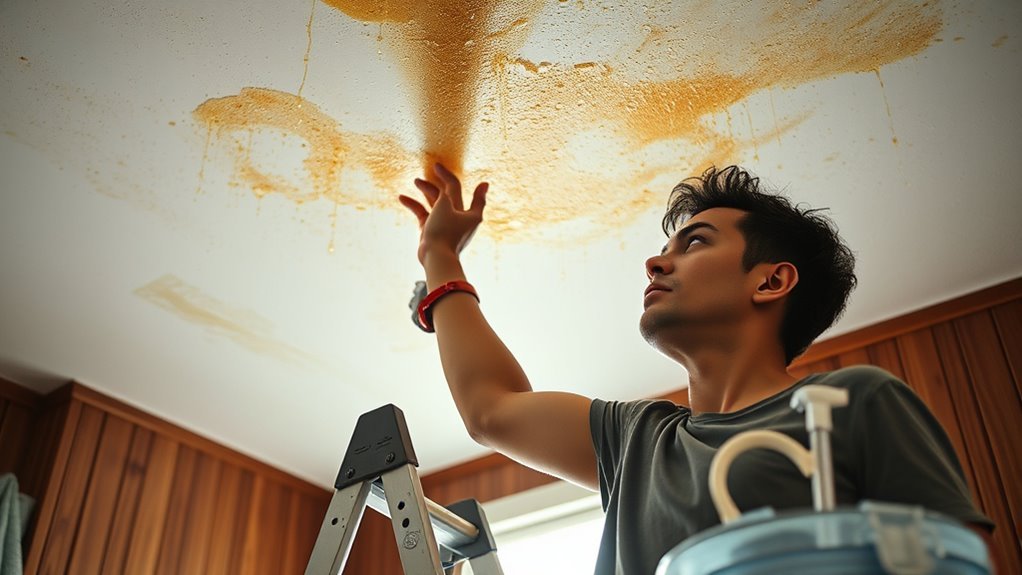
Identifying the Type of Ceiling Stain
How can you tell what kind of stain you’re dealing with on your ceiling? Start by closely examining the stain characteristics: size, shape, and texture. For example, water stains often have irregular shapes with brownish or yellowish hues, while mold stains might appear darker and fuzzy. Color identification is essential—rust stains are typically reddish-brown, whereas smoke damage tends to produce grayish or black discolorations. Note any odor or moisture around the stain; dampness often signals a leak. By carefully evaluating these factors, you can pinpoint the stain type, which helps you choose the right removal method. Taking this practical approach guarantees you regain freedom from stubborn ceiling stains without guesswork or wasted effort.
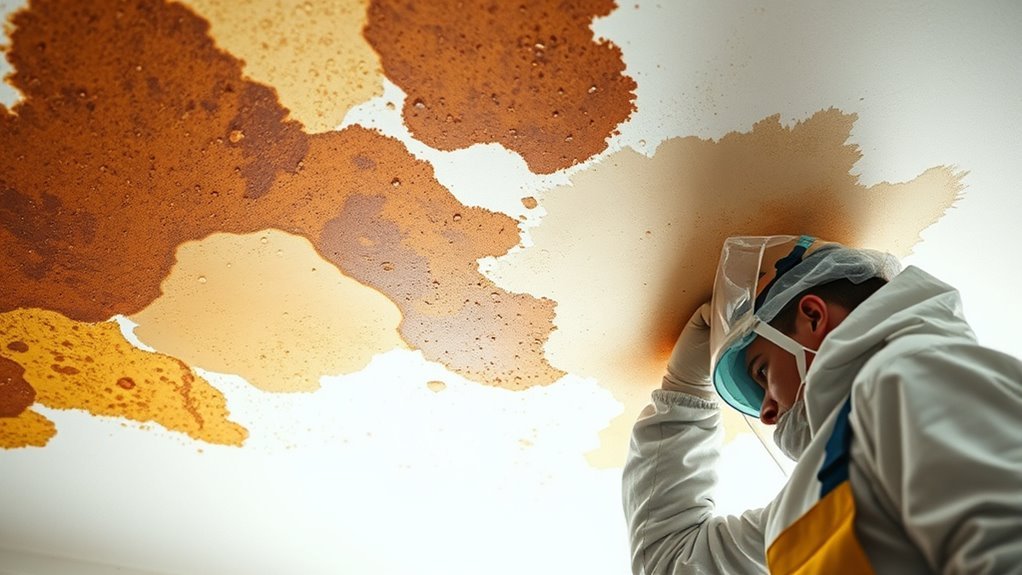
Pre-Treatment Steps for Ceiling Stains
Before you begin treating your ceiling stain, make certain the area is clean and dry to confirm effective stain removal. Start by identifying the stain types, as this guides your cleaning techniques. For water stains, gently scrape off any loose paint or debris with a putty knife. If mold is present, wear gloves and use a soft brush to remove surface growth before applying treatments. Protect surrounding areas with drop cloths to prevent further mess. Test any cleaning solution on a small, inconspicuous spot to avoid damage. Ascertain good ventilation to help drying and reduce fumes. These pre-treatment steps set the foundation for successful stain removal, allowing your chosen cleaning techniques to work efficiently and restoring your ceiling’s appearance with minimal hassle.
Using Homemade Cleaning Solutions

You’ll need common ingredients like baking soda, vinegar, and mild detergent to create effective homemade stain removers. Mix these components carefully to guarantee they’re strong enough to tackle stains but gentle enough for your ceiling’s surface. When applying, use a soft cloth or sponge and work in small sections to avoid over-saturating the area. For additional cleaning power and freshness, consider incorporating essential oils into your homemade solutions.
Common Ingredients Needed
While tackling ceiling stains might seem challenging, gathering a few common household ingredients can make the process straightforward and effective. To create natural stain removers for your laundry care, you’ll want to have white vinegar, baking soda, and hydrogen peroxide on hand. White vinegar acts as a mild acid that lifts stains without harsh chemicals. Baking soda provides gentle abrasion and deodorizing power, perfect for stubborn marks. Hydrogen peroxide works as a natural bleach alternative, brightening and disinfecting your fabrics safely. Additionally, liquid dish soap can help break down grease or oily residues often found in ceiling stains. Having these ingredients ready lets you customize solutions that are safe, eco-friendly, and budget-friendly, giving you freedom from commercial cleaners while effectively restoring your laundry.
Mixing Effective Stain Removers
Although it might seem tricky at first, mixing your own stain removers is straightforward once you understand the right proportions and combinations. You can take control of stain removal in your laundry by crafting effective solutions tailored to ceiling stains.
Here’s a simple guide to get you started:
- Combine 1 cup of water with 1 tablespoon of baking soda and 1 tablespoon of white vinegar. This mix tackles mild stains effectively.
- For tougher stains, add a few drops of liquid dish soap to the above solution to boost cleaning power.
- Use hydrogen peroxide with a teaspoon of baking soda for stubborn, yellowed ceiling stains, but test on fabric first.
These laundry tips empower you to handle stains without harsh chemicals, freeing you from commercial product dependence.
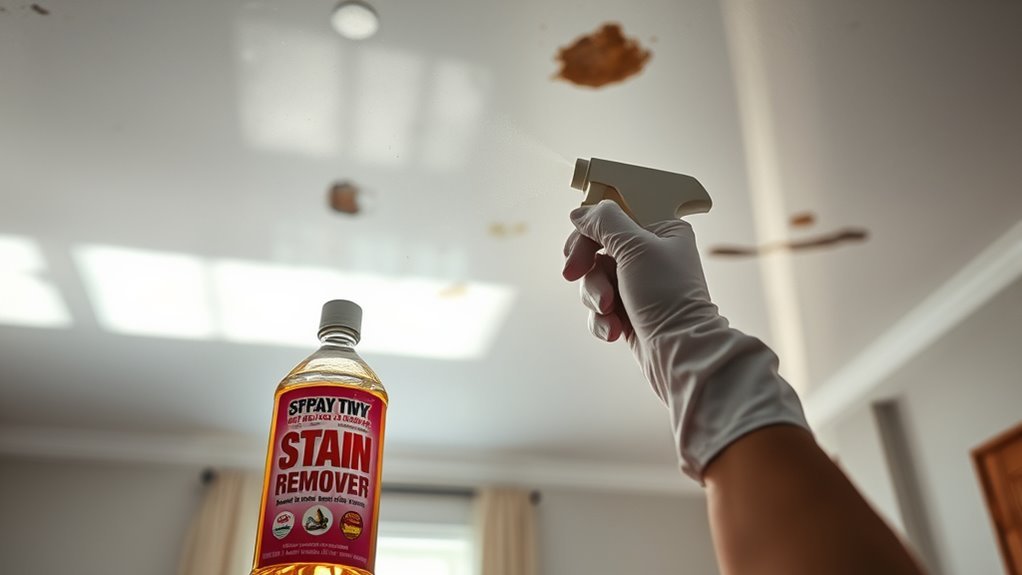
Application Tips for Ceilings
Start by gathering all your materials before you begin cleaning—this includes your homemade stain remover, a spray bottle, a soft sponge or cloth, and a ladder if needed. When applying your solution, use gentle application techniques: lightly mist the stain to avoid saturating the ceiling, which can cause damage or spread the stain. Work from the edges inward to prevent the stain from spreading further. Use a soft cloth or sponge to gently dab the area rather than scrub, preserving the ceiling’s texture. After treatment, allow the ceiling to air dry completely. For stain prevention, regularly inspect and address leaks or moisture sources that cause ceiling stains. Consistent care and careful application help you maintain a clean ceiling and enjoy the freedom of a fresh, stain-free space.
Commercial Stain Removers That Work
When you’re dealing with stubborn ceiling stains, choosing the right commercial stain remover can make all the difference. You want stain removal products that work efficiently without damaging your fabrics or surfaces. Here are three commercial cleaners proven to tackle tough ceiling stains:
- OxiClean MaxForce – Targets organic stains with enzymes that break down dirt and grime, freeing your ceilings from persistent marks.
- Zout Laundry Stain Remover – Known for its triple-enzyme formula, it’s ideal for lifting deep stains without harsh chemicals.
- Shout Advanced Gel – Its thick formula clings to stains, allowing you to treat ceiling stains precisely and effectively.
With these products, you’ll reclaim your freedom from stubborn stains, restoring your laundry with confidence and ease. For best results, always test stain removers on a hidden spot first to avoid damage to your fabrics or surfaces.
Effective Soaking Techniques
To tackle ceiling stains effectively, you’ll want to choose the right soaking solution, like a mixture of warm water and a mild detergent or a specialized stain remover. Apply the solution generously and let it sit for about 15 to 20 minutes to break down the stain without damaging the surface. Timing is key—too short won’t work, and too long can weaken the ceiling material.
Optimal Soaking Solutions
Although soaking ceiling stains might seem straightforward, choosing the right solution and technique is essential for effective removal without damaging the surface. You want a method that respects the fabric while loosening stubborn stains. Focus on soaking duration and ideal temperatures to maximize results.
- Use lukewarm water—around 30-40°C—to activate stain removers without risking fabric shrinkage or color fading.
- Select a soaking duration between 30 minutes and 2 hours; too short won’t loosen stains, too long can weaken fibers.
- Mix a gentle detergent with oxygen-based bleach for a balanced solution that breaks down stains while preserving fabric integrity.
Timing for Best Results
Since timing directly affects how well your ceiling stains come out, you’ll want to carefully monitor how long you let your fabric soak. Start by applying your chosen stain remover and immerse the fabric in water under ideal conditions—lukewarm water usually works best. Using precise timing techniques, aim to soak the fabric between 30 minutes to an hour. Soaking too briefly may leave stains intact, while soaking too long can damage delicate fibers. Check the fabric periodically; if the stain begins to fade noticeably, that’s a good sign you’re hitting the sweet spot. Once the soaking time is up, rinse thoroughly and launder as usual. By mastering these timing techniques and maintaining ideal conditions, you maximize stain removal while preserving your fabric’s integrity.
Washing Machine Settings for Stain Removal
Selecting the right washing machine settings is essential for effectively removing ceiling stains from washable fabrics like curtains or removable slipcovers. You want to balance thorough cleaning with fabric care to preserve your freedom to reuse these items without damage.
- Opt for a higher agitation speed to break down tough stains, but not so intense that it harms the fabric.
- Choose a warm water temperature, as heat helps lift stains without setting them further.
- Verify your rinse cycle is thorough—multiple rinses flush out loosened stain particles and detergent residue, preventing re-deposition.
- Incorporating natural cleaning solutions such as vinegar and baking soda can enhance stain removal while being gentle on fabrics.
Handling Delicate Fabrics With Stains
When dealing with stains on delicate fabrics, you need to first identify the material type to choose the right approach. Use gentle stain removal techniques like blotting and spot cleaning instead of harsh scrubbing. Always opt for cleaning products labeled safe for delicate fabrics to avoid damage.
Identifying Delicate Fabric Types
Although delicate fabrics require extra care, identifying their types is the first step to effective stain removal. Knowing your fabric types helps you choose the right fabric care approach, preventing damage and preserving your freedom to wear what you love.
Here’s how to identify delicate fabrics:
- Silk – Smooth, shiny, and lightweight; feels cool to the touch.
- Wool – Soft, warm, with a slightly fuzzy texture; often contains natural crimp.
- Lace and Chiffon – Sheer, lightweight, and fragile; usually has intricate patterns.
Gentle Stain Removal Techniques
A delicate fabric demands a gentle touch when it comes to stain removal to avoid damage. You’ll want to use gentle techniques like blotting instead of rubbing, and always test a small hidden area first. Cold water rinses help prevent setting stains, while mild detergents protect fabric fibers. Patience is key; repeat treatments gently if needed.
| Technique | Action | Purpose |
|---|---|---|
| Blotting | Dab stain softly | Avoid fabric damage |
| Cold Water Rinse | Rinse stained area | Prevent stain setting |
| Mild Detergent | Use sparingly | Protect fibers |
| Spot Testing | Test small area first | Guarantee safety |
| Repeated Treatment | Apply gently, if needed | Remove stubborn stains |
Stick to these gentle techniques for effective stain removal without sacrificing your fabric’s integrity.
Safe Cleaning Products Choices
After mastering gentle techniques like blotting and cold water rinses, choosing the right cleaning products becomes your next priority. Handling delicate fabrics with stains means avoiding harsh chemicals that could damage fibers. Instead, opt for:
- Eco friendly options like oxygen-based bleach, which safely lift stains without weakening fabric.
- Natural alternatives such as white vinegar or baking soda paste, effective for breaking down stains while preserving material integrity.
- Mild liquid detergents designed for delicates, ensuring gentle yet thorough cleaning.
Drying Clothes After Stain Removal
Once you’ve treated the stain, you’ll want to dry the clothes carefully to prevent any marks from setting or spreading. Start by gently blotting excess moisture with a clean towel. Avoid wringing, which can distort fabric and spread residual stain. When it comes to drying techniques, air drying is your best bet. Hang the garment in a well-ventilated area away from direct sunlight, which might cause discoloration. If you must use a dryer, opt for a low heat setting and check frequently to verify the stain hasn’t reappeared or set further. Remember, patience is key—rushing to dry can lock in stubborn stains. By mastering these drying techniques, you keep your laundry fresh and free from ceiling stain marks, preserving your freedom to wear what you love. Using eco-friendly products in stain removal supports a healthier home environment while maintaining fabric integrity.
Preventing Future Ceiling Stains on Laundry
Even if you’ve successfully removed ceiling stains from your laundry, preventing them from coming back is essential to keeping your clothes spotless. Taking preventive measures will save you time, frustration, and protect your wardrobe’s freedom from unwanted blemishes. Here are three practical steps for effective stain prevention:
- Identify and Fix Leaks Promptly: Moisture from ceiling leaks often causes stains. Regularly inspect your ceilings and repair any water damage immediately.
- Use a Protective Laundry Space: Avoid drying clothes directly under areas prone to stains. Instead, use a covered or indoor drying rack away from vulnerable ceiling spots.
- Maintain Ventilation and Humidity Control: Proper airflow reduces moisture buildup, minimizing the chance of stain-causing dampness.
When to Seek Professional Cleaning Services
How do you know when it’s time to call in professional cleaning services for ceiling stains? If stains persist despite your best efforts or cover a large area, a professional inspection is a smart next step. Professionals can identify underlying issues like water damage or mold that DIY methods might miss. Also, if stains return quickly after cleaning, it suggests a deeper problem needing expert attention. Before hiring, get detailed cleaning costs upfront to avoid surprises and guarantee the service fits your budget. Remember, professionals have specialized tools and solutions that can restore your ceiling without damaging your laundry space. Investing in expert help can save you time, prevent further damage, and give you peace of mind—freeing you to focus on what matters most. It is also important to ensure proper ventilation and wear protective gear during any cleaning process to maintain safety.
Frequently Asked Questions
Can Ceiling Stains Transfer to Other Clothes in the Laundry?
Yes, ceiling stains can cause stain transfer in the laundry if not treated properly. You’ll want to separate stained items to avoid spreading marks to other clothes. Pre-treat the stains with a stain remover or detergent before washing. Use the right water temperature and wash cycle based on fabric care labels. Following these laundry tips helps protect your clothes and keeps your freedom to wear what you want without worrying about unwanted stains.
Are Certain Detergents More Effective for Ceiling Stains?
When dealing with tough stains, you’ll find that certain detergent types work better for stain removal. Enzyme-based detergents are great because they break down protein and grease, tackling stubborn spots effectively. Oxygen-based detergents also brighten and lift stains without harsh chemicals. You should pretreat the stain with a bit of detergent before washing. Experiment a bit to see what suits your fabrics best, giving you the freedom to keep your clothes clean and fresh.
How Do Humidity Levels Affect Ceiling Stain Removal?
You’ll find that humidity impact plays a big role in stain removal. High humidity can make stains tougher to lift because moisture keeps them set deeper into fabrics or surfaces. To improve results, try working in a dry environment or using a dehumidifier. Lower humidity helps cleaning agents penetrate stains more effectively. So, controlling humidity levels lets you tackle stains with greater freedom and success, preventing them from becoming stubborn and permanent.
Can Ceiling Stains Cause Fabric Discoloration Over Time?
Yes, ceiling stains can cause fabric discoloration over time, especially if the fabric comes into contact with moisture or mold linked to those stains. To protect your clothes, focus on fabric care by treating any spots promptly and using stain prevention methods like pre-washing with mild detergents. Avoid prolonged exposure to damp environments, and always dry fabrics thoroughly to keep them looking fresh and free from unwanted discoloration.
Is It Safe to Bleach Ceiling-Stained Fabrics?
You can use bleach on ceiling-stained fabrics, but you’ve gotta be cautious about fabric safety since bleach can weaken fibers or cause discoloration. Instead, consider bleach alternatives like oxygen-based cleaners or white vinegar—they’re gentler and still effective. Always test a small, hidden area first to avoid damage. If you want to keep your fabrics looking great without risking harm, these alternatives give you freedom to clean confidently without harsh chemicals.


