Removing Coffee Machine From Dryer Effectively
To remove a coffee machine stuck in your dryer effectively, first unplug the appliance for safety. Inspect the drum carefully for residue or damage, then use mild detergent, warm water, and a soft brush to gently clean affected areas. Avoid abrasive tools that may harm components. Detach any removable machine parts based on the manufacturer’s instructions, and guarantee the workspace is well-lit and dry. Following these steps preserves your dryer’s function and reliability. For detailed guidance on cleaning and maintenance, keep exploring essential tips.
Identifying Coffee Residue in Your Dryer
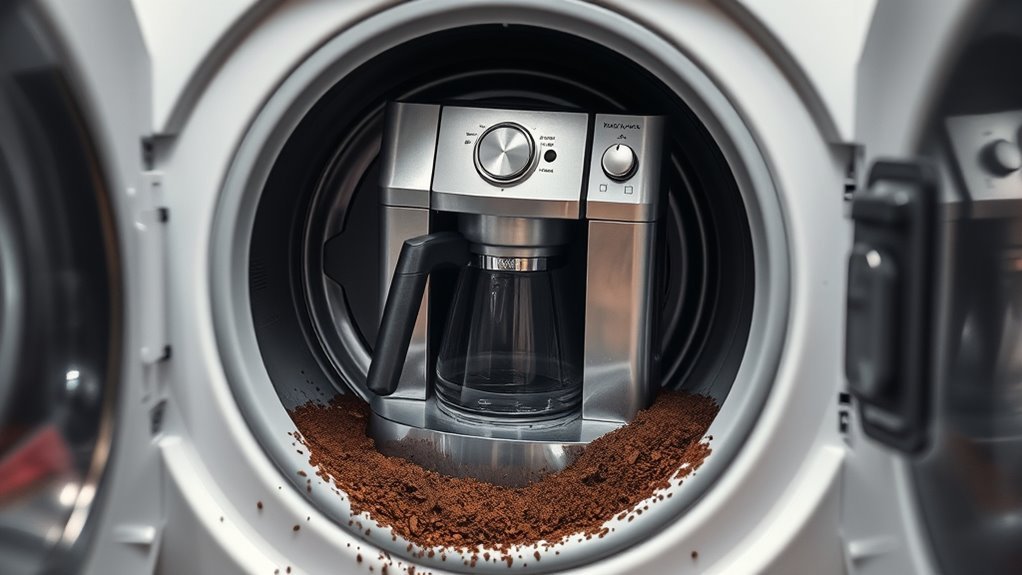
Coffee residue in your dryer typically appears as small, dark brown stains or powdery deposits inside the drum or on the lint trap. You’ll want to carefully inspect these areas, especially corners and crevices, where coffee stains tend to accumulate. Identifying the residue early is essential to prevent further dryer damage, such as corrosion or impaired heating elements caused by acidic compounds in coffee. Use a bright light and a magnifying tool if necessary to detect faint deposits. Be methodical—note any discoloration, sticky textures, or unusual odors that may indicate residue presence. By pinpointing coffee stains accurately, you can avoid costly repairs and maintain your dryer’s efficiency, preserving your freedom from appliance failures and unexpected downtime.
Tools and Materials Needed for Cleaning
After locating the coffee residue in your dryer, you’ll need specific tools and materials to remove it effectively. Assemble essential cleaning supplies: a mild detergent, white vinegar, baking soda, microfiber cloths, a soft-bristle brush, and a vacuum with a crevice attachment. These items guarantee thorough residue removal without damaging dryer components. Additionally, have access to warm water and a spray bottle for targeted application. Proper drying techniques are critical—use absorbent towels to dry cleaned surfaces promptly, preventing moisture buildup that could impair dryer function. Avoid harsh chemicals or abrasive tools, as they risk damaging internal parts. Preparing with the right cleaning supplies and understanding drying techniques empowers you to restore your dryer efficiently and maintain its performance, granting you the freedom to use it without lingering coffee residue.
Step-by-Step Cleaning Process
Before you start, guarantee the dryer is unplugged to prevent electrical hazards. Carefully detach the coffee machine parts following the manufacturer’s instructions to avoid damage. Finally, apply specific cleaning and maintenance techniques to each component for ideal performance and longevity.
Safety Precautions First
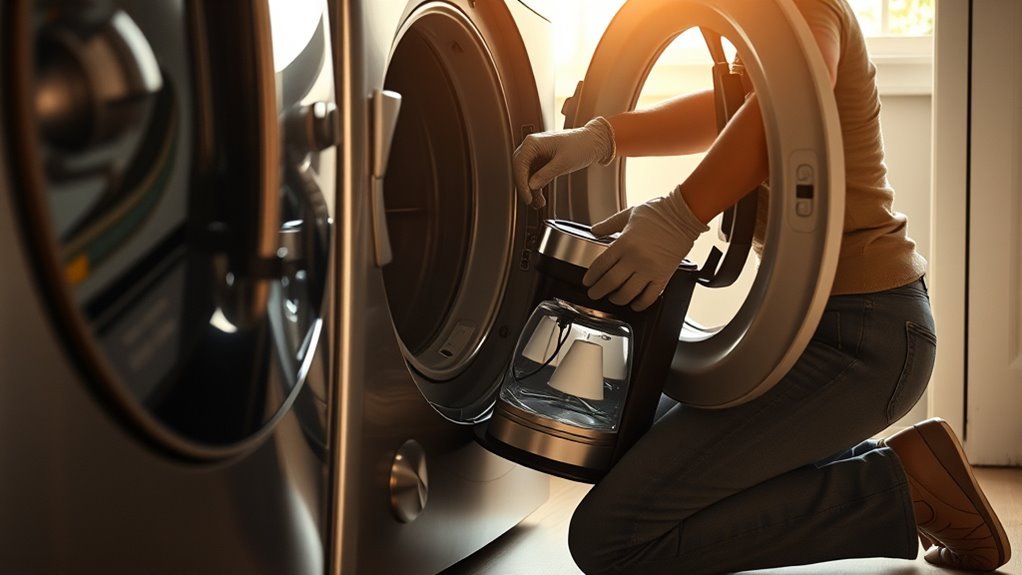
Although the process of removing a coffee machine from a dryer might seem straightforward, you’ll need to prioritize safety to prevent damage to both appliances and avoid personal injury. First, disconnect both machines from their power sources to eliminate electrical hazards. Wear appropriate safety gear—insulated gloves and safety glasses—to protect against accidental shocks or debris. Make sure the workspace is well-lit and dry to reduce slip risks. Avoid using metal tools near electrical components to prevent short circuits. Confirm that the machines have cooled down completely to avoid burns. Finally, keep a fire extinguisher nearby in case of unexpected electrical sparks. Following these safety precautions methodically guarantees a secure, damage-free removal process, granting you the freedom to proceed confidently without risking harm or appliance malfunction.
Detaching Coffee Machine Parts
Start by carefully identifying and detaching the removable components of the coffee machine, such as the water reservoir, drip tray, and filter basket. Use a firm but gentle grip to avoid damaging clips or seals. Note that some parts may require a slight twist or a press of a release button. Detaching components methodically guarantees you can access all areas for effective cleaning. Once removed, apply appropriate cleaning techniques to each part, avoiding harsh abrasives that could degrade plastic or rubber elements. Keep track of the order and orientation of parts to simplify reassembly. This precise approach to detaching components not only protects your machine but also grants you the freedom to maintain it thoroughly, promoting ideal performance over time.
Cleaning and Maintenance Tips
Once you’ve detached all removable parts, proceed with a systematic cleaning routine to guarantee peak machine function. Addressing coffee stains promptly prevents buildup that could impair performance or cause dryer damage if residues transfer during unintended contact. Begin by soaking detachable components in warm, soapy water. Use a soft brush to remove stubborn coffee stains without scratching surfaces. Wipe internal and external parts with a damp microfiber cloth, avoiding excess moisture near electrical components.
- Inspect seals and gaskets for wear that might cause leaks.
- Use a descaling solution monthly to prevent mineral buildup.
- Ascertain all parts are completely dry before reassembly.
- Store the machine away from dryer heat sources to avoid damage.
Following these steps preserves your coffee machine’s integrity and ensures hassle-free operation.
Tips for Preventing Future Coffee Spills
To prevent future coffee spills, make certain your coffee machine is securely placed on a stable surface to minimize movement. Use spill-proof containers designed to contain liquid even if tipped. Additionally, perform regular maintenance checks to identify and address any leaks or malfunctions promptly.
Secure Coffee Machine Placement
Although it might seem straightforward, securing your coffee machine properly is essential to prevent spills that could damage nearby appliances like your dryer. You need to prioritize coffee machine stability by following specific placement guidelines to minimize movement and tipping risks.
Ensure your coffee machine is positioned on a flat, sturdy surface free from vibrations. Avoid crowded countertops where accidental knocks are likely. Maintain at least 4 inches of clearance from the dryer to prevent liquid exposure. Use non-slip mats or pads beneath the machine to enhance grip.
- Choose a level, stable platform.
- Keep sufficient distance from other appliances.
- Use anti-slip materials under the machine.
- Avoid high-traffic or cluttered areas.
Use Spill-Proof Containers
A spill-proof container is a critical component in preventing coffee spills near your dryer. When selecting one, focus on spill proof designs that incorporate secure lids and tight seals to eliminate leakage risks. Materials such as BPA-free plastics, stainless steel, or silicone offer durability and resistance to heat, ensuring the container withstands daily use without deterioration. Opt for containers with locking mechanisms or snap-on lids to maintain a secure closure during handling. By choosing appropriate container materials and verified spill proof designs, you minimize the chance of accidental coffee spills that can damage your dryer or require complicated cleaning. Implementing these containers grants you the freedom to enjoy your coffee without worry, ensuring your laundry environment remains safe and clean.
Regular Maintenance Checks
Since coffee spills can cause significant damage to your dryer, performing regular maintenance checks is essential for prevention. By incorporating routine inspections, you guarantee early detection of potential issues before they escalate. These preventative measures help maintain your dryer’s functionality and extend its lifespan. Focus on critical components that may be affected by moisture or residue.
- Inspect seals and gaskets for cracks or wear that could allow liquid ingress.
- Check the interior drum and vents for any coffee residue buildup.
- Verify electrical connections remain dry and corrosion-free.
- Test the dryer’s sensors and controls to confirm proper operation.
How to Maintain Your Dryer After Cleaning
Once you’ve thoroughly cleaned your dryer, maintaining its efficiency requires regular inspection and upkeep of key components such as the lint filter, vent hose, and drum seals. Sticking to a strict dryer cleaning schedule guarantees ideal airflow and prevents fire hazards.
| Component | Maintenance Tip |
|---|---|
| Lint Filter | Clean after every load |
| Vent Hose | Inspect and clear blockages monthly |
| Drum Seals | Check for wear biannually |
| Exterior | Wipe down monthly to prevent dust |
These dryer maintenance tips will help you preserve your dryer’s performance and extend its lifespan. By methodically following this routine, you release the freedom of reliable, safe drying without unexpected breakdowns or energy waste.
When to Call a Professional for Help
Maintaining your dryer regularly helps prevent many common issues, but some problems require expert attention. When a coffee machine gets stuck inside, it’s vital to recognize when it’s beyond DIY fixes. Seeking professional services guarantees safe removal without damaging your appliance.
Consider calling for expert advice if you encounter:
- Persistent mechanical resistance or unusual noises during removal
- Visible damage to internal components or wiring
- Ineffective results after standard cleaning and troubleshooting
- Concerns about voiding warranties or causing electrical hazards
Engaging professionals grants you freedom from risk and assures precision in handling your dryer. Don’t hesitate to contact certified technicians who possess specialized tools and knowledge to resolve complex issues safely and efficiently. Prioritizing expert intervention safeguards your appliance’s longevity and your peace of mind.
Frequently Asked Questions
Can Coffee Stains Damage My Dryer’S Electronic Components?
You should be aware that coffee stain effects can compromise your dryer’s electronic components. Coffee’s acidic and oily residues may corrode circuit boards or cause short circuits, threatening dryer component protection. To maintain peak functionality, promptly clean any spills with appropriate electronic-safe methods. Taking these precautions guarantees you keep your dryer’s electronics intact, giving you the freedom to use your appliance without worrying about damage from coffee stains.
Is It Safe to Use Vinegar to Clean Coffee Spills in Dryers?
They say, “Don’t put all your eggs in one basket,” and that applies here. Vinegar effectiveness in cleaning coffee spills on dryers is notable—its acidity breaks down stains and neutralizes odors. However, avoid saturating electronic parts to prevent damage. Instead, use diluted vinegar with a soft cloth and spot test first. For safer cleaning alternatives, consider specialized electronics cleaners or isopropyl alcohol, ensuring you maintain your machine’s freedom and functionality.
How Long Should I Run the Dryer After Cleaning Coffee Spills?
After cleaning coffee spills, you should run your dryer for about 20-30 minutes to complete proper dryer maintenance. This helps evaporate any remaining moisture and guarantees no residue lingers, which can affect performance. Use effective cleaning techniques like wiping with vinegar solutions beforehand, then air-dry by running the machine empty. This methodical approach keeps your dryer functioning efficiently, giving you the freedom to trust its reliability without worrying about hidden stains or odors.
Will Coffee Residue Cause a Foul Smell in My Laundry?
Imagine you’re a Victorian detective examining a modern mystery: yes, coffee residue can cause a persistent coffee smell in your laundry, leading to an unpleasant laundry odor. This happens because oils and particles cling to fabrics and dryer components. To prevent this, you’ll need to thoroughly clean affected areas and run multiple drying cycles to eliminate trapped residues. Doing so guarantees your clothes smell fresh and free, preserving your freedom from unwanted odors.
Can Coffee Grounds Clog My Dryer’S Lint Trap?
Yes, coffee grounds can clog your dryer’s lint trap, hindering airflow and reducing efficiency. It’s crucial to perform regular dryer maintenance by carefully inspecting and cleaning the lint trap to prevent buildup. Coffee grounds are fine particles that easily accumulate, so you’ll want to remove any residue after exposure. Keeping the lint trap clean guarantees peak drying performance and reduces fire risk, giving you freedom from appliance issues and maintaining safety.