
Removing Germs From Windowsills Effectively
To remove germs from your windowsills effectively, start by clearing dust and debris with a microfiber cloth and vacuuming corners. Use EPA-registered disinfectants or natural agents like vinegar and tea tree oil for antimicrobial action. For wooden sills, avoid excessive water; for plastic or metal, mild detergent followed by alcohol-based disinfectants work well. Control moisture to prevent mold, and clean weekly or more in humid areas. Consistent care guarantees a healthier home—explore detailed methods and maintenance tips next.
Understanding Common Germs Found on Windowsills

Although windowsills might seem harmless, they often harbor a variety of common germs such as bacteria, mold spores, and dust mites. You should recognize that windowsill bacteria primarily include species like Staphylococcus and Pseudomonas, which thrive in moist, dusty environments. These common pathogens can contribute to allergic reactions, respiratory issues, and general discomfort. Understanding their presence is essential for maintaining a healthy living space and preserving your freedom from illness. Since windowsills collect airborne particles and moisture, they create an ideal breeding ground for microbial growth. Awareness of these factors empowers you to take targeted action against contamination. By identifying the specific types of common pathogens on your windowsills, you can better tailor your cleaning strategies to effectively eliminate health risks and enjoy a safer, cleaner environment. Regular cleaning with appropriate disinfectants and a consistent cleaning schedule will help prevent germ buildup on windowsills.
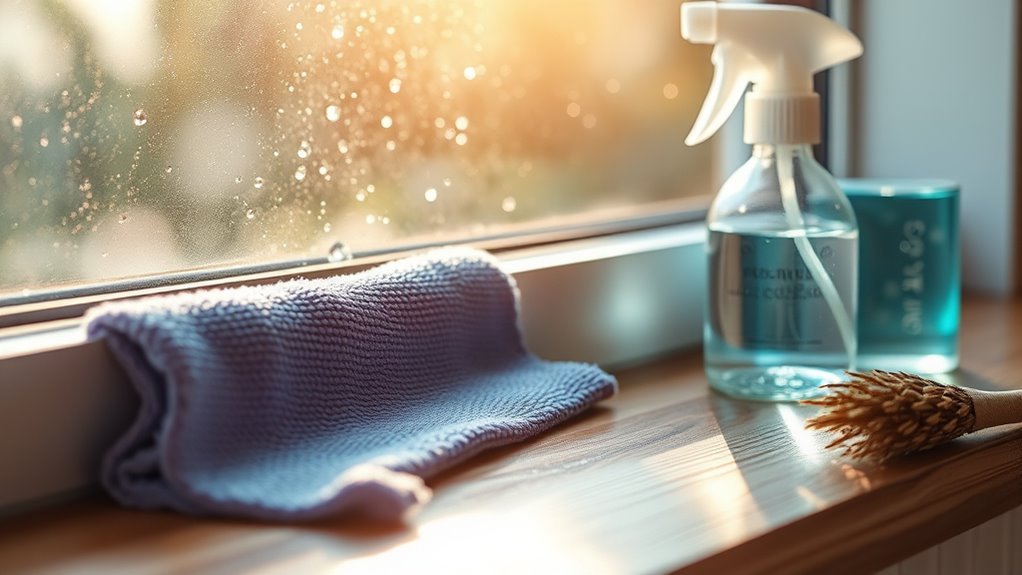
Essential Tools and Cleaning Supplies Needed
Knowing which germs typically inhabit your windowsills helps you choose the right tools and cleaning agents to remove them effectively. For germ prevention, you’ll need microfiber cloths that trap particles efficiently, a soft-bristled brush to dislodge debris from crevices, and a spray bottle for even application of disinfectants. Use EPA-registered cleaning solutions proven to eliminate bacteria and viruses without damaging surfaces. Gloves protect your skin and prevent cross-contamination. A small vacuum with a brush attachment can remove loose dirt before applying liquids, enhancing overall effectiveness. Selecting these precise cleaning tools guarantees you control microbial presence while maintaining freedom from harsh chemicals. Equipped with the right supplies, you’ll execute a targeted, efficient cleaning routine that minimizes germ survival on your windowsills. Focus on high-touch areas like corners, edges, locks, and handles to ensure thorough disinfection where germs most commonly accumulate.
Preparing Your Windowsills for Cleaning
Before you begin cleaning, start by clearing the windowsill of any objects, dust, and loose debris. Proper surface preparation is essential for effective window cleaning and germ removal. You want to create an unobstructed, clean base to allow disinfectants to reach every corner. Follow these steps for ideal preparation:
Begin by clearing your windowsill of objects and dust to ensure thorough cleaning and disinfection.
- Remove plants, decor, and any fragile items.
- Use a dry microfiber cloth to wipe off loose dust.
- Vacuum corners to extract hidden dirt.
- Inspect for mold or damage that may require special treatment.
- Make sure the surrounding area is protected from cleaning solutions.
Regularly checking for mold growth and damage enhances cleaning effectiveness and helps maintain a healthy environment.
Step-by-Step Guide to Cleaning Wooden Windowsills
Before you start cleaning wooden windowsills, make certain to remove dust and debris to prevent scratches. Select a cleaning solution that’s effective against germs but safe for wood finishes, avoiding harsh chemicals. Following these preparation steps guarantees you protect the wood while thoroughly sanitizing the surface. Using non-abrasive cleaners helps maintain the finish and avoid damage during cleaning.
Preparing Wooden Surfaces
Although wooden windowsills require careful handling to protect their finish, you’ll need to remove dust, dirt, and any loose debris before applying cleaning solutions. Start by gently vacuuming or wiping the surface with a dry microfiber cloth to avoid scratching. Once clean, inspect for any damage or wear that might require wood treatment to restore integrity. Proper preparation guarantees that surface sealing remains effective, preventing moisture infiltration and prolonging lifespan. Remember to:
- Use soft, non-abrasive tools to avoid surface damage
- Check for peeling paint or finish deterioration
- Address any minor cracks or chips swiftly
- Avoid excessive water that could warp the wood
- Allow the surface to dry completely before sealing
Following these steps grants you freedom to maintain wooden windowsills with precision and care.
Choosing Safe Cleaning Solutions
When selecting cleaning solutions for wooden windowsills, you’ll want to prioritize formulas that effectively remove germs without compromising the wood’s finish. Opt for non toxic options to guarantee your cleaning process is safe for both your health and the environment. Eco friendly alternatives, such as vinegar-based cleaners or solutions with plant-derived surfactants, offer effective germ removal while preserving wood integrity. Avoid harsh chemicals like bleach or ammonia, which can damage the wood fibers and strip finishes. Always test your chosen solution on a small, inconspicuous area first to confirm compatibility. By choosing safe cleaning solutions, you maintain the durability and appearance of your wooden windowsills while promoting a healthier living space, granting you the freedom to clean confidently and responsibly.
Effective Cleaning Methods for Plastic Windowsills
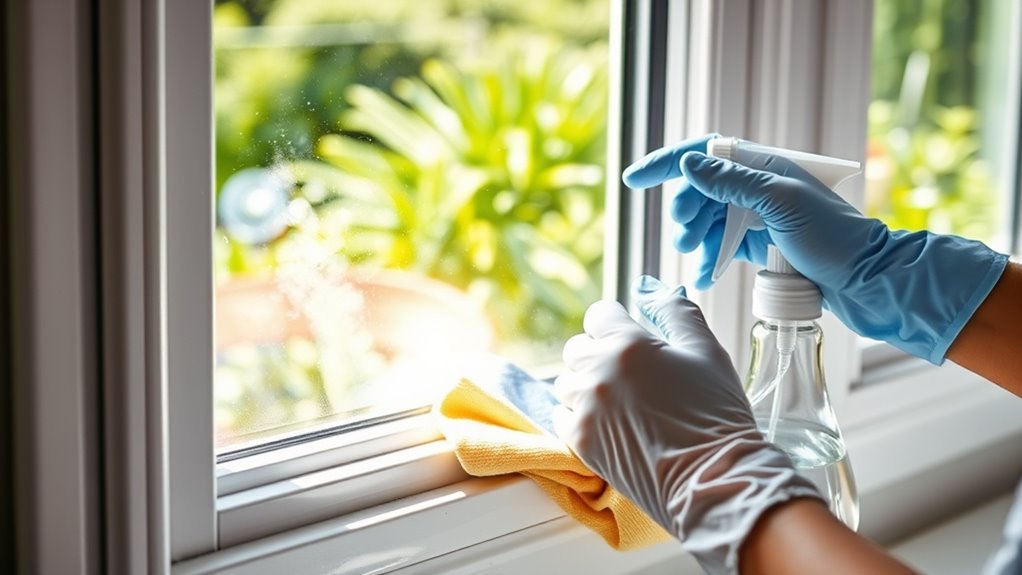
Plastic windowsills require specific cleaning techniques to effectively remove germs without causing damage. To maintain plastic maintenance and eliminate germ hotspots, you need precise methods that preserve the material’s integrity while ensuring cleanliness. Start by wiping down surfaces with a mild detergent diluted in water. Avoid abrasive scrubbers that can scratch plastic. Disinfect using a solution containing at least 70% isopropyl alcohol or diluted bleach, applied gently. Focus on corners and edges where germs accumulate.
Effective plastic windowsill cleaning involves gentle detergents and disinfectants to remove germs without damage.
- Use soft microfiber cloths to prevent scratches
- Target visible dirt before disinfecting
- Allow disinfectant to sit for 5 minutes
- Rinse thoroughly with clean water
- Dry completely to prevent moisture buildup
Additionally, using microfiber cloths helps trap dirt and minimize streaks while protecting the surface from damage.
Best Practices for Cleaning Metal Windowsills
Metal windowsills demand cleaning methods that protect their finish while effectively removing germs and debris. To maintain metal surface care, start by dusting loose particles with a soft brush or microfiber cloth. Use a mild detergent diluted in warm water to avoid corrosion or damage. When it comes to effective scrubbing, opt for a non-abrasive sponge or cloth to prevent scratches while loosening grime. Avoid harsh chemicals that can degrade metal coatings. After cleaning, rinse thoroughly with clean water to remove any residue. Dry the surface completely using a lint-free cloth to prevent water spots and potential rusting. Regular maintenance and prompt cleaning after exposure to moisture or dirt will help you preserve the metal’s integrity and keep germs under control without compromising the finish. Incorporating microfiber cloths into your cleaning routine ensures gentle yet effective removal of dirt and germs.
Natural and Chemical Disinfectants for Germ Removal
A variety of natural and chemical disinfectants are available to effectively eliminate germs from windowsills while evaluating surface compatibility and safety. You can choose natural remedies if you prefer eco-friendly options or chemical alternatives for more potent germ elimination. Here’s what to evaluate:
- Vinegar and tea tree oil blend: a powerful natural remedy with antimicrobial properties
- Hydrogen peroxide: a chemical alternative that breaks down germs without harsh residue
- Ethanol-based sprays: fast-acting chemical disinfectants suitable for durable surfaces
- Lemon juice: a natural remedy offering mild acidity to disrupt bacterial growth
- Quaternary ammonium compounds: chemical alternatives effective against a broad spectrum of microbes
Selecting the right disinfectant helps you maintain a germ-free environment while preserving your freedom to choose safe, effective cleaning methods. It is important to allow the disinfectant to sit for the recommended contact time to ensure thorough germ elimination.
Preventing Mold and Mildew on Windowsills
Moisture control is essential for preventing mold and mildew growth on windowsills. You can achieve effective mold prevention by ensuring proper ventilation and promptly addressing any water leaks or condensation. Use dehumidifiers or exhaust fans to reduce indoor humidity levels below 60%, limiting the environment where mold thrives. Applying mildew-resistant sealants or paints on windowsill surfaces enhances mildew resistance by creating a protective barrier against moisture. Regularly inspect your windowsills for signs of dampness or discoloration, as early detection allows swift intervention before mold colonies establish. Remember, maintaining dry, clean windowsills is vital for freedom from mold-related health risks and structural damage. By prioritizing moisture control and utilizing mildew-resistant treatments, you safeguard your home environment efficiently and sustainably. Maintaining indoor humidity between 30% and 50% is also crucial to limit environments favorable to dust mite survival, which can contribute to overall indoor air quality.
How Often Should You Clean Your Windowsills?
How frequently should you clean your windowsills to maintain ideal hygiene and prevent contamination? Establishing an effective cleaning frequency is essential for germ prevention and maintaining a fresh environment. Generally, a weekly cleaning schedule works best, but factors like climate and indoor air quality may require adjustments.
Maintaining ideal hygiene means cleaning windowsills weekly, adjusting for climate and indoor air quality as needed.
Consider these points to determine your cleaning frequency:
- High humidity or rainy climates increase mold risk
- Pets and allergens demand more frequent cleaning
- Heavy foot traffic near windows adds dirt and germs
- Visible dust, debris, or stains signal immediate cleaning
- Health sensitivities in your household necessitate stricter routines
Additionally, focusing on high-touch surfaces like windowsills helps reduce the spread of bacteria and maintain a worry-free environment.
Tips for Maintaining Germ-Free Windowsills Between Cleanings
To keep your windowsills germ-free between deep cleanings, make daily dusting a routine to prevent buildup. Use disinfectant wipes regularly to eliminate bacteria and viruses on the surface. These simple habits reduce microbial presence and maintain a healthier environment. Additionally, maintaining a regular cleaning schedule helps ensure consistent removal of germs and prevents overwhelming buildup.
Daily Dusting Habits
Regularly dusting your windowsills is vital for preventing the accumulation of dirt and germs between deep cleanings. Establishing a daily cleaning routine minimizes dust accumulation, which otherwise harbors bacteria and compromises air quality. By integrating these habits, you maintain a healthier environment and regain control over your space.
- Use a microfiber cloth to trap dust effectively without dispersing particles.
- Focus on corners and edges where dust tends to settle unnoticed.
- Perform dusting at a consistent time each day to build a reliable habit.
- Avoid using dry dusters that can scatter dust into the air.
- Guarantee surrounding window surfaces are included to prevent recontamination.
These precise daily dusting strategies empower you to keep your windowsills germ-free, supporting your freedom from constant deep cleaning sessions.
Use Disinfectant Wipes
A disinfectant wipe offers a quick and effective solution for neutralizing germs on your windowsills between thorough cleanings. When selecting wipes, consider disinfectant types such as quaternary ammonium compounds or alcohol-based formulas, both proven to eliminate a broad spectrum of pathogens. Use the wipe to thoroughly cover the surface, ensuring sufficient contact time as indicated by the manufacturer to maximize germicidal efficacy. After use, prioritize proper wipe disposal to prevent environmental contamination and potential microbial spread. Avoid flushing wipes; instead, discard them in a sealed trash bin. This method allows you to maintain a germ-free windowsill environment effortlessly, giving you freedom from frequent deep cleaning while ensuring surfaces remain hygienic and safe.
Frequently Asked Questions
Can Pets Contribute to Germs on Windowsills?
Isn’t it strange how your furry friend’s playful habits can unknowingly spread germs? Pets can indeed contribute to germs on windowsills through shedding fur, dirt, and saliva. Maintaining good pet hygiene—regular baths and paw cleaning—helps minimize this. For effective germ prevention, you should clean windowsills frequently using disinfectants. By combining pet care and cleaning, you guarantee a healthier, freer living space without compromising your pet’s joy and your home’s cleanliness.
Are UV Lights Effective for Disinfecting Windowsills?
You’ll find UV sanitization offers significant light effectiveness for disinfecting surfaces like windowsills. The UV-C wavelength disrupts microbial DNA, rendering germs inactive. However, effectiveness depends on exposure time, distance, and surface irregularities. You must guarantee direct, prolonged exposure without shadows for ideal results. While UV light can complement traditional cleaning, it shouldn’t replace physical cleaning, especially in areas where dirt or organic matter might shield microorganisms from UV rays.
How Do Weather Conditions Affect Germ Growth on Windowsills?
Think of your windowsill as a tiny ecosystem, shaped heavily by weather conditions. High humidity levels create a moist environment that encourages germ growth, while low humidity can inhibit it. Temperature fluctuations also play an essential role; frequent changes can stress microorganisms, limiting their proliferation. However, stable warm temperatures often promote faster germ reproduction. By understanding these factors, you can better control the microbial population and maintain a cleaner, healthier space.
Can Plants Near Windowsills Help Reduce Germs?
Plants near windowsills can help reduce germs due to their air purification properties. Certain herbs, like basil and rosemary, offer herb benefits by releasing antimicrobial compounds, which inhibit microbial growth. By incorporating these plants, you enhance indoor air quality naturally, providing a healthier environment. While they don’t eliminate all germs, their presence supports a cleaner space through continuous air filtration and natural antibacterial effects, aligning with your desire for freedom from chemical cleaners.
Is It Safe to Use Bleach on Painted Windowsills?
You might wonder about bleach safety on painted surfaces. While bleach is effective at disinfecting, it can damage painted windowsills by causing discoloration or peeling. To protect the paint, dilute bleach properly—usually 1 part bleach to 10 parts water—and test on a small area first. Always ventilate the space and wear gloves. This cautious approach lets you maintain cleanliness without sacrificing your windowsill’s finish or your freedom to enjoy a fresh, safe environment.


