Removing Glass Stains From Office Chair
To remove glass stains from your office chair, first identify if the stain is sticky residue, water spots, or mineral deposits. Prepare mild cleaning solutions like diluted dish soap or a white vinegar mix, and always spot test. For fabric, use gentle blotting and avoid overwetting; for leather, blot immediately and condition afterward; mesh needs careful brushing with mild soap. Tackling stains promptly helps, and understanding different methods guarantees your chair stays looking great—keep exploring to find the best approach for your chair’s material.
Identifying the Type of Glass Stain

How can you tell what kind of glass stain you’re dealing with on your office chair? Start by observing the stain’s appearance and texture closely. Common glass stains include water spots, which often appear as white or cloudy rings caused by mineral deposits from evaporated water. Another type is sticky residue from spilled beverages, leaving a tacky feel. You may also encounter ink or dye stains if colored drinks were involved. Identifying stain types requires checking if the stain is raised or embedded into the fabric or material. Press gently with a cloth; if it smears, it’s likely a sticky residue. If it feels rough or chalky, mineral deposits are probably the cause. Pinpointing the stain type helps you apply the most effective cleaning method, giving you freedom to restore your chair efficiently. Always remember that removing hard water stains often involves using a vinegar and water solution applied carefully to avoid damaging surfaces.
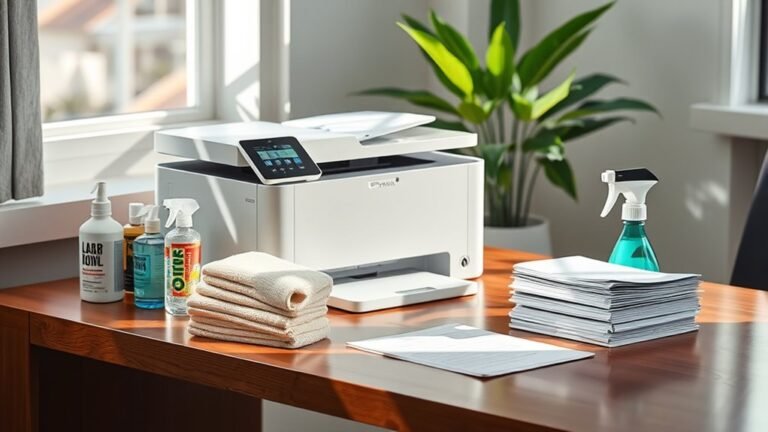
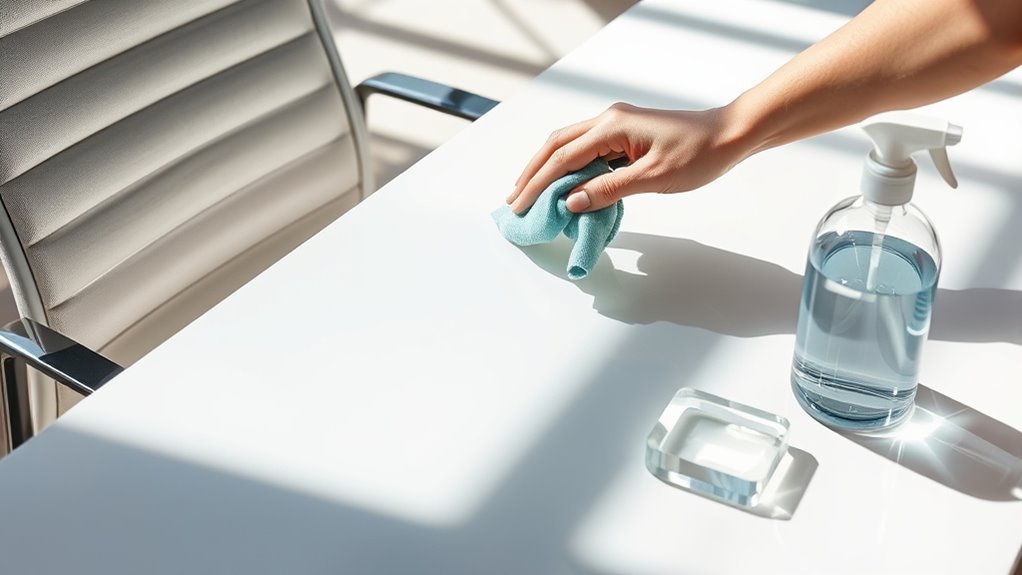
Preparing Your Cleaning Supplies
Before you start, gather essential cleaning tools like soft cloths, a gentle brush, and a spray bottle. Choose safe cleaning solutions suitable for your chair’s material to avoid damage. Don’t forget to prepare protective gear such as gloves to keep your hands safe during the process. It’s important to verify product compatibility with your chair’s surfaces to protect both its integrity and your health.
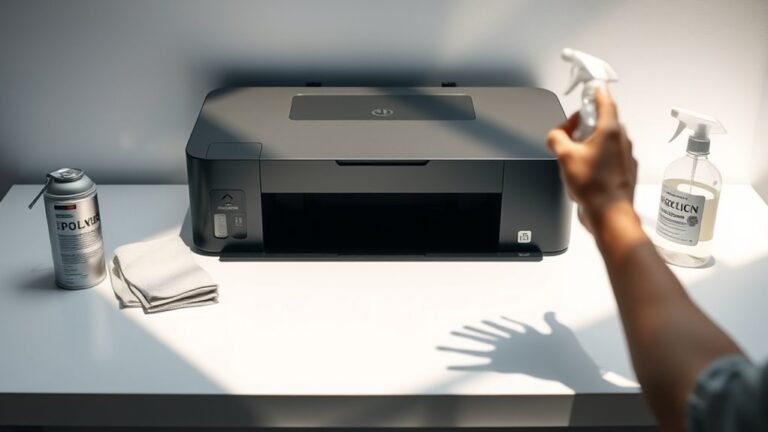
Essential Cleaning Tools
Although removing glass stains might seem straightforward, having the right cleaning tools on hand guarantees you tackle the job efficiently and effectively. Start with microfiber cloths; they’re gentle yet effective for lifting stains without damaging your chair’s material. Next, grab a soft-bristle brush to reach crevices and stubborn spots. A spray bottle is essential for evenly applying your cleaning solution. Don’t forget disposable gloves to protect your hands during stain removal. Additionally, a plastic scraper can help gently lift any dried residue without scratching. Organizing these cleaning supplies before you begin saves time and keeps the process smooth. With these tools ready, you’re set to remove glass stains confidently, maintaining your office chair’s appearance and ensuring your workspace stays fresh and inviting.
Safe Cleaning Solutions
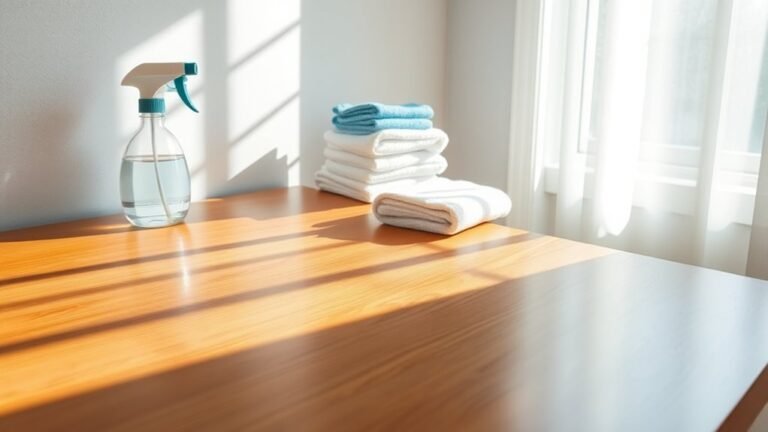
Two safe cleaning solutions stand out for effectively removing glass stains from your office chair without causing damage: a mild dish soap mixture and a white vinegar solution. To prepare the dish soap mixture, combine a few drops of eco friendly dish soap with warm water. This non toxic alternative gently breaks down residues without harsh chemicals. For the vinegar solution, dilute white vinegar with equal parts water, creating a natural cleaner that lifts stains safely. Both options provide freedom from synthetic cleaners, letting you clean confidently. Avoid concentrated products that might harm your chair’s material. Always mix fresh batches, and use a soft cloth to apply. These preparations guarantee your cleaning supplies are effective, safe, and aligned with your preference for eco friendly options.
Protective Gear Preparation
To prepare for stain removal effectively, you’ll need to gather essential protective gear that safeguards both you and your office chair. Start with gloves made of nitrile or latex to protect your skin from harsh chemicals. Wear safety goggles to shield your eyes from splashes during cleaning. Consider a mask if you’re using strong cleaning agents to avoid inhaling fumes. Lay down a drop cloth or old towel beneath the chair to catch drips and prevent damage to your floor. These cleaning precautions guarantee safety and maintain your chair’s condition. Keep all protective equipment within reach before starting to avoid interruptions. By methodically assembling your gear, you maintain freedom from accidents and guarantee a smooth, efficient stain removal process.
Safe Cleaning Methods for Fabric Chairs
When cleaning fabric chairs, you’ll want to choose gentle cleaning agents that won’t damage the material. Always spot test any solution on a hidden area before applying it broadly to avoid discoloration. After cleaning, use proper drying techniques to prevent mold and maintain the fabric’s integrity. Proper ventilation is important to ensure safe cleaning and reduce exposure to fumes from cleaning products, similar to maintaining good air flow during oven cleaning.
Choosing Gentle Cleaning Agents
Although removing glass stains from fabric office chairs might seem straightforward, selecting the right cleaning agents is crucial to avoid damage. You’ll want to use gentle detergents specifically designed for delicate fabrics to prevent color fading or material weakening. Harsh chemicals can break down fibers, reducing your chair’s lifespan. Consider natural alternatives like diluted white vinegar or mild castile soap; these options effectively break down stains without introducing toxins or strong odors. When mixing solutions, stick to small quantities to maintain control and avoid oversaturation. Choosing these gentle agents gives you freedom to clean confidently, preserving both your chair’s appearance and integrity. This careful selection guarantees you tackle stains efficiently while respecting the fabric’s delicate nature.
Spot Testing Before Use
Before applying any cleaning solution to your office chair, you should always perform a spot test on an inconspicuous area. Spot testing verifies the cleaning efficacy without damaging fabric or color. Here’s how to proceed methodically:
| Step | Action | Purpose |
|---|---|---|
| 1 | Choose hidden fabric section | Avoid visible damage |
| 2 | Apply small cleaning solution | Test reaction and absorbency |
| 3 | Wait 10 minutes | Observe changes or discoloration |
| 4 | Assess fabric texture and color | Confirm safety and efficacy |
This process protects your chair’s integrity and lets you clean with confidence. Skipping spot testing risks permanent stains or fading, limiting your freedom to maintain the chair easily. Always prioritize spot testing for safe cleaning methods on fabric chairs.
Proper Drying Techniques
Once you’ve confirmed your cleaning solution is safe through spot testing, proper drying techniques become your next focus to preserve fabric quality. Start by gently blotting excess moisture with a clean, absorbent cloth—avoid rubbing, which can damage fibers. Next, employ drying methods that promote airflow, such as placing the chair near a window or using a fan to circulate air evenly. Avoid direct heat sources like hair dryers, as they can shrink or warp fabric. Maintaining moisture control is essential; excessive dampness encourages mold and odors. If possible, remove cushions or covers to speed drying. Consistent moisture control through careful drying methods guarantees your office chair dries efficiently without compromising material integrity, giving you freedom from stains and damage while extending your chair’s life.
Effective Techniques for Leather Office Chairs
Three key steps will help you effectively remove glass stains from leather office chairs without damaging the material. First, act quickly—blot the stain gently to avoid spreading. Second, use a mild leather cleaner or a mixture of distilled water and vinegar to lift the stain carefully. Third, always condition the leather afterward to maintain its softness and finish, ensuring long-term leather care and stain prevention. Performing a spot test before cleaning is essential to avoid discoloration or damage to the leather.
| Step | Action | Purpose |
|---|---|---|
| 1. Blot | Use a soft cloth to absorb | Prevent stain from spreading |
| 2. Clean | Apply leather cleaner or vinegar | Break down glass residue |
| 3. Condition | Use leather conditioner | Restore moisture, prevent cracks |
Following these steps preserves your chair’s freedom from stains and damage.
Removing Stains From Mesh Office Chairs

Removing stains from mesh office chairs requires a careful approach to avoid damaging the delicate fabric. First, gently vacuum the chair to remove loose dirt and dust. For fresh stains, blot immediately with a clean cloth to prevent setting. Avoid harsh scrubbing, which can fray the mesh fibers. Use a soft brush with mild soap and water to treat stubborn spots, working in small circular motions. After cleaning, rinse with a damp cloth and allow the chair to air dry completely. Regular mesh chair care includes promptly addressing spills and maintaining routine cleaning to support stain prevention. By following these steps, you maintain your chair’s breathability and appearance, preserving freedom of movement and comfort in your workspace. Using eco-friendly supplies can help ensure the cleaning process is safe for both the fabric and the environment.
Using Homemade Cleaning Solutions
Although commercial cleaners can be effective, homemade cleaning solutions offer a safe, affordable alternative for tackling glass stains on your office chair. Start by mixing equal parts white vinegar and water—this simple homemade recipe uses natural ingredients to break down residue without harsh chemicals. Apply the solution to the stain with a clean cloth, gently blotting rather than scrubbing to protect the fabric. For tougher spots, a paste of baking soda and water works well; apply, let sit for 10 minutes, then wipe away with a damp cloth. Always test on a hidden area first to verify colorfastness. These homemade recipes empower you to clean effectively while maintaining control over the ingredients, promoting a healthier workspace and reducing reliance on commercial products. Using cleaning vinegar acts as a natural disinfectant and deodorizer, enhancing the cleaning process safely.
Preventing Future Glass Stains on Your Chair
After tackling existing glass stains with homemade solutions, the next step is to focus on preventing new ones from forming. Start by establishing preventive measures such as using coasters or placemats under glass items on your chair. Avoid placing wet or cold glasses directly on fabric to minimize condensation buildup. Incorporate regular maintenance into your routine by wiping your chair’s surface weekly with a damp cloth to remove dust and minor residues before they settle. If your chair’s fabric allows, consider applying a fabric protector spray to repel moisture and stains. By combining these preventive measures with consistent upkeep, you’ll protect your chair’s appearance and extend its lifespan. Taking these methodical steps guarantees freedom from stubborn glass stains and keeps your workspace clean and inviting. Additionally, setting up a consistent cleaning routine can help maintain the chair’s condition and prevent future stains.
Frequently Asked Questions
Can Glass Stains Damage Office Chair Wheels or Casters?
You might wonder if glass stains can damage your office chair wheels or casters. While glass stains themselves rarely cause direct damage, residues can attract dirt, leading to wear over time. For effective glass stain prevention, clean spills promptly and incorporate regular chair maintenance. Keeping your wheels free from grime makes certain smooth movement, preserving your chair’s freedom of motion and extending its lifespan without compromising functionality or comfort.
How Long Should I Wait to Sit After Cleaning the Stain?
Think of drying time like waiting for the sun to fully shine after a rainstorm—it’s essential for the best results. After you use effective cleaning techniques, you should wait at least 30 minutes to an hour before sitting down. This pause guarantees the stain remover evaporates completely, preventing any residue or dampness from transferring. Giving your chair this short break lets you enjoy freedom from stains and discomfort without rushing the process.
Are There Any Commercial Products Specifically for Glass Stains?
You’ll find commercial products designed for glass cleaning and stain removal in most stores. These cleaners target tough glass stains effectively, breaking down residue without harsh scrubbing. When choosing one, look for labels mentioning stain removal or glass-specific formulas. Always test on a small area first to avoid damage. Using these products gives you a quick, reliable way to restore clarity and keep surfaces spotless, freeing you from stubborn stains.
Can Glass Stains Cause Allergies or Health Issues?
Isn’t it ironic that something as harmless as glass stains might stir up allergy symptoms or health concerns? While glass stains themselves aren’t toxic, the residue or cleaning chemicals used can trigger allergies or irritate your skin and respiratory system. You’ll want to handle stains carefully, ensuring proper ventilation and using hypoallergenic products. That way, you protect your freedom to work comfortably without sneezing or discomfort holding you back.
Is Professional Cleaning Necessary for Severe Glass Stains?
If you’re dealing with severe stains, professional cleaning can be a smart choice. They have specialized tools and products that tackle tough marks without damaging surfaces. While DIY methods might work for light stains, severe stains often require expert attention to fully restore the item’s appearance. Going pro saves you time and frustration, letting you enjoy a clean space without hassle. So, don’t hesitate to call in professionals when stains are stubborn.