Removing Keyboard From Attic Effectively
To remove a keyboard from your attic effectively, first clear a safe path and guarantee stable footing. Gather tools like a flashlight, gloves, and screwdrivers to disconnect cables gently without forcing them. Carefully lift the keyboard and place it on a stable surface. Afterward, clean dust with a soft brush and remove keycaps for a thorough wash. Proper preparation and handling protect both you and the keyboard; if you want to enhance your care or explore creative uses, there’s more to discover.
Assessing the Condition of Your Keyboard
Before you remove the keyboard from your attic, you should carefully assess its condition to avoid any surprises later. Start by inspecting the exterior for dust, moisture damage, or corrosion, which can shorten the keyboard lifespan. Next, test each key to confirm it registers properly; stuck or unresponsive keys indicate functionality issues. Check the connection port or cable for wear or fraying, as these affect performance. If possible, connect the keyboard to a computer to verify full operation. Evaluating functionality thoroughly helps you decide if restoration is worth the effort or if replacement is a better option. This practical assessment guarantees you maintain your freedom to use reliable equipment without unexpected setbacks after removal. Additionally, using gentle, non-abrasive cleaners can help preserve the keyboard’s surface if cleaning is necessary.
Preparing Your Attic for Safe Removal
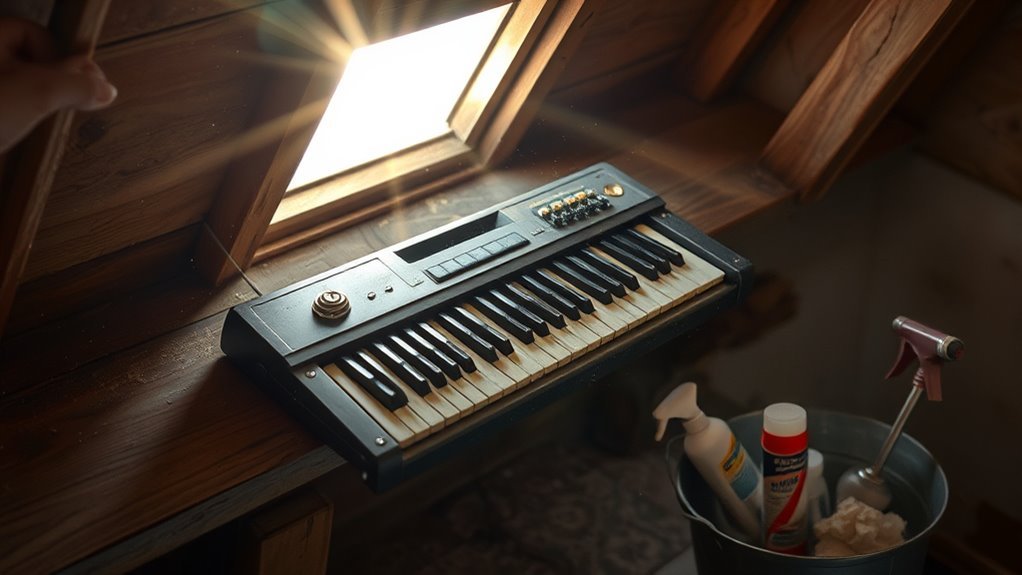
Although your attic might seem cluttered or cramped, preparing the space properly is crucial to safely remove the keyboard without damage to it or yourself. Prioritizing attic safety and keyboard preservation will help you work efficiently and avoid accidents.
- Clear a Path: Remove obstacles around the keyboard to guarantee you have ample room to maneuver without tripping or hitting fragile items.
- Check Flooring Stability: Inspect the attic floor to confirm it can support your weight and the keyboard’s. Use sturdy boards if needed to prevent falls.
- Improve Lighting and Ventilation: Brighten the space with portable lights and guarantee good airflow to reduce heat and dust exposure, protecting both you and the keyboard.
Tools and Materials Needed for the Task
A reliable set of tools and materials will make removing the keyboard from your attic much easier and safer. Prioritize attic safety by gathering protective gear and sturdy equipment to avoid accidents. These items also aid in keyboard maintenance, ensuring it remains damage-free during removal.
| Tool/Material | Purpose | Tips for Use |
|---|---|---|
| Flashlight | Illuminate dark attic areas | Use a headlamp for hands-free |
| Gloves | Protect hands from debris | Choose durable, grip-enhanced |
| Screwdriver Set | Remove fasteners securing keyboard | Use magnetic tips to avoid losing screws |
With these essentials, you’ll maintain control and safety throughout the task, making the process efficient and secure.
Step-by-Step Guide to Removing the Keyboard
Before you start removing the keyboard, make certain the area is clear and you have your tools within reach. Carefully disconnect any cables or fasteners without forcing them to avoid damage. Follow the extraction steps methodically to guarantee a safe and smooth removal process.
Preparing for Keyboard Removal
To prepare for removing the keyboard from your attic, you’ll need to gather the right tools and clear the workspace to guarantee safety and efficiency. Proper attic organization is essential—removal safety depends on it. Here’s what to do before you start:
- Clear the Area: Remove clutter around the keyboard to prevent tripping hazards and make certain you have enough room to maneuver.
- Get the Right Tools: Assemble screwdrivers, gloves, a flashlight, and a sturdy box to place the keyboard once removed.
- Check Stability: Inspect the attic floor and beams for secure footing. Use a stable ladder for access and wear protective gear to avoid injury.
Following these steps will streamline your work and help you maintain removal safety throughout the process.
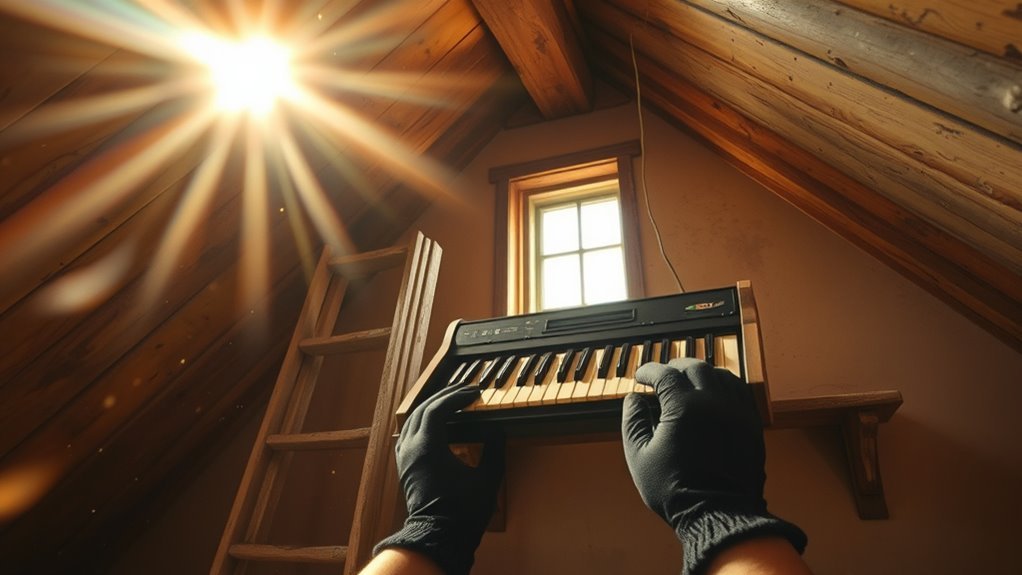
Safe Extraction Techniques
Three key steps will guide you through safely extracting the keyboard from your attic. First, verify you have proper lighting and wear protective gear to mitigate attic hazards like nails or insulation debris. Next, carefully disconnect any cables attached to the keyboard, noting their positions for reassembly. Then, gently lift the keyboard, avoiding sudden movements that could damage its components or disturb loose attic materials. Maintain keyboard safety by placing it on a stable surface immediately after removal. Throughout the process, move deliberately to prevent accidents common in confined attic spaces. By following these steps, you’ll protect both yourself and the keyboard, making the extraction efficient and hazard-free, granting you the freedom to use your keyboard without worry.
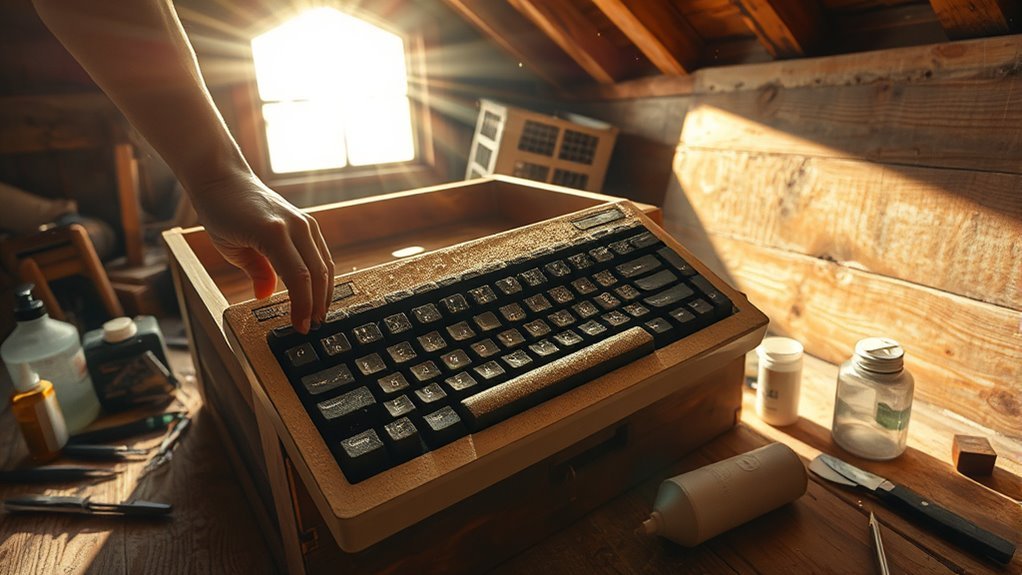
Cleaning and Restoring the Keyboard After Removal
Once you’ve removed the keyboard, start by using a soft brush or compressed air to clear away loose dust and debris. Next, carefully remove the keycaps for a thorough soak and scrub to eliminate grime buildup. Finally, wipe down the internal components with isopropyl alcohol, ensuring everything is dry before reassembling. Always remember to disconnect and power off your keyboard beforehand to ensure safety and prevent damage during cleaning safety precautions.
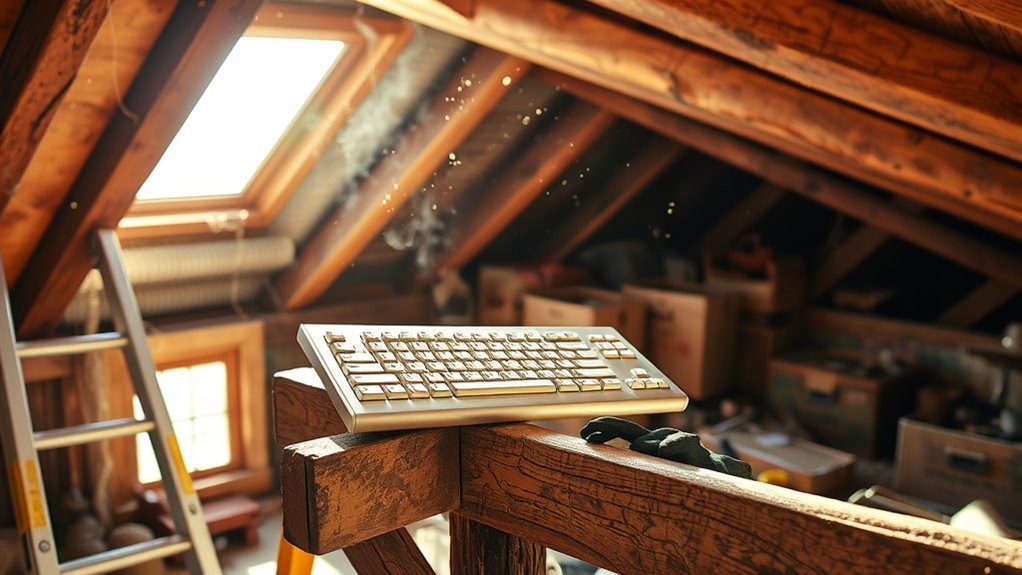
Initial Dusting Techniques
Anyone tackling the cleaning of a keyboard removed from an attic will want to start with a gentle dusting to avoid damaging delicate components. Dusting techniques are vital for maintaining attic cleanliness and preserving your keyboard’s functionality. Here’s how you should begin:
- Use a soft-bristled brush or a microfiber cloth to gently sweep away loose dust without forcing particles deeper into the keyboard.
- Employ compressed air in short bursts to dislodge dust from between keys, holding the keyboard upside down to let debris fall away.
- Avoid liquids or harsh cleaners at this stage; they can cause damage or push dirt further inside.
Keycap Deep Cleaning
Before you start deep cleaning the keycaps, make sure you’ve carefully removed them from the keyboard without bending the clips. Different keycap materials—like ABS or PBT—respond best to specific cleaning solutions. For ABS keycaps, a mild detergent mixed with warm water works well, while PBT keycaps can handle slightly stronger solutions without damage. Soak the keycaps in the solution for about 30 minutes to loosen grime. Use a soft brush or cloth to gently scrub each keycap, focusing on crevices where dirt hides. Rinse thoroughly with clean water and dry them completely on a towel to avoid moisture damage. This method restores your keycaps’ appearance and keeps them functional, giving you freedom from sticky, grimy keys without risking harm.
Internal Component Care
Although you’ve already cleaned the keycaps, you’ll need to carefully address the keyboard’s internal components to guarantee peak performance. Internal component maintenance is essential for restoring your keyboard after removal and ensuring smooth functionality. Here’s how to proceed:
- Use compressed air to blow out dust and debris between the switches and circuit board without touching delicate parts.
- Dampen a lint-free cloth with isopropyl alcohol (70% or higher) and gently wipe the PCB and stabilizers, avoiding excess moisture.
- Inspect for corrosion or loose connections; if found, carefully clean or resolder as needed to maintain electrical integrity.
Tips for Storing or Repurposing Your Keyboard
When you’re ready to store or repurpose your keyboard, the first step is to clean it thoroughly to prevent dust and grime buildup. Use compressed air to blow out debris between keys and a damp cloth with mild cleaner for the surface. For keyboard storage, wrap it in an anti-static bag and place it in a sturdy box to protect against moisture and physical damage. Label the box clearly for easy identification. If you’re exploring repurposing ideas, consider turning the keyboard into a unique art piece, a DIY keypad for custom shortcuts, or even a planter with the keys removed. These practical steps guarantee your keyboard stays functional or gains new life, allowing you the freedom to reuse or store it effectively. Regular cleaning supports a healthier, more productive space and extends the lifespan of your keyboard.
Frequently Asked Questions
Can Attic Heat Damage My Keyboard Over Time?
Yes, attic temperature effects can definitely harm your keyboard over time. High heat and humidity can warp plastic parts and damage internal electronics. For keyboard preservation tips, store it in a climate-controlled space or use airtight containers with desiccants to reduce moisture. Avoid leaving your keyboard exposed to attic heat for long periods if you want it to last. Taking these steps helps keep your gear reliable and ready to use whenever you want.
How Do I Dispose of an Old Keyboard Responsibly?
Before you toss that old keyboard like it’s a relic from the 1980s, consider recycling options. First, check if local e-waste facilities accept keyboards; they safely break down components. You can also donate it to centers supporting schools or nonprofits, giving someone else freedom to use it. Remove batteries if any, then clean and package it. This way, you dispose responsibly and keep harmful materials out of landfills.
Are Wireless Keyboards Easier to Remove From an Attic?
Yes, wireless keyboards offer clear wireless advantages when you’re retrieving them from tight attic spaces. Without cumbersome cables, you’ll find keyboard convenience in maneuvering through cramped areas much easier. To remove one, you simply grab it and go—no tangled cords to slow you down. This freedom lets you focus on the task without hassle. So, if you value ease and flexibility, wireless keyboards definitely make attic removal simpler.
What Are Common Signs of Keyboard Electrical Failure?
Isn’t it just great when your keyboard decides to act up right when you need it? Common keyboard malfunction symptoms include unresponsive keys, erratic cursor movements, or complete failure to power on. These often stem from electrical component issues like damaged circuits or loose connections. To regain your freedom from frustration, check for visible damage, clean contacts, or test with another device. Fixing these early saves you from being chained to tech troubles.
Can Keyboard Removal Affect Attic Insulation or Wiring?
When you remove a keyboard from your attic, you need to be careful not to disturb the keyboard insulation around it. If you’re not gentle, you could accidentally cause wiring damage hidden nearby. To avoid this, turn off power first, use proper tools, and carefully separate the keyboard without pulling on wires. This way, you maintain your attic’s insulation integrity and keep your wiring safe, ensuring everything stays functional and efficient.