Removing Keyboard From Desk Effectively
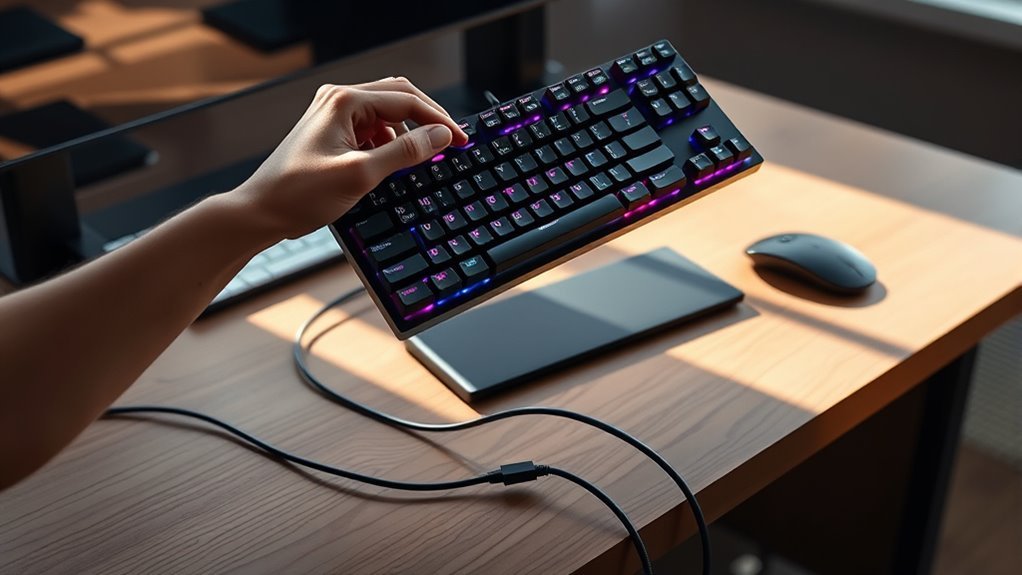
To remove your keyboard effectively, first identify its type and connection—wired or wireless—then power down your computer. Clear your workspace for easy access, and unplug the keyboard carefully, holding the connector rather than the cable. For wireless models, remove batteries to avoid damage. If mounted or adhesive-attached, gently release clips or tape without forcing. After removal, clean and organize your desk for a streamlined setup. Follow these steps, and you’ll be set to master every detail of the process.
Assessing Your Keyboard Type and Connection
How do you know which keyboard type and connection you’re dealing with? Start by identifying your keyboard’s compatibility with your device. Check if it’s wired or wireless, as connection types vary—USB, Bluetooth, or older PS/2 connectors. Wired keyboards use physical cables, while wireless ones rely on Bluetooth or RF receivers. Examining the cable or receiver will clarify the connection type, vital for removal steps. Understanding your keyboard’s design—mechanical, membrane, or scissor-switch—also helps anticipate its structure and attachment method. This methodical assessment guarantees you avoid damage and select the proper tools. By accurately identifying keyboard compatibility and connection types, you maintain control and freedom throughout the removal process without surprises or setbacks.
Preparing Your Workspace for Keyboard Removal
Before you start removing your keyboard, make certain your workspace is organized and free from clutter. Clear any documents, accessories, or cables that might obstruct your access or get damaged during removal. Workspace organization not only simplifies the process but also prevents accidental disruptions. Next, consider ergonomic considerations: position your chair and desk height to maintain a comfortable posture, minimizing strain when handling your keyboard. Guarantee good lighting to avoid mistakes and reduce eye fatigue. Prepare a flat, stable surface nearby to place the keyboard once removed, keeping it secure and accessible. By setting up your environment thoughtfully, you’ll streamline the removal process and maintain your freedom to adjust your setup without stress or delay. This preparation lays the groundwork for smooth, efficient keyboard removal. Additionally, it is important to power down and unplug your keyboard before removal to prevent accidental inputs or damage.
Disconnecting Wired Keyboards Safely

Once your workspace is ready, you’ll want to safely disconnect your wired keyboard to prevent any damage to the device or your computer. First, power down your computer or put it to sleep. Identify the connection type—USB or PS/2—before unplugging. Disconnect gently by holding the connector, not the cable, to maintain keyboard safety and avoid frayed wires.
| Step | Action | Tip |
|---|---|---|
| 1 | Power down or sleep computer | Prevents data loss |
| 2 | Identify connection type | USB or PS/2 |
| 3 | Unplug connector, not cable | Protects cable and port |
Following these steps guarantees your keyboard and computer remain safe, giving you the freedom to move or replace your setup confidently.
Removing Wireless Keyboard Components
Start by powering down your wireless keyboard and your computer to prevent any accidental inputs or data loss. Next, locate the battery compartment—usually on the back—and open it using simple battery removal methods like sliding or unclipping the cover. Remove the batteries carefully to avoid corrosion or damage. If you plan to fully disassemble the keyboard, familiarize yourself with keyboard disassembly techniques, such as unscrewing hidden screws or gently prying apart snap-fit sections. Take note of connector cables and small parts to maintain order. By methodically removing batteries and components, you gain full control over your device’s maintenance or replacement. This practical approach guarantees your freedom from tangled wires and keeps your workspace clean without risking damage to your keyboard or desk surface. Always ensure you power down and unplug the device before beginning any removal or cleaning to protect your keyboard and avoid electrical damage.
Handling Keyboards With Mounting Clips or Adhesives

After removing batteries and internal components, you might find that your keyboard is secured to the desk with mounting clips or adhesives. To free it, first identify the mounting techniques used. Clips often require gentle prying with a flat tool to avoid damage. Work slowly around the edges, releasing each clip carefully. For adhesive options, apply a gentle heat source, like a hairdryer, to soften the glue, making removal easier. Avoid pulling abruptly to prevent surface damage. If residue remains, use an appropriate adhesive remover, ensuring it’s safe for your desk’s material. Understanding these mounting techniques and adhesive options lets you remove your keyboard cleanly, giving you the freedom to reposition or replace it without hassle. Always proceed methodically to maintain both your keyboard and desk integrity. Using soft bristle brushes can help clean small crevices after removal to keep your workspace tidy.
Cleaning and Maintaining Your Keyboard Post-Removal
A clean keyboard performs better and lasts longer, so it’s important to maintain it after removal. Start by unplugging the keyboard and using compressed air to blow out dust and debris from between the keys. For deeper cleaning, gently remove keycaps if your model allows it, then wipe the surface with a microfiber cloth dampened with isopropyl alcohol. Employ keyboard sanitization techniques like using disinfectant wipes or sprays designed for electronics to kill germs without damaging components. Regularly inspect your keyboard for sticky keys or debris buildup and address these promptly. Incorporate these keyboard maintenance tips into your routine to prevent grime accumulation and guarantee smooth functionality. By staying proactive with cleaning, you preserve both hygiene and the keyboard’s lifespan, giving you freedom from sticky keys and unreliable performance. Using microfiber cloths ensures effective dust removal while protecting your keyboard’s surface during cleaning.
Reorganizing Your Desk After Keyboard Removal
Now that your keyboard is off the desk, it’s a good time to clear any surface clutter and rethink your workspace layout. Focus on arranging items for easy access and freeing up space where the keyboard once sat. Don’t forget to manage cables neatly to keep your desk tidy and prevent tangles.
Clearing Surface Clutter
Three simple steps can help you clear surface clutter once your keyboard is removed. First, assess your desk’s surface organization to identify items you actually use. Next, apply decluttering techniques by sorting essentials from non-essentials. Finally, designate specific zones to keep your workspace tidy and functional.
- Remove everything from the desk surface.
- Wipe down and clean the empty desk.
- Sort items into categories: daily use, occasional use, and discard.
- Return only essentials to your desk, placing them in logical, accessible spots.
Optimizing Desk Layout
With your desk cleared and only the essentials returned, it’s time to rethink how you arrange your workspace. Prioritize desk ergonomics by placing frequently used items within easy reach to reduce strain. Embrace workspace efficiency by grouping similar tools together, so your flow remains uninterrupted.
| Item | Position | Purpose |
|---|---|---|
| Monitor | Centered | Eye-level for comfort |
| Mouse/Touchpad | Right or left | Close to dominant hand |
| Notepad | Adjacent | Quick jotting |
Keep your space flexible; avoid fixed spots for items you seldom use. This approach frees you from clutter and fosters a dynamic environment, aligning with your desire for freedom and focus.
Cable Management Tips
Managing cables effectively after removing your keyboard can transform your workspace from tangled chaos into streamlined efficiency. To maintain freedom and order, use these cable organization strategies and efficient routing techniques:
- Assess and Label: Identify each cable’s purpose and label them for easy recognition.
- Bundle and Secure: Group cables with velcro straps or clips to prevent tangling.
- Route Strategically: Guide cables along desk edges or under trays to keep them out of sight and reach.
- Use Cable Management Tools: Employ cable sleeves, raceways, or adhesive clips to maintain a clean setup.
Frequently Asked Questions
Can I Remove My Keyboard Without Shutting Down My Computer?
Oh sure, just yank your keyboard out mid-typing and watch your computer throw a tantrum! But seriously, you don’t need to shut down. You can safely unplug your keyboard anytime—modern systems handle this gracefully. Just avoid mashing random keyboard shortcuts while unplugging to prevent accidental commands. It’s practical to save work first, ensuring freedom from data loss. So, go ahead, unplug safely and keep your workflow smooth without a full shutdown.
How Do I Prevent Losing Small Keyboard Parts?
To prevent losing small keyboard parts, start by working in a clean, well-lit area. Use a shallow tray or magnetic mat to hold keys and screws securely. Keep keyboard maintenance tips handy, like labeling or photographing part placements before removal. For long-term care, consider keyboard storage solutions like compartmentalized boxes or resealable bags to organize components. Staying methodical gives you freedom to dismantle and reassemble without frustration or lost parts.
Are There Special Tools Needed for Mechanical Keyboards?
Think of your mechanical keyboard as a miniature castle—you need the right keys to reveal its secrets. A keycap puller is your essential tool, letting you safely remove keys without damage. Pair it with a cleaning kit to banish dust and grime, keeping your setup pristine. You don’t need fancy gadgets, just these practical tools to maintain freedom in customizing and cleaning your keyboard efficiently.
Can Keyboard Removal Damage My Desk Surface?
Yes, keyboard removal can damage your desk surface if you’re not careful. The risk depends on your desk material—softer woods or laminates scratch easily. Also, consider keyboard weight; heavier keyboards can cause dents or marks if dropped or dragged. To protect your desk, lift the keyboard gently rather than sliding it. Using a soft cloth or mat underneath can shield sensitive surfaces, giving you more freedom to move without worry.
How Often Should I Remove My Keyboard for Cleaning?
Like clockwork, you should aim to remove your keyboard for cleaning every one to two weeks to prevent dust accumulation from becoming a big headache. Keyboard cleaning frequency depends on your environment and usage, but sticking to this routine keeps your setup fresh and functional. Use dust accumulation tips like gentle air blasts or soft brushes to clean without damage. Staying consistent gives you the freedom to work comfortably without grime getting in your way.