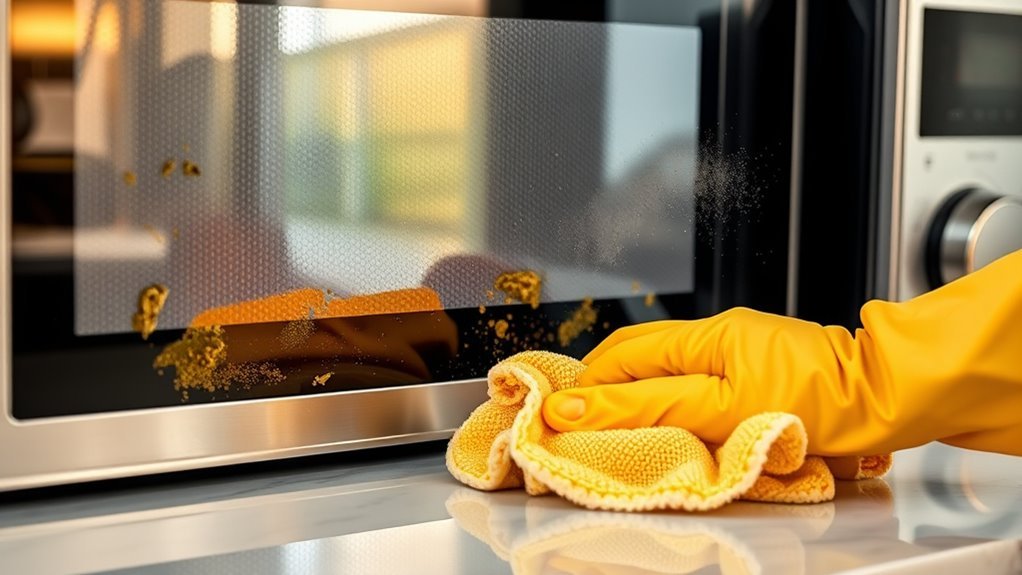
Removing Microwave Stains From Kitchen
To remove microwave stains, fill a microwave-safe bowl with water and vinegar, then heat it for 5 minutes to create steam that loosens grime. Wipe down the interior with a microfiber cloth. For grease, apply a baking soda paste, let it sit, then scrub gently. Lemon juice can also help break down food residues. Regularly covering food and wiping spills prevents stains. Keep exploring to discover more tips for maintaining a spotless microwave effortlessly.
Effective Household Ingredients for Microwave Cleaning
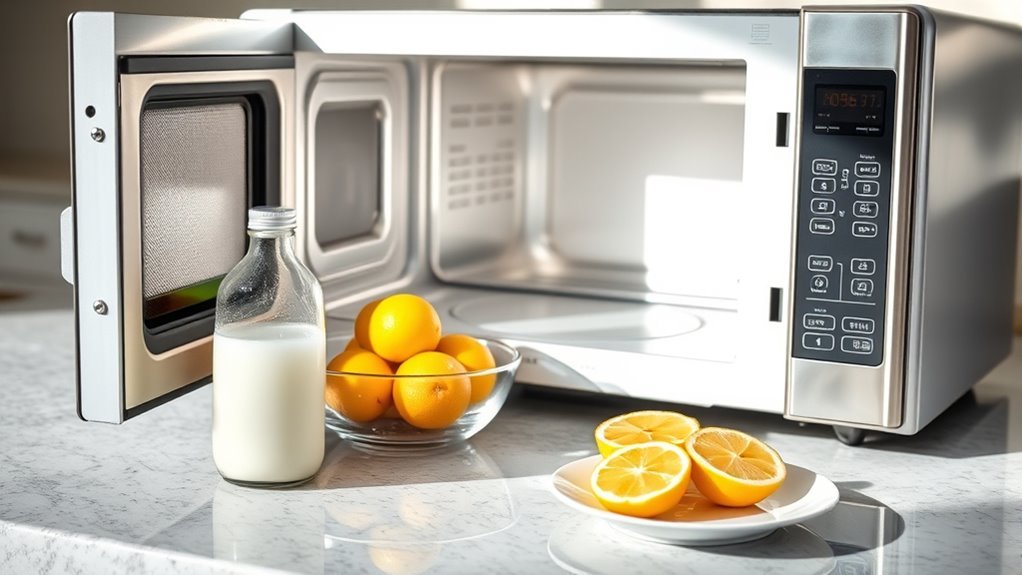
Although commercial cleaners are available, you can effectively remove microwave stains using common household ingredients like vinegar, lemon, and baking soda. Lemon juice is particularly effective because its natural acidity breaks down grease and food residues. Add a few drops of essential oils, such as tea tree or lavender, to boost cleaning power and leave a fresh scent. Baking soda acts as a gentle abrasive, helping you scrub away tough stains without scratching surfaces. Vinegar’s acidity also dissolves grime and deodorizes your microwave. Combining these ingredients allows you to clean efficiently while avoiding harsh chemicals, giving you freedom from commercial products. By using what you already have at home, you maintain control over the cleaning process and keep your kitchen environment safe and fresh. For best results, always use gentle, non-abrasive cleaners to protect your appliances and ensure a streak-free finish.
Step-by-Step Guide to Steam Cleaning Your Microwave
First, you’ll prepare a simple cleaning solution using common household ingredients. Then, you’ll use the microwave to steam clean by heating the solution inside. Finally, you’ll wipe down and dry the interior to remove any loosened stains and residue.
Preparing the Cleaning Solution
Before you start the steam cleaning process, you’ll need to prepare an effective cleaning solution that loosens stains and grime inside your microwave. Begin by choosing the right cleaning solutions; natural alternatives like a mixture of water and white vinegar work wonders. Simply combine one cup of water with one tablespoon of vinegar in a microwave-safe bowl. If you prefer, you can add a few drops of lemon juice for a fresh scent and added cleaning power. These natural alternatives avoid harsh chemicals, giving you freedom from strong odors and residue. Make sure the bowl is large enough to create ample steam but small enough to fit comfortably inside your microwave. Once prepared, your cleaning solution is ready to use in the steam cleaning process.
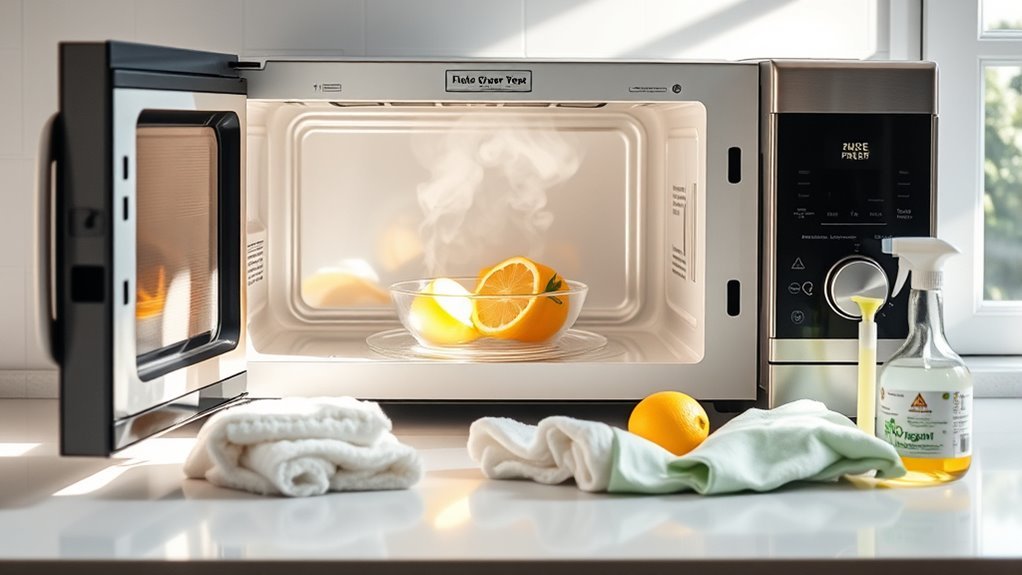
Microwave Steam Cleaning Process
Once you’ve prepared your cleaning solution, place the microwave-safe bowl inside the microwave and run it on high power for about five minutes. The steam power generated will loosen stubborn stains and food particles clinging to the interior walls. As the steam fills the cavity, it softens grime, making it easier to remove. Additionally, this process helps with odor elimination, leaving your microwave smelling fresh and clean. After the cycle ends, keep the door closed for a few minutes to let the steam work its magic fully. This step guarantees maximum stain loosening without extra effort. Using steam power is an efficient, hands-off method that saves time while maintaining your freedom from harsh scrubbing or chemical use.
Wiping and Drying Tips
Three simple steps will help you wipe and dry your microwave effectively after steaming. First, use proper wiping techniques to remove loosened stains without spreading residue. Second, apply efficient drying methods to prevent moisture buildup and odors. Finally, verify all surfaces are spotless and dry to maintain a fresh microwave interior.
Follow these tips for best results:
- Use a microfiber cloth or sponge for gentle but thorough wiping
- Wipe in circular motions to lift stains efficiently
- Change cloth sides frequently to avoid redepositing stains
- Air dry the door and vents by leaving them open for a few minutes
- Finish with a dry cloth to absorb any remaining moisture
Mastering these wiping techniques and drying methods keeps your microwave clean and ready for use without hassle.
Removing Grease and Oil Stains With Baking Soda
To tackle grease and oil stains, you’ll want to create a baking soda paste by mixing it with water. Apply the paste directly to the stains, letting it sit for a few minutes to break down the buildup. Use a gentle scrub and wipe clean, repeating as needed for stubborn spots. Using gentle products helps avoid damage to delicate microwave surfaces while effectively removing stains.
Baking Soda Paste
Although grease and oil stains can seem stubborn, a baking soda paste offers a simple and effective way to lift them from your microwave surfaces. This method leverages baking soda benefits, including its mild abrasiveness and natural deodorizing power. To make your own paste, mix baking soda with water until you get a spreadable consistency.
Here’s why this baking soda recipe works well:
- Gently scrubs without scratching surfaces
- Breaks down oily residues efficiently
- Neutralizes odors trapped in stains
- Is non-toxic and eco-friendly
- Easy to prepare with common kitchen ingredients
Application Techniques
Start by applying the baking soda paste directly onto the greasy or oily areas inside your microwave. Use a soft cloth or sponge to spread it evenly, ensuring the paste covers all stubborn stains. Let it sit for 10 to 15 minutes to break down the grease effectively. Afterward, gently scrub the spots using circular motions to lift the buildup without damaging surfaces. Wipe away the residue with a damp cloth, then dry the area thoroughly. To maintain freedom from tough stains, stick to a regular cleaning frequency—ideally once a week or after heavy use. This routine not only keeps your microwave spotless but also aids in stain prevention, making future cleanings quicker and less effortful. Consistency is key to a grease-free kitchen environment.
Stain Removal Tips
When tackling grease and oil stains with baking soda, it’s important to prepare a thick paste by mixing the powder with just enough water to hold its shape. This paste works wonders for stain prevention and helps maintain your microwave’s cleanliness with minimal effort. Here’s how to maximize its effectiveness:
- Apply the paste directly onto the stain and let it sit for 10-15 minutes.
- Gently scrub with a soft cloth or sponge to break down grease.
- Wipe off with a damp cloth to remove residue.
- Rinse the area with water and dry thoroughly.
- Adjust cleaning frequency based on stain buildup to avoid tough residue.
Using Vinegar to Eliminate Odors and Stains
Since vinegar is a natural deodorizer and mild acid, you can use it effectively to eliminate both odors and stains from your microwave. Its vinegar benefits include breaking down grease and neutralizing unpleasant smells, making it an ideal solution for odor removal. Here’s a simple method: mix equal parts vinegar and water in a microwave-safe bowl, heat for 5 minutes, then wipe clean.
| Step | Action |
|---|---|
| Prepare Solution | Mix vinegar and water (1:1) |
| Heat | Microwave for 5 minutes |
| Clean | Wipe interior with a cloth |
This method frees you from harsh chemicals and tackles stains and odors efficiently, giving your microwave a fresh feel. Using a natural vinegar spray is an eco-friendly and cost-effective alternative to toxic cleaners.
Tips for Tackling Tough Food Residue

Although vinegar works well for general cleaning, tough food residue often requires more targeted approaches. When dealing with stubborn food splatter, you’ll want to maximize efficiency while maintaining your microwave. Here are some tips to help you tackle those stubborn stains and keep up with microwave maintenance:
- Use a baking soda paste: apply it to the residue, let it sit, then scrub gently.
- Heat a bowl of water with lemon slices for 3-5 minutes to loosen grime.
- Employ a soft-bristle brush to reach crevices without scratching surfaces.
- Avoid harsh chemicals that can damage your microwave’s interior.
- Wipe down immediately after use to prevent food buildup.
Regular cleaning prevents buildup and extends your microwave’s lifespan, so establish a cleaning schedule to keep it in top condition.
These steps give you control over tough stains, ensuring your microwave stays clean and functional.
Preventing Future Microwave Stains
To keep your microwave clean longer, adopting simple habits can prevent stains from forming in the first place. Using microwave covers when heating food is one of the easiest ways to avoid splatters and spills inside. These covers trap steam and food particles, reducing mess and making cleanup quicker. Additionally, practicing regular maintenance by wiping down the microwave after each use stops residue from building up and turning into stubborn stains. Make it a habit to clean spills immediately rather than letting them dry. Also, verify that containers used are microwave-safe and covered properly to minimize splashing. By consistently using microwave covers and performing regular maintenance, you’ll keep your microwave looking fresh and free from stains, saving you time and effort in the long run. Incorporating natural cleaners like baking soda into your routine can also enhance cleaning effectiveness while keeping the process eco-friendly.
Safe Practices for Maintaining Microwave Cleanliness
When you maintain a regular cleaning routine and handle your microwave carefully, you greatly reduce the risk of stains and odors. Following safe cleaning practices guarantees your appliance stays efficient and hygienic. Here are essential microwave maintenance tips to keep in mind:
- Wipe spills immediately to prevent buildup.
- Use microwave-safe containers to avoid damage and stains.
- Clean with a damp cloth and mild detergent, avoiding harsh chemicals.
- Ventilate the microwave after use to reduce moisture and odor.
- Regularly remove and clean the turntable and interior surfaces.
Frequently Asked Questions
Can Microwave-Safe Covers Reduce Stain Buildup?
You might find that using microwave covers can greatly reduce stain buildup. These covers act as a barrier, preventing food splatters from reaching the microwave’s interior surfaces. By choosing microwave-safe covers, you’re not only protecting your appliance but also making stain prevention easier and more effective. This simple step helps keep your microwave cleaner longer, giving you the freedom to enjoy quick meals without worrying about tough cleanup later.
How Often Should I Deep Clean My Microwave?
You should follow frequency guidelines to keep your microwave in top shape—deep clean it about once a week or every two weeks, depending on use. Setting cleaning schedules helps you avoid buildup and odors, giving you freedom from tough stains later. If you cook messier meals, clean more often. Regular deep cleaning guarantees your microwave stays fresh and efficient, saving you time and effort in the long run.
Does Microwave Stain Removal Affect Appliance Warranty?
You should always check your microwave’s warranty guidelines before doing any stain removal. Some manufacturers specify cleaning methods or products to avoid voiding the warranty. Using harsh chemicals or abrasive tools might damage the appliance’s interior, potentially affecting coverage. To stay safe, stick to gentle cleaners and recommended techniques. That way, you protect your microwave and keep your warranty intact, giving you freedom to clean without worry.
Are Commercial Microwave Cleaners More Effective Than Homemade Solutions?
When deciding between commercial cleaners and homemade solutions, you’ll find commercial cleaners are often more effective due to specialized ingredients targeting tough stains. However, homemade solutions can be safer and more eco-friendly, offering you freedom from harsh chemicals. It really depends on your priorities: if you want quick, powerful cleaning, commercial cleaners might be best; if you prefer control over ingredients and cost savings, homemade solutions work well. Choose what fits your lifestyle.
Can Certain Foods Cause Permanent Microwave Stains?
Imagine those bright red splatters from spicy foods or the stubborn yellow tint acidic ingredients like tomato sauce leave behind. Yes, these can cause permanent microwave stains if not cleaned promptly. The pigments and acids latch onto the microwave’s interior surfaces, making them tougher to remove over time. To keep your appliance looking fresh, you should wipe spills quickly and regularly, preventing those stubborn, lingering marks from setting in for good.


