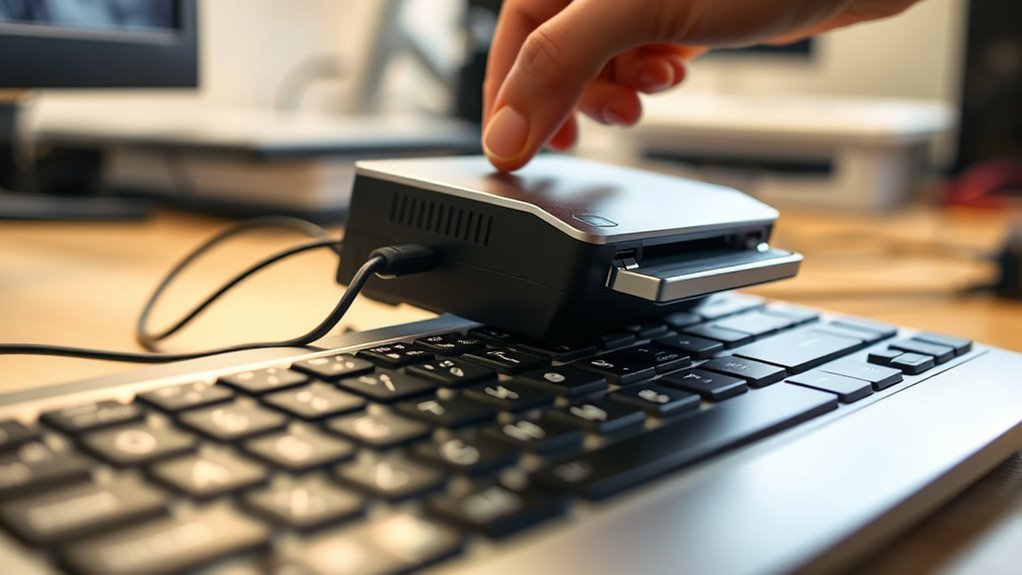
Removing Printer From Keyboard Effectively
To remove your printer cleanly from your keyboard, first identify the connection type—usually USB—and turn off both devices. Make sure all print jobs are finished, then carefully unplug the cable by holding the connector, not the wire, to avoid damage. Check for any wireless links if connected that way. After unplugging, confirm both devices function properly to prevent issues. If you want to get the most out of your setup, there’s more helpful info to explore.
Identifying the Connection Between Printer and Keyboard
How exactly is your printer connected to your keyboard? To gain true freedom in managing your devices, you need to identify the link between them first. Printer compatibility varies widely, so understanding whether your printer supports direct connections or relies on intermediary devices is essential. Different keyboard types—mechanical, membrane, or wireless—also influence how peripherals interact. Some keyboards come with USB or PS/2 ports that might support printer connections, though this setup is rare and typically not recommended. By knowing your keyboard type and checking your printer’s compatibility, you can avoid unnecessary restrictions and confidently approach removing that connection. This clarity empowers you to regain control over your workspace without guessing or risking damage to your hardware.
Understanding Common Connection Types
Although it might seem unusual, some keyboards can connect to printers using specific ports or adapters. You’ll often encounter USB standards like USB-A or USB-C, which serve as common connection types for both devices. These standards guarantee compatibility and fast data transfer but can vary depending on your hardware’s age and design. On the other hand, wireless protocols such as Bluetooth and Wi-Fi offer more freedom by eliminating cables altogether. They allow your keyboard and printer to communicate seamlessly, giving you a clutter-free workspace. Understanding these connection types helps you identify how your devices link up, making it easier to safely disconnect or remove the printer from your keyboard without causing damage or losing functionality.
Safely Powering Down Your Devices
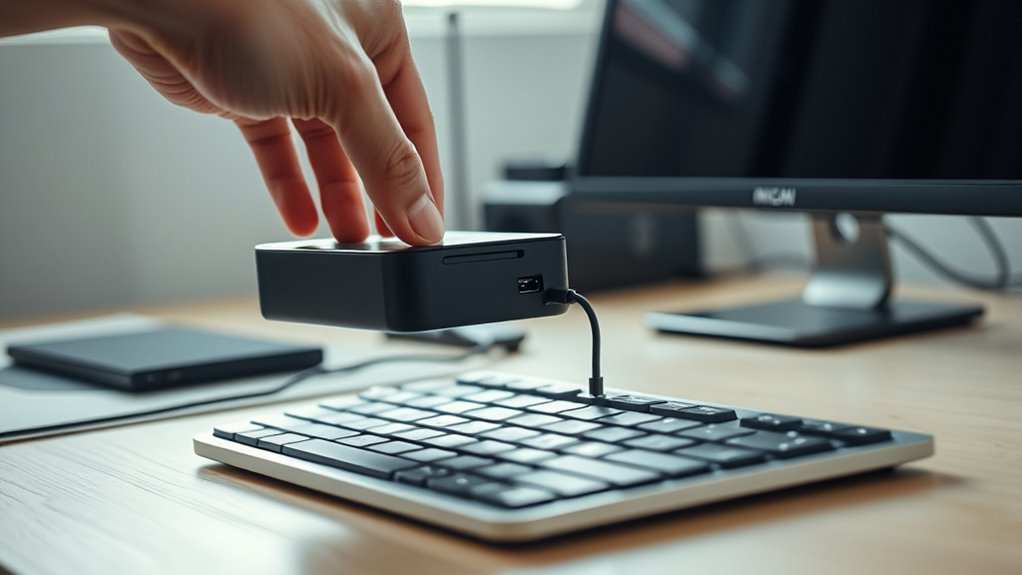
Before you disconnect your printer from the keyboard, make certain you power down both devices properly to prevent data loss or hardware damage. Start by shutting down any active print jobs and closing software controlling the printer. Then, turn off the printer using its power button. Next, safely shut down the keyboard or computer it’s connected to, guaranteeing all processes end smoothly. Once both devices are off, unplug them from their power sources to eliminate any residual electrical charge. This step is essential for device safety, protecting your hardware and giving you the freedom to disconnect without risk. Taking these precautions guarantees your equipment stays in good condition, letting you maintain control and avoid frustration down the line.
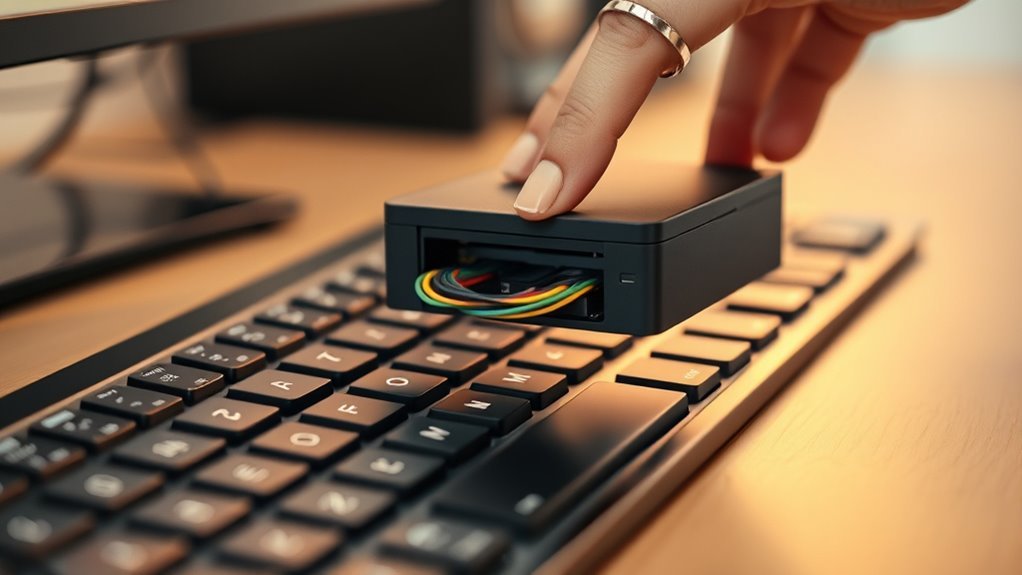
Disconnecting the Printer Cable From the Keyboard
First, find where the printer cable connects to your keyboard. Make sure your devices are powered off to avoid any damage. Then, carefully unplug the cable without forcing it.
Locate Printer Connection Port
You’ll find the printer connection port on the back of your keyboard, where the printer cable plugs in. Knowing exactly where this port is lets you take control and disconnect your printer without hassle. Printer port types vary—common ones include USB, parallel, or older serial connectors—so you’ll want to identify which matches your setup. Understanding connection compatibility guarantees you’re not forcing a fit or risking damage. Take a moment to observe the shape and size of the port; it should align perfectly with your printer cable’s end. Once you locate the correct port, you’re set to proceed confidently with unplugging. This step frees you from unnecessary confusion and keeps your workspace organized and efficient.
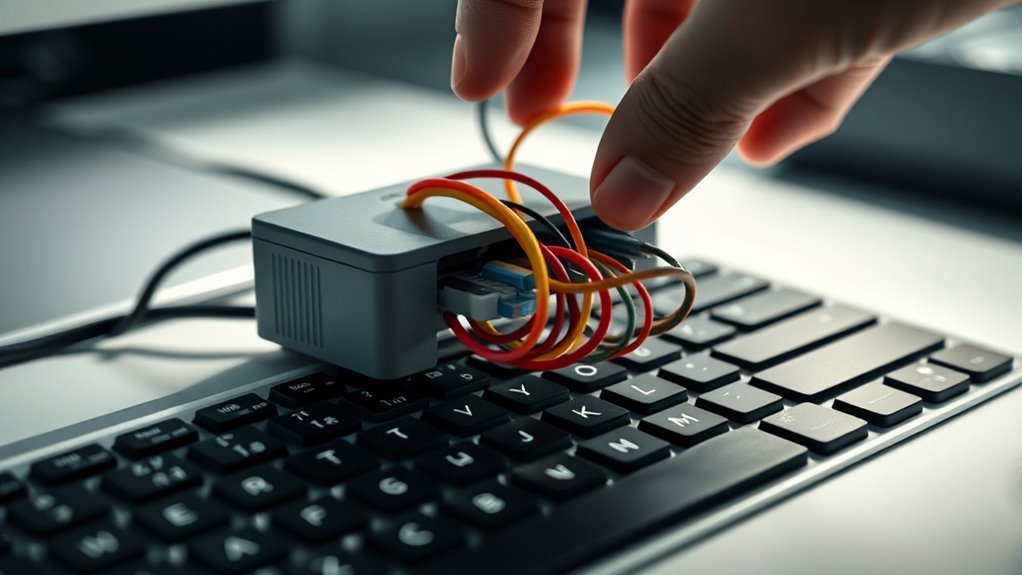
Safely Unplug Cable
Grip the printer cable firmly near the connector to avoid tugging on the wire itself when unplugging it from the keyboard. This simple unplugging technique prevents damage to both the cable and the port, ensuring your devices stay in great shape. Don’t rush—gently wiggle the connector if it feels stuck, allowing it to release smoothly without force. As you disconnect, keep cable management in mind by guiding the cable away from other cords and clutter, preserving a neat workspace and reducing wear. By mastering these unplugging techniques, you gain freedom from worry about accidental damage and maintain a clean environment. Taking care with each step lets you confidently remove the printer cable while protecting your gear and workspace.
Troubleshooting Connection Issues
If your printer isn’t connecting after removal, start by diagnosing any connectivity problems. Check for port conflicts that might be causing the issue. Addressing these can help restore proper communication between your devices.
Diagnosing Connectivity Problems
When your printer isn’t responding, there are several key steps you can take to diagnose connectivity problems. Start by performing wireless troubleshooting if you’re using a Wi-Fi connection. Check if your printer is connected to the correct network and that your signal is strong enough. Next, do a thorough cable inspection—ensure all cords are firmly plugged in and undamaged. Finally, verify your device settings to confirm your computer recognizes the printer.
- Confirm your printer’s Wi-Fi status light is on and steady
- Inspect USB or Ethernet cables for frays or loose ends
- Check your computer’s printer settings for recognition and error messages
Following these steps gives you the freedom to pinpoint and fix connection issues quickly, keeping your workflow smooth.
Resolving Port Conflicts
Although port conflicts might not be obvious at first, they can prevent your printer from communicating properly with your computer. To regain control, start by checking your port settings in the device manager or printer properties. Verify the assigned port matches the cable connection type. Proper cable management further reduces confusion and interference, making troubleshooting easier.
| Issue | Solution |
|---|---|
| Incorrect port type | Change port to match connection |
| Multiple devices | Disable unused ports |
| Loose cable | Secure connections properly |
| Driver conflicts | Update or reinstall drivers |
Preventing Future Accidental Connections
Since accidental connections between your printer and keyboard can disrupt your workflow, taking steps to prevent them is essential. You want freedom to work smoothly without unexpected interruptions. Start by adjusting your printer settings to avoid automatic connections that confuse your system. Next, implement effective cable management—keep printer and keyboard cables organized and separate to minimize mix-ups. Finally, label your cables clearly to identify each device quickly. Consider these tips:
- Use color-coded cable ties to separate printer and keyboard wires visually.
- Configure your printer settings to disable automatic device recognition.
- Position your devices so their cables don’t overlap or tangle.
Verifying Printer and Keyboard Functionality After Removal
After you’ve removed the printer from your keyboard setup, it’s vital to verify that both devices are still working properly. First, check your keyboard functionality by typing a few sentences or using keyboard shortcuts to confirm every key responds as expected. Next, test your printer functionality by sending a test print job from your computer. This confirms the printer is connected correctly and ready to operate independently. If either device isn’t functioning as it should, double-check all cables and connections, then restart your devices. Taking these simple steps guarantees you maintain full control and freedom over your workspace without unwanted interruptions. Verifying printer functionality and keyboard functionality after removal gives you peace of mind and keeps your setup running smoothly.
Frequently Asked Questions
Can a Printer Cause Keyboard Lag or Input Delays?
Imagine you’re halfway through an important project, and your keyboard suddenly lags every time you print a document. It’s frustrating, right? Printer performance can sometimes hog system resources, causing keyboard responsiveness to drop. When your printer runs heavy tasks or has driver conflicts, it might slow down your input devices. To keep your freedom flowing, check for updated drivers and avoid running intense print jobs alongside typing-heavy tasks.
Is It Safe to Remove the Printer While the Computer Is On?
You can usually unplug your printer while your computer’s on without any issues, thanks to modern printer connections like USB or wireless that support hot-swapping. Just make sure any ongoing print jobs are finished first to avoid data loss. For hardware safety, avoid yanking the cable abruptly—disconnect it gently. This way, you keep your freedom to move devices around safely without risking damage to your printer or computer.
How Do I Reconnect the Printer After Removal?
Did you know over 50% of printer issues stem from connection problems? To reconnect your printer, start the printer reinstallation process by plugging it back in and turning it on. Your computer should detect it automatically, but if not, manually add it via settings. This freedom lets you troubleshoot printer issues easily—update drivers or run the troubleshooter if needed. Soon, you’ll be printing smoothly without hassle.
Can Printer Drivers Affect Keyboard Performance?
You might be surprised, but printer drivers generally don’t affect your keyboard performance directly. However, if there’s a printer compatibility issue or outdated driver updates causing system conflicts, it could indirectly slow down or interfere with your keyboard’s responsiveness. To keep everything running smoothly and maintain your freedom to work without hiccups, regularly check for driver updates and verify your printer’s compatibility with your system. That way, you won’t have to deal with unexpected glitches.
What Tools Are Needed to Remove a Printer Cable Safely?
When you want to disconnect your printer cable safely, you’ll need a few printer cable tools like a small screwdriver or cable ties remover to loosen any clips. Use safe removal techniques by powering off devices and gently pressing release tabs before pulling the cable out. Taking these steps helps you avoid damage and keeps your setup flexible. You’ve got the freedom to manage your gear without hassle or risk.