Removing Tile From Blanket Effectively
To remove tile from a blanket effectively, start by evaluating the tile’s adhesion and the fabric texture. Use gentle tools like a putty knife and possibly a heat gun to soften adhesive without damaging fibers. Work slowly, applying minimal force to prevent tears, and clean residue with a mild, fabric-safe solvent. Protect the blanket by removing tiles in small sections and inspecting for weak spots. Following these steps guarantees efficient removal while preserving your blanket’s integrity—further guidance will help you perfect the process.
Understanding the Blanket Surface and Tile Adhesion
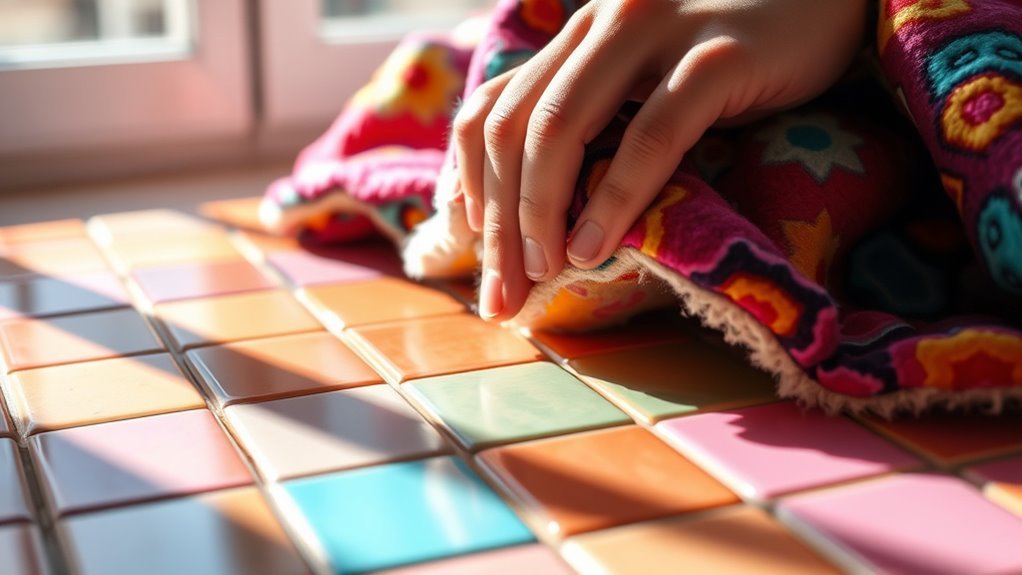
Before you begin removing tile from a blanket, it is crucial to understand the blanket’s surface material and how the tile adheres to it. Different tile types—ceramic, porcelain, or stone—bond uniquely depending on the surface texture. A smooth blanket surface often results in stronger adhesion, while a textured or porous surface may cause varied tile attachment. Recognizing these differences gives you control over the removal process, allowing you to apply the right technique without damaging the blanket. You’ll want to assess the tile’s bond strength by inspecting the surface texture closely. Once you grasp how tile types interact with the blanket’s material, you can approach the task with precision, ensuring you maintain freedom from unnecessary damage or effort throughout the removal. It is also important to choose gentle cleaning techniques that respect the blanket texture to preserve its softness and longevity during the removal process.
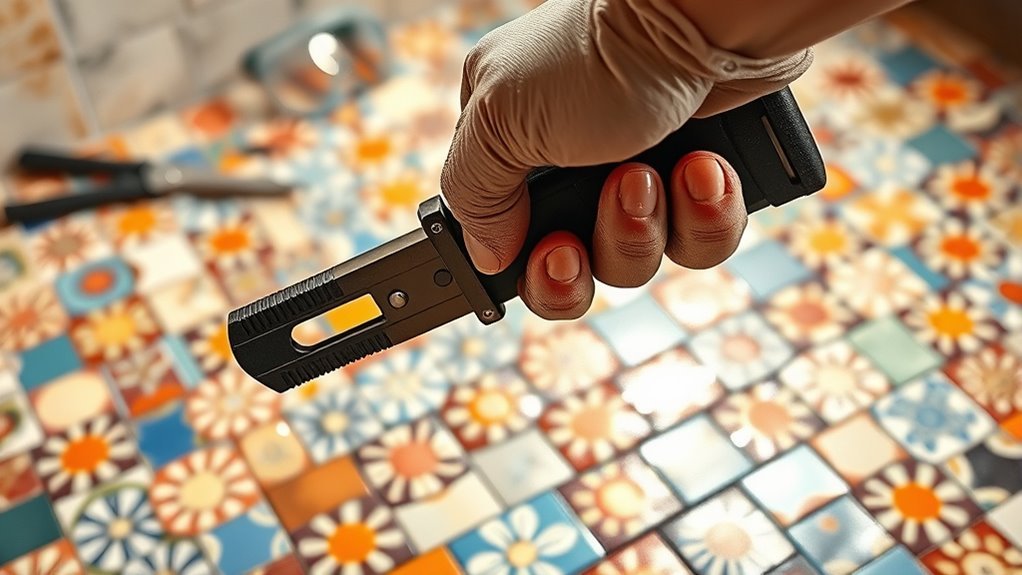
Essential Tools for Removing Tile From Blanket
Effective tile removal from a blanket requires having the right tools at your disposal. Choosing appropriate equipment guarantees you maintain blanket care while efficiently detaching tiles. Precision and care are vital to prevent damage. It is also important to handle delicate fabrics carefully to avoid weakening or fading during the removal process, as improper treatment can affect the fabric integrity.
| Tool | Purpose |
|---|---|
| Putty Knife | Gently pries tiles without tearing |
| Heat Gun | Softens adhesive for easier removal |
| Gloves | Protects hands during tile removal |
You’ll want to avoid harsh scraping tools that can degrade fabric integrity. Instead, rely on these essential tools to control the tile removal process and preserve your blanket’s quality. With the right gear, you gain freedom from frustration and damage, making your project smoother and your blanket lasting longer.
Step-by-Step Process to Remove Tile Safely
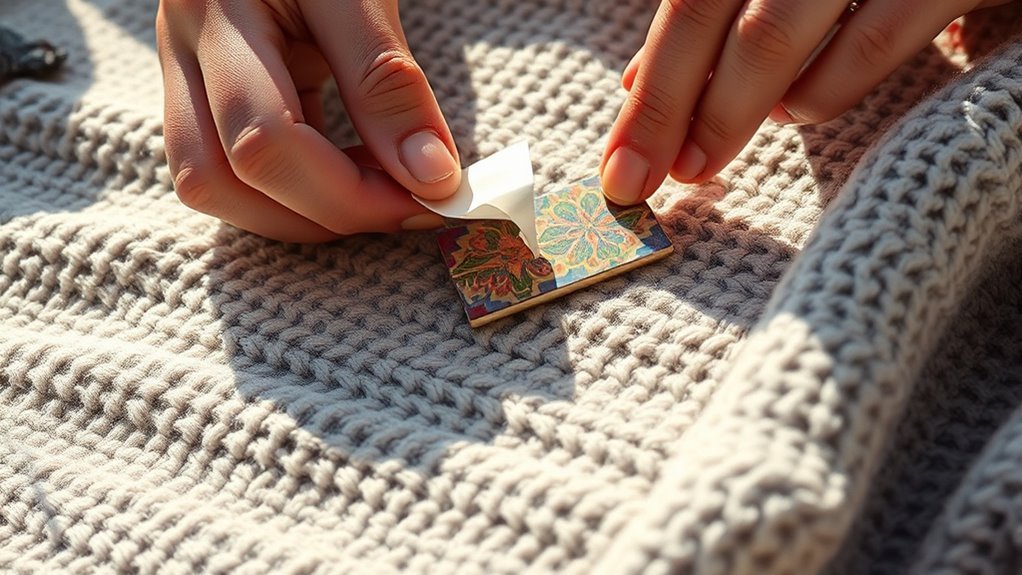
With the right tools in hand, you can approach tile removal on your blanket methodically to avoid fabric damage. First, identify a loose tile edge and gently pry it using a flat tool designed for tile removal techniques. Work slowly, applying minimal force to prevent tearing fibers. Next, use a soft brush to clear any debris from beneath the tile, maintaining blanket care standards. If adhesive residue remains, apply a fabric-safe solvent sparingly and blot it with a clean cloth. Continue this process tile by tile, ensuring you maintain even pressure and avoid stretching the blanket. Finally, inspect the area for any weak spots and handle them with extra caution. This systematic approach will help you remove tiles safely while preserving your blanket’s integrity.
Tips for Minimizing Damage to the Blanket
Although tile removal can be delicate, you can minimize damage to the blanket by controlling the amount of force applied during each step. Understanding fabric care and adhesive types guarantees you protect the blanket’s integrity. Here’s how you can proceed:
- Identify the adhesive type: Use solvents or heat suitable for the specific adhesive to loosen tiles without aggressive scraping.
- Apply gentle pressure: Use tools with soft edges or cushioning to prevent fabric tears or distortion.
- Work incrementally: Remove tiles in small sections, allowing you to monitor fabric condition and adjust techniques accordingly.
Cleaning and Preparing the Blanket After Tile Removal

Once you’ve carefully removed the tiles, you’ll need to clean and prepare the blanket to restore its condition and guarantee it’s ready for future use. Start by applying targeted cleaning techniques such as using a soft brush or vacuum to remove loose debris without damaging the fibers. For stubborn adhesive residues, employ a mild solvent compatible with the blanket material, ensuring you test a small area first. After cleaning, use preparation methods like inspecting for tears or worn spots, then apply appropriate patching or reinforcement. Finally, allow the blanket to dry completely in a well-ventilated space to prevent mold or mildew. These systematic cleaning techniques and preparation methods preserve the blanket’s integrity, giving you freedom to reuse it effectively without compromising performance. Regular cleaning and quick spill cleanup extend the life of materials and prevent issues like moisture damage.
Frequently Asked Questions
Can I Reuse the Removed Tiles on Another Blanket?
You can reuse removed tiles on another blanket if the tile condition remains intact—no cracks or damage. Check the adhesive compatibility too; the new blanket’s material should bond well with the tile’s adhesive or you might need a fresh adhesive layer. Always test a small area first to guarantee durability. By paying attention to these details, you’re free to repurpose tiles efficiently without compromising performance or aesthetics.
How Long Does Tile Removal From a Blanket Usually Take?
Imagine peeling back a layered puzzle—tile removal time varies depending on your method and blanket tile techniques used. Typically, it takes anywhere from 30 minutes to a few hours, influenced by your skill and the tile’s adhesion. Using precise tools and steady hands speeds the process, granting you freedom from frustration. Mastering these techniques guarantees you remove tiles efficiently, preserving both tile and blanket integrity for your next creative project.
Are There Eco-Friendly Adhesives for Blanket Tile Applications?
You can definitely explore eco friendly options when selecting adhesives for blanket tile applications. There are adhesive alternatives made from natural resins, water-based formulas, and low-VOC compounds that minimize environmental impact. These choices offer strong bonding without harmful emissions, letting you maintain freedom in your design while prioritizing sustainability. Always check technical specs to ascertain compatibility and durability for your specific project, balancing performance with eco-conscious responsibility.
What Safety Gear Is Essential During Tile Removal?
Imagine invisible hazards swirling as you chip away—this is why safety goggles and a dust mask are your best allies. You’ll want safety goggles to shield your eyes from flying debris, while a dust mask protects your lungs from harmful dust and particles. Gloves and sturdy footwear complete your protective gear, ensuring you work confidently and freely without risking injury during tile removal. Don’t compromise safety; gear up smartly and stay in control.
Can Professional Services Guarantee No Blanket Damage?
You can’t expect professional services to guarantee no blanket damage during tile installation, but experienced technicians greatly reduce risks. They use specialized tools and methods that prioritize blanket maintenance, minimizing wear or tears. If you want freedom from constant repairs, hire pros familiar with delicate surfaces and proper adhesive removal. While no one can promise perfection, their expertise offers the best chance to preserve your blanket’s integrity throughout the process.


