Removing Toilet From Washer Effectively
To remove a toilet stuck to your washer effectively, first verify the washer is powered off and unplugged. Gently attempt to separate the units without forcing, protecting both surfaces from damage. Use a putty knife or similar tool to loosen any adhesion gently. Check for any rubber seals or caulking that may be binding them together and carefully cut through if needed. Handling this carefully prevents appliance damage and sets the stage for proper washer performance; you’ll find more tips on maintaining washer stability next.
Identifying the Causes of Washer Shaking

Although washer shaking can seem random, pinpointing its causes is essential for effective removal of a toilet from the washer. Vibration issues often stem from improper washer installation, such as uneven flooring or insufficient leveling. You’ll want to verify that the washer sits firmly on the floor with all feet adjusted to guarantee stability. Loose or worn suspension components can also contribute to excessive shaking, so inspect shock absorbers and springs for damage. Additionally, confirm that the washer is not in close proximity to other objects that could amplify vibrations. Addressing these technical factors directly reduces unnecessary movement, allowing you to safely and efficiently remove a toilet from the washer without risk of further damage or disruption.
Balancing Your Laundry Load Properly
Properly balancing your laundry load is essential to maintaining washer stability and preventing excessive shaking. When you distribute clothes unevenly, the washer struggles to spin smoothly, risking damage and noise. To optimize load distribution within your washer capacity, follow these steps:
Balancing your laundry load prevents washer instability and reduces shaking, noise, and potential damage.
- Sort by weight and size: Separate heavy items like towels from lightweight fabrics to avoid imbalance.
- Distribute evenly: Place clothes uniformly around the drum’s circumference to prevent lopsided spinning.
- Avoid overloading: Respect the washer capacity limits; overfilled drums hinder proper agitation and create uneven loads.
Using non-abrasive cleaners on your washer’s surfaces can help maintain its appearance while you keep the internal load balanced.
Checking and Adjusting Washer Leveling

Once you’ve balanced your laundry load correctly, the next step is to confirm your washer itself sits level. Begin by placing a reliable leveling tool, like a bubble level, on the washer’s top surface. Check both front-to-back and side-to-side measurements. Uneven readings mean you’ll need to adjust the washer feet. Most washers have adjustable feet that you can turn clockwise or counterclockwise to raise or lower each corner. Use locking nuts if available to secure the feet once adjusted. Ascertain all feet maintain firm contact with the floor to prevent rocking. Proper leveling reduces vibrations and prevents damage caused by imbalance. By precisely adjusting your washer feet with leveling tools, you maintain operational stability and freedom from unnecessary wear or noise.
Inspecting Suspension and Shock Absorbers
The suspension system and shock absorbers play an essential role in stabilizing your washer during cycles. To maintain freedom from shaking and noise, you need to perform a thorough shock absorber inspection. Focus on these suspension components:
- Visual Check: Look for leaks, cracks, or dents on each shock absorber. Damaged ones cannot dampen vibrations effectively.
- Movement Test: Push down on the washer’s drum corners. If it bounces excessively or feels loose, shocks may be worn out.
- Mounting Points: Verify all bolts and brackets securing suspension components are tight and undamaged to prevent wobbling.
Addressing failures in suspension components guarantees your washer operates smoothly, minimizing the risk of damage or instability during heavy loads or spin cycles.
Preventative Maintenance Tips for Stable Washing

Although regular inspections help identify issues early, adopting preventative maintenance practices secures your washer remains stable and efficient over time. Start by routinely cleaning the detergent dispenser and drum to prevent residue buildup, which can impair performance. Check hoses for cracks or leaks every six months and replace them if necessary to avoid water damage. Balance the load during each wash cycle to minimize stress on suspension components. Additionally, verify your washer is level by adjusting its feet, reducing vibrations and wear. Incorporate these preventative measures into your regular washer maintenance schedule to extend the appliance’s lifespan. By proactively maintaining your machine, you’ll avoid costly repairs and enjoy consistent, trouble-free operation that aligns with your desire for freedom and reliability in laundry tasks. Regular cleaning and maintenance routines, similar to those recommended for dishwasher filters, can significantly improve appliance performance and longevity.
Frequently Asked Questions
Can Washing Machines Cause Toilet Plumbing Issues?
Yes, washing machines can cause toilet clogs and plumbing backups if their discharge lines are improperly connected or overloaded. When wastewater from your washer backs up, it can increase pressure in shared drainpipes, leading to blockages affecting your toilet. To prevent this, make certain your washing machine drains correctly through a standpipe with proper venting and avoid flushing non-degradable items down the toilet, maintaining freedom from plumbing hassles.
How Do I Safely Disconnect My Washer From the Toilet Drain?
Before you plunge in, imagine the chaos if water floods your floor—so proceed cautiously. To safely disconnect your washer drain from the toilet connection, first turn off the water supply and unplug the washer. Then, locate the drain hose linked to the toilet plumbing. Loosen the clamp securing the hose, gently detach it, and cap both ends to prevent leaks. This careful approach guarantees your plumbing stays intact while freeing your washer.
Are There Specific Washer Models Less Prone to Shaking?
Yes, front load washers generally have better vibration reduction technology compared to top loaders, making them less prone to shaking. When choosing a model, look for features like advanced suspension systems, balanced drum designs, and anti-vibration pads. These elements help minimize movement during spin cycles, giving you more freedom to place the washer in various spaces without worrying about excessive noise or damage. Prioritize models with proven stability for a smoother laundry experience.
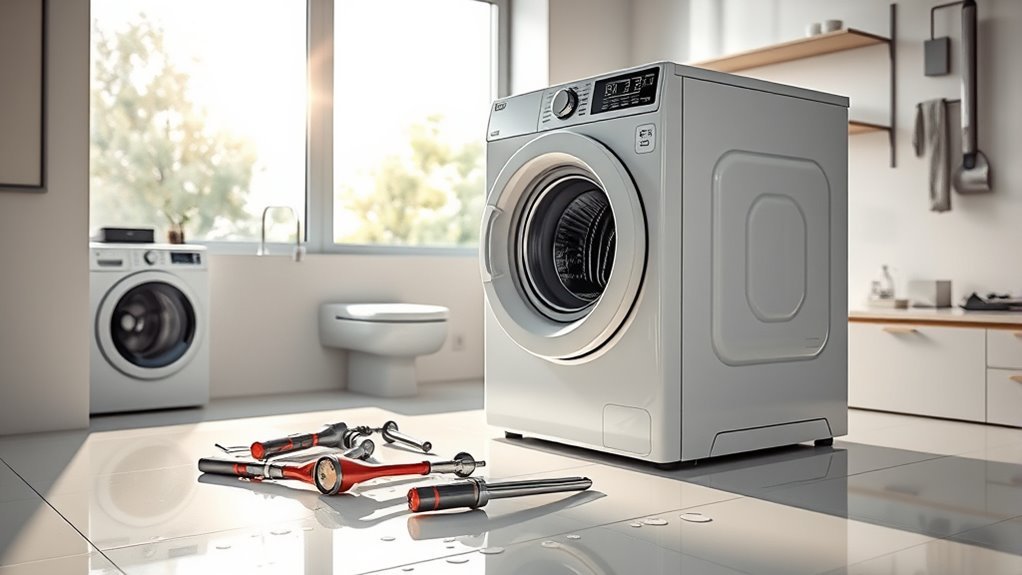
What Tools Are Needed to Remove a Washer Near a Toilet?
When removing a washer near a toilet, you’ll need specific tools to handle the job safely and efficiently. Essential plumbing tools include an adjustable wrench for loosening water connections, a screwdriver for removing panels or securing bolts, and pliers for gripping hoses. A utility knife helps cut any seals or tape from the washer installation. Having a bucket and towels handy prevents water spills, ensuring a smooth, mess-free removal process.
Can Water Pressure Affect Washer Stability Near a Toilet?
Yes, water pressure can greatly affect washer stability near a toilet. If the pressure fluctuates or is too high, it can cause vibrations and movement, compromising the washer’s balance. You’ll want to make sure your water supply lines maintain consistent, regulated pressure to keep the washer stable. Using pressure-reducing valves or shock absorbers can help manage this, giving you the freedom to operate your washer without worrying about instability issues near the toilet.


