Removing Washer From Conference Table Effectively
To remove a washer from your conference table effectively, gather screwdrivers, pliers, and penetrating oil. Clear and light your workspace, then identify the washer type and how it’s fastened. Loosen screws or bolts carefully, applying oil if rusted to ease removal. Protect the table surface by working gently and using proper tools. If the washer is worn or corroded, consider replacing it. Keep following to discover tips on handling stubborn washers and selecting durable replacements.
Tools Needed for Removing a Washer
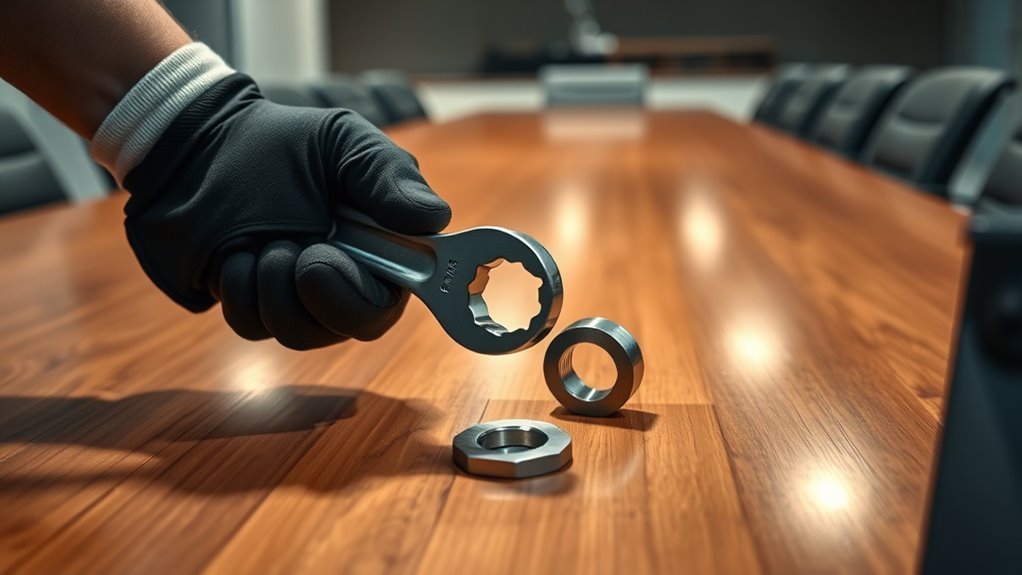
To remove a washer from a conference table, you’ll need a few essential tools to make the job efficient and safe. Start with a set of screwdrivers or an adjustable wrench, depending on the washer types you’re dealing with—flat, split lock, or fender washers each demand specific handling. A pair of pliers can help grip stubborn washers during removal. Additionally, a flashlight will illuminate tight spaces, making removal techniques easier to execute. If the washer is corroded or stuck, penetrating oil can loosen it without damaging the table. Remember, having the right tools empowers you to apply precise removal techniques, preventing damage to your conference table and granting you the freedom to maintain it yourself. Stay prepared, stay efficient, and take control of the process.
Identifying the Type of Washer on Your Table
Before you start removing the washer, you need to identify its type by checking common varieties like flat, lock, or split washers. Take note of the material—metal, rubber, or plastic—and measure its size for an accurate fit. Use a close visual inspection to spot any markings or features that distinguish the washer on your conference table.
Common Washer Varieties
Washers come in several common varieties, each designed for specific functions and materials. When removing a washer from your conference table, you’ll encounter flat washers, which distribute load evenly; lock washers, which prevent loosening from vibration; and fender washers, featuring larger outer diameters for added surface area. Knowing these washer types helps you understand their applications—flat washers are standard for general use, lock washers secure fasteners under stress, and fender washers protect delicate surfaces. Identifying the washer type guarantees you handle removal properly without damaging your table. Keep in mind, using the right approach for each washer application frees you from guesswork and prevents unnecessary damage, maintaining your conference table’s integrity and extending its lifespan.
Material and Size Check
One key step in removing a washer from your conference table is identifying its material and size. Knowing washer materials and washer sizes helps you choose the right tools and techniques, preventing damage and saving time. Washers can vary widely, so you need to:
- Determine if the washer is metal, plastic, rubber, or composite
- Measure the outer diameter and inner hole size precisely
- Note the thickness to understand its fit and function
- Identify any markings or coatings that indicate special properties
This clear identification sets you up for a smooth removal process. You’ll avoid guesswork and guarantee you’re prepared with the appropriate equipment. Taking this step seriously means you stay in control and keep your workspace intact, giving you the freedom to work efficiently without unwanted setbacks.
Visual Inspection Tips
A thorough visual inspection helps you quickly identify the type of washer on your conference table and determine the best removal approach. Start by applying visual inspection techniques to check the washer’s material—metal, plastic, or rubber—which influences the tools and care needed. Next, focus on washer condition assessment: look for signs of rust, corrosion, cracks, or deformation. These details tell you if the washer is stuck or fragile, guiding your removal strategy. Also, note the washer’s shape and thickness; some may be flat, others beveled or split, affecting how you grip and extract them. By mastering these visual inspection techniques, you gain confidence and freedom to tackle the removal efficiently, avoiding damage to your table and hardware.
Preparing the Work Area for Washer Removal
Before you start removing the washer from the conference table, clear the surrounding area to confirm you have enough space to work comfortably and safely. Preparing the work area is vital to avoid accidents and guarantee a smooth removal process. Follow these safety precautions:
Clear the surrounding area to ensure enough space and safety before removing the washer from the conference table.
- Remove any obstacles or clutter around the table.
- Confirm adequate lighting to see all washer components clearly.
- Wear appropriate protective gear, such as gloves and safety glasses.
- Have tools and materials organized and within easy reach.
Step-by-Step Guide to Removing the Washer
You’ll need a few basic tools before starting—typically a screwdriver, wrench, and pliers. Follow the removal procedure carefully to avoid damaging the table or hardware. Let’s walk through each step to guarantee a smooth, efficient process.
Tools Needed
Although removing the washer from a conference table may seem straightforward, having the right tools on hand is essential to avoid damage and guarantee efficiency. Proper tool selection is key to smooth washer removal, ensuring you maintain the table’s integrity and save time.
For this task, you’ll need:
- Flathead screwdriver: to carefully pry the washer without scratching the surface.
- Adjustable wrench: for loosening any nuts or bolts securing the washer.
- Needle-nose pliers: to grip and extract washers from tight spots.
- Soft cloth or padding: to protect the table during removal.
With these tools, you’ll have everything necessary to perform washer removal confidently and cleanly, preserving both your freedom to work independently and the quality of your conference table.
Removal Procedure
Start by locating the washer and evaluating how it’s secured to the conference table. Identify whether it’s held by screws, bolts, or adhesive, as understanding the washer installation techniques used will streamline removal. Gather the necessary tools, like a screwdriver or wrench, based on your assessment. Carefully loosen and remove fasteners without damaging the table surface. If adhesive is present, gently apply a solvent recommended in washer maintenance tips to break the bond. Once free, lift the washer away with steady hands to avoid scratches. Inspect the area for residue or damage, cleaning as needed. Following this step-by-step removal procedure guarantees you preserve the table’s integrity and maintain freedom from unnecessary repairs. Adhering to these guidelines complements your knowledge of washer maintenance tips and installation techniques.
Dealing With Stubborn or Rusted Washers
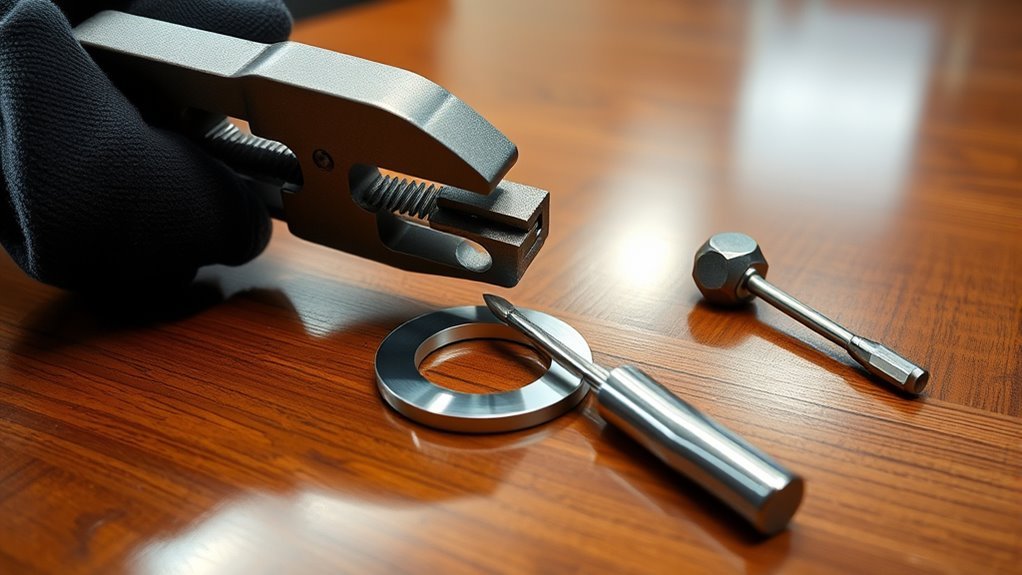
When washers have rusted or seized in place, simply unscrewing them won’t work. You need to apply effective rust removal techniques and washer lubrication methods to regain control. Start by applying a penetrating oil to loosen corrosion. Let it sit for 10–15 minutes before trying to turn the washer again. If that doesn’t work, try these steps:
- Use a wire brush to remove surface rust.
- Tap gently with a hammer to break rust bonds.
- Apply heat with a heat gun or hairdryer to expand metal.
- Use pliers or a wrench for extra grip and leverage.
These methods free stubborn washers without damaging your conference table. With patience and the right approach, you’ll remove rusted washers swiftly and maintain your table’s integrity.
Tips for Avoiding Damage to the Table Surface
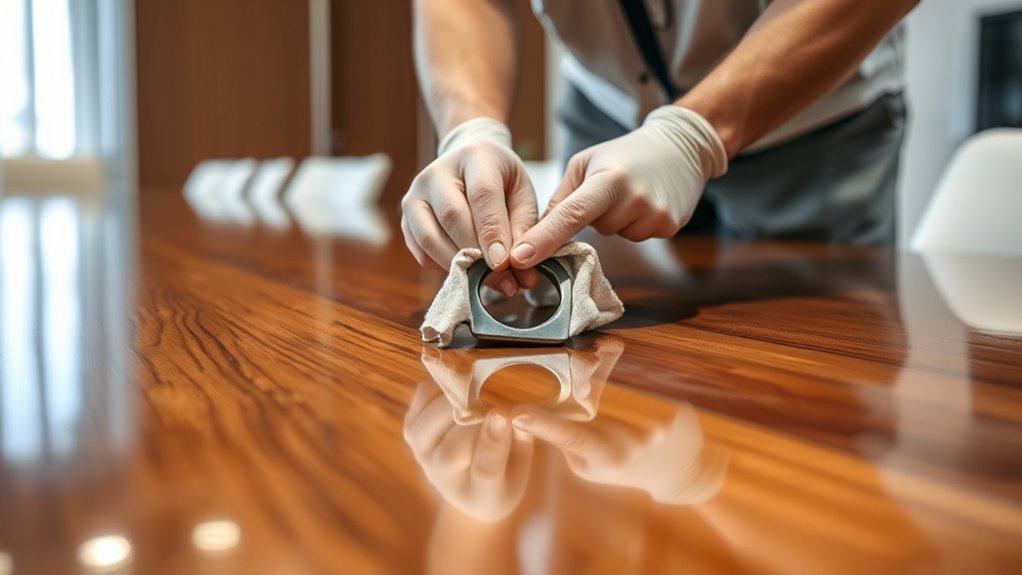
To protect your conference table’s surface while removing washers, you’ll need to take specific precautions. First, always use a soft cloth or protective pad under your tools to prevent scratches or dents. Avoid using metal tools directly on the surface; instead, opt for plastic or rubber-tipped tools when possible. Keep the work area clean—dust and debris can cause abrasions during removal. If you notice any spills or residues, clean them immediately with a gentle cleaner suited for your table’s material. These simple steps will enhance surface protection and contribute to long-term table maintenance. By following these tips, you’ll preserve the table’s finish and structural integrity, ensuring it remains a durable centerpiece in your workspace without unnecessary damage or costly repairs. Additionally, regular wiping down of surfaces with a damp cloth can prevent dirt buildup and maintain the table’s appearance by reducing surface abrasion.
When to Replace the Washer Instead of Removing It
Protecting your table’s surface is important, but knowing whether to remove or replace a washer can save you time and prevent further issues. You should consider replacing the washer rather than just removing it if its lifespan is exceeded or if maintenance frequency has been high. Here’s when to replace:
- The washer shows visible signs of wear or cracking.
- Frequent adjustments are needed due to loosening.
- It no longer distributes pressure evenly, risking damage.
- Corrosion or rust compromises its integrity.
Replacing guarantees continued protection and stability for your conference table. Don’t risk structural issues or surface damage by holding on to a worn washer. Recognize these signs early to maintain freedom from costly repairs and interruptions. Regular maintenance and inspection help identify these problems before they escalate.
Proper Disposal and Replacement Options for Washers
Although removing a washer might seem straightforward, proper disposal is essential to avoid environmental harm, and choosing the right replacement guarantees your conference table remains stable and protected. For disposal methods, avoid tossing washers in regular trash; instead, recycle metal washers at scrap facilities or designated drop-off points. This keeps materials in circulation and reduces waste. When selecting replacement options, consider washers made from durable materials like stainless steel or nylon, depending on your table’s use and environment. Verify the new washer matches the original size and thickness to maintain stability. By handling disposal responsibly and choosing suitable replacements, you preserve both your conference table’s integrity and the environment—giving you freedom from future issues and unnecessary repairs. Always wear appropriate personal protective equipment when handling and disposing of any hardware to ensure safety.
Frequently Asked Questions
Can Removing Washers Affect the Table’S Warranty?
You should check your table’s warranty carefully because removing washers can have warranty implications. Many manufacturer policies specify that altering components, like washers, might void coverage. If you want to keep your warranty intact, avoid unauthorized modifications or consult the manufacturer first. Staying informed lets you maintain your table’s protection while enjoying the freedom to customize responsibly without risking future claims or support.
Are There Alternative Methods to Remove Washers Without Tools?
Like David confronting Goliath, you can tackle washer removal techniques without heavy tools. For tool free methods, try sliding a thin piece of plastic or even a sturdy card between the washer and surface to gently pry it off. Another approach is twisting the washer carefully with your fingers if it’s loose enough. These practical, hands-on tactics give you freedom from tool dependency while keeping your workspace intact.
How Long Does Washer Removal Typically Take?
Time estimates for washer removal usually range from a few minutes to around 15, depending on your experience and the washer’s condition. To maximize process efficiency, prepare your tools beforehand and follow a clear step-by-step approach. If you’re organized and familiar with the task, you’ll breeze through it quickly, freeing up your time for what really matters. Staying focused and methodical helps you remove washers effectively without unnecessary delays.
Can Removing Washers Improve Table Stability?
Yes, removing washers can improve table stability, but it depends on washer types and your specific table adjustments. Some washers act as spacers or cushions, so taking them out might tighten joints and reduce wobble. However, removing the wrong type could cause instability. You’ve got to assess the washers’ function in your table’s setup before making changes, ensuring that your adjustments enhance stability without compromising the table’s structure or freedom of movement.
What Are Common Mistakes to Avoid During Washer Removal?
Like a seasoned mechanic, you know that tackling washer removal requires care. Common mistakes include ignoring washer types—mixing flat, lock, or spring washers can compromise stability. Also, don’t rush removal techniques; forcing or prying improperly can damage threads or the table surface. You want to guarantee you use the right tools and methods to maintain freedom from unnecessary repairs. Stay methodical, respect each washer’s role, and you’ll avoid costly errors.