Removing Windowsills From Grout Effectively
To remove windowsills from grout effectively, start by clearing the area and wearing gloves, goggles, and a dust mask. Use a grout removal tool or oscillating multi-tool with a grout blade to carefully loosen grout along the edge. Apply steady pressure with a putty knife or pry bar to separate the sill without damaging walls. Power tools can speed removal in tight spots, but control is vital. Following proper cleanup and assessment techniques guarantees a smooth process. You’ll uncover detailed steps for thorough grout and adhesive handling next.
Tools Needed for Removing Windowsills From Grout
Before you begin removing windowsills from grout, you’ll need to gather specific tools designed for precision and control. Essential items include a grout removal tool, preferably a carbide-tipped grout saw or oscillating multi-tool with a grout removal blade. These provide the accuracy required to avoid damaging surrounding materials during window repair. Additionally, use a small pry bar or putty knife to gently separate the windowsill once grout is cleared. A utility knife aids in cutting through any sealant or caulking. Safety gear—gloves and eye protection—is vital to protect against debris. Collecting these tools guarantees you maintain control, minimizing risk and preserving window integrity as you proceed with grout removal and window repair tasks. Avoiding abrasive tools that cause scratches is important to prevent damaging the surfaces around the windowsill during removal.
Preparing the Work Area for Safe Removal
A well-prepared work area greatly reduces the risk of accidents and material damage during windowsill grout removal. Start by clearing the space of any fragile or valuable items. Lay down protective coverings, such as drop cloths or plastic sheeting, to shield surfaces from debris and dust. Ascertain adequate lighting to clearly see grout lines and work precisely. Establish safety measures by wearing appropriate personal protective equipment—gloves, safety goggles, and a dust mask. Secure ventilation to minimize inhalation of dust particles. Arrange your tools within easy reach to maintain a smooth workflow without unnecessary movement. Finally, cordon off the work area to prevent interruptions and accidental contact. By methodically preparing your work area, you create a controlled environment that safeguards both your freedom to work efficiently and your physical safety.
Assessing the Type of Grout and Adhesive Used
You’ll need to identify the grout composition first, as cement-based and epoxy grouts require different removal techniques. Next, determine the type of adhesive bond securing the windowsill, since organic and inorganic adhesives respond differently to solvents and mechanical methods. Using material testing tools like a moisture meter or adhesive scraper will help confirm these characteristics before proceeding.
Identifying Grout Composition
Understanding grout composition is essential when removing windowsills, as it determines the tools and techniques you’ll need. You’ll first want to identify the grout types—cementitious, epoxy, or urethane—as each has distinct adhesive properties affecting removal difficulty. Cementitious grout, for example, is porous and requires mechanical methods, while epoxy grout is denser, needing chemical softeners.
| Grout Type | Adhesive Properties |
|---|---|
| Cementitious | Porous, brittle, mechanical removal |
| Epoxy | Dense, chemical softening needed |
| Urethane | Flexible, solvent-based removal |
Assessing these properties helps you choose appropriate tools, ensuring a clean removal without damage. Mastering grout composition frees you to work efficiently and safely.
Types of Adhesive Bonds
Since different grout types create varying adhesive bonds, accurately evaluating the type of grout and adhesive used is essential before removal. You need to identify the adhesive types involved, as each exhibits distinct bond strength and curing characteristics. Cementitious grouts form mechanical bonds via hydration, offering moderate bond strength but easier removal. Epoxy-based grouts, however, rely on chemical adhesion, producing higher bond strength and increased resistance to solvents. Understanding whether the grout incorporates additives or sealants will also influence bond integrity. This assessment informs your approach, helping you select appropriate methods that respect the adhesive’s properties without damaging the windowsill. By methodically evaluating these variables, you maintain control over the removal process, ensuring efficiency and preserving surrounding materials.
Tools for Material Testing
A selection of specialized tools is essential for accurately evaluating the type of grout and adhesive used around windowsills. You’ll need devices like a portable hardness tester to gauge material strengths, revealing whether the grout is epoxy-based or cementitious. A moisture meter helps determine adhesive curing conditions, while a small scraper or probe allows for controlled sampling without damaging surrounding surfaces. Employing standardized testing methods, such as scratch tests or chemical spot tests, provides reliable identification of grout composition. Utilizing these tools methodically guarantees you understand the bond characteristics, enabling you to choose the appropriate removal technique. By analyzing material strengths precisely, you avoid unnecessary damage and maintain control over the process, granting you the freedom to execute grout removal efficiently and confidently.
Techniques for Loosening Grout Around Windowsills
To loosen grout around windowsills effectively, you’ll need specific tools like grout saws or oscillating multi-tools with grout removal blades. Applying grout softening agents or warm water can help reduce grout hardness before removal. Always wear protective gear to guard against dust and debris during the process.
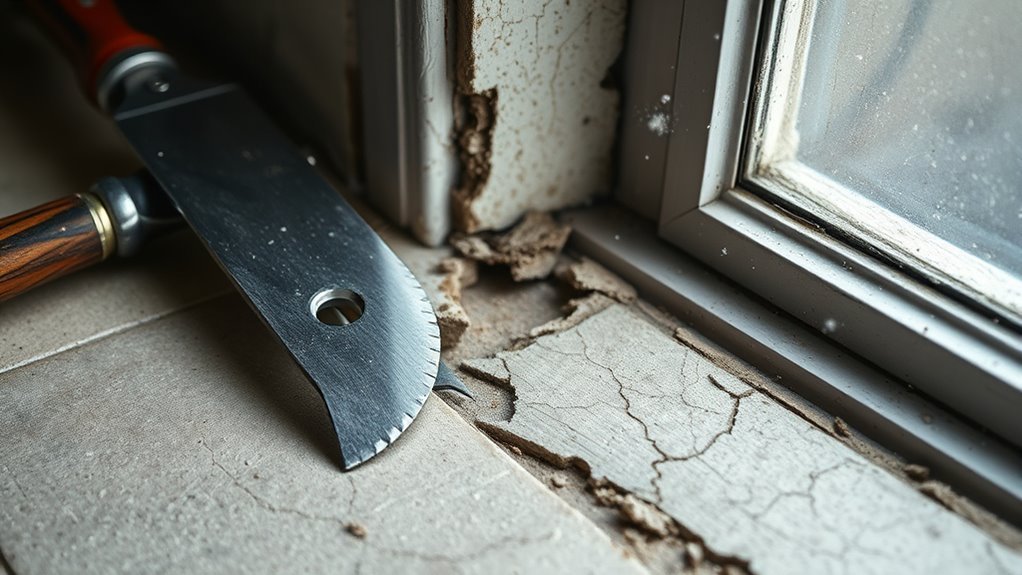
Tools for Grout Removal
Three essential tools will help you efficiently loosen grout around windowsills: a grout saw, a rotary tool with a grout removal attachment, and a utility knife. The grout saw, with its serrated blade, allows you to manually scrape grout with control, ideal for delicate edges. A rotary tool equipped with a grout removal bit accelerates the process, precisely cutting through grout lines without damaging adjacent surfaces. The utility knife is perfect for scoring and loosening softened grout before removal. Mastering these essential tools enhances your grout removal techniques, granting you freedom from stubborn grout constraints. Using them methodically guarantees minimal damage and maximizes efficiency. Equip yourself with these tools, and you’ll confidently approach grout removal, making windowsill restoration a streamlined, manageable task.
Softening Grout Methods
Although grout removal tools are essential, softening the grout beforehand considerably eases the process around windowsills. To start, apply a commercial grout softener or a mixture of warm water and vinegar directly onto the grout lines. Let it sit for 10-15 minutes to penetrate and weaken the grout matrix. For tougher grout, a diluted muriatic acid solution may be used cautiously, ensuring it’s rinsed thoroughly afterward. You can also employ steam or heat application, which expands and loosens grout bonds, facilitating effective grout removal. These grout softening techniques reduce the effort needed to pry grout away without damaging the windowsill or surrounding tiles. By methodically softening grout first, you gain greater control and efficiency, simplifying the removal process while preserving the integrity of adjacent surfaces.
Safety Precautions
When working on loosening grout around windowsills, you’ll need to prioritize safety to prevent injury and damage. Proper safety gear and thorough hazard identification are essential to maintain control and freedom during the process. Follow these precautions:
- Wear appropriate safety gear: Use gloves, safety goggles, and a dust mask to protect against sharp edges, dust, and chemical exposure.
- Conduct hazard identification: Inspect the work area for electrical wiring, fragile window components, and potential slip hazards before starting.
- Use tools methodically: Operate grout removal tools with steady, controlled motions to avoid slips that could cause injury or damage surfaces.
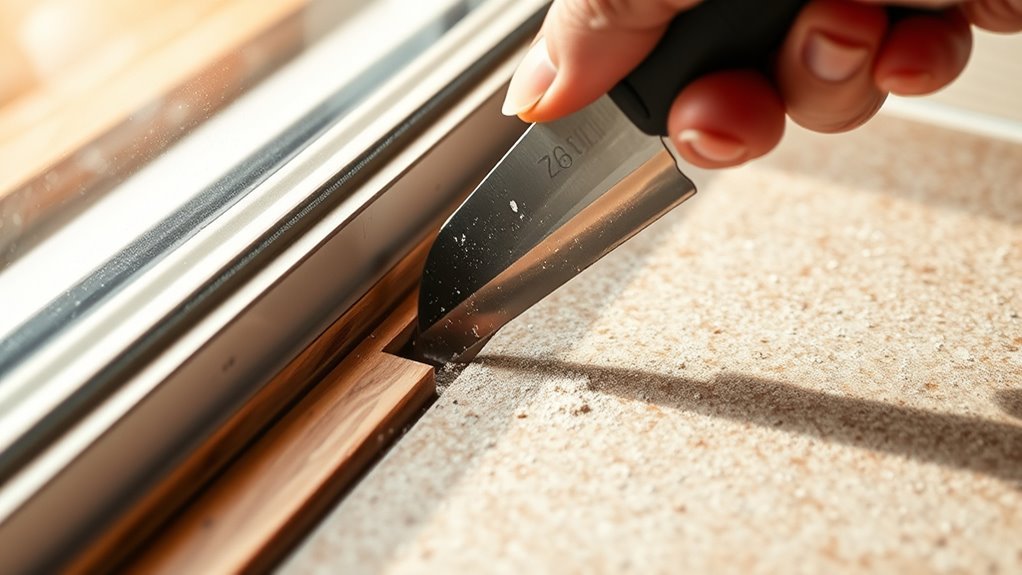
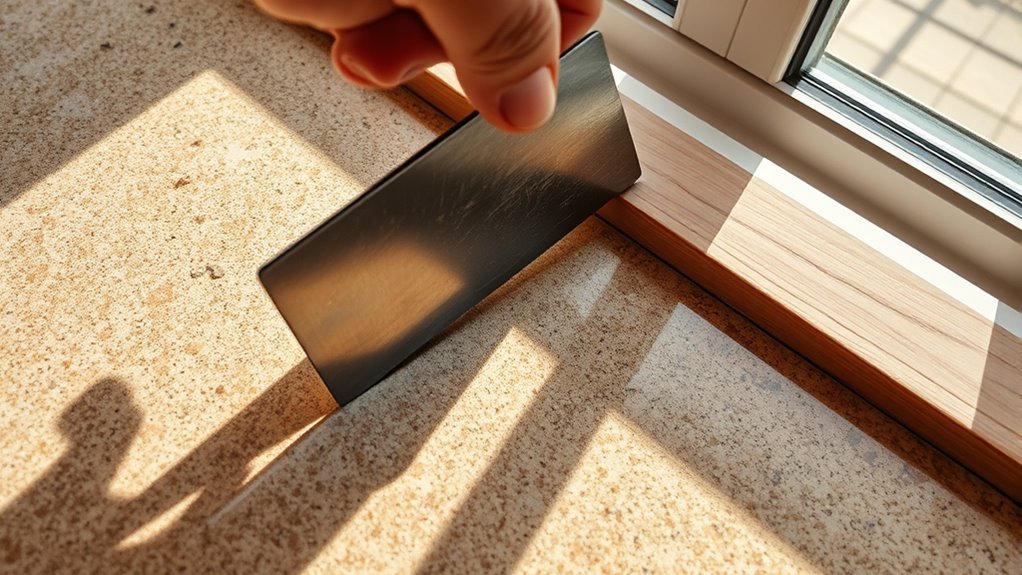
Using Hand Tools to Separate the Windowsill
Start by carefully positioning a putty knife or a flat pry bar between the windowsill and the adjacent grout. Apply steady, controlled pressure to gently separate the windowsill without damaging surrounding materials. Use hand tool techniques that focus on gradual leverage rather than forceful prying, ensuring the grout remains intact for potential reuse. Work incrementally along the sill’s edge, inserting the tool deeper as the gap widens. If resistance increases, pause to reassess your angle, preventing cracks or chips. Employ a hammer lightly on the pry bar’s end if necessary, but maintain precision to preserve the structure. Mastering these hand tool techniques grants you full control over windowsill removal, allowing you to maintain the integrity of your project while working autonomously and efficiently. Remember that sealing grout after removal can simplify future maintenance and help protect against stains and damage.
Employing Power Tools for Stubborn Grout Removal
Utilize power tools to efficiently tackle grout that resists manual removal, especially in tight or hardened areas. These tools free you from laborious scraping by enhancing precision and speed. Start by mastering power drill techniques to control depth and avoid damage. Then, select oscillating tool tips designed specifically for grout removal to maximize effectiveness.
- Attach a grout removal blade or carbide tip to your oscillating tool for clean cuts.
- Use low-speed settings on your drill to prevent overheating and preserve tool life.
- Maintain steady, controlled pressure to avoid chipping surrounding materials.
Preventing Damage to Walls and Surrounding Surfaces
Power tools can speed up grout removal considerably, but they also increase the risk of damaging adjacent walls and surfaces if not handled carefully. To protect your work area, start by applying wall protection using durable masking tape along edges near the windowsill. Next, implement surface shielding with plastic sheeting or drop cloths to safeguard floors and nearby fixtures. Confirm all protective materials are securely fastened to prevent shifting during operation. When using tools, maintain steady, controlled movements to avoid slips that could chip paint or drywall. Additionally, consider installing temporary barriers or foam padding where the tool may contact the wall. By methodically preparing your workspace with appropriate wall protection and surface shielding, you’ll preserve surrounding surfaces and maintain the integrity of your walls while enjoying the freedom to work efficiently. Remember to keep all cleaning and protective supplies stored safely to prevent accidental damage or injury, following safe storage practices.
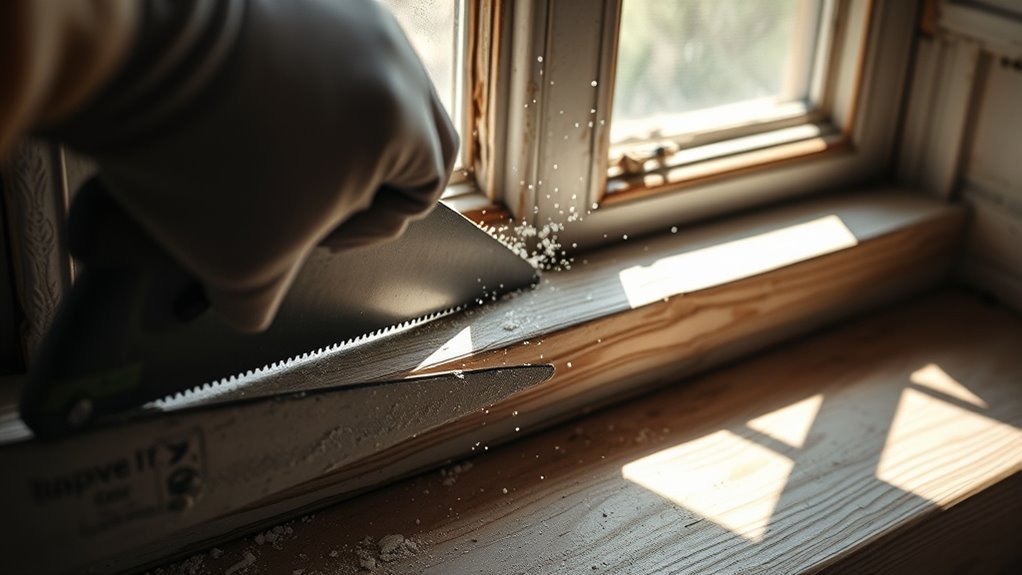
Cleaning Up Residual Grout After Windowsill Removal
Once you’ve removed the windowsill, you’ll need to carefully clean up any residual grout to guarantee a smooth surface for subsequent work. Effective grout cleaning and residue removal are critical to prevent interference with new installations or finishes. Follow these steps methodically:
After removing the windowsill, thoroughly clean residual grout to ensure a smooth surface for your next project.
- Mechanical Removal: Use a grout saw or scraper to gently dislodge hardened grout without damaging the underlying surface.
- Chemical Treatment: Apply a grout cleaner or mild acid solution to dissolve remaining grout residue, ensuring you neutralize the area afterwards to avoid corrosion.
- Final Rinse and Dry: Thoroughly rinse the surface with clean water and dry it completely to prepare for any further work or sealing.
Proper ventilation and protective gloves are recommended during this process to ensure safety and effectiveness while handling grout cleaners.
Frequently Asked Questions
Can I Reuse the Windowsill After Grout Removal?
You can definitely reuse the windowsill after grout removal if you apply proper grout removal techniques. Carefully separate the windowsill without causing damage, then inspect it for cracks or chips. Windowsill restoration may be necessary if minor wear is present; sanding and sealing will help maintain its integrity. By methodically handling the removal and restoration process, you retain the original piece, giving you freedom to preserve your window’s character efficiently.
How Long Does Grout Removal Typically Take?
Think of grout removal like peeling layers off an onion—each step requires care. The time estimates vary depending on grout removal techniques you choose: manual scraping might take an hour or more for a small area, while power tools speed up the process to 20-30 minutes. Precision is key to avoid damage. Your freedom to move fast or slow depends on your tools and experience, so plan accordingly for the best results.
Are There Eco-Friendly Grout Removal Products?
Yes, you can find eco-friendly options for grout removal techniques that minimize environmental impact. Look for products labeled biodegradable or non-toxic, often based on natural enzymes or citrus solvents. These alternatives reduce harmful fumes and chemical residues, letting you work safely and responsibly. While they might require a bit more time or effort compared to harsh chemicals, they align better with sustainable practices, giving you freedom to maintain your space without compromising health or nature.
What Safety Gear Is Recommended During Grout Removal?
Did you know that over 85% of dust-related eye injuries occur without proper protection? When removing grout, you should always wear safety goggles to shield your eyes from debris and a dust mask to prevent inhaling fine particles. These precautions guarantee you maintain your freedom to work safely and efficiently. Additionally, consider wearing gloves and long sleeves to protect your skin from chemical irritants and sharp tools, keeping your project both safe and successful.
Can Grout Removal Cause Mold Growth Behind Windowsills?
Yes, grout removal can cause mold growth behind windowsills if moisture control isn’t maintained. When grout is disturbed, water can seep into gaps, creating ideal conditions for mold. To guarantee mold prevention, you need to thoroughly dry the area and monitor humidity levels. Using dehumidifiers or fans helps keep moisture low. Proper ventilation and sealing any gaps after removal are essential steps to avoid mold and maintain a healthy environment.


