Seasonal Maintenance Tips for AC
You’ll want to inspect and replace your AC’s air filters regularly to maintain airflow and indoor air quality. Clean the evaporator and condenser coils to guarantee efficient heat exchange and reduce energy use. Clear the condensate drain to prevent clogs and water damage. Check your thermostat’s calibration and settings for accurate temperature control. Keep the outdoor unit free of debris and lubricate moving parts. Also, monitor refrigerant levels and schedule professional maintenance for peak performance. These steps will help you maintain comfort and system longevity.
Inspect and Replace Air Filters

Before the cooling season begins, you should inspect your AC’s air filters closely, as clogged or dirty filters reduce efficiency and air quality. Start by identifying the filter type: fiberglass, pleated, or electrostatic, each offering different filtration levels and airflow resistance. Fiberglass filters are basic but less effective; pleated filters provide better particle capture, improving air quality without overly restricting airflow. Electrostatic filters trap airborne particles via static electricity, enhancing purification. Check the filter’s MERV rating to balance filtration and system performance. Replace filters showing visible dirt, discoloration, or damage to maintain ideal airflow and prevent strain on your AC unit. Regular inspection and timely replacement guarantee your cooling system operates efficiently, preserving indoor air quality and granting you the freedom to enjoy a comfortable environment without unexpected breakdowns.
Clean the Evaporator and Condenser Coils
You need to clean the evaporator and condenser coils regularly to maintain efficient heat exchange and prevent system strain. Use a soft brush or coil cleaner to remove dirt and debris without damaging the fins. Aim to perform this cleaning at least once every season to guarantee peak performance.
Importance of Coil Cleaning
Two critical components that demand regular attention in your AC system are the evaporator and condenser coils. Keeping these coils clean directly impacts coil efficiency and helps you achieve significant energy savings. When dirt and debris accumulate, heat exchange is hindered, forcing your system to work harder and consume more power. To maintain peak performance, focus on these points:
- Regular cleaning prevents reduced airflow and overheating.
- Efficient coils extend the lifespan of your AC unit.
- Clean coils minimize energy consumption, lowering utility bills.
Cleaning Techniques
Maintaining clean evaporator and condenser coils is key to preserving your AC’s efficiency and preventing system strain. Follow this cleaning checklist within your seasonal schedule to guarantee peak performance. First, switch off power to avoid damage or injury. Use a soft brush or compressed air to remove loose debris. Then, apply a no-rinse coil cleaner to dissolve stubborn grime. Rinse condenser coils gently with a hose, avoiding high pressure that can bend fins. Reassemble and restore power only after coils dry completely.
| Step | Action |
|---|---|
| Power Off | Disconnect electricity |
| Debris Removal | Soft brush/compressed air |
| Apply Coil Cleaner | No-rinse, safe formula |
| Rinse and Dry | Gentle hose spray, air dry |
Stick to this routine for freedom from costly repairs.
Maintenance Frequency
Performing coil cleaning at least twice a year is essential to guarantee your AC operates efficiently and avoids unnecessary wear. Sticking to a strict maintenance schedule helps maintain ideal airflow and heat exchange, preventing energy waste and system strain. Seasonal reminders are key to timely upkeep, especially before summer and winter.
Follow these steps to stay on track:
- Schedule coil cleaning during spring and fall to match peak usage changes.
- Inspect coils monthly for debris buildup, adjusting cleaning frequency if you live in dusty or humid environments.
- Use professional services annually to confirm deep cleaning beyond basic maintenance.
Check and Clear the Condensate Drain Line
You need to regularly check the condensate drain line to prevent clogs that can cause water damage or reduce system efficiency. Use a wet/dry vacuum or a specialized brush to clear any debris or algae buildup. Keeping this line clean guarantees proper drainage and maintains your AC’s performance.
Importance of Drain Line
A clogged condensate drain line can cause water to back up and damage your AC system or home. Prioritizing drain line maintenance is essential to guarantee your system operates efficiently and prevent costly repairs. Proper clog prevention keeps moisture flowing away, reducing mold growth and structural damage risks.
Here’s why the drain line is important:
- Protects system components by preventing water accumulation that can corrode electrical parts.
- Maintains indoor air quality by avoiding mold and mildew caused by stagnant water.
- Guarantees efficient operation since a clear drain line prevents system shutdowns triggered by overflow sensors.
Regularly checking and clearing the condensate drain line supports your freedom from unexpected breakdowns and keeps your AC running smoothly all season.
Cleaning Methods and Tools
Anyone servicing an AC system should prioritize clearing the condensate drain line to prevent blockages. Start by gathering essential cleaning supplies: a wet/dry vacuum, a stiff brush, and a mild bleach solution. First, locate the drain line access point and inspect for visible clogs. Use the vacuum to remove debris and stagnant water. Next, apply the bleach solution with the brush inside the line to eliminate algae or mold buildup. Flush the line with water to guarantee clear flow. Employing these DIY techniques regularly minimizes risk of water damage and system inefficiency. By staying proactive with precise cleaning methods, you maintain your AC’s performance and avoid costly repairs. This approach grants you control and freedom over your system’s longevity without relying on professional services.
Inspect the Thermostat Settings and Calibration
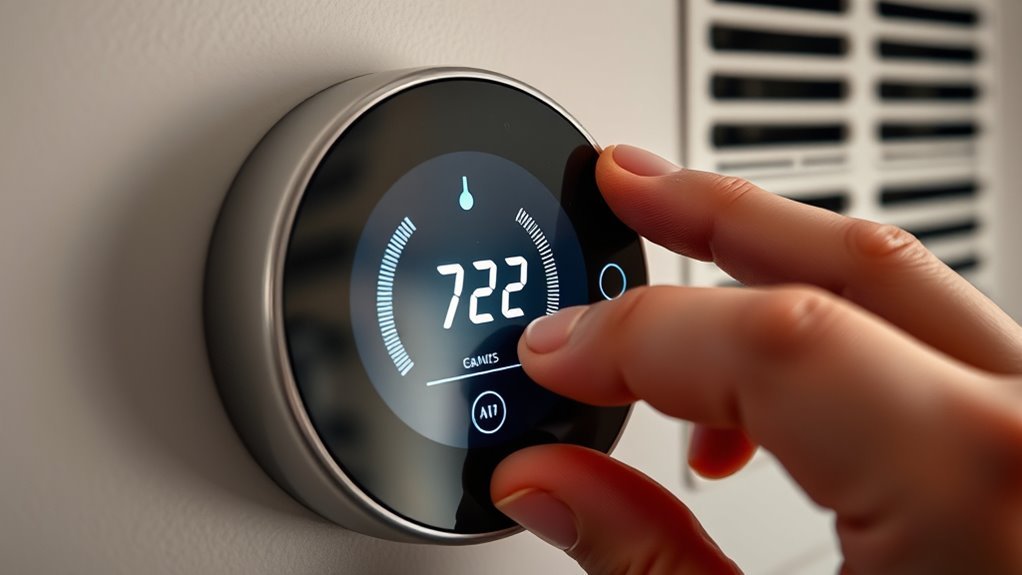
Three key steps should be followed when inspecting your thermostat settings and calibration to guarantee peak AC performance. First, verify that the temperature settings align with your comfort preferences and energy-saving goals. Next, check the thermostat calibration by comparing its displayed temperature against a reliable thermometer placed nearby. If there’s a significant discrepancy, recalibrate the thermostat according to the manufacturer’s instructions or consult a professional. Finally, ascertain the thermostat’s location is free from direct sunlight, drafts, or heat sources, as these factors can distort temperature readings and affect calibration accuracy. By systematically adjusting these elements, you’ll maintain precise temperature control, optimize energy use, and enjoy greater freedom in managing your indoor climate. Proper thermostat calibration is essential for efficient, reliable AC operation throughout the season.
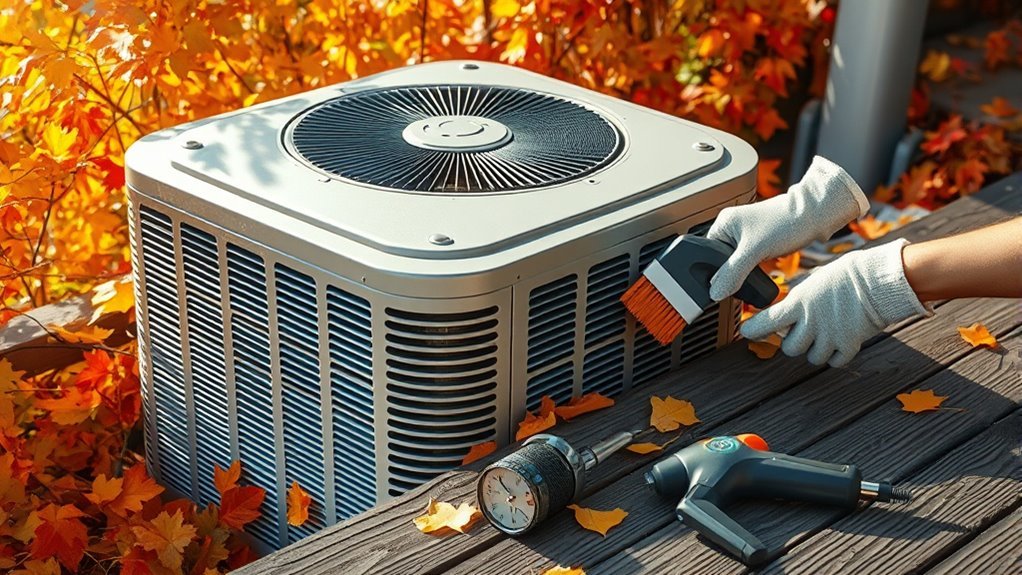
Examine and Clean the Outdoor Unit
Start by cutting power to the outdoor unit to guarantee safety before inspection. Check the unit placement to verify it’s clear of debris and vegetation, allowing ideal airflow. Remove leaves, dirt, and grime from the fins using a soft brush or low-pressure water stream. Inspect for any signs of weather protection damage, such as cracked covers or rust, and address them promptly to avoid operational issues.
| Task | Tool Needed | Frequency |
|---|---|---|
| Power Disconnection | Circuit Breaker | Every Inspection |
| Debris Removal | Soft Brush/Water | Monthly |
| Fin Cleaning | Fin Comb | Biannually |
| Weather Protection | Visual Inspection | Annually |
| Unit Placement Check | Visual Inspection | Before Season |
Proper maintenance preserves your freedom to enjoy cool air without interruptions.
Lubricate Moving Parts and Motors
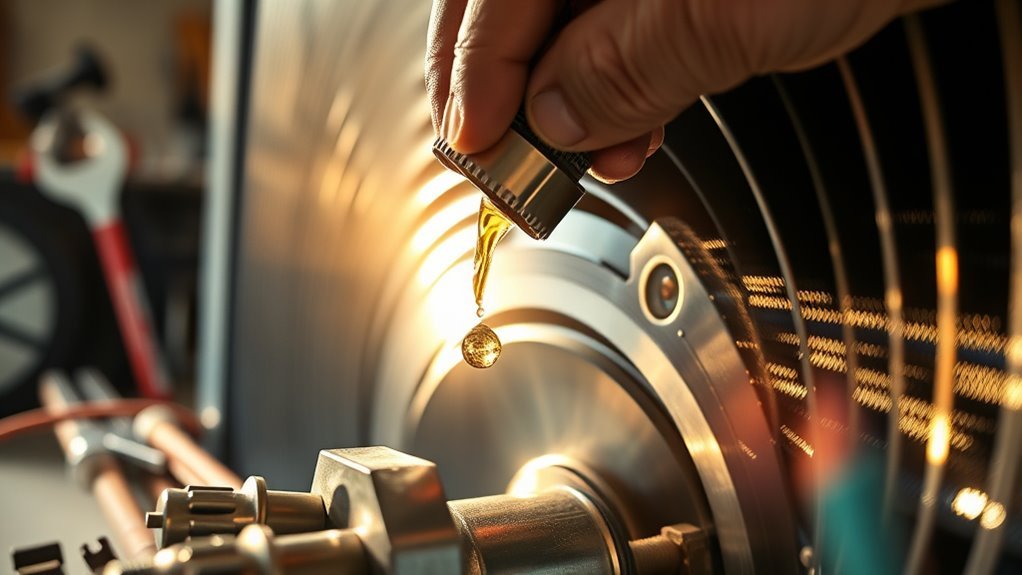
After confirming the outdoor unit is clean and free from obstructions, the next step is to address the lubrication of moving parts and motors. Proper motor lubrication reduces friction, prevents overheating, and extends the lifespan of your AC components. Effective part maintenance guarantees your system runs smoothly, giving you freedom from unexpected breakdowns. Follow these steps:
Lubricate moving parts to reduce friction, prevent overheating, and extend your AC’s lifespan for smooth operation.
- Identify lubrication points: Locate oil ports on the motor and moving parts like fan bearings.
- Use the correct lubricant: Apply manufacturer-recommended oil or grease to avoid damage.
- Apply sparingly: Over-lubrication can attract dirt or cause leakage; use just enough to coat the parts.
Regular motor lubrication is a simple yet essential task that safeguards your AC’s performance and reliability throughout the season.
Check Refrigerant Levels and Look for Leaks
One critical step in maintaining your AC’s efficiency is checking refrigerant levels and inspecting for leaks. Proper refrigerant charge is essential for peak cooling performance, and different refrigerant types, such as R-410A or R-22, require specific handling procedures. Using a reliable leak detection method—like electronic leak detectors or UV dye—helps you identify any escaping refrigerant that compromises system pressure. Low refrigerant levels signal leaks that demand immediate attention to prevent compressor damage and increased energy consumption. Regularly monitoring these parameters guarantees your AC operates freely and efficiently without unexpected breakdowns. Remember, refrigerant handling must comply with safety and environmental regulations, so always use appropriate personal protective equipment and tools. Staying vigilant about refrigerant integrity gives you control over your AC’s longevity and performance.
Schedule Professional Maintenance and Tune-Up
Although regular DIY checks are important, scheduling professional maintenance and tune-ups guarantees your AC system receives extensive inspection and servicing that only trained technicians can provide. Proper maintenance scheduling guarantees your unit runs efficiently, preventing costly breakdowns and extending its lifespan. When choosing a service provider, verify technician qualifications to guarantee competent handling of complex components. Here’s what a professional tune-up typically includes:
Professional AC maintenance ensures thorough inspections, efficient operation, and extended system lifespan by qualified technicians.
- Extensive system diagnostics, including electrical connections and controls verification.
- Cleaning and lubricating moving parts to reduce wear and optimize performance.
- Checking refrigerant levels and pressure to maintain cooling efficiency.
Frequently Asked Questions
How Often Should I Replace My AC Unit Entirely?
You should consider replacing your AC unit every 10 to 15 years, depending on its AC unit longevity and performance. If your system frequently breaks down or efficiency drops, it’s more cost-effective than continuously paying for repairs. Replacement cost varies, but investing in a newer, energy-efficient model can save you money long-term. Keep track of maintenance history and energy bills to decide the best time for replacement, ensuring reliable comfort and freedom from unexpected failures.
What Is the Average Lifespan of a Central Air Conditioner?
The average central air conditioner lifespan is about 12 to 15 years, but several factors affecting longevity can alter this. How well you maintain the system, the quality of installation, and usage frequency all play vital roles. You’ll extend your unit’s life by scheduling regular professional check-ups, replacing filters, and keeping the outdoor unit clean. Understanding these factors helps you maximize your system’s efficiency and avoid premature replacements.
Can Using a Smart Thermostat Reduce My Energy Bills?
Think of a smart thermostat as the conductor of your home’s energy orchestra, optimizing each instrument for perfect harmony. With smart thermostat benefits, you gain precise control over your HVAC system, ensuring it runs only when needed. This targeted approach leads to significant energy savings by adjusting temperatures based on your schedule and preferences. By reducing unnecessary cooling or heating, you free yourself from wasteful energy use while enjoying comfort and lower bills.
Is It Safe to Run My AC With Windows Open?
Running your AC with windows open isn’t safe for energy efficiency—it causes window effects that let cool air escape and warm air enter, forcing your unit to work harder. While it might feel like getting fresh air, this reduces your system’s performance and increases energy bills. For true freedom and comfort, keep windows closed when the AC’s on, or consider ventilating when the system’s off to maintain both air quality and efficiency.
What Are the Signs My AC Needs Emergency Repairs?
Imagine your AC as a trusty steampunk engine—if it starts making unusual noises or emitting foul odors, that’s a red flag. You’ll also notice uneven cooling, frequent cycling, or water leaks. These signs suggest your system’s on the fritz and needs emergency repairs to keep your freedom from sweltering heat intact. Don’t delay; addressing these issues promptly prevents bigger, costlier breakdowns and keeps your indoor climate perfectly controlled.


