Spring Cleaning Guide for Keyboard
To spring clean your keyboard, start by powering it down and unplugging to stay safe. Use a keycap puller to remove keys gently, then soak them in warm, soapy water while you use compressed air to clear debris underneath. Wipe the surface with a microfiber cloth dampened with isopropyl alcohol, then dry everything fully before reassembling. Prevent future grime by regularly wiping your keyboard and avoiding food or drinks nearby. Keep going to discover more tips for thorough cleaning and upkeep.
Gather Your Cleaning Supplies
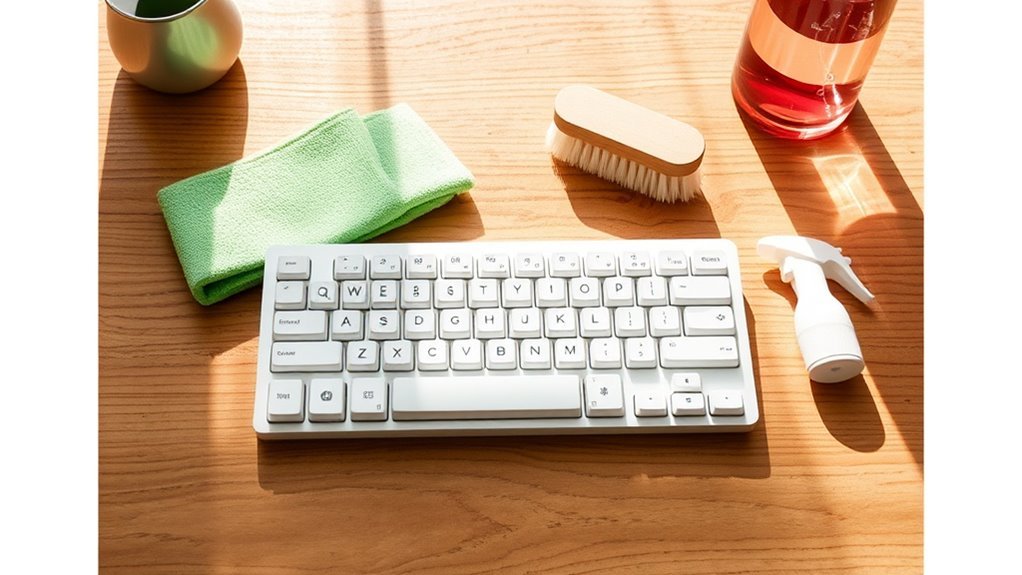
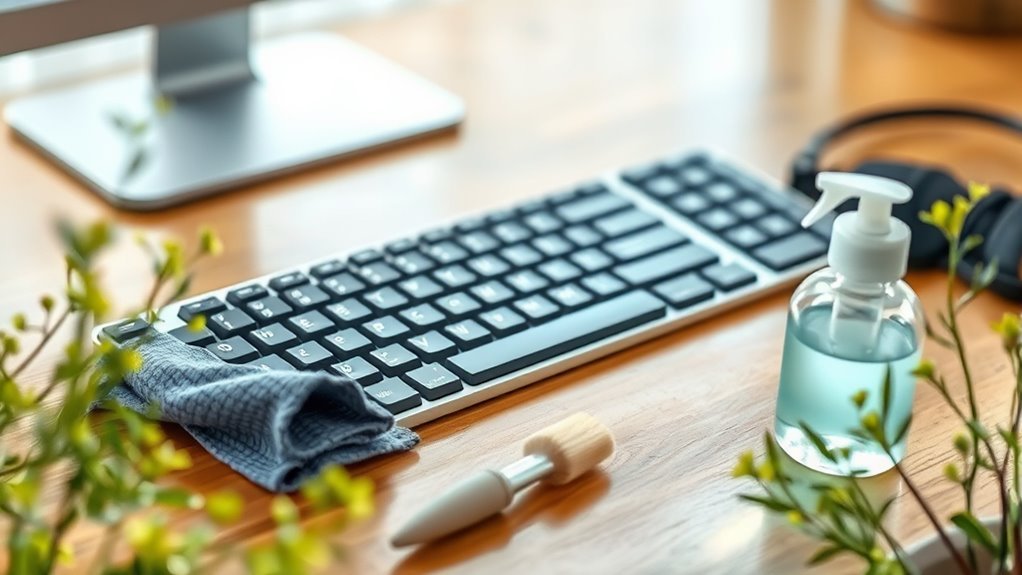
Before you begin cleaning your keyboard, you’ll need to gather a few essential supplies. Having the right cleaning products at hand makes the process smoother and quicker, freeing you from unnecessary hassle. Grab a microfiber cloth, isopropyl alcohol, cotton swabs, and a small brush to reach tight spaces. Organization tips will help you keep these items in one place, so you’re not scrambling mid-clean. Consider using a small container or tray to hold screws or keycaps if you plan to remove them. By preparing your supplies thoughtfully, you maintain control over your workspace and cleaning routine. This approach gives you the freedom to clean efficiently without distractions, making your keyboard feel fresh and ready for anything.
Power Down and Unplug Your Keyboard
Start by powering down your keyboard and unplugging it from your computer or device. This step is essential because the importance of powering off guarantees you avoid any accidental keystrokes or short circuits while cleaning. Taking keyboard safety precautions protects both you and your device, giving you the freedom to clean confidently and effectively.
Here’s how to safely prepare your keyboard for cleaning:
- Shut down your computer or enter sleep mode to prevent interruptions.
- Unplug the keyboard cable or disconnect the wireless receiver.
- Remove batteries from wireless keyboards to avoid power flow.
Remove Keycaps for Thorough Cleaning

Before you start cleaning, you’ll need the right tools, like a keycap puller, to safely remove each keycap. Take your time and follow a simple step-by-step process to avoid damaging your keyboard. This guarantees a thorough clean without any hassle.
Tools Needed
To remove keycaps for a thorough cleaning, you’ll need a few essential tools that make the process easier and safer for your keyboard. Having the right keyboard cleaning tools and essential cleaning supplies lets you maintain freedom over your device’s upkeep without risking damage. These tools help you remove keycaps cleanly, giving you access to every nook and cranny beneath.
Here’s what you’ll want to gather before you start:
- Keycap puller: Designed specifically to grip and lift keycaps without scratching.
- Small brush or compressed air: To clear dust and debris under the keys.
- Microfiber cloth: For gentle wiping after keycap removal.
With these in hand, you’ll be set for a smooth, effective cleaning session.
Step-by-Step Removal
With your tools ready, you can gently lift each keycap using the keycap puller. Start with the larger keys like the spacebar, then move to smaller ones. Take care not to force anything; your keyboard deserves gentle treatment. As you remove the keycaps, set them aside in an organized way so you can easily replace them later. This step is vital for thorough keyboard maintenance, allowing you to clean beneath the keys where dust and grime hide. Remember, the cleaning frequency depends on your environment and usage, but doing this at least once every few months keeps your keyboard fresh and responsive. Embrace this process—it’s a simple way to reclaim control over your workspace and extend your keyboard’s life.
Use Compressed Air to Dislodge Debris
Wondering how to get rid of dust and crumbs trapped beneath your keyboard keys? Using compressed air is one of the easiest debris dislodging techniques that lets you reclaim your keyboard’s freedom without hassle. Compressed air benefits include reaching tight spots and blasting away particles without damaging delicate components.
Use compressed air to easily blast away dust and crumbs trapped beneath your keyboard keys without damage.
Here’s how to make the most of it:
- Hold the keyboard upside down to let loosened debris fall freely.
- Use short bursts of air between keys to break up stubborn dust.
- Keep the can upright to avoid spraying liquid, which can harm electronics.
Clean the Surface With Isopropyl Alcohol

After blasting away dust and crumbs with compressed air, you’ll want to tackle the keyboard’s surface to remove oils, grime, and bacteria. Using isopropyl alcohol is one of the best surface cleaning techniques you can embrace. Its benefits include quick evaporation, which means no moisture damage, and powerful disinfectant properties that kill germs effectively. Simply dampen a microfiber cloth with 70% isopropyl alcohol—avoid soaking it—and gently wipe down the keys and surrounding areas. This method frees you from sticky residues and restores your keyboard’s fresh feel without harsh chemicals. By incorporating isopropyl alcohol benefits into your cleaning routine, you gain control over hygiene while preserving your keyboard’s integrity. It’s a smart, liberating step toward a cleaner, healthier workspace.
Wash Keycaps Safely With Mild Soap
When washing your keycaps, picking a gentle soap is key to avoid damage. You’ll want to soak them properly, giving dirt time to loosen without harming the plastic. Let’s go over how to do this safely and effectively.
Choosing Gentle Soap
Although it might be tempting to grab any soap for cleaning your keycaps, choosing a gentle, mild soap is essential to avoid damaging the plastic or fading the legends. You want a cleanser that respects your keyboard’s material while giving you the freedom to clean thoroughly without worry. Look for gentle soap types that are designed to be non-abrasive and safe for plastics. Eco friendly options are also a great choice—they’re kind to the environment and usually free from harsh chemicals.
Consider these options:
- Castile soap: plant-based and biodegradable
- Mild dish soap: free from dyes and perfumes
- Baby shampoo: gentle and effective without additives
Using these soaps lets you clean confidently, protecting your keyboard and the planet.
Proper Keycap Soaking
Choosing the right gentle soap sets the stage for soaking your keycaps safely. Once you’ve picked a mild detergent, fill a bowl with warm water and add the soap, mixing until it’s well-dissolved. Depending on your keycap materials—like ABS or PBT—you’ll want to adjust the soaking duration. Generally, 20 to 30 minutes works well without risking damage. Avoid harsh chemicals or long soaks that can degrade the plastic or fade legends. After soaking, use a soft brush to gently scrub away dirt and oils, then rinse thoroughly with clean water. Let your keycaps air dry completely on a towel before reinstalling them. This careful approach gives your keyboard a fresh feel while preserving its freedom to perform exactly how you want.
Dry and Reassemble Your Keyboard
Before putting your keyboard back together, make certain every part is completely dry to prevent damage or sticky keys. Proper drying is essential for keycap restoration and guarantees your keyboard longevity. Rushing this step could trap moisture, causing corrosion or malfunction. Lay out your components in a warm, airy spot and let nature do its work.
To speed things along, you might:
- Use a microfiber cloth to gently pat dry each keycap.
- Leave the keyboard frame upside down to drain any residual water.
- Employ a can of compressed air to blow out moisture from hard-to-reach spots.
Once dry, reassemble carefully, snapping each keycap back into place. Freedom from grime and sticky keys is just a few steps away!
Tips for Cleaning Laptop Keyboards
Since laptop keyboards are more delicate and compact than traditional ones, you’ll need to be extra careful when cleaning them. Start by turning off your device and unplugging it to avoid any damage. Use a soft brush or compressed air to remove dust and crumbs gently between the keys without forcing anything. For stubborn grime, lightly dampen a microfiber cloth with isopropyl alcohol—never spray directly on the keyboard—and wipe the keys carefully. Avoid using excessive liquid, as it can seep beneath and harm internal components. These keyboard cleaning techniques are essential laptop maintenance tips that keep your device functioning smoothly and extend its lifespan. By handling your laptop keyboard with care, you free yourself from worries about damage while maintaining a clean, efficient workspace.
Maintain Your Keyboard Cleanliness Regularly
Keeping your laptop keyboard clean is a great start, but maintaining that cleanliness regularly will make a bigger difference over time. Sticking to a regular cleaning schedule not only keeps your keyboard looking fresh but also prevents buildup that can slow you down or cause issues. Here are some simple keyboard hygiene tips to help you enjoy freedom from sticky keys and dirt:
- Wipe your keyboard with a microfiber cloth weekly to remove dust and oils.
- Use compressed air monthly to blow out crumbs and debris from between keys.
- Avoid eating or drinking near your keyboard to minimize spills and stains.
Frequently Asked Questions
Can I Use Household Cleaners Instead of Isopropyl Alcohol?
You might be tempted to use household cleaners as cleaning alternatives, but it’s best to avoid them for electronics. Household cleaners often contain chemicals that can damage your keyboard’s surface or leave residues. Instead, stick with isopropyl alcohol or specially designed electronics cleaners—they evaporate quickly and won’t harm components. This way, you keep your freedom to clean effectively without risking damage, ensuring your keyboard stays in great shape longer.
How Often Should I Deep Clean My Mechanical Keyboard?
For flawless function, following keyboard maintenance tips is fundamental. You should deep clean your mechanical keyboard every 3 to 6 months, depending on your usage and environment. Regular cleaning frequency recommendations suggest more frequent care if you snack or smoke near it. By embracing this routine, you’ll enjoy a freer, fresher feel while typing, keeping grime and gunk gone. Freedom means you control your cleaning schedule, but consistency keeps your keyboard performing perfectly.
Are There Specific Tools for Cleaning Different Keyboard Types?
You’ll find that different keyboard types often need specific cleaning tools to keep them in top shape. For mechanical keyboards, a keycap puller and soft brushes work wonders, while membrane keyboards benefit from microfiber cloths and gentle compressed air. Using the right cleaning tools guarantees you don’t damage your keyboard while keeping it fresh. Don’t feel boxed in—choose what fits your style and keyboard type best for effortless maintenance.
Is It Safe to Clean a Keyboard With Water Inside?
Imagine the sudden shock of your keyboard dipping into water—keyboard water damage can be devastating. You don’t want that, right? So, it’s not safe to clean your keyboard by dunking it in water. Instead, stick to safe cleaning methods like using isopropyl alcohol on a cloth or specialized electronics wipes. This way, you’re free to keep your keyboard spotless without risking a costly, watery disaster.
Can Cleaning Improve Keyboard Performance or Lifespan?
Absolutely, regular keyboard maintenance can boost your device’s performance and extend its lifespan. When you keep your keyboard clean, you avoid sticky keys and unresponsive buttons caused by dirt and grime buildup. The cleaning benefits include smoother typing and fewer malfunctions, giving you freedom from annoying interruptions. So, taking a little time to maintain your keyboard means you’ll enjoy a more reliable and enjoyable computing experience in the long run.