
Step-By-Step Guide to Cleaning Fan
To clean your fan, first gather soft cloths, a brush, mild detergent, and compressed air. Unplug it and carefully remove any grills or covers. Wipe each blade with an appropriate cleaner—damp cloth for wood, more moisture OK for plastic or metal—and dry thoroughly. Don’t forget to dust the housing and vents gently. Then, reassemble securely and test for smooth operation. Following these steps keeps your fan efficient and quiet, with plenty more tips to help you maintain it perfectly.
Gather the Necessary Cleaning Supplies

Before you begin cleaning your fan, you’ll need to gather all the necessary supplies to make the process smooth and efficient. Having the right cleaning supplies ready not only saves time but guarantees thorough fan maintenance. Grab a soft cloth or microfiber towels to avoid scratching delicate surfaces. A small brush or an old toothbrush works well to reach tight spaces. Mild detergent or a gentle all-purpose cleaner will help remove dust and grime without damaging the fan’s components. Don’t forget a can of compressed air for blowing out stubborn dust from hard-to-reach areas. Collecting these essentials lets you take control of your fan maintenance, freeing you from messy, time-consuming tasks and keeping your space fresh and comfortable.
Prepare the Fan for Cleaning
With your cleaning supplies ready, the next step is to get your fan set up for a thorough cleaning. First, make certain to unplug the fan to avoid any electrical hazards—safety precautions are essential. Depending on your fan type, the preparation will vary. For pedestal or tower fans, move them to an open space where you can easily access all parts. If you have a ceiling fan, use a sturdy ladder or step stool to reach it comfortably. Remove any detachable parts like grills or blade covers carefully, keeping track of screws or clips. Taking these steps guarantees you have unrestricted access to every surface, making the cleaning process smoother. Preparing your fan properly not only saves time but also lets you clean freely without any hassle.
Clean the Fan Blades Thoroughly
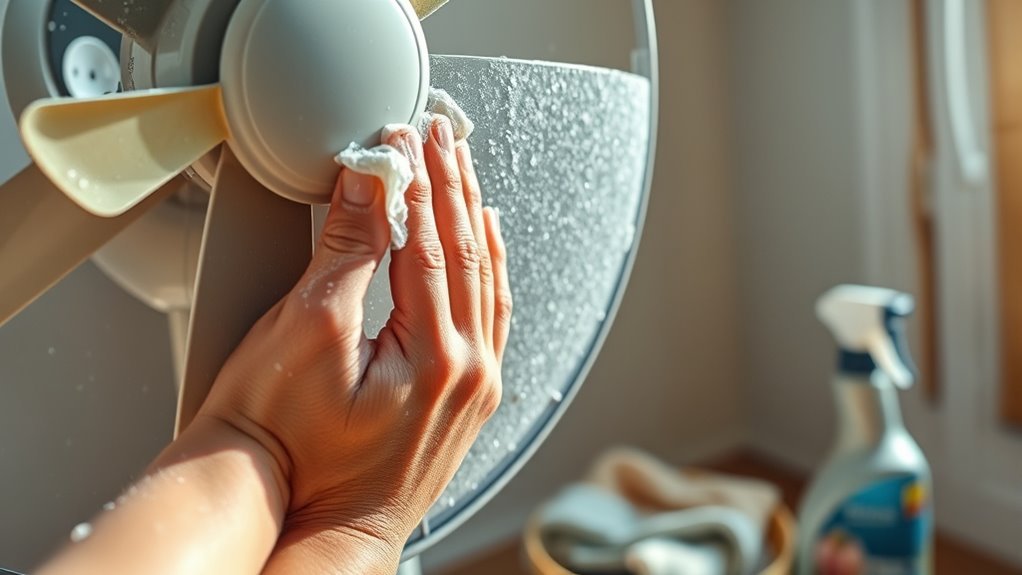
Start by wiping down each fan blade carefully to remove dust and grime that can reduce your fan’s efficiency. Depending on your fan’s blade materials—whether plastic, metal, or wood—you’ll want to choose a gentle cleaner that won’t damage the surface. For wooden blades, avoid soaking; instead, use a damp cloth to preserve their finish. Metal and plastic blades can handle a bit more moisture but always dry them thoroughly afterward. Maintaining a regular cleaning frequency, ideally once a month, guarantees your fan stays in top shape and keeps the air flowing freely. By keeping your blades pristine, you’re not just improving performance but also extending your fan’s lifespan, giving you the freedom to enjoy a cool, comfortable space without hassle.
Wipe Down the Fan Housing and Vents
Grab a soft cloth or a microfiber duster to gently wipe down the fan housing and vents. This step is essential for keeping dust buildup at bay, ensuring your fan runs smoothly and quietly. Don’t rush—take your time to reach all the nooks and crannies where dust loves to hide. Following these fan maintenance tips will help you extend your fan’s lifespan and keep your space feeling fresh. Remember, the cleaning frequency depends on your environment; if you live in a dusty area or use the fan daily, wipe the housing and vents every couple of weeks to maintain ideal airflow. Staying consistent with this simple habit means you’ll enjoy cool air without the hassle of clogged vents or reduced efficiency.
Reassemble and Test the Fan

Once you’ve cleaned all the parts thoroughly, it’s time to reassemble your fan carefully. Begin by aligning the blades onto the motor shaft, ensuring each piece fits snugly without forcing anything. Secure the fan assembly with screws or clips as needed, checking that every component sits correctly in place. Don’t rush this step; a precise reassembly guarantees smooth operation and prolongs your fan’s life. After putting everything back together, plug in the fan and perform functionality testing. Turn it on to verify the blades spin freely without wobbling or unusual noises. This final check confirms your work and restores your fan’s full power, letting you enjoy cool air and the freedom to use it anytime without worry.
Frequently Asked Questions
How Often Should I Clean My Fan for Optimal Performance?
You should clean your fan regularly to keep it running smoothly and free from dust buildup. Frequency recommendations typically suggest doing a thorough cleaning at least once every season, especially before summer and winter when you use it most. Seasonal maintenance helps maintain peak performance and extends the life of your fan. Don’t wait until it’s visibly dirty—staying proactive lets you enjoy fresh air without hassle or restrictions.
Can I Use a Vacuum Cleaner to Remove Dust From the Fan?
Imagine your fan’s blades like a dusty bookshelf—using a vacuum cleaner with the right attachments can be a game-changer for dust removal. You can effortlessly suck away grime without scrubbing, freeing you from tedious cleaning. Just attach a soft brush to avoid damage and gently go over the blades. This method’s quick and liberating, letting your fan breathe easy again while you enjoy the freedom of a cleaner, fresher space.
Is It Safe to Use Water or Cleaning Sprays on Fan Motors?
You shouldn’t use water or cleaning sprays directly on fan motors because of water safety concerns and spray risks. Moisture can damage the motor’s electrical components, causing short circuits or corrosion. Instead, you can gently wipe the exterior with a slightly damp cloth, avoiding any openings. Keeping your fan safe means respecting these limits, so you’re free to enjoy a clean, functioning fan without risking damage or hazardous situations.
What Should I Do if My Fan Makes Noise After Cleaning?
If your fan makes noise after cleaning, don’t worry—you can fix it with some simple noise troubleshooting methods. First, check if any parts are loose or misaligned; tighten screws and realign blades if needed. Lubricate the motor bearings using fan maintenance tips to reduce friction. Also, make certain there’s no debris stuck inside. By following these steps, you’ll enjoy a quiet, smooth-running fan without restrictions.
Are There Specific Cleaning Tips for Ceiling Fans Versus Table Fans?
When cleaning your ceiling fan, you’ll want to use a ladder for easy access and a microfiber cloth to gently wipe each blade without bending them. For table fans, it’s simpler—you can usually remove the grill to clean inside thoroughly. Both fans need a dust-free environment, but ceiling fans require extra care to avoid loosening screws. By tailoring your approach, you’ll keep both ceiling fans and table fans running smoothly and free from dust.


