Step-By-Step Guide to Cleaning Keyboard
To clean your keyboard, first gather supplies like a microfiber cloth, isopropyl alcohol, cotton swabs, and compressed air. Power off and unplug it, then remove loose debris by gently shaking or using compressed air. Clean between keys with a soft brush or cotton swabs. Disinfect the surface with alcohol wipes, letting it dry thoroughly. Finally, reassemble if needed and maintain regular cleaning to keep it responsive. Keep going to discover expert tips for a flawless keyboard.
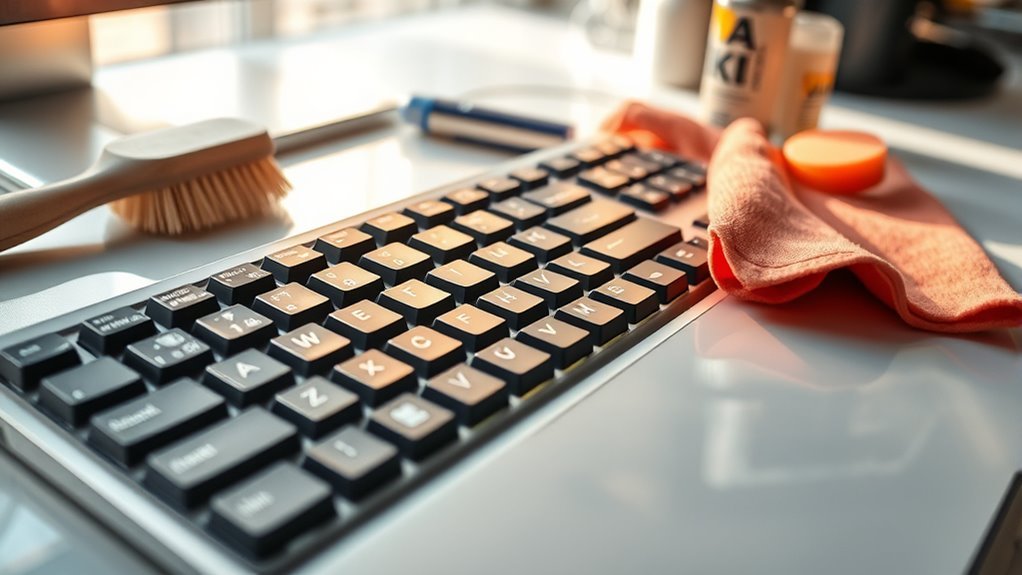
Gather the Necessary Cleaning Supplies
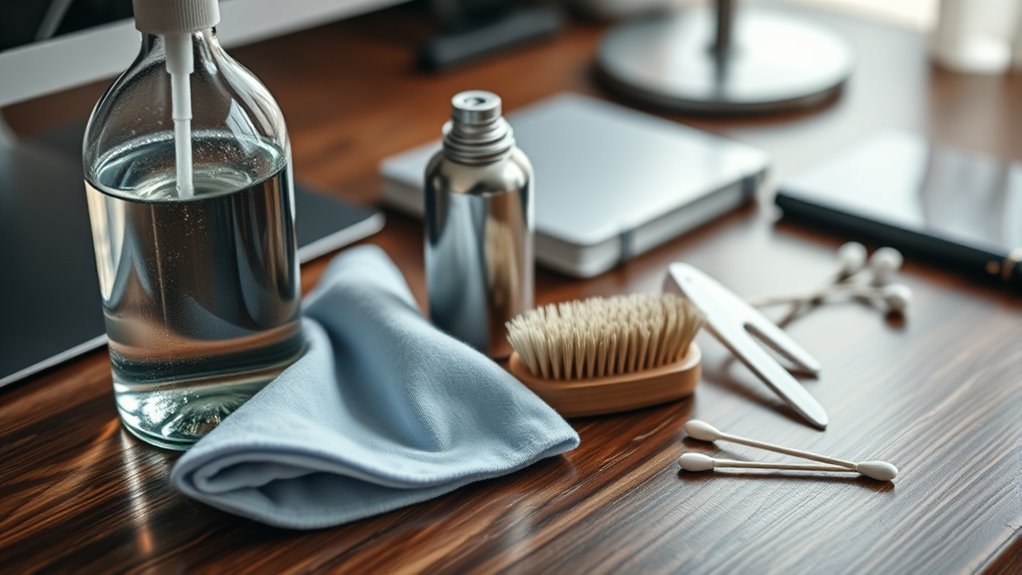
Before you start cleaning your keyboard, you’ll want to gather a few essential supplies to make the process efficient and effective. Having the right cleaning supplies on hand not only speeds up your keyboard maintenance but also guarantees you don’t miss any spots. Grab a soft microfiber cloth to avoid scratching the keys, and some isopropyl alcohol or a gentle cleaning solution to disinfect without damaging components. Cotton swabs help you reach tight spaces between keys, while a can of compressed air blows out dust and debris trapped underneath. With these tools ready, you’re free to maintain your keyboard’s cleanliness confidently, enhancing both its lifespan and your typing experience. Preparation empowers you to take control of your keyboard’s upkeep with ease.
Power Off and Unplug Your Keyboard
Although it might seem obvious, you should always power off and unplug your keyboard before cleaning it to prevent any electrical damage or accidental key presses. Prioritizing keyboard safety and good power management gives you the freedom to clean without worry. It’s a simple step that protects both your device and your workflow.
| Step | Action | Reason |
|---|---|---|
| 1 | Turn off your computer | Avoids power surges |
| 2 | Unplug keyboard cable | Guarantees no electricity flow |
| 3 | Remove batteries (if wireless) | Prevents accidental signals |
| 4 | Wait a few minutes | Discharges residual power |
| 5 | Confirm no lights are on | Verifies complete shutdown |
This routine keeps your keyboard safe and your cleaning hassle-free.
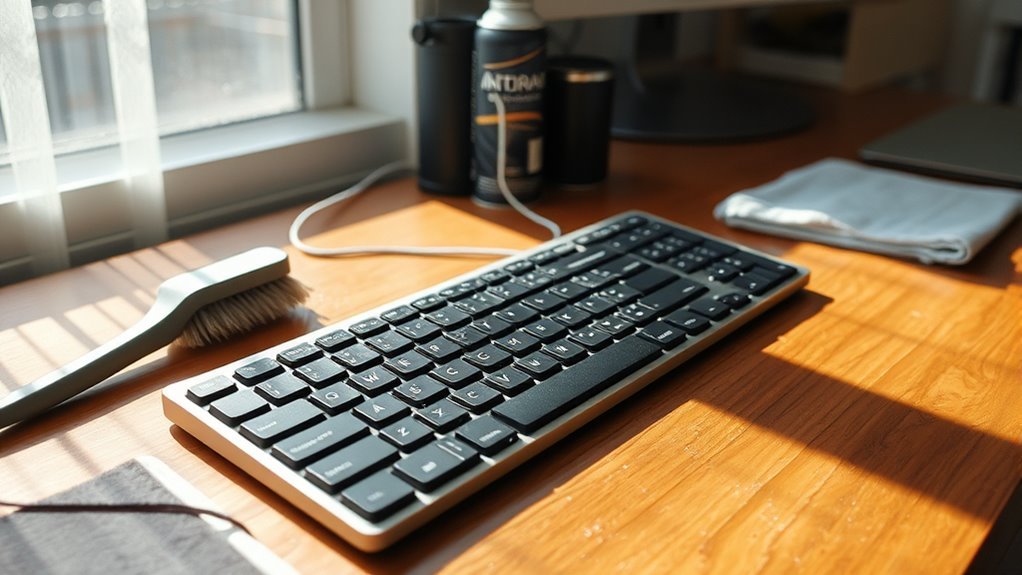
Remove Loose Debris From the Surface
Before you get into deep cleaning, start by gently dusting the surface to clear away loose particles. You can also use compressed air to blow out debris from between the keys. Flipping your keyboard upside down and giving it a gentle shake helps dislodge anything stuck underneath.
Gentle Surface Dusting
When you want to keep your keyboard looking tidy, gently dusting the surface is a simple way to remove loose debris without causing damage. Regular keyboard maintenance helps prevent dust accumulation, which can interfere with key responsiveness over time. Grab a soft microfiber cloth or a clean, dry paintbrush to carefully sweep away particles stuck on and between the keys. Avoid pressing too hard—light, deliberate strokes are all you need to free your keyboard from surface dust. This quick step not only preserves your keyboard’s appearance but also supports smooth operation, giving you the freedom to work or play without interruptions. Make gentle surface dusting part of your routine to enjoy a cleaner, more reliable keyboard every day.
Use Compressed Air
One of the easiest ways to remove loose debris from your keyboard’s surface is by using compressed air. This tool blasts away dust, crumbs, and particles trapped between keys without any physical contact, helping you maintain a clean keyboard effortlessly. The compressed air benefits include reaching tight spaces and preventing damage that can happen with brushes or cloths. When you use it, hold the can upright and spray short bursts to avoid moisture buildup. It’s a simple yet powerful step in your keyboard maintenance tips arsenal, giving you the freedom to keep your workspace tidy without dismantling your device. Incorporating compressed air into your routine means less buildup, smoother typing, and a keyboard that lasts longer—freeing you from constant worry about dirt and grime.
Flip and Shake
To get rid of loose debris from your keyboard’s surface, flip it upside down and give it a gentle shake. This simple action frees dust and crumbs trapped between keys, making your device cleaner without much effort. Incorporating this step into your keyboard maintenance routine helps you enjoy a smoother typing experience and prolongs your keyboard’s life. Following cleaning frequency recommendations, aim to do this weekly or whenever you notice buildup.
| Keyboard Maintenance Tips | Cleaning Frequency Recommendations |
|---|---|
| Flip and Shake | Weekly |
| Use Compressed Air | Biweekly |
| Wipe Surface | Monthly |
This quick, no-fuss method gives you freedom from stubborn grime, keeping your keyboard fresh and ready to use.
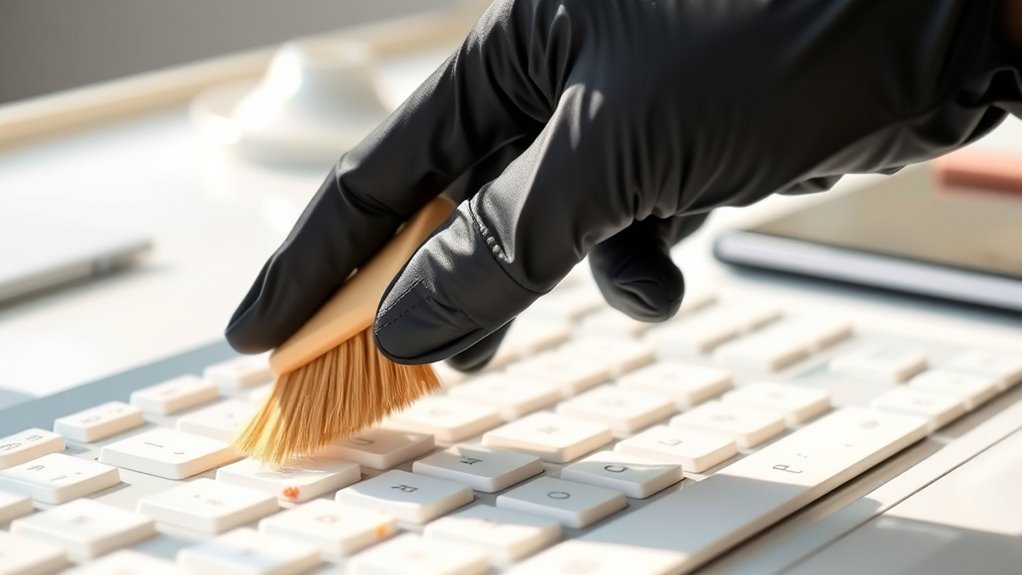
Clean Between the Keys With Tools
Although wiping the surface of your keyboard removes most debris, cleaning between the keys requires specific tools to reach the tight spaces. Grab a small cleaning brush or a soft-bristled toothbrush to sweep away dust and crumbs stuck between the keys. These tools give you the freedom to tackle dirt without damaging your keyboard. Avoid full keycap removal here; you’re just loosening surface grime, not disassembling parts. You can also use compressed air to blow out stubborn particles trapped beneath the keys. Take your time and work methodically, ensuring every crevice is clear. With the right tools and a little patience, your keyboard will feel fresh and responsive again—free from the grime that slows you down.
Deep Clean Removable Keycaps
Start by carefully removing your keyboard’s keycaps for a thorough clean. Keycap removal frees you from surface grime, letting you get deeper into the cleaning process. Remember, keycap materials vary—ABS, PBT, or POM—so handle them gently to avoid damage.
Follow these steps:
- Use a keycap puller to avoid scratching or bending keys during keycap removal.
- Soak the keycaps in warm, soapy water for 15-30 minutes, depending on how dirty they are.
- Rinse and dry each keycap completely before reassembling to prevent moisture damage.
Taking the time to deep clean removable keycaps gives your keyboard a fresh feel and extends its life, letting you enjoy your typing freedom fully.
Disinfect the Keyboard Surface
Now that you’ve cleaned the removable keycaps, it’s important to disinfect the keyboard surface properly. You’ll want to choose a disinfectant that’s safe for electronics and apply it carefully to avoid damage. Remember to follow safety precautions to protect both your device and yourself during cleaning.
Choosing the Right Disinfectant
When disinfecting your keyboard, choosing the right product is essential to avoid damaging the keys or electronics. You want a disinfectant that’s effective yet gentle enough to preserve your device’s freedom to function flawlessly. Here’s what to take into account:
- Disinfectant Types – Opt for alcohol-based wipes or sprays with at least 70% isopropyl alcohol. They’re powerful against germs without leaving residue. Avoid bleach or harsh chemicals that can erode key labels.
- Cleaning Effectiveness – Check that the product kills viruses and bacteria efficiently, ensuring a safe, germ-free surface.
- Surface Safety – Pick disinfectants labeled safe for electronics to prevent damage to your keyboard’s circuitry.
Proper Application Techniques
Selecting the right disinfectant is only half the battle; applying it correctly guarantees your keyboard gets properly cleaned without harm. You’ll want to avoid spraying liquid directly onto the surface to prevent damage, especially considering different keyboard types. Instead, dampen a microfiber cloth lightly and wipe the keys gently. Stick to a regular cleaning frequency suited to your environment for peak hygiene.
| Step | Method | Notes |
|---|---|---|
| 1 | Lightly dampen cloth | Avoid soaking to protect electronics |
| 2 | Wipe keys gently | Focus on frequently touched areas |
| 3 | Use cotton swabs | Reach tight spaces between keys |
| 4 | Air dry | Let keyboard dry before use |
Follow these steps to keep your keyboard spotless and functional.
Safety Precautions During Cleaning
Although disinfecting your keyboard is essential for hygiene, you’ve got to take precautions to protect both yourself and your device. Keyboard safety isn’t just about what you clean with but how you do it. To keep your keyboard in top shape without risking damage, follow these steps:
- Use the right cleaning equipment: opt for alcohol-based wipes or sprays with at least 70% isopropyl alcohol, applied sparingly on a microfiber cloth—not directly on the keyboard.
- Power down and unplug your keyboard to prevent any electrical issues or accidental key presses.
- Avoid harsh chemicals or excessive moisture, which can harm the internal circuitry and void warranties.
Reassemble and Dry Your Keyboard
Take your time to carefully reassemble your keyboard, ensuring each keycap snaps securely back into place. Use keyboard assembly tips like matching keycaps to their original spots and pressing firmly but gently to avoid damage. Once reassembled, drying techniques are essential to prevent moisture from causing issues. Let your keyboard air dry completely—avoid using heat sources that might warp plastic or electronics. Placing it upside down on a towel can help any trapped moisture escape. Giving your keyboard ample time to dry guarantees it functions smoothly and extends its life. By following these steps, you regain control over your device, freeing yourself from sticky keys or malfunctions. Embrace this process, and your keyboard will be ready for action in no time.
Frequently Asked Questions
Can I Use Water to Clean My Keyboard?
You might think dunking your keyboard in water will magically zap away every speck of dust, but beware—water damage is the arch-nemesis of keyboard safety. You don’t want to risk turning your trusty device into a soggy paperweight. Instead, use a slightly damp cloth or specialized cleaning solutions to keep freedom at your fingertips without the horror of liquid destruction. Protect your keyboard, and keep your typing adventures alive!
How Often Should I Clean My Keyboard?
You should set a cleaning schedule based on how often you use your keyboard and your environment. For regular keyboard maintenance, aim to do a light clean weekly to keep dust and crumbs away. A deeper clean every one to three months helps prevent buildup and keeps things running smoothly. If you eat at your desk or share your keyboard, cleaning more frequently will give you the freedom to enjoy a fresh, hygienic workspace.
Will Cleaning Void My Keyboard’S Warranty?
You’re simply giving your keyboard a little spa day, not committing any rebellious acts. Most warranty policies from keyboard manufacturers won’t frown upon gentle cleaning, as long as you avoid harsh chemicals or disassembling parts. So, you’re free to keep it fresh without fear. Just check your specific warranty terms—some might have unique rules. Staying informed lets you enjoy your keyboard’s freedom while keeping that warranty intact.
Are There Specific Cleaners to Avoid?
You’ll want to steer clear of cleaning solutions with harmful substances like bleach, ammonia, or alcohol over 70%, as they can damage your keyboard’s surface or internal parts. Instead, opt for gentle, electronics-safe cleaners or simply use a microfiber cloth dampened with water or a mild soap solution. Avoid anything too harsh—your keyboard deserves freedom from damage, not from your care! Keep it safe and clean without risking harm.
How Do I Prevent Future Keyboard Dirt Buildup?
If you don’t want your keyboard to look like a dust monster’s playground, you’ve got to take keyboard maintenance tips seriously! You can’t just hope dirt stays away. Use dust prevention strategies like covering your keyboard when not in use, washing your hands before typing, and keeping snacks far, far away. Regularly blast compressed air to keep crumbs out. Freedom means a clean keyboard—don’t let dirt tie you down!


