Step-By-Step Guide to Cleaning Oven
First, gather your cleaning supplies like gloves, sponge, and baking soda. Remove your oven racks and clear loose debris. Make a paste with baking soda and water, then spread it inside your oven, avoiding heating elements. Let it sit, then scrub gently with a non-abrasive brush. Soak and clean the racks separately. Wipe down the oven door and glass with the same paste, then finish with a damp cloth. Want to make your oven sparkle even more with simple tips?
Gather Necessary Cleaning Supplies
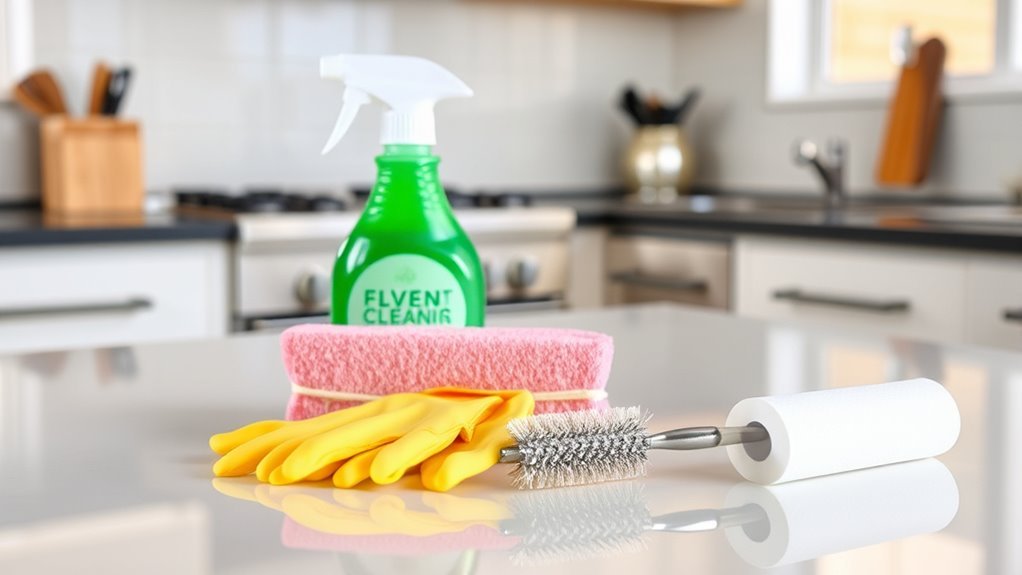
Before you begin cleaning your oven, you’ll need to gather a few essential supplies. Freedom in your cleaning routine starts with having the right tools at hand. Choose effective cleaning products designed specifically for ovens to tackle stubborn grime without harming surfaces. Don’t forget to select gloves and protective eyewear as part of your safety precautions—these will keep you safe from harsh chemicals. A sturdy sponge or scrub brush and a microfiber cloth are also must-haves for scrubbing and wiping away residue. Having everything ready means you can clean efficiently and confidently, without interruptions. By preparing properly, you take control of the process, making it smoother and safer while ensuring your oven shines like new.
Prepare Your Oven for Cleaning
Before you start scrubbing, take out the oven racks and set them aside. Make sure to clear any loose debris or crumbs from the oven floor. Having your cleaning supplies ready will make the process smoother and faster.
Remove Oven Racks
To get started with cleaning your oven, you’ll want to remove the oven racks carefully. This step frees up space, letting you clean every corner thoroughly. Before you pull them out, take a moment to note your rack organization—this makes reinstalling them a breeze. Oven racks come in various materials like stainless steel or chrome-plated steel, so handle them with care to avoid scratches or bending. If your racks feel stuck, wiggle them gently instead of forcing them out. Once removed, you can clean the racks separately without limiting your movement inside the oven, giving you total freedom to tackle grime and baked-on spills. Keeping track of rack placement guarantees your oven functions perfectly after cleaning.
Clear Loose Debris
Start by clearing out any loose debris inside your oven, like crumbs, food particles, or burnt bits. This initial step is crucial for effective oven debris removal and sets the stage for a thorough clean. Grab a handheld vacuum or a soft brush to sweep away loose dirt cleanup effortlessly. Don’t forget to check corners and crevices where debris often hides. Removing these particles not only prevents smoke during cleaning but also guarantees your cleaning agents work directly on stubborn grime instead of loose dirt. Taking this small but important step gives you the freedom to tackle the deeper cleaning without interference, making the entire process smoother and more efficient. This simple loose debris cleanup is your first move toward a spotless oven.
Gather Cleaning Supplies
With the loose debris cleared out, you’re ready to gather the supplies that’ll make cleaning your oven easier and more effective. Start by choosing cleaning products that suit your lifestyle—consider eco friendly options to keep your space chemical-free and safe. You’ll want a sturdy sponge or non-abrasive scrubber, a spray bottle for your cleaner, gloves to protect your hands, and a microfiber cloth for wiping down. If you prefer natural solutions, grab baking soda, vinegar, and lemon juice, which work wonders without harsh chemicals. Having everything at hand before you begin lets you move freely through the process without interruptions. This way, you maintain control, clean efficiently, and keep your kitchen fresh without compromising your values or your freedom.
Remove Oven Racks and Accessories
Now that your oven is prepped, carefully pull out the racks one by one to avoid bending or scratching them. Set the racks aside in a way that keeps them organized and easy to clean later. Don’t forget to remove any additional accessories and keep them separate for thorough cleaning.
Detach Racks Carefully
Gently pull out each oven rack and accessory to avoid bending or damaging them. Taking your time here guarantees rack safety, preserving their shape and functionality. When detaching racks, grip them firmly but carefully, sliding them out straight to prevent any warping. Avoid forcing stubborn racks, as this can cause unnecessary wear or breakage. Proper rack maintenance starts now—handle each piece with care and inspect for any signs of rust or damage. Keeping your racks in good shape not only extends their life but also makes cleaning easier and more effective. By treating your oven racks gently, you maintain the freedom to use them confidently, knowing they’re intact and ready for your next culinary adventure.
Organize Accessories Separately
After you’ve carefully removed the oven racks and accessories, it’s important to keep them organized separately. This helps you avoid mixing up parts and makes the cleaning process smoother. When you organize tools and separate materials, you create a system that’s easy to manage and gives you the freedom to work efficiently. Here’s how to do it:
- Place racks on a flat surface, so they don’t get scratched or bent.
- Group smaller accessories like knobs or trays in a container to prevent loss.
- Label each group if necessary, especially if you have multiple ovens or parts.
Make a Homemade Cleaning Paste
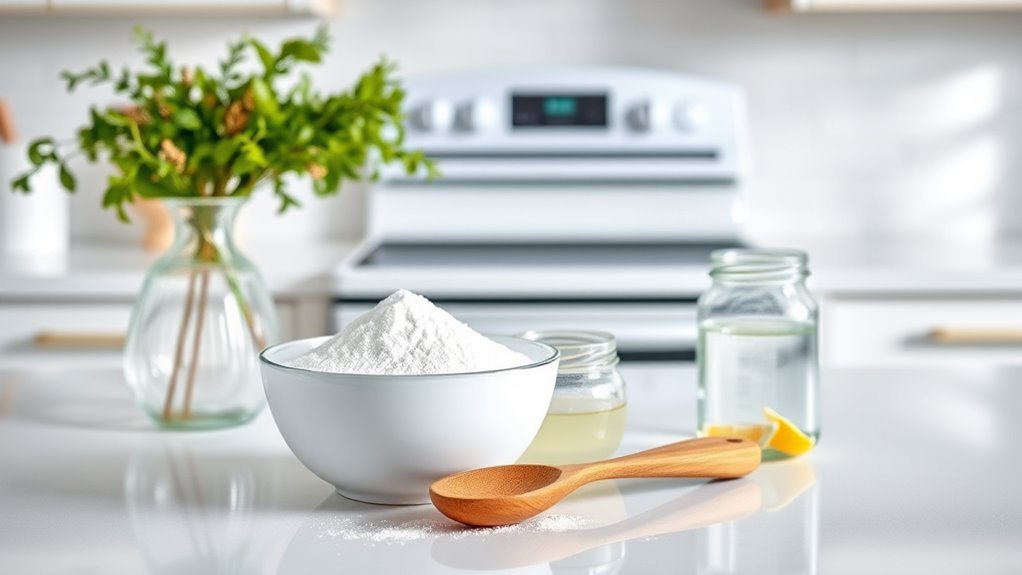
A simple homemade cleaning paste can tackle tough oven grime without harsh chemicals. You can easily whip up this paste using basic homemade ingredients like baking soda and water. Baking soda acts as a gentle abrasive, enhancing cleaning efficiency by breaking down baked-on grease and stains. Just mix about half a cup of baking soda with a few tablespoons of water until you get a spreadable paste. This DIY solution gives you control over what goes into your cleaner, letting you avoid toxic substances and embrace a safer, more natural approach. Plus, using homemade ingredients means you’re saving money and reducing waste. This paste is versatile, effective, and perfect for anyone wanting to clean their oven with freedom and simplicity.
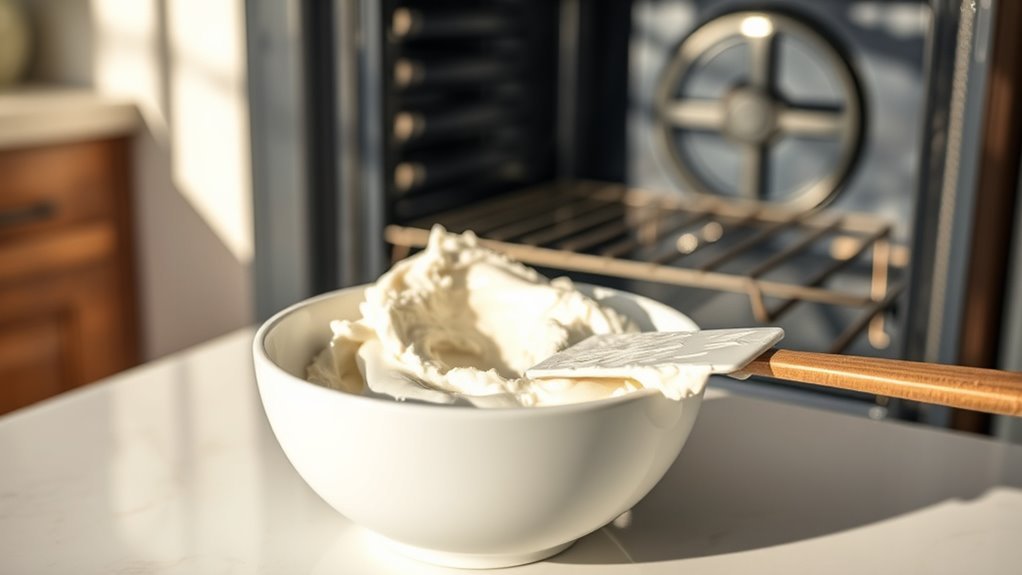
Apply Cleaning Paste to Oven Interior
Spread the homemade cleaning paste evenly across the oven’s interior surfaces, focusing on areas with the most baked-on grime. Using effective oven cleaning techniques guarantees you reclaim your freedom from harsh chemicals and tedious scrubbing. Here’s how to apply the paste like a pro with natural cleaning solutions:
- Use a rubber spatula or cloth to spread the paste generously, covering the back, sides, bottom, and door interior.
- Avoid the heating elements to prevent damage.
- Pay extra attention to stubborn spots—thicker application works best there.
Let the Cleaning Paste Sit and Work
After applying the cleaning paste, you’ll want to let it sit for about 15 to 30 minutes to maximize its effectiveness. This waiting period allows the paste to break down tough grease and grime. Don’t rush this step—patience makes the cleaning process much easier.
Optimal Waiting Time
Giving the cleaning paste at least 20 to 30 minutes to sit allows it to break down stubborn grease and grime effectively. Finding the ideal cleaning duration is key to freeing yourself from scrubbing struggles while ensuring your oven shines. Remember, oven cleaning frequency depends on usage, but waiting the right amount of time maximizes results.
Here’s why you should stick to this waiting period:
- It softens baked-on residues, making them easy to wipe away.
- It reduces the effort and time you spend scrubbing.
- It prevents damage by avoiding premature scrubbing on still-active paste.
Effectiveness of Paste
While the cleaning paste sits, it’s actually working to break down tough grease and burnt-on food, so you don’t have to scrub as hard later. The paste ingredients—usually baking soda, vinegar, and a bit of water—create a powerful, natural solution that loosens grime effortlessly. Once you’ve completed the paste application, give it enough time to penetrate and soften stubborn residues. This waiting period is key; rushing it means more elbow grease for you. By trusting the paste to do its job, you free yourself from harsh scrubbing and chemical exposure. Remember, the paste ingredients are designed to work gently but effectively, giving you a cleaner oven with less effort. Let it sit, relax, and enjoy the freedom from tough cleaning struggles.
Scrub and Wipe Down the Oven Interior
Start by loosening any baked-on grime with a damp cloth or sponge soaked in warm, soapy water. This step preps your oven for effective cleaning without harsh scrubbing. When tackling stubborn stains, try these oven cleaning techniques:
- Use a non-abrasive scrubber to gently lift grime without damaging surfaces.
- Apply a baking soda paste on tough spots, let it sit for 15 minutes, then scrub lightly.
- Wipe down with a clean, damp cloth to remove residue and loosened dirt.
Clean the Oven Racks Separately
Since oven racks collect grease and food residue over time, cleaning them separately guarantees a thorough job without risking damage to the oven interior. Start by removing the oven racks carefully and soaking them in a bathtub or large basin filled with warm water and a few drops of dish soap. Let them soak for several hours or overnight to loosen grime. Next, apply your preferred cleaning techniques—scrubbing with a non-abrasive brush or sponge works well to lift stuck-on debris. For tougher stains, sprinkle baking soda on the racks, spray with vinegar, and let it fizz before scrubbing. Rinse thoroughly and dry completely before putting the racks back. This separate approach gives you freedom to clean deeply without compromising your oven’s delicate surfaces.
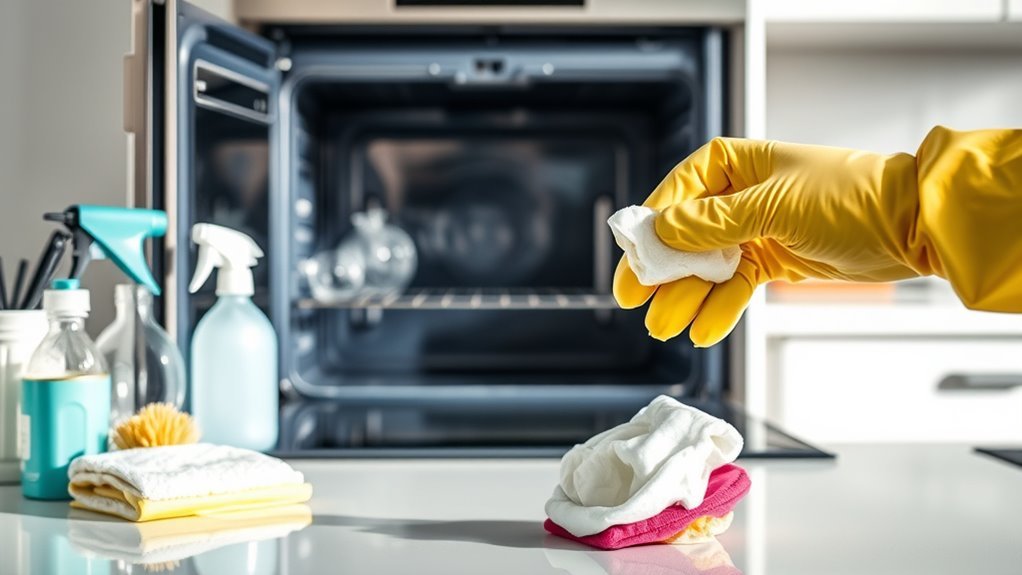
Clean the Oven Door and Glass
After you’ve tackled the oven racks, it’s time to focus on the oven door and glass, which often gather grease and baked-on food. Cleaning these parts frees you from grime and keeps your oven looking fresh.
Next, clean the oven door and glass to remove grease and baked-on food for a fresh, clear look.
- Start by mixing a gentle cleaner or baking soda paste. Apply it to the oven door and glass, letting it sit for 15 minutes to break down stubborn spots.
- Use a soft cloth or sponge to scrub the surface gently, avoiding scratches on the glass.
- Wipe everything down with a damp cloth to remove residue, then dry with a clean towel.
This glass cleaning step restores clarity to your oven door, giving you a clear view inside without the mess holding you back.
Final Wipe and Oven Reassembly
Once you’ve cleaned every part of your oven, giving it a final wipe will guarantee no cleaning residue or dust is left behind before reassembling. Use a damp microfiber cloth to gently remove any lingering grime or cleaner. Next, follow a final inspection checklist: check that racks are dry, surfaces are spotless, and no parts are missing. When it’s time to reassemble, apply proper reassembly techniques—align racks and panels carefully, ensuring all clips and screws fit securely. Avoid forcing parts; they should slide or snap in smoothly. Taking these steps lets you reclaim your oven’s full functionality swiftly and safely. With your oven pristine and properly reassembled, you’re free to enjoy cooking without hesitation or worry.
Frequently Asked Questions
How Often Should I Deep Clean My Oven?
Think of your oven like a trusty steed that needs regular grooming to keep it running smoothly. For freedom from stubborn grime, you should do monthly maintenance, but deep cleaning frequency depends on how often you use it. If you cook daily, deep clean every 3-4 months; if less, twice a year works. This balance keeps your oven fresh and ready, giving you the freedom to cook without a second thought.
Can I Use Commercial Oven Cleaners Instead of Homemade Paste?
You can definitely use commercial oven cleaners instead of homemade paste if you want faster, more powerful results. Commercial cleaner benefits include stronger formulas that tackle tough grease and baked-on messes with less elbow grease. However, homemade cleaner alternatives give you control over ingredients and avoid harsh chemicals, offering a more natural, eco-friendly option. It’s all about your preference—choose what fits your lifestyle and freedom in cleaning.
What Should I Do if My Oven Has a Self-Cleaning Feature?
Think of your oven’s self-cleaning feature as a trusty guardian—it burns away grime, giving you the freedom to focus on what matters. The self-cleaning benefits include minimal effort and deep cleaning at high heat. But don’t forget the self-cleaning drawbacks: it can produce smoke, and the high temperatures might wear components over time. Always clear heavy debris first, follow the manual, and enjoy the ease without losing control in your kitchen kingdom.
Is It Safe to Clean the Oven While It’S Still Warm?
You shouldn’t clean your oven while it’s still warm because it can be risky for oven safety. The heat might cause burns or damage cleaning tools. Instead, wait until it cools down completely before starting. For effective cleaning tips, use gentle tools and avoid harsh chemicals to keep your oven in great shape. Taking your time guarantees a safer, more enjoyable cleaning experience that won’t limit your freedom in the kitchen.
How Do I Prevent Future Oven Messes and Spills?
To prevent future oven messes and spills, you should focus on preventive measures like using baking sheets or oven liners beneath dishes to catch drips. Also, adopting careful cooking techniques—such as covering food with lids or foil—can help minimize splatters. Keeping your oven clean regularly makes it easier to maintain freedom from stubborn stains, so staying proactive lets you enjoy cooking without the hassle of tough cleanups later on.


