Step-By-Step Guide to Cleaning Sink
Start by gathering eco-friendly cleaning supplies and removing any debris from your sink. Rinse it thoroughly with warm water to loosen grime. Next, apply a natural cleaning solution, letting it sit for several minutes. Use a soft sponge or brush to scrub all surfaces gently, paying attention to edges and drains. Rinse well and dry with a microfiber cloth to avoid spots. Keeping this routine will keep your sink fresh, and there’s more you can do to maintain it perfectly.
Gather the Necessary Cleaning Supplies
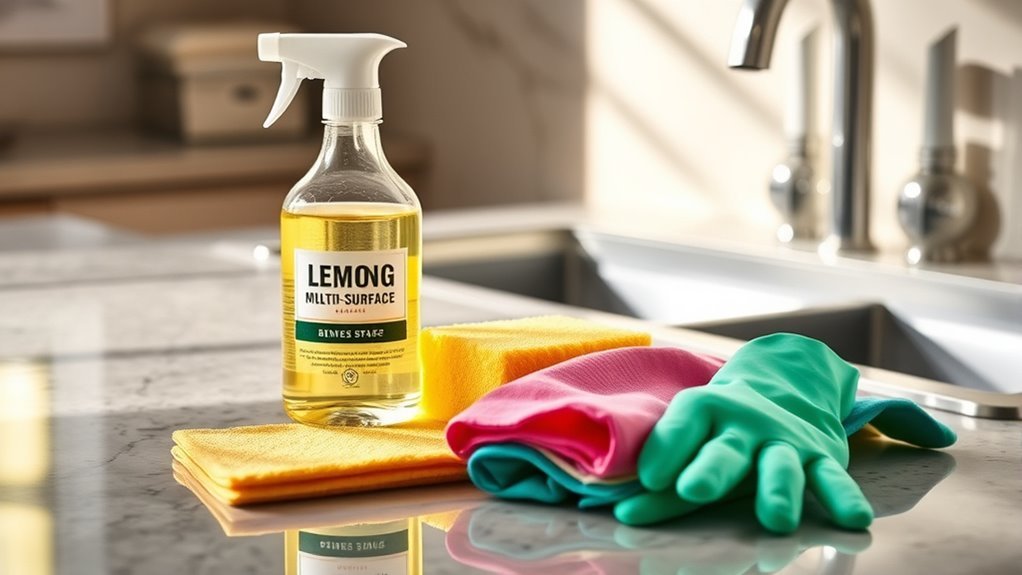
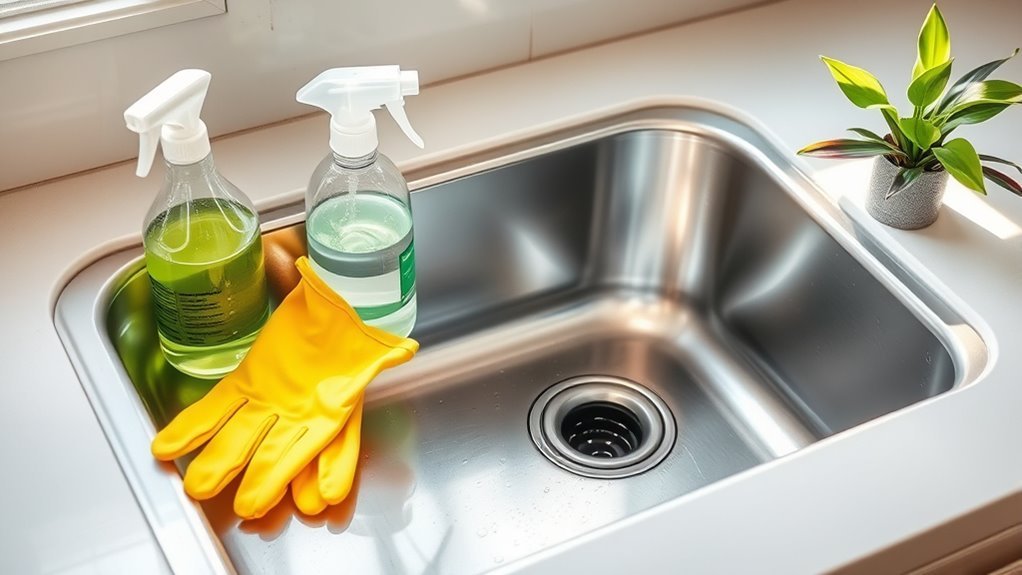
Before you begin cleaning your sink, you’ll need to gather a few essential supplies. Having the right cleaning tools on hand makes the job quicker and more effective, giving you the freedom to enjoy your space sooner. Opt for eco friendly options like biodegradable sponges, natural scrubs, and non-toxic cleaners — they protect both your health and the environment. Avoid harsh chemicals that trap you in cycles of waste and pollution. You’ll want a soft brush or cloth for scrubbing, a spray bottle with vinegar or lemon solution for disinfecting, and a baking soda paste for tough stains. By choosing these simple, sustainable supplies, you take control of your cleaning routine while supporting a cleaner planet.
Remove Debris and Rinse the Sink
Start by clearing any visible particles from your sink to prevent clogs and make cleaning easier. Next, rinse the sink thoroughly with warm water to wash away loosened debris. This simple step sets the stage for a deeper clean.
Clear Visible Particles
Begin by removing any visible debris from your sink to prevent clogging and make cleaning easier. Grab a paper towel or your hands to clear out leftover food scraps, hair, or any other particles that have settled in the basin. This simple step is essential for maintaining good sink hygiene and ensuring your cleaning efforts aren’t wasted. By focusing on particle removal first, you’re freeing your sink from blockages and setting yourself up for a thorough clean. Don’t rush this part—getting rid of those visible bits means your sink will look better and function more smoothly. Taking this moment to clear visible particles gives you the freedom to enjoy a fresh, clutter-free sink without the hassle of lingering debris.
Use Warm Water Rinse
Once you’ve cleared away the visible particles, you’ll want to use warm water to rinse your sink thoroughly. Warm water benefits your cleaning process by loosening grime and dissolving residues faster than cold water. This helps you achieve effective rinsing, ensuring no debris is left behind to cause stains or odors. To make the most of this step:
- Turn on the tap and let warm water flow evenly across the entire surface.
- Use your hands or a soft cloth to guide the water, dislodging trapped particles.
- Focus on corners and drain areas where debris tends to accumulate.
- Rinse until the water runs clear, signaling a clean, debris-free sink.
Apply a Cleaning Solution

Now that your sink is clear, it’s time to pick the right cleaning agent for the job. Make sure you apply it evenly and follow the instructions carefully. Don’t forget to let the solution sit for a few minutes to break down grime effectively.
Choose Suitable Cleaning Agent
Choosing the right cleaning agent is essential for effectively tackling sink grime without damaging the surface. You want a product that frees you from worries about harm while delivering a spotless sink. Here’s how to pick:
- Opt for natural cleaners if you prefer eco-friendly, gentle options that still pack a punch.
- Consider chemical agents for tough stains but use them sparingly to protect your sink’s finish.
- Match the cleaner type to your sink material—granite, stainless steel, or porcelain each needs different care.
- Avoid abrasive powders or pads that can scratch and limit your freedom to reuse the sink surface.
Proper Application Techniques
Start by wetting the sink surface with warm water to loosen debris and prepare it for cleaning. Next, apply your chosen cleaning solution evenly across the entire sink. Using a sponge or cloth, spread the solution with smooth, circular motions—this application technique guarantees the cleaner reaches every corner and maintains maximum contact. Don’t rush; a deliberate, consistent approach boosts cleaning effectiveness by breaking down grime thoroughly. Avoid pouring the solution in concentrated spots, which can miss areas or cause buildup. Instead, control the amount to prevent waste and guarantee an even layer. Mastering these application techniques gives you the freedom to tackle any sink mess confidently, maximizing your cleaner’s power without extra effort.
Allow Solution Dwell Time
Though applying the cleaning solution evenly is essential, you’ll get the best results by letting it sit for a few minutes. This dwell time importance can’t be overstated—it allows the solution to break down dirt and grime deeply, boosting cleaning effectiveness. Don’t rush this step; patience here means freedom from stubborn stains later. To make the most of this pause:
- Let the solution rest for 5-10 minutes, depending on product instructions.
- Avoid wiping or rinsing too soon to allow full action.
- Use this time to tackle other quick chores nearby.
- Keep the area undisturbed to maximize contact.
Scrub the Sink Surface
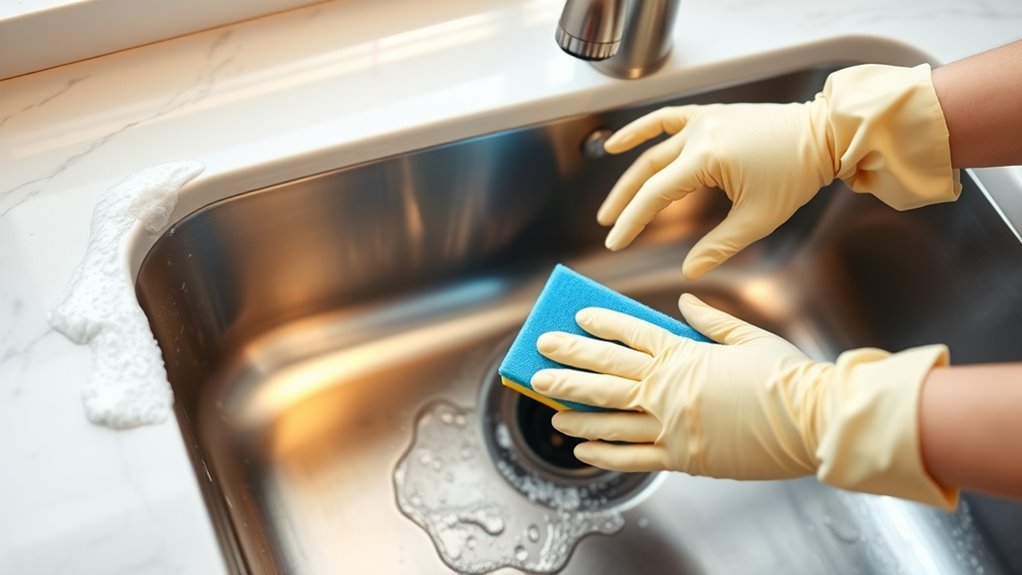
Before you plunge into scrubbing, make sure the sink is damp but not soaking wet; this helps the cleaning solution spread evenly and tackle grime more effectively. Now, choose your scrubbing technique wisely. For delicate sink materials like porcelain or stainless steel, use a soft sponge or cloth to avoid scratches. If you have a tougher surface like granite or cast iron, a gentle scrub brush can handle stubborn spots without damaging the finish. Focus on circular motions to lift dirt and stains efficiently. Don’t forget to pay extra attention to the edges and drain area, where buildup tends to hide. By matching your scrubbing technique to your sink materials, you’ll maintain its look and durability while freeing yourself from grime.
Rinse Thoroughly and Dry
Once you’ve scrubbed every corner of your sink, it’s time to rinse away all the loosened grime and cleaning residue. Choosing the right rinse methods guarantees your sink feels fresh and spotless, giving you the freedom to move on without worries. Here’s how to rinse thoroughly and dry effectively:
- Use warm water to loosen and wash away stubborn residues.
- Direct the flow to every surface, including corners and the drain.
- Opt for drying techniques like microfiber cloths or air drying to prevent water spots.
- Wipe down fixtures gently to keep them shining without damage.
Maintain Regular Cleaning Habits
If you want your sink to stay clean and inviting, maintaining regular cleaning habits is key. Sticking to a consistent cleaning frequency prevents buildup and saves you from tough scrubbing later. Aim to wipe down your sink daily and do a deeper clean weekly. Simple maintenance tips like rinsing after use, drying with a cloth, and addressing stains quickly make a big difference. By integrating these small, routine actions into your day, you free yourself from overwhelming chores and keep your sink fresh effortlessly. Remember, regular upkeep means less stress and more time to enjoy your space the way you want—clean, clear, and ready whenever you need it.
Frequently Asked Questions
Can I Use Bleach to Disinfect My Sink?
Like wielding fire, using bleach requires caution. You can use bleach to disinfect your sink, but you’ve got to mind bleach safety. Some sink materials, like stainless steel or porcelain, handle bleach well, while others, like natural stone, might get damaged. Always dilute bleach properly and rinse thoroughly. This way, you maintain your freedom to keep things clean without sacrificing your sink’s integrity. Stay safe and smart!
How Often Should I Deep Clean My Sink?
You should aim for a deep cleaning frequency of about once a week to keep things fresh and hygienic. Regular sink maintenance tips include scrubbing away grime, disinfecting surfaces, and clearing drains. If you use your sink heavily or handle raw food often, consider deep cleaning more frequently. Staying consistent with these habits frees you from stubborn stains and unpleasant odors, making your kitchen more inviting without eating up your time.
What Should I Do About Sink Odors?
If you’re dealing with common sink odors, don’t stress! For effective sink deodorizing tips, try pouring baking soda followed by vinegar down the drain, then rinse with hot water. This combo neutralizes smells and breaks down buildup. You can also toss in lemon peels for a fresh scent. Regularly cleaning the drain stopper and garbage disposal helps prevent odors from sticking around, giving you a fresh, free-flowing sink every time.
Are Natural Cleaning Products Effective for Sinks?
Think of natural cleaners like a gentle breeze that freshens your space without leaving a harsh scent behind. You’ll find eco friendly solutions, like vinegar and baking soda, effectively tackle sink grime and odors without toxic chemicals. They’re powerful enough to free your sink from buildup while keeping the environment safe. If you want a clean sink and peace of mind, natural cleaners are the way to go—they let you take charge without compromise.
How Do I Prevent Sink Stains From Forming?
To prevent sink stains from forming, you’ll want to take some simple preventative measures. Different stain types, like rust or mineral deposits, need regular attention. Rinse your sink after each use to wash away residue, and wipe it dry to stop water spots. Avoid leaving food or metal objects sitting in the sink, as they can cause stains. Staying consistent frees you from stubborn marks and keeps your sink looking fresh.


