Step-By-Step Guide to Cleaning Tile
First, identify your tile and grout types to choose suitable cleaners. Gather soft and stiff brushes, microfiber cloths, and pH-neutral solutions. Remove loose dirt by vacuuming or dust mopping, focusing on grout lines. Apply an even layer of cleaning solution, then scrub grout and tiles gently but thoroughly. Rinse with lukewarm water and dry promptly to avoid streaks. Finally, apply an appropriate sealer to protect surfaces. Continuing will reveal detailed techniques for each step to guarantee spotless results.
Assess the Type of Tile and Grout
Before you begin cleaning, it’s essential to assess the type of tile and grout you’re dealing with, as different materials require specific care methods. Start by identifying your tile materials—common types include ceramic, porcelain, natural stone, and glass. Each has varying porosity and hardness, influencing your cleaning approach. Next, examine the grout types; grout can be sanded or unsanded, and its composition affects stain susceptibility and cleaning tolerance. Understanding these differences lets you select appropriate cleaning techniques without damaging surfaces. For example, natural stone demands pH-neutral cleaners to prevent etching, while ceramic tiles tolerate more robust solutions. By methodically evaluating both tile materials and grout types, you gain the freedom to clean effectively and preserve your surfaces’ integrity over time. Knowing your grout type also helps in choosing the most effective cleaning methods.
Gather Necessary Cleaning Supplies
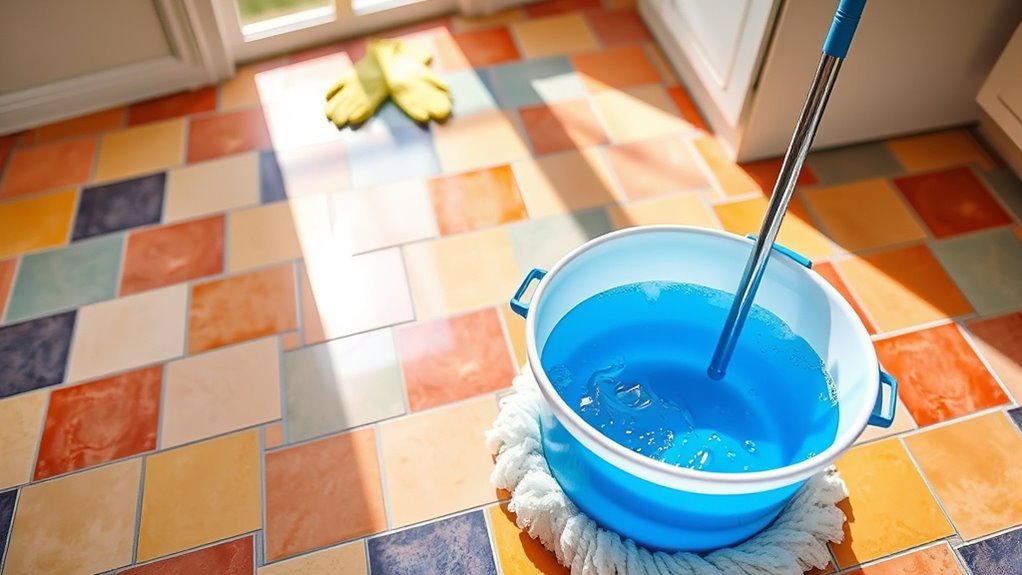
Before you start cleaning, make certain you have the essential tools like a soft-bristle brush, microfiber cloths, and a bucket for rinsing. Select cleaners that are specifically designed for your tile type to avoid damage or discoloration. Always check labels to ascertain the products are safe for both your tiles and grout. Using pH-neutral tile cleaners helps ensure effective cleaning without damaging finishes.
Essential Cleaning Tools
To effectively clean your tile surfaces, you’ll need a set of essential tools that guarantee thorough results without causing damage. Start with a soft-bristle brush to tackle grout lines gently, preventing abrasion. A microfiber mop or cloth is fundamental for capturing dirt and debris without scratching the tile. Equip yourself with a bucket to mix cleaning solutions, allowing precise control over dilution. A spray bottle aids in targeted application, critical for specific cleaning techniques. Don’t forget a rubber squeegee to efficiently remove excess water and avoid streaks. Finally, gloves protect your hands during tile maintenance. By assembling these tools, you’ll guarantee each step in your cleaning routine is efficient, effective, and preserves the freedom to maintain your tiles’ pristine condition with confidence.
Choosing Safe Cleaners
Selecting safe cleaners is vital to preserving the integrity and appearance of your tile surfaces. Start by identifying the specific type of tile you’re working with, as surface compatibility is essential to avoid damage. For instance, natural stone tiles require pH-neutral cleaners, while ceramic tiles can tolerate mild detergents. Next, consider eco friendly options—they’re not only better for the environment but often gentler on your tiles. Look for products labeled biodegradable and free from harsh chemicals like ammonia or bleach. Before full application, test the cleaner on a small, inconspicuous area to verify it doesn’t discolor or etch the tile. By carefully selecting your cleaning agents based on tile type and environmental impact, you’ll maintain both the beauty of your surfaces and your freedom to clean safely and effectively.
Remove Loose Dirt and Debris
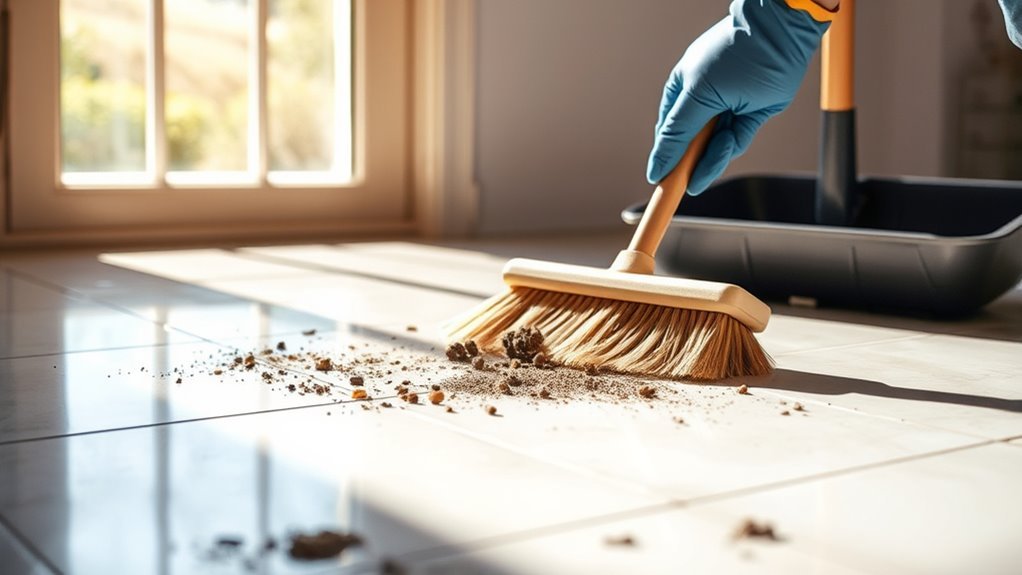
Although it might seem simple, removing loose dirt and debris is an essential first step in cleaning tile effectively. To guarantee your tile stays pristine and you maintain freedom from stubborn grime, follow these precise steps:
- Start with vacuum techniques designed for hard floors; use a vacuum with a hard floor setting or brush attachment to avoid scratching tiles.
- Next, employ a dust mop to sweep the entire surface. This method captures fine dust particles that vacuums may miss.
- Focus on corners and grout lines, where dirt tends to accumulate. Use the dust mop’s edge or a handheld vacuum attachment to reach these spots thoroughly.
Regularly removing dirt and debris is important to prevent buildup and maintain a clean and inviting workspace.
Prepare a Cleaning Solution
You’ll need to select cleaning agents that suit your tile type to avoid damage or discoloration. Always mix solutions carefully, following instructions to maintain safety and effectiveness. If you prefer, consider natural alternatives like vinegar or baking soda, which can be gentler on both your tiles and the environment. Regular cleaning and quick spill cleanup also help extend the life of your grout’s sealant.
Choose Appropriate Cleaning Agents
Before you mix any cleaning solution, it’s essential to identify the type of tile you’re working with, as different materials require specific agents to avoid damage. Here’s how to choose the right cleaning agent:
- For natural stone tiles, opt for pH-neutral, eco-friendly options to prevent etching or discoloration. Avoid acidic or abrasive products.
- Ceramic and porcelain tiles can tolerate a wider range of commercial products, but make sure they’re designed for tile to protect grout and finish.
- For delicate or specialty tiles, consult manufacturer recommendations or choose mild, eco-friendly cleaners to maintain integrity without harsh chemicals.
Mix Solutions Safely
When mixing your cleaning solution, it’s essential to follow exact measurements and safety guidelines to secure effectiveness without risking damage to your tiles or your health. Start by reviewing the product label to understand the recommended solution ratios—too strong can harm surfaces, too weak won’t clean effectively. Always add chemicals to water, never the reverse, to minimize hazardous reactions. Use gloves and guarantee proper ventilation as part of your mixing precautions. Measure each ingredient precisely using dedicated tools to maintain consistency. Avoid mixing different chemical agents unless specified safe, as this can create dangerous fumes. By adhering strictly to these guidelines, you maintain control over your cleaning process, preserving both your freedom to clean effectively and your environment’s safety.
Consider Natural Alternatives
Although chemical cleaners are common, natural alternatives offer a safer and often equally effective option for preparing tile cleaning solutions. Choosing natural cleaners supports eco friendly options and reduces exposure to harsh chemicals. Here’s a precise approach to creating your own solution:
- Mix one cup of distilled white vinegar with one gallon of warm water—vinegar’s acidity helps break down grime.
- Add a few drops of pure liquid castile soap to enhance cleaning power without toxic residues.
- For stubborn stains, sprinkle baking soda directly on the tile, then spray the vinegar solution over it to create a gentle fizzing action.
Apply the Cleaning Solution to the Tile
Start by evenly applying the cleaning solution across the tile surface using a spray bottle or a sponge. Aim for a consistent, light layer to maximize solution effectiveness without oversaturating the grout or tiles. If using a spray bottle, hold it about 6 to 8 inches from the surface for even coverage. For sponges, dip and gently spread the solution, guaranteeing every tile receives attention. This methodical approach enhances cleaning techniques by allowing the solution to penetrate dirt and grime efficiently. Avoid pooling, which can reduce effectiveness and prolong drying. Applying the solution uniformly also prevents streaks and guarantees you maintain control over the cleaning process. By following these steps precisely, you set the foundation for a thorough, liberating clean that frees you from stubborn residues. Remember to use a pH-neutral cleaning solution to prevent damage to your tiles and grout during this process.
Scrub the Tiles and Grout Lines
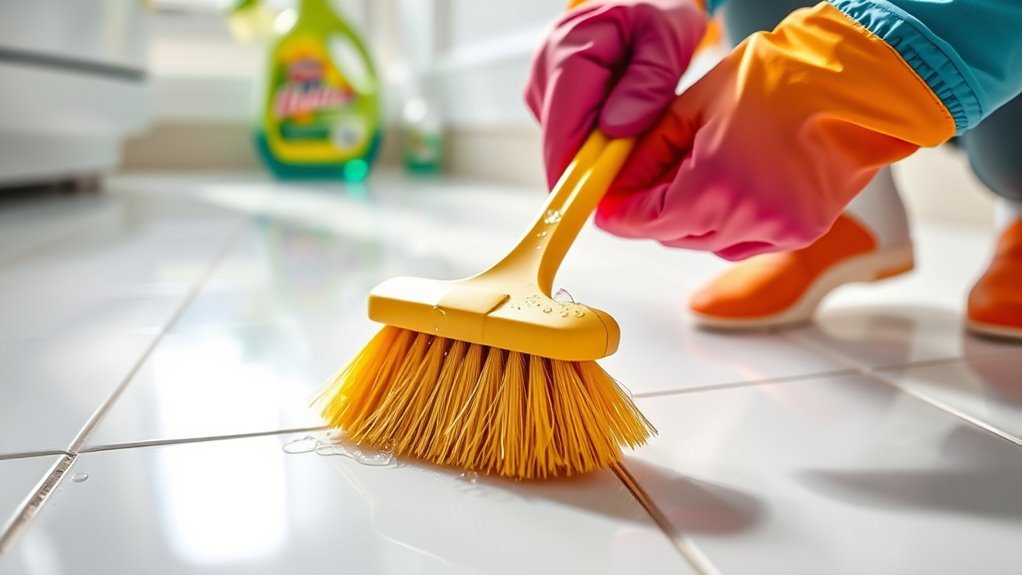
Once the cleaning solution is evenly applied, you’ll want to focus on scrubbing the tiles and grout lines to lift dirt and grime effectively. To guarantee ideal results, follow these tile maintenance tips:
- Use a stiff-bristled brush for grout cleaning techniques, applying firm pressure to break down embedded dirt without damaging the grout.
- Scrub tiles in small sections, moving in circular motions to evenly distribute effort and avoid missing spots.
- Pay special attention to grout lines, where dirt accumulates most; consistent scrubbing here prevents discoloration and buildup.
- Avoid using harsh chemicals that can damage grout, opting instead for gentle cleaning methods to preserve grout integrity and appearance harsh chemicals.
Rinse Thoroughly With Clean Water
After scrubbing, you’ll want to rinse the tiles and grout thoroughly with clean water to remove any remaining cleaning solution and loosened dirt. Using lukewarm water is ideal, as extreme temperatures can damage grout or tile surfaces. Employ gentle rinse techniques such as a steady stream from a spray bottle or a damp sponge to avoid dislodging grout. Rinse systematically, working in sections to guarantee complete removal. Proper rinsing also helps maintain the effectiveness of any grout sealing applied after cleaning.
| Step | Recommended Water Temperature | Rinse Technique |
|---|---|---|
| Initial Rinse | Lukewarm (around 75°F/24°C) | Spray bottle, steady flow |
| Mid Rinse | Consistent lukewarm water | Damp sponge, light wipes |
| Final Rinse | Lukewarm | Thorough spray or sponge |
This method guarantees your tiles are free of residues, preserving both cleanliness and freedom from damage.
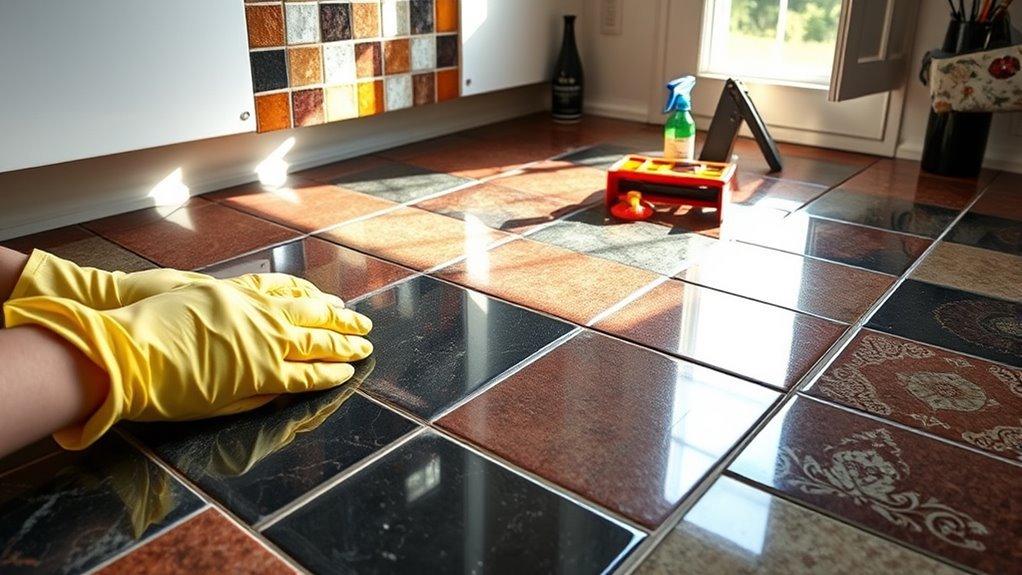
Dry the Tiles to Prevent Water Spots
To maintain the pristine look of your tiles, you’ll want to dry them promptly after rinsing to prevent water spots from forming. Effective drying techniques are essential for preventing streaks and maintaining a spotless surface. Here’s how you can do it:
- Use a clean, absorbent microfiber cloth or mop to gently blot and wipe the tiles, ensuring you remove all moisture without scratching.
- Work systematically in small sections, moving in a consistent pattern to avoid missing spots and creating uneven drying.
- Allow adequate air circulation by opening windows or turning on a fan, which speeds up drying and helps prevent lingering dampness that can cause streaks.
- Incorporating microfiber cloths in your drying routine ensures streak-free results and helps maintain tile appearance.
Apply a Sealer for Long-Lasting Protection
Although thoroughly cleaning and drying your tiles reduces surface grime, applying a sealer is crucial for long-lasting protection against stains, moisture, and wear. Choosing the right sealer type and mastering application techniques guarantees your tiles remain pristine. Use a penetrating sealer for natural stone or a topical sealer for glazed tiles. Apply with a brush or roller, spreading evenly and avoiding puddles. Allow drying time as specified by the manufacturer before foot traffic resumes.
| Sealer Type | Best For | Application Technique |
|---|---|---|
| Penetrating | Natural stone, porous | Brush, spray, or roller |
| Topical | Glazed or non-porous | Roller or brush |
| Impregnating | High-traffic areas | Spray or brush |
Sealing empowers you to protect your tiles confidently and extend their lifespan.
Frequently Asked Questions
How Often Should I Deep Clean My Tile Floors?
You should aim for a deep cleaning frequency of every three to six months to keep your tile floors in top shape. Regular tile maintenance tips include sweeping or vacuuming weekly to prevent dirt buildup and promptly addressing spills. Deep cleaning involves scrubbing grout lines and using appropriate cleaners to remove stubborn stains. Sticking to this schedule guarantees your floors stay fresh and durable, giving you the freedom to enjoy a clean, inviting space without constant upkeep.
Can I Use Vinegar on All Types of Tile?
Imagine using vinegar on all tile types like putting a universal key in every lock—it won’t always fit. Vinegar’s acidity can dull natural stone tiles like marble or travertine, so you’ll want vinegar alternatives like pH-neutral cleaners for those. For ceramic or porcelain, vinegar’s usually safe but always test first. Knowing your tile’s makeup lets you clean freely without damage, ensuring your floors stay vibrant and well cared for.
What Is the Best Way to Remove Mold From Grout?
To remove mold from grout, start by mixing a solution of equal parts water and hydrogen peroxide or use a specialized grout cleaner. Apply it directly to the moldy areas and let it sit for 10-15 minutes. Scrub gently with a soft brush, then rinse thoroughly. For mold prevention and grout maintenance, make certain your tiles stay dry and well-ventilated. Regular sealing helps protect grout from moisture, giving you the freedom to enjoy clean, mold-free tiles effortlessly.
Are Steam Cleaners Safe for Tile and Grout?
Yes, steam cleaners are safe for tile and grout when used correctly. They offer steam cleaner benefits like deep cleaning without harsh chemicals, killing mold and bacteria effectively. To protect your surfaces, keep the steam moving steadily and avoid over-saturating grout lines. Incorporate steam cleaning into your tile maintenance tips for a thorough, eco-friendly clean that preserves your tile’s finish and grout integrity, giving you freedom from stubborn dirt and grime.
How Do I Fix Cracked or Chipped Tile?
If you notice cracked or chipped tile, start by carefully removing the damaged piece without harming surrounding tiles. Then, clean the area thoroughly for a smooth tile repair. Apply new adhesive, press in a matching replacement tile, and let it set. Once dry, focus on grout restoration—remove old grout around the tile, apply fresh grout evenly, and wipe excess away. This methodical approach restores your tile’s look, giving you freedom from unsightly damage.


