The Ultimate 10-Minute Tile Cleaning Secret
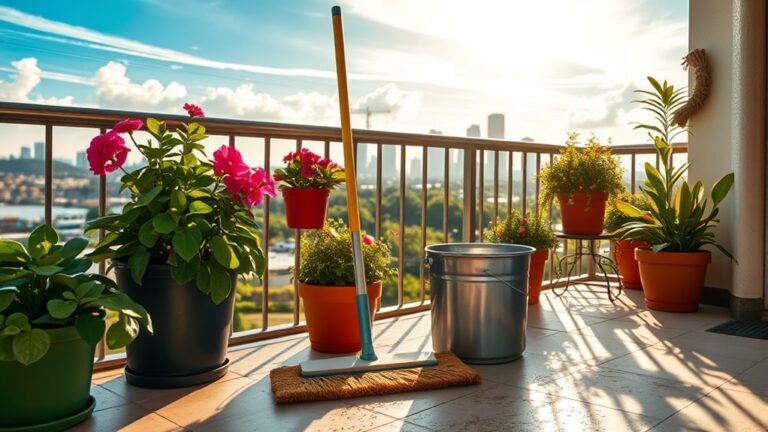
To clean your tile in just 10 minutes, start by gathering your supplies: a mop, bucket, warm water, and a suitable tile cleaner. This quick method will leave your tiles sparkling without the fuss. With the right techniques and tools, you can transform your tile floors and surfaces from dull to dazzling in no time. In this guide, we’ll explore efficient tips and tricks to make your cleaning session a breeze, ensuring that your tiles maintain their pristine condition while saving you valuable time.
Gather Your Supplies Quickly

The first step in your tile cleaning journey is to gather all necessary supplies efficiently. Choosing the right cleaner is crucial; opt for a pH-neutral tile cleaner to ensure that your tiles are not damaged during the cleaning process. These cleaners are specifically designed to lift dirt and grime without harming the glaze on your tiles.
Next, secure your tools of the trade. A quality mop is essential for sweeping away debris and applying your cleaning solution effectively. Consider using a microfiber mop for its superior dirt-trapping capabilities. You will also need a bucket to mix your cleaning solution and a scrub brush for tackling any stubborn spots. By preparing your supplies ahead of time, you can streamline your cleaning process and maximize your efficiency.
Prepare Your Tile Surface

Before you dive into cleaning, it is imperative to prepare your tile surface properly. Start by removing loose debris: sweeping or vacuuming the area helps eliminate dirt and dust that can hinder the effectiveness of your cleaning efforts. A clean surface is essential for ensuring that your cleaning solution can penetrate and lift stains effectively.
For those pesky stubborn stains, pre-treating is a game changer. Apply your chosen cleaner directly to stains and let it sit for a few minutes to break down the grime. This step will not only enhance your overall results but will also make the mopping process smoother, allowing for a more effective clean.
Mix Your Cleaning Solution

Once your surface is prepped, it’s time to mix your cleaning solution. Follow the label instructions on your tile cleaner for the ideal mix of cleaner and water, as the correct proportions ensure optimal effectiveness. A common ratio is typically one part cleaner to four parts warm water, but always refer to the manufacturer’s guidelines for specific recommendations.
Using warm water is beneficial because it helps to activate the cleaning agents in your solution and dissolve grime faster. Warm water is also more effective at loosening dirt and stains, making your job significantly easier. Ensure that your bucket is clean before mixing your solution to avoid any contamination that could affect the cleaning process.
Start Cleaning Efficiently
With everything in place, it’s time to start cleaning efficiently. An effective strategy is to mop in sections, dividing the area into manageable parts. This approach allows you to focus on one section at a time, ensuring a thorough clean without feeling overwhelmed. Start at the farthest corner of the room and work your way toward the exit, preventing you from stepping on freshly cleaned tiles.
As you mop, it’s crucial to change your water often. Replace dirty water as needed to avoid spreading grime around. A good rule of thumb is to change the water when it becomes noticeably discolored or murky. Keeping your cleaning solution fresh will improve the overall effectiveness of your cleaning session and help preserve the shine of your tiles.
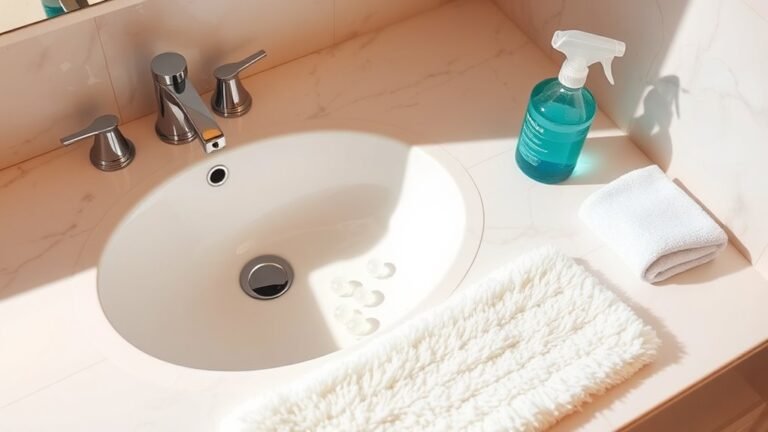
Rinse and Dry
Once you’ve completed mopping, it’s time to rinse and dry your tiles. Rinsing is essential to remove any remaining cleaning solution residue, which can leave streaks on your tiles if not properly removed. Use a clean mop and bucket filled with plain water to mop over the tiled surface again.
After rinsing, drying your tiles quickly is important to prevent streaks and water spots. Utilize a microfiber cloth or mop to dry the tiles thoroughly. Microfiber materials are excellent at absorbing moisture and will help achieve a streak-free finish. This final step not only enhances the aesthetics of your tiles but also helps protect them from potential damage caused by prolonged moisture exposure.
Maintain Your Tiles
To keep your tiles looking fresh after your cleaning session, establish a regular cleaning schedule. A weekly routine can help prevent the accumulation of dirt and grime, making each cleaning session less labor-intensive. A simple approach is to sweep or vacuum daily and mop weekly, ensuring that your tiles are consistently cared for.
Additionally, make it a habit to address spills and stains immediately. The sooner you tackle a spill, the easier it will be to clean, often preventing the need for more intensive cleaning later. By maintaining a proactive approach to tile care, you can enjoy a sparkling clean floor with much less effort.
In summary, cleaning your tile in just 10 minutes is not only achievable but also simple with the right techniques and tools. By following these steps—gathering supplies, preparing the surface, mixing the solution, cleaning efficiently, rinsing and drying, and maintaining your tiles—you can maintain a sparkling clean floor without dedicating your entire day to the task. Start your cleaning journey today, and enjoy the benefits of a spotless home!