
Top 10 Tips for Cleaning Keyboard
To clean your keyboard effectively, first gather supplies like a microfiber cloth, compressed air, and isopropyl alcohol. Always disconnect and power off your keyboard before starting. Use compressed air and a soft brush to remove debris between keys, then wipe surfaces with a lightly dampened cloth. Remove keycaps carefully for a deep clean, avoiding excess moisture to protect electronics. Dry thoroughly before use and stick to a regular cleaning schedule. Keep going for more detailed tips and tricks to perfect your cleaning routine.
Gather the Necessary Cleaning Supplies
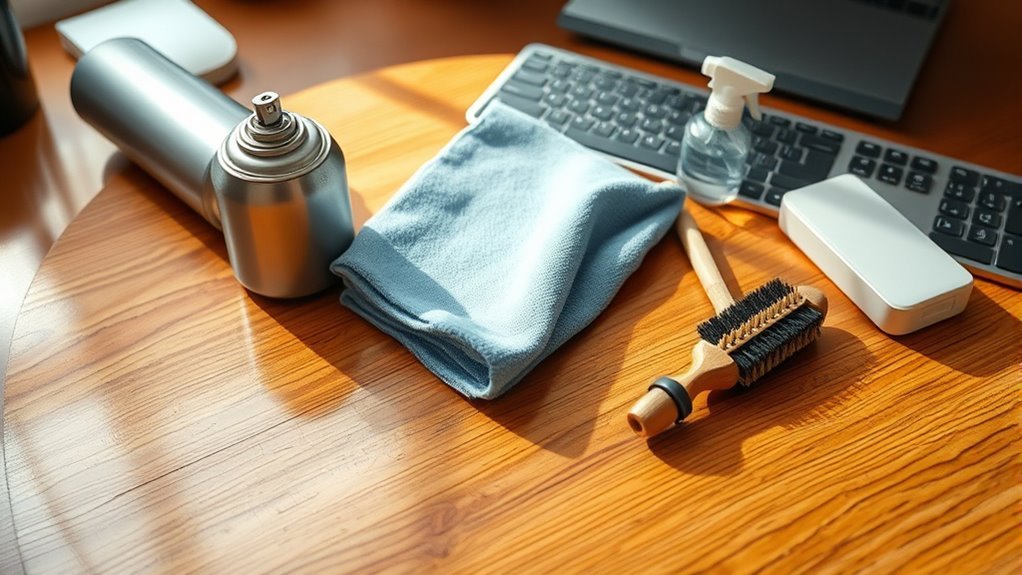
Before you begin cleaning your keyboard, you’ll need to gather a few essential supplies. Having the right essential cleaning tools on hand will make the process smoother and more effective. Start with a soft microfiber cloth to wipe away dust and grime without scratching. Compressed air is a must-have for blowing out debris from between the keys. You’ll also want isopropyl alcohol—preferably 70% or higher—to disinfect and remove stubborn dirt safely. Cotton swabs or small brushes help reach tight spaces. These items cover most keyboard cleaning methods, allowing you to clean thoroughly without risking damage. By preparing these supplies first, you maintain control and freedom over your cleaning routine, making keyboard maintenance quick and hassle-free.
Disconnect and Power Off Your Keyboard
With your cleaning supplies ready, the next step is to disconnect and power off your keyboard. Prioritizing keyboard safety and power management guarantees you’re free from risks while cleaning.
- Unplug your keyboard from the computer or remove its wireless receiver.
- If it’s a wireless keyboard, turn it off using the power switch or remove the batteries.
- Confirm the keyboard is completely powered down to avoid accidental inputs or damage.
- Place the keyboard on a clean, flat surface where you can comfortably work without restrictions.
Taking these steps liberates you from potential electrical hazards and preserves your keyboard’s longevity. Now, you’re ready to proceed confidently with your cleaning routine.
Use Compressed Air to Remove Loose Debris

You’ll find compressed air is great for blasting away dust and crumbs trapped between your keys without taking the keyboard apart. Just make sure to hold the can upright and use short bursts to avoid moisture buildup. Remember to work in a well-ventilated area and keep the nozzle a safe distance from your keyboard to prevent damage.
Benefits of Compressed Air
One of the easiest ways to keep your keyboard clean is by using compressed air to blow out dust and crumbs from between the keys. The compressed air benefits go beyond simple cleaning, offering you a quick, effective way to maintain your device without dismantling it. Here’s why you should embrace it:
- Efficient dust removal cleans hard-to-reach spaces, keeping your keyboard functional and fresh.
- It saves time, letting you quickly clear debris without scrubbing or disassembling.
- Using compressed air preserves the keyboard’s lifespan by preventing dirt buildup that could affect performance.
- It gives you freedom from harsh chemicals or water, ensuring safe, dry cleaning anytime.
Compressed air is your go-to for hassle-free keyboard care that fits your active lifestyle.
How to Use Properly
Although compressed air is simple to use, following the right steps guarantees you remove loose debris effectively without damaging your keyboard. First, hold the can upright to avoid moisture sprays. Next, aim the nozzle between keys, using short bursts to dislodge dust and crumbs. Remember keyboard maintenance tips: don’t overdo it—cleaning frequency recommendations suggest once a month or when you notice buildup.
Here’s a quick visual guide:
| Step | Action | Tip |
|---|---|---|
| 1 | Hold can upright | Prevent moisture release |
| 2 | Aim between keys | Target loose debris |
| 3 | Use short bursts | Avoid damage to key mechanisms |
Following this lets you enjoy the freedom of a clean, responsive keyboard without hassle.
Safety Precautions
When using compressed air to clean your keyboard, it’s essential to take safety precautions to protect both yourself and your device. Keyboard hazards arise if you ignore proper steps or use unsuitable cleaning materials. To keep things safe and effective:
- Hold the can upright to avoid spraying liquid propellant that can damage your keyboard.
- Use short bursts of air to dislodge debris without forcing dirt deeper.
- Keep the nozzle a few inches from the keyboard to prevent key damage or dislodging.
- Work in a well-ventilated space to avoid inhaling any chemicals or dust.
Clean Between Keys With a Soft Brush

Grab a soft brush to gently sweep away dust and debris lodged between your keyboard keys. This simple step is essential for keyboard maintenance tips, ensuring your device stays responsive and clean without much hassle. When choosing your cleaning tools, opt for brushes with soft, fine bristles to avoid damaging delicate components. Here’s a quick guide to help you visualize the process:
| Tool Type | Purpose |
|---|---|
| Soft Brush | Removes dust between keys |
| Compressed Air | Blows out stubborn particles |
| Cleaning Putty | Picks up trapped debris |
| Cotton Swabs | Detail cleaning hard spots |
Using the right tools gives you freedom from sticky keys and grime buildup, making your keyboard feel fresh and ready to use anytime.
Wipe Down the Surface With a Microfiber Cloth
When wiping down your keyboard, pick a soft microfiber cloth to avoid scratches. You’ll want to use gentle, circular motions to lift dirt without pressing too hard. Just be careful not to soak the cloth, since too much moisture can damage your device.
Choose Soft Microfiber Cloth
A soft microfiber cloth is your best tool for cleaning your keyboard without causing damage. When choosing microfiber types, consider these microfiber cloth benefits to keep your keyboard pristine and preserve its freedom from scratches:
- Opt for ultra-soft fibers to prevent abrasion on delicate keys.
- Select a cloth with high absorbency to capture dust and oils effectively.
- Prefer lint-free options to avoid leaving residue behind.
- Choose washable and reusable cloths for an eco-friendly, cost-effective solution.
Use Gentle Cleaning Motion
Gently glide the microfiber cloth across your keyboard’s surface to lift dust and grime without damaging the keys. Applying gentle pressure guarantees you clean effectively while protecting your keyboard’s delicate components. Instead of scrubbing harshly, use smooth circular motions to break up stubborn dirt and capture particles. This technique encourages thorough cleaning and prevents wear from aggressive wiping. You’ll enjoy more freedom in maintaining your device when you treat it with care, extending its lifespan and keeping it looking fresh. Remember, the goal is to refresh your keyboard without causing harm—embracing gentle pressure and circular motions helps you clean efficiently and safely. By mastering this gentle cleaning motion, you maintain your keyboard’s performance and aesthetics effortlessly.
Avoid Excessive Moisture
Although it’s tempting to use plenty of liquid for a deep clean, you shouldn’t let excess moisture seep into your keyboard. Moisture damage can shorten its lifespan and limit your freedom to work or play uninterrupted. Instead, follow these simple steps to keep your keyboard safe and clean:
- Lightly dampen a microfiber cloth with water or a mild cleaner—never soak it.
- Wipe the surface gently to remove dust and grime without pushing liquid inside.
- Avoid spraying any cleaner directly onto the keyboard to prevent moisture buildup.
- Let your keyboard air dry completely before powering it back on.
Use Isopropyl Alcohol for Disinfecting
Since your keyboard is a hotspot for germs, using isopropyl alcohol is one of the most effective ways to disinfect it without causing damage. You’ll love the isopropyl benefits—it evaporates quickly, leaving no residue and reducing the risk of moisture-related harm. When choosing disinfecting methods, grab a 70% isopropyl alcohol solution and apply it sparingly to a microfiber cloth or cotton swab. Avoid spraying directly to prevent liquid seeping beneath keys. Gently wipe the surfaces and spaces between keys to kill bacteria and viruses fast. This method keeps your keyboard hygienic while preserving its function and finish. With this simple step, you maintain both cleanliness and freedom from worry, ensuring your workspace stays safe and your device lasts longer.
Remove and Clean Keycaps Carefully
After disinfecting your keyboard’s surface with isopropyl alcohol, you’ll want to tackle the grime hiding beneath the keycaps. Keycap removal frees you to clean thoroughly and refresh your keyboard’s feel. Here’s how to master keycap cleaning without hassle:
- Gently pry off keycaps using a keycap puller to avoid damage.
- Soak the keycaps in warm, soapy water for at least 15 minutes.
- Rinse them well and let them air dry completely to maintain freedom from moisture.
- Carefully snap the dry keycaps back in place, ensuring each fits correctly.
Taking these steps lets you liberate your keyboard from hidden dirt, keeping it smooth and clean. Embrace this simple routine for a keyboard that feels as free as you do.
Avoid Excessive Moisture to Prevent Damage
When cleaning your keyboard, you’ll want to be careful not to use too much liquid, as excessive moisture can seep into the electronics and cause damage. To avoid moisture damage, apply cleaning solutions sparingly using a lightly dampened cloth rather than spraying directly on the keyboard. This approach gives you control, preventing unwanted liquid from reaching sensitive components. Proper keyboard maintenance means balancing thorough cleaning with protecting your device’s inner workings. Remember, your keyboard isn’t waterproof, so even small amounts of moisture can lead to malfunctions or corrosion. By avoiding excessive moisture, you’re not just cleaning—you’re preserving your keyboard’s lifespan and ensuring it stays reliable for your daily use. Keeping this in mind keeps your freedom intact: a clean keyboard without the hassle of damage.
Dry Your Keyboard Thoroughly Before Use
Even a small amount of moisture left on your keyboard can cause issues once you start using it. To keep your device safe and working smoothly, you need to dry it thoroughly using effective keyboard drying techniques. Here’s how to regain freedom from sticky keys and potential damage:
- Turn your keyboard upside down to let excess water drain out naturally.
- Use moisture absorption solutions like silica gel packets or uncooked rice to draw out hidden dampness.
- Gently pat the surface with a soft, lint-free cloth to soak up remaining moisture without scratching.
- Allow your keyboard to air dry in a warm, well-ventilated area for several hours before reconnecting.
Following these steps means you’re protecting your keyboard and ensuring your freedom to type without worry.
Establish a Regular Cleaning Schedule
Regularly cleaning your keyboard helps prevent buildup of dust, grime, and germs that can affect its performance and hygiene. To keep your device in peak condition, establish a regular cleaning schedule based on keyboard maintenance tips and cleaning frequency recommendations. This approach lets you enjoy freedom from sticky keys and potential malfunctions.
| Usage Level | Cleaning Frequency |
|---|---|
| Light (home use) | Weekly |
| Moderate (office) | Twice a week |
| Heavy (gaming) | Daily |
| Shared devices | After each use |
| Outdoor use | Before and after use |
Sticking to this schedule guarantees your keyboard stays clean and responsive, so you can work or play without interruptions.
Frequently Asked Questions
Can I Use Household Cleaners Instead of Isopropyl Alcohol?
You might be tempted to use household cleaner alternatives instead of isopropyl alcohol, but you should be cautious. Not all household cleaners have the same cleaning solution effectiveness; some can damage your keyboard’s materials or leave residue. If you want the freedom to use what’s around you, choose mild cleaners like diluted dish soap and avoid harsh chemicals. Always test a small area first to guarantee it won’t harm your device.
How Often Should I Replace My Keyboard Entirely?
Think of your keyboard lifespan like the tires on your car—they wear down with use. You should consider replacing your keyboard when you notice replacement signs like unresponsive keys, sticky typing, or physical damage that cleaning can’t fix. If it’s more of a hindrance than a help, it’s time to set yourself free from frustration and upgrade. Generally, keyboards last several years, but trust your instincts and comfort first.
Is It Safe to Clean a Mechanical Keyboard With Water?
You shouldn’t clean your mechanical keyboard with water directly since it risks water damage. Instead, focus on mechanical keyboard maintenance by removing keycaps and gently using isopropyl alcohol or compressed air to clean. This way, you prevent liquid from seeping into the switches or circuit board. Keeping your keyboard dry guarantees it lasts longer and keeps you free from costly repairs or replacements due to water damage.
What Causes Keyboard Keys to Become Sticky Over Time?
You’ll notice your keyboard keys get sticky mainly because of dirt accumulation and lack of proper keyboard maintenance. Over time, dust, food crumbs, and oils from your fingers build up beneath the keys, causing them to stick or feel sluggish. If you want to keep your keyboard feeling smooth and responsive, it’s essential to clean it regularly and give it some TLC. That way, you’re free from frustrating typing experiences!
Can Cleaning Improve Keyboard Responsiveness or Performance?
Yes, cleaning your keyboard can definitely improve its responsiveness and overall performance. When you commit to regular keyboard maintenance, you remove dust, debris, and sticky residues that slow down key presses or cause missed inputs. By keeping your keyboard clean, you not only enhance its performance but also extend its lifespan, giving you the freedom to type smoothly and efficiently without annoying interruptions or delays.


