Top 10 Tips for Cleaning Oven
To clean your oven effectively, first gather supplies like a scrub brush, sponge, and gloves. Remove and soak oven racks separately in hot, soapy water. Make a baking soda paste to tackle greasy spots, then spray vinegar for tough stains. Don’t forget to clean the oven door and glass with gentle solutions. Deodorize with lemon or natural fresheners and keep a regular cleaning schedule to prevent buildup. Keep going for more detailed tips to make your oven shine effortlessly.
Gather the Necessary Cleaning Supplies

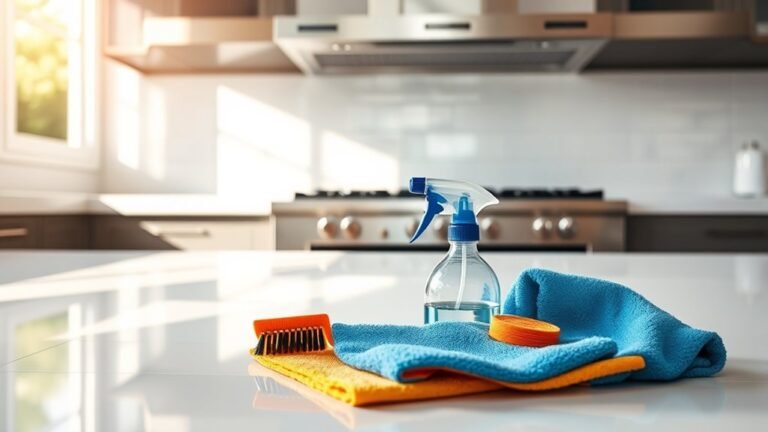
Before you begin cleaning your oven, make sure you’ve gathered all the necessary supplies. Having the right cleaning tools at your fingertips will save you time and hassle, letting you reclaim your freedom from a dirty oven faster. Your ideal supplies include a sturdy scrub brush, a sponge, rubber gloves, and a scraper to tackle baked-on grime. Don’t forget a spray bottle filled with a natural cleaner or a specialized oven cleaner to make the job easier. A microfiber cloth will help you wipe down surfaces without leaving streaks. By preparing these essentials, you empower yourself to clean efficiently and effectively, freeing you up for what truly matters. Being organized with your cleaning tools is the first step toward a spotless, fresh oven.
Remove Oven Racks and Soak Separately
Once you remove the oven racks, soaking them separately makes it easier to loosen baked-on grime. You’ll want to use a solution that’s strong enough to break down grease but gentle enough to protect the finish. Letting the racks soak for a while saves you scrubbing time and effort later.
Benefits of Soaking Racks
Although it might seem like an extra step, soaking your oven racks separately makes cleaning much easier. When you take the time for rack soaking, you free yourself from scrubbing stubborn grime directly inside the oven, giving you more control over the process. This approach boosts cleaning efficiency by loosening baked-on grease and food residues, so you don’t have to work as hard. Plus, it helps protect your oven’s interior from harsh scrubbing or damage. By soaking racks separately, you can focus on each part properly, saving time and effort overall. Embracing this simple step lets you enjoy a cleaner oven with less hassle, giving you the freedom to spend your time on what matters most.
Effective Soaking Solutions
Two of the most effective soaking solutions for oven racks are a mixture of hot water with either baking soda or dish soap. These effective mixtures break down grease and grime, freeing you from scrubbing endlessly. You’ll want to remove the racks and soak them separately in a large container or bathtub to let the solution work its magic.
| Soaking Solution | Benefits |
|---|---|
| Hot water + Baking soda | Cuts tough grease, deodorizes |
| Hot water + Dish soap | Dissolves grease, easy rinsing |
| Vinegar + Water | Natural degreaser, non-toxic |
| Lemon juice + Water | Fresh scent, gentle cleaner |
Choose your soaking solution based on what you have handy and enjoy the freedom of effortless oven rack cleaning.
Use a Homemade Baking Soda Paste
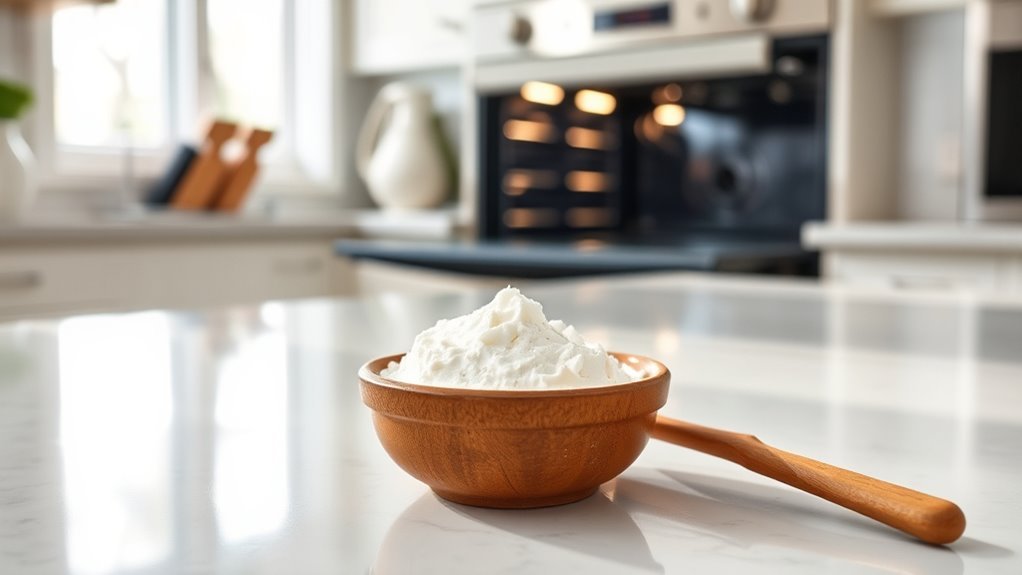
One of the simplest and most effective ways to clean your oven is by using a homemade baking soda paste. This natural solution offers powerful cleaning effectiveness without harsh chemicals, giving you freedom from toxic residues. To make and use the paste:
- Mix 1/2 cup of baking soda with a few tablespoons of water until you get a spreadable consistency.
- Apply the paste generously to greasy oven surfaces, focusing on stubborn spots.
- Let it sit for at least 12 hours or overnight, then wipe away with a damp cloth.
This method not only frees you from scrubbing endlessly but also restores your oven’s shine naturally. Embrace this easy, eco-friendly approach and reclaim your clean kitchen space effortlessly.
Apply Vinegar for Tough Stains
When baking soda alone doesn’t cut through stubborn grime, vinegar can be your best ally. For effective stain removal, spray a generous amount of vinegar directly onto the tough stains inside your oven. The vinegar application works by breaking down grease and burnt-on residue, making it much easier to wipe away. Let the vinegar sit for about 10-15 minutes to do its magic. Afterward, use a damp cloth or sponge to scrub gently—notice how the stains start lifting with minimal effort. This simple vinegar application frees you from harsh chemicals and lets you reclaim your oven’s sparkle with ease. Remember, combining vinegar with baking soda can boost stain removal power whenever grime refuses to budge.
Clean the Oven Door and Glass
To get your oven door and glass sparkling, start by removing any grease and grime gently. You’ll want to use mild cleaning solutions to avoid scratches or damage. Once clean, a quick polish will give you a clear view inside your oven.
Remove Grease and Grime
Several effective methods can help you remove grease and grime from your oven door and glass without harsh chemicals. Embracing simple grease removal techniques frees you from stubborn stains and keeps your oven sparkling. Here’s how to reclaim your oven’s shine:
- Mix baking soda and water into a paste, apply it to the greasy spots, and let it sit for 15 minutes before wiping clean.
- Use a soft cloth dipped in white vinegar to break down grime easily.
- Regularly wipe down your oven door after cooking to prevent buildup, following grime prevention tips for lasting cleanliness.
Use Gentle Cleaning Solutions
Although it might be tempting to reach for strong chemicals, using gentle cleaning solutions is often the best way to keep your oven door and glass clear without causing damage. You want freedom from harsh fumes and stubborn residue, so opting for gentle solutions lets you clean effectively while protecting surfaces. Natural alternatives like a mixture of baking soda and water create a mild paste that breaks down grime without scratching. Vinegar spray is another fantastic option to dissolve buildup and leave your glass streak-free. These simple, eco-friendly choices empower you to maintain your oven’s clarity safely and easily. By choosing gentle solutions, you’re not only caring for your oven but also embracing a cleaner, freer lifestyle—no harsh chemicals required.
Polish for Clear View
After using gentle cleaning solutions, you’ll want to polish the oven door and glass to restore their clear, sparkling finish. A streak-free shine lets you enjoy cooking without distraction and keeps your kitchen feeling open and fresh. Here’s how to achieve that freedom:
- Spray a quality glass cleaner directly on the oven glass to break down smudges and grease.
- Use a microfiber cloth to wipe in circular motions, ensuring every spot is covered without streaks.
- Buff the glass gently with a dry part of the cloth for a brilliant, clear view.
With these steps, you’ll reclaim a spotless oven door that invites light and joy back into your kitchen space, freeing you from grime’s hold.
Utilize the Self-Cleaning Function Safely
When you use your oven’s self-cleaning function, it’s important to follow the manufacturer’s instructions carefully to avoid damage or safety hazards. Start by removing racks and any large debris; this prevents discoloration and damage. Make sure your kitchen is well-ventilated, as the process generates smoke and odors. Keep children and pets away during the cycle to guarantee safety. After the cleaning cycle ends and the oven cools down, wipe out the ash residue with a damp cloth. These self cleaning tips help you maintain your oven without harsh scrubbing, saving time while protecting your appliance. Always double-check safety precautions like verifying the door locks properly; this freedom to clean efficiently comes from respecting the oven’s built-in safeguards.
Wipe Down Oven Walls and Floor
Grab a damp cloth or sponge and gently wipe down the oven walls and floor to remove any leftover residue or spills. This step is essential for effective oven wall cleaning and floor stain removal, freeing you from stubborn grime that limits your oven’s performance. Here’s how to keep it simple and liberating:
- Use circular motions to lift stains without scrubbing harshly, preserving the oven’s surface.
- Focus on corners and crevices where grease tends to hide, ensuring no spot is overlooked.
- Rinse the cloth frequently to avoid spreading dirt, maintaining a fresh clean with every swipe.
Clean the Oven Racks Thoroughly
Although cleaning the oven racks can seem like a chore, doing it thoroughly will make a big difference in your oven’s overall cleanliness and performance. Start by removing the racks and choosing effective rack cleaning techniques. Soaking them in a sink or bathtub filled with hot, soapy water loosens grime—aim for ideal soaking times of at least 30 minutes to break down stubborn grease. For tougher spots, sprinkle baking soda or use a gentle scrub brush to avoid damaging the finish. Rinse thoroughly and dry completely before placing the racks back. Taking the time to clean your racks properly not only keeps your oven looking fresh but also guarantees better heat circulation, so your cooking stays consistent and your kitchen feels freer from mess.
Deodorize With Lemon or Natural Fresheners
You can easily freshen up your oven by using lemon, which naturally neutralizes odors and leaves a clean, zesty scent. Besides lemon, options like baking soda, vinegar, and essential oils also work well as natural fresheners. These simple ingredients are safe, effective, and eco-friendly ways to keep your oven smelling great.
Benefits of Lemon Deodorizing
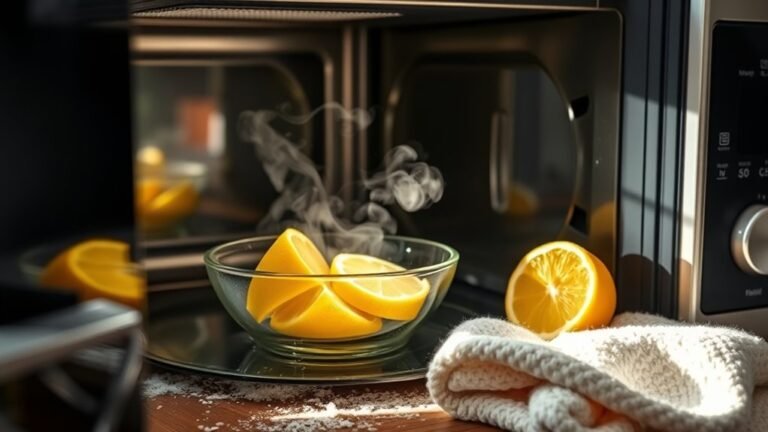
When you want to freshen up your oven without harsh chemicals, lemon offers a natural and effective solution. Its lemon benefits go beyond just a pleasant scent—it acts as a powerful natural deodorizer that frees your kitchen from stubborn odors. Here’s why you’ll love using lemon for deodorizing:
- It’s safe and non-toxic, so you don’t have to worry about harmful residues.
- Lemon’s natural acidity breaks down grease and grime, making cleaning easier.
- It leaves behind a fresh, uplifting aroma that brightens your cooking space.
Choosing lemon means embracing a cleaner, healthier kitchen environment and enjoying the freedom from synthetic chemicals. So grab a lemon, and let nature’s freshener transform your oven effortlessly!
Other Natural Fresheners
Lemon is just one of many natural fresheners that can keep your oven smelling clean and inviting. If you want to break free from harsh chemical sprays, try using herbal oils like eucalyptus or lavender. Just add a few drops to a bowl of water and let it simmer in your oven; the steam will carry those fresh scents throughout. Citrus peels, such as orange or grapefruit, also work wonders. Toss them in a baking dish with water and warm it up to release their natural fragrance. These simple ingredients help you maintain a fresh oven environment without sacrificing your freedom to choose natural, non-toxic options. Embracing these alternatives lets you enjoy a clean kitchen while staying true to a lifestyle that values health and simplicity.
Maintain Regular Cleaning Schedule
Regularly sticking to a cleaning schedule can make oven maintenance much easier and prevent buildup from becoming overwhelming. By setting a clear cleaning frequency, you free yourself from last-minute scrambles and stubborn grime. To stay on track, use schedule reminders—your key to effortless upkeep. Here’s how to take control:
- Choose a cleaning frequency that fits your lifestyle—weekly, biweekly, or monthly—and stick with it.
- Set digital reminders on your phone or calendar to avoid forgetting.
- Celebrate the freedom you gain from a consistently clean oven, ready for any cooking adventure.
Frequently Asked Questions
Can I Use Oven Cleaner on a Gas Oven?
You can use oven cleaner on a gas oven, but you’ve got to be careful about gas safety. Make sure the oven is off and completely cool before you start oven cleaning. Always work in a well-ventilated area to avoid fumes, and avoid spraying cleaner near the gas burners or igniters. If you’re uncertain, check your gas oven’s manual or opt for a gentler cleaner to keep your freedom from worrying about safety risks.
How Often Should I Deep Clean My Oven?
You should stick to a deep cleaning frequency of about every 3 to 6 months to keep your oven in top shape. This fits well into a regular oven maintenance schedule, ensuring grime and grease don’t build up and affect performance. If you cook often or spill a lot, you might want to clean it more frequently. Staying on top of this gives you the freedom to enjoy a clean, efficient oven without the hassle of tough messes later.
Is It Safe to Clean the Oven With Ammonia?
Using ammonia for oven cleaning can be effective but raises ammonia safety concerns—it’s toxic and produces strong fumes, so you’ll need good ventilation and gloves. If you want to avoid harsh chemicals, consider cleaning alternatives like baking soda and vinegar or commercial non-toxic cleaners. These options let you keep your freedom to choose safer methods while still getting your oven sparkling clean without exposing yourself to harmful fumes.
Can I Clean the Oven Door Seals?
Yes, you can clean the oven door seals, and it’s important for seal maintenance to keep your oven efficient. Just be gentle—use a damp cloth with mild soap, avoiding harsh chemicals that might damage the seal. Don’t soak the seals, as too much moisture can cause issues. Taking care of those seals means you’ll maintain that perfect oven seal, giving you the freedom to cook without worrying about heat escaping or uneven cooking.
What Should I Do if My Oven Smells After Cleaning?
If your oven smells after cleaning, think of it like a knight’s armor—sometimes, you need a bit more care. For effective oven odor removal, leave the oven door open to air out any lingering smells. Try running a lemon-water cycle to freshen things up. Post cleaning tips include wiping down all surfaces thoroughly and avoiding harsh chemicals that leave residues. You’ve got the freedom to make your space smell fresh and inviting!