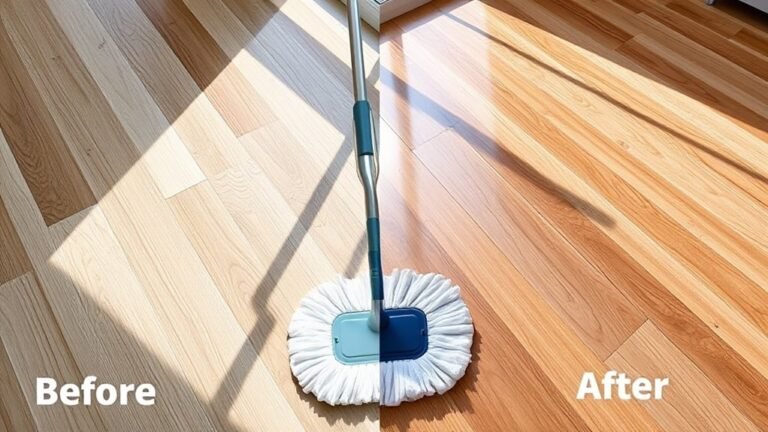
Washing Oven Without Damage
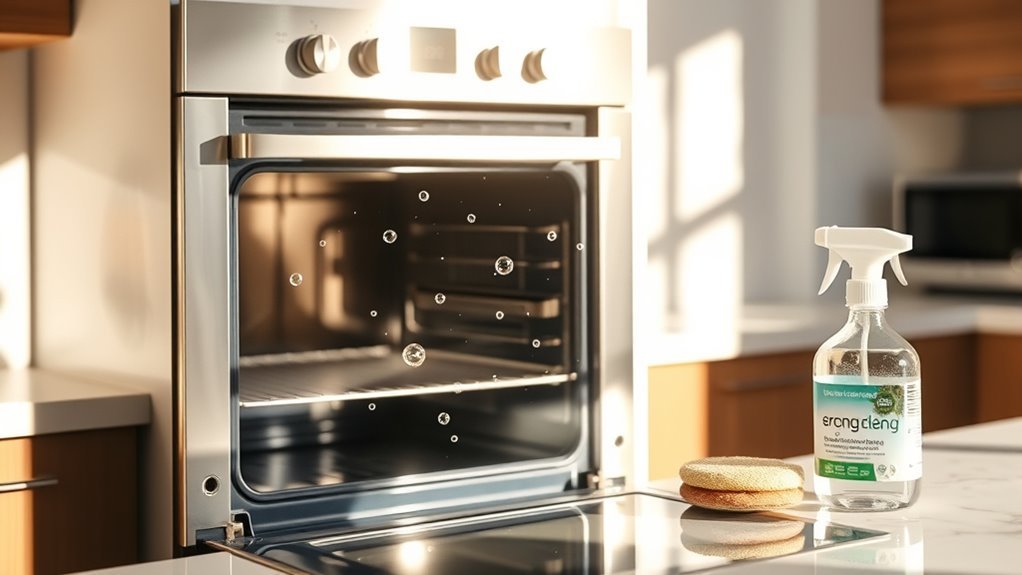
To wash your oven without damage, first verify it’s cool and unplugged. Use non-abrasive cleaners compatible with your oven’s material—stainless steel, enamel, or glass—avoiding harsh scrubs that cause scratches or chipping. Apply cleaning agents evenly, let them sit to break down grease, then gently wipe with a soft sponge or microfiber cloth. Remove and soak racks separately. Proper ventilation and protective gear help maintain safety. Following precise steps preserves your oven’s finish and function; more detailed guidance can help you master effective oven care.
Understanding Oven Materials and Surfaces
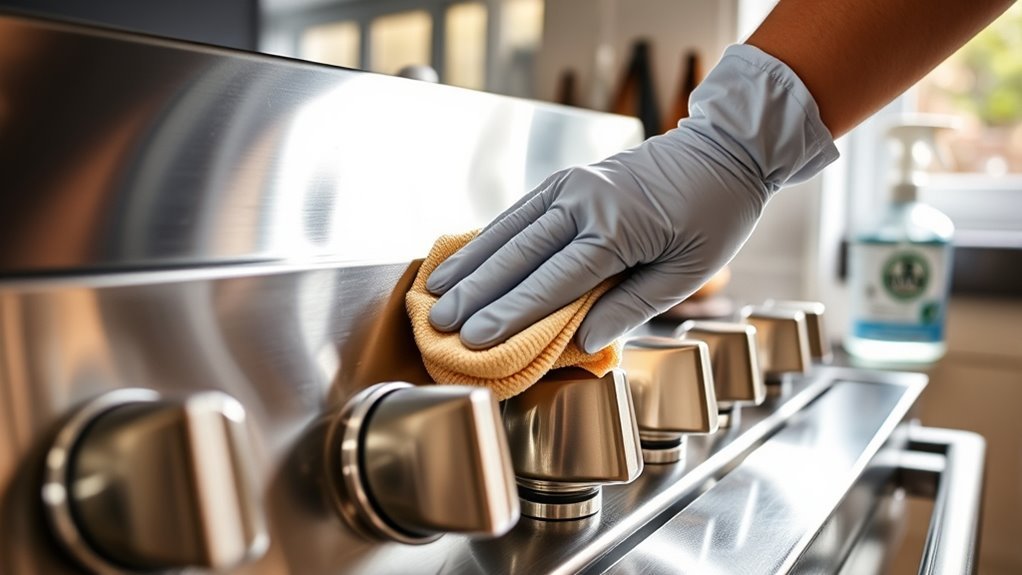
When you’re cleaning your oven, it’s essential to know what materials and surfaces you’re dealing with to avoid damage. Different oven types—such as electric, gas, or convection—often feature varied surface finishes, including stainless steel, enamel, or glass. Stainless steel requires non-abrasive cleaners to maintain its corrosion resistance and sheen, while enamel surfaces, common in many ovens, are durable but prone to chipping if scrubbed too harshly. Glass oven doors demand gentle, non-scratch solutions to preserve transparency. Understanding these materials helps you select appropriate cleaning agents and tools, ensuring effective removal of grime without compromising the surface integrity. By tailoring your cleaning approach to your oven’s specific type and finish, you maintain functionality and aesthetics, granting you the freedom to clean confidently and efficiently. Using non-abrasive cleaners designed for stainless steel is key to protecting the finish and achieving a streak-free shine.
Essential Safety Precautions Before Cleaning
Before you start cleaning your oven, verify it’s completely cool and disconnected from the power source to prevent burns or electrical hazards. Ascertain you wear appropriate safety gear, including heat-resistant gloves and eye protection, to guard against chemical splashes or sharp edges. Select cleaning tools that are non-abrasive to avoid damaging sensitive surfaces, such as silicone spatulas or soft brushes. Ventilate the area adequately to disperse fumes from cleaning agents. Remove all oven racks and trays before cleaning to access all interior surfaces efficiently. Inspect your cleaning tools for any damage or residues that might scratch or contaminate the oven. Following these precautions not only protects your health and safety but preserves your freedom to clean effectively without compromising your oven’s integrity or your well-being. Regular ventilation during cleaning helps maintain fresh air quality and reduces exposure to potentially harmful fumes.
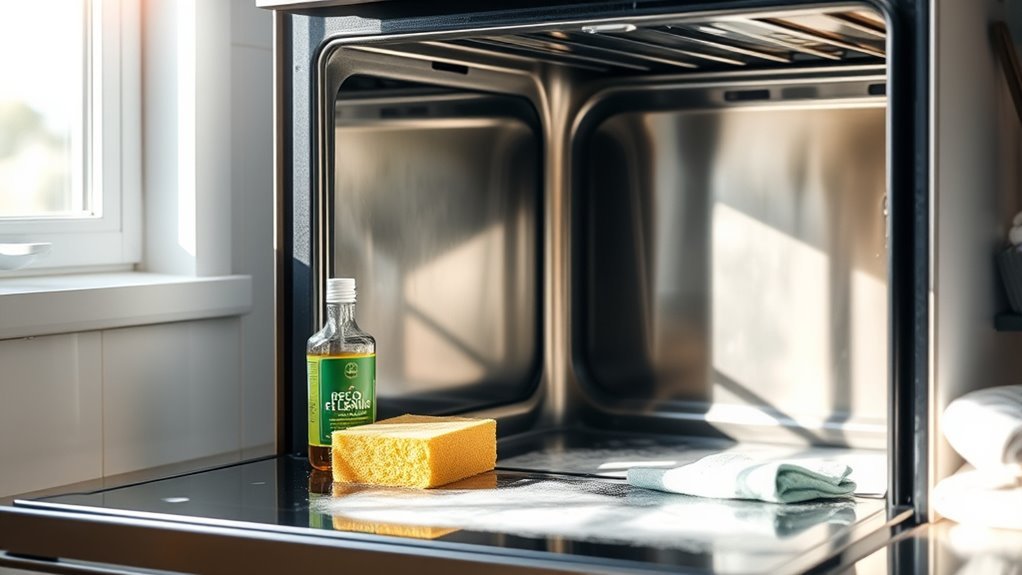
Choosing the Right Cleaning Products
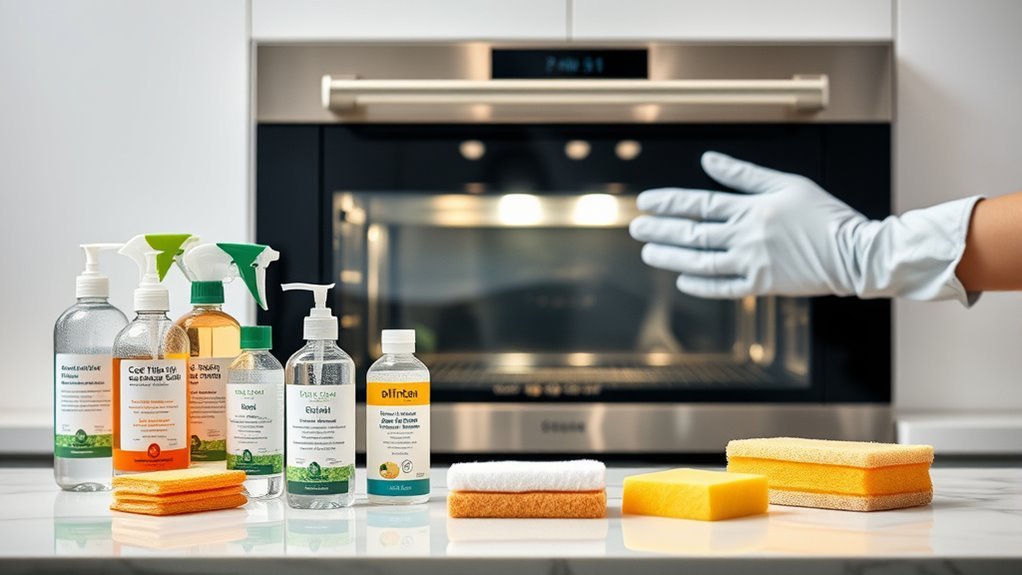
Selecting the appropriate cleaning products is essential to maintain your oven’s functionality and appearance. When choosing cleaning agents, prioritize product safety to prevent damage to surfaces and avoid harmful chemical exposure. Consider these factors:
- Compatibility – Confirm the agent suits your oven’s material (e.g., stainless steel, enamel).
- Effectiveness – Opt for products specifically formulated to dissolve grease and burnt residues.
- Non-toxicity – Select non-abrasive, low-fume formulas to safeguard your respiratory health and indoor air quality.
- Ease of Use – Look for products that require minimal scrubbing and rinse cleanly without residue.
Using natural solutions like vinegar and baking soda can enhance cleaning effectiveness while minimizing reliance on harsh chemicals.
Preparing Your Oven for Cleaning
Although cleaning your oven might seem straightforward, proper preparation is essential to avoid damage and guarantee thorough results. Start by ensuring the oven is completely cool; a high oven temperature can cause cleaning products to react improperly. Remove racks and accessories to clean separately, preventing corrosion or warping. Assess cleaning frequency to determine buildup severity, which influences your method and product choice. Ventilate the area well to avoid inhaling fumes. Use the table below to check key preparation steps:
| Step | Purpose | Notes |
|---|---|---|
| Cool down oven | Prevent heat damage | Wait at least 2 hours |
| Remove racks | Easier cleaning | Soak separately |
| Inspect buildup | Tailor cleaning intensity | Frequent cleaning reduces effort |
| Choose products | Match cleaning needs | Avoid abrasives |
| Ventilate space | Protect respiratory health | Open windows or use fans |
Regular maintenance, such as wiping down surfaces and checking for buildup, helps prevent stubborn grime and ensures your oven stays in optimal condition, similar to maintaining a clean dishwasher filter.
Step-by-Step Guide to Manual Oven Cleaning
Now that your oven is properly prepared, you can start the manual cleaning process step by step. Begin by selecting eco friendly options to minimize harsh chemical exposure. Follow this precise sequence:
Start cleaning your oven manually with eco-friendly products to reduce harsh chemical exposure.
- Apply your chosen cleaner evenly, avoiding excessive amounts that cause residue buildup—a common mistake.
- Allow the cleaner to sit for the recommended time to break down grease and burnt food effectively.
- Scrub with a non-abrasive sponge or brush to prevent surface damage while removing grime.
- Rinse thoroughly with a damp cloth, ensuring no cleaner traces remain that could emit fumes during use. It is also important to ensure proper ventilation to reduce fumes from cleaning products and maintain a safe cleaning environment.
Using Natural Ingredients for Oven Cleaning
While some commercial cleaners can be effective, using natural ingredients for oven cleaning offers a safer alternative that reduces chemical exposure and environmental impact. You can create a powerful, non-toxic cleaner by combining baking soda and a vinegar solution. First, sprinkle a generous layer of baking soda across the oven’s interior surfaces. Let it sit for several hours or overnight to break down grease and baked-on residues through mild abrasion. Next, spray the vinegar solution onto the baking soda. The resulting chemical reaction will foam, loosening grime without harsh chemicals. After the bubbling subsides, wipe away the mixture with a damp cloth. This method guarantees your oven is cleaned thoroughly without risking damage or introducing harmful substances, granting you the freedom to maintain your appliance safely and sustainably. Wearing gloves to protect hands during cleaning ensures safety and comfort throughout the process.
How to Clean Oven Racks and Accessories
First, carefully remove the oven racks and accessories to prevent scratching or bending. Next, soak them in a warm, soapy solution to loosen grime, then scrub with a non-abrasive brush or sponge. Finally, dry each item thoroughly before reassembling to avoid rust and guarantee proper fit. For best results, clean oven racks separately and regularly to maintain their sparkling condition and overall oven cleanliness.
Removing Oven Racks
To effectively clean your oven racks and accessories, you’ll need to remove them carefully to prevent damage. Different rack types—such as flat wire racks or coated racks—require gentle handling to maintain their integrity. Rack placement inside the oven affects how you remove them; make sure the oven is cool before starting.
Follow these steps for safe removal:
- Open the oven door fully to access the racks easily.
- Identify the rack type and note its placement for reinstallation.
- Gently slide the rack forward until it clears the rear supports.
- Lift the rack out vertically to avoid scraping the oven walls.
This method preserves both the racks and the oven interior, giving you freedom to clean thoroughly without harm.
Soaking and Scrubbing
Once you’ve carefully removed the oven racks, you’ll want to prepare them for deep cleaning by soaking. Effective soaking techniques soften baked-on grime, making scrubbing methods more efficient without damaging the metal finish. Use warm water mixed with a degreasing agent or baking soda solution for ideal results. After soaking for at least 30 minutes, apply a non-abrasive scrubber to avoid scratches while removing residue.
| Soaking Agent | Duration | Scrubbing Tool |
|---|---|---|
| Warm water + Soap | 30-60 minutes | Nylon scrub brush |
| Baking soda paste | 30 minutes | Soft sponge |
| Vinegar solution | 45 minutes | Non-abrasive pad |
| Commercial cleaner | 20-40 minutes | Microfiber cloth |
| Lemon water | 30 minutes | Plastic scraper |
These methods give you freedom to clean thoroughly without harm.
Drying and Reassembling
Although the cleaning process removes most grime, you’ll need to thoroughly dry the oven racks and accessories to prevent rust and water spots before reassembling. Employ these drying techniques for best results:
- Use a clean, lint-free cloth to wipe down all surfaces immediately after washing.
- Allow racks and accessories to air dry completely in a well-ventilated area.
- Avoid stacking wet items to guarantee even drying and prevent moisture traps.
- For stubborn moisture, use a hairdryer on a low heat setting to speed up drying.
Once dry, follow precise reassembling procedures: carefully place racks and accessories back in their original positions, ensuring they fit securely to maintain proper airflow and oven function. Mastering these steps frees you from damage concerns while preserving your oven’s lifespan.
Maintaining Your Oven to Prevent Future Build-Up
Since regular cleaning can be challenging, establishing a maintenance routine will help you prevent stubborn grease and food residue from accumulating in your oven. Preventive maintenance guarantees your appliance operates efficiently and extends its lifespan. Adjust your cleaning frequency based on usage intensity to avoid build-up that requires harsh treatments. Incorporating a cleaning schedule ensures consistent upkeep and reduces the need for aggressive cleaning methods.
| Task | Recommended Frequency |
|---|---|
| Wipe spills | After each use |
| Deep clean oven | Monthly |
| Inspect door seals | Quarterly |
| Check heating elements | Biannually |
Frequently Asked Questions
Can I Use a Dishwasher to Clean Oven Racks?
You can use a dishwasher to clean oven racks, but you should check dishwasher safety first. Not all rack materials withstand dishwasher cycles—some coatings or metals might corrode or discolor. If your racks are stainless steel or chrome-plated, they usually do fine. However, avoid dishwasher use if racks have non-stick coatings or fragile finishes. Always refer to manufacturer guidelines to verify cleaning won’t damage the rack, preserving its durability and your freedom from manual scrubbing.
How Often Should I Deep Clean My Oven?
Oh sure, neglecting your oven until it’s a charcoal masterpiece is a great plan! But if you want to avoid that, deep clean it every 3 to 6 months. Following oven maintenance tips, this cleaning frequency recommendation prevents grease buildup and guarantees peak performance. Regular deep cleaning means better heat distribution and longer appliance life—giving you the freedom to cook without hassle or mystery smoke signals from your oven.
Are Steam Cleaners Safe for All Oven Types?
Steam cleaner types vary, so you’ll want to check compatibility with your oven model for oven safety. Generally, electric steam cleaners are safe for most ovens, but avoid using steam on ovens with sensitive electronic controls or certain finishes. Always consult your oven’s manual before use. Using the wrong steam cleaner or technique could damage seals or electronics, so make certain you choose a cleaner designed for your oven type to maintain safety and effectiveness.
Can Oven Cleaning Damage Electronic Controls?
Yes, oven cleaning can damage electronic controls if you’re not careful. When performing oven maintenance, avoid harsh cleaning solutions or excessive moisture near control panels, as they can cause short circuits or corrosion. Use mild, non-abrasive cleaners and gently wipe around electronics. Always disconnect power before cleaning. Protecting these components guarantees your oven stays functional, giving you the freedom to cook confidently without worrying about costly repairs.
Is It Necessary to Wear Gloves When Cleaning an Oven?
You don’t always have to wear gloves when cleaning an oven, but choosing the right glove materials can protect your skin from harsh chemicals and heat. Nitrile or latex gloves offer chemical resistance, while heat-resistant gloves shield against burns. Your cleaning techniques matter too—if you use abrasive scrubbing or strong solvents, gloves are advisable. Ultimately, wearing gloves lets you maintain freedom and safety during oven maintenance without compromising effectiveness.