Common Mistakes When Cleaning Windowsills
When cleaning windowsills, avoid using harsh chemicals that damage surfaces and never skip dusting first, or you’ll just spread grime. Don’t overlook window tracks and corners—they trap dirt and can affect functionality. Using too much water risks mold and wood damage, so use a damp cloth and dry thoroughly. Also, clean with fresh microfiber cloths and avoid scrubbing too hard to protect finishes. Neglecting these steps leads to buildup and damage. Keep these tips in mind, and you’ll discover how to keep your windowsills spotless and well-maintained.
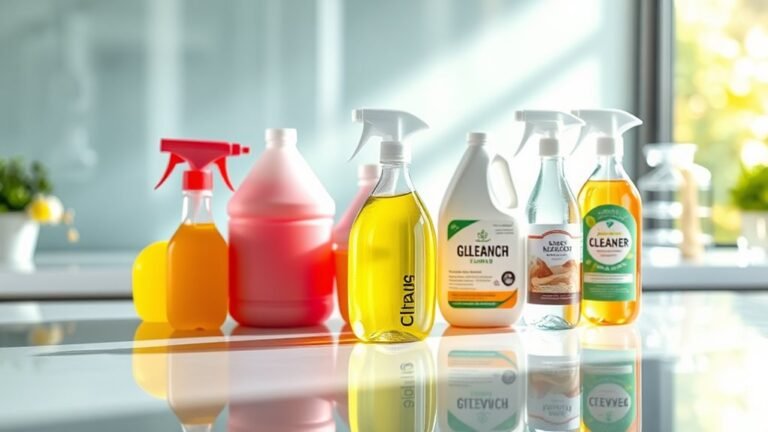
Using Harsh Chemicals That Damage Surfaces
While it might be tempting to grab the strongest cleaner on the shelf, using harsh chemicals on your windowsills can cause more harm than good. These powerful substances often eat away at paint, wood finishes, and even plastic, stripping away the very surfaces you’re trying to keep clean. If you value freedom from damage and costly repairs, you’ll want to explore gentle chemical alternatives. Natural solutions like vinegar, baking soda, or mild soap not only protect your windowsill’s surface but also reduce your exposure to toxins. By choosing safer options, you maintain the integrity of your home’s details without sacrificing cleanliness. Surface protection is key—opt for cleaning methods that respect your space, letting you enjoy a fresh, well-maintained windowsill without the worry of hidden harm.
Ignoring Dust and Debris Before Cleaning
Before you start cleaning, make sure to remove dust and debris from your windowsills. Skipping this step can leave residue behind, making your efforts less effective. Taking a moment to clear the surface first helps you achieve a truly clean finish.
Overlooking Pre-Cleaning Dust
If you skip removing dust and debris before cleaning your windowsills, you’ll likely end up spreading dirt around instead of getting them truly clean. Dust accumulation might seem harmless, but it can create a stubborn layer that’s tougher to wipe away later. To avoid this, make dust removal the first step on your pre cleaning checklist. Grab a microfiber cloth or a soft brush and sweep away loose particles before applying any liquid cleaners. This simple move saves you time and effort, giving you a fresh slate to work on. Taking this moment to clear away dust guarantees your windowsills look spotless and helps maintain the freedom to enjoy a genuinely clean, fresh space without unnecessary hassle.
Risks of Debris Residue
Since dust and debris often seem harmless, you might be tempted to skip removing them before cleaning your windowsills. But ignoring this step leads to debris accumulation that can cause several issues. Leaving residue behind not only makes your cleaning less effective but also risks damaging the surface over time. For true residue prevention, you need to clear out all particles first. Here’s what happens if you don’t:
- Scratches from trapped debris during wiping
- Streaky, dull finishes on your windowsill
- Faster wear and tear on paint or wood
- Reduced air quality from lingering dust
- More frequent, intense cleaning sessions needed
Overlooking Window Tracks and Corners
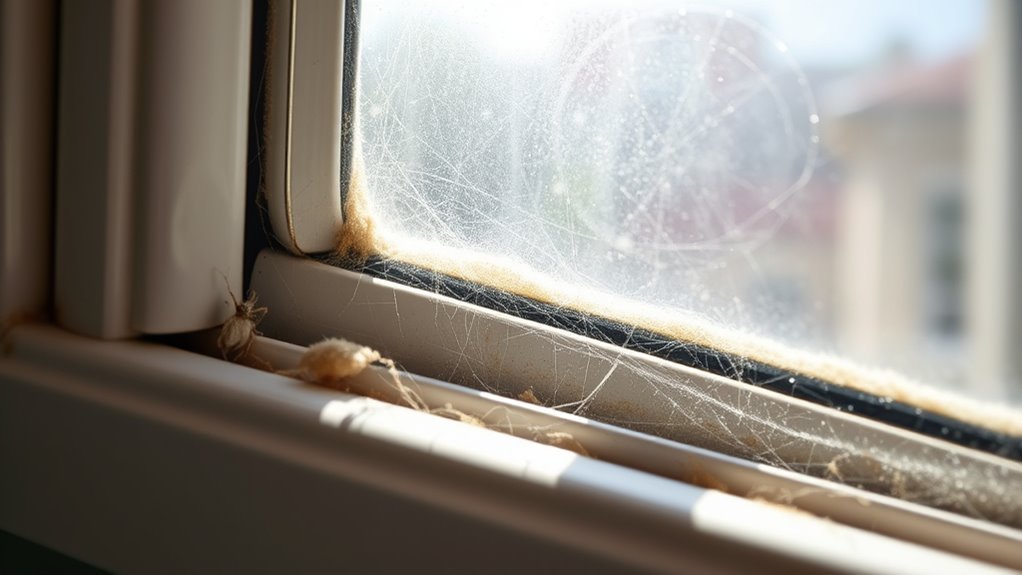
Though you might focus on cleaning the glass, neglecting window tracks and corners can leave your windowsills looking dirty and unfinished. When you skip window track cleaning, dirt and grime build up, making your efforts feel wasted. Those narrow spaces trap dust and debris, which not only dulls the overall look but can also affect how smoothly your windows open and close. Corner dusting is equally important—dust loves to settle in those tight spots, and missing them means your windowsills won’t truly be clean. Taking a few extra minutes to target these areas frees your windowsill from hidden dirt, giving you a fresh, polished finish. Don’t let overlooked tracks and corners hold you back from enjoying a truly clean window space.
Using Excessive Water Leading to Damage
When you use too much water on your windowsills, you risk causing damage that’s often hard to fix. Excess moisture can seep into wood or drywall, leading to costly water damage. To keep your windowsills in top shape while enjoying the freedom of effortless window maintenance, avoid these pitfalls:
- Water pooling in corners causing rot or mold
- Paint peeling and blistering from dampness
- Swollen or warped wood compromising structure
- Stains and discoloration that ruin aesthetics
- Attracting pests drawn to damp environments
Instead, use a damp cloth or sponge, and always dry thoroughly after cleaning. This way, you maintain your windowsills’ integrity and keep your home fresh without trapping moisture or risking damage.
Cleaning With Dirty or Abrasive Cloths
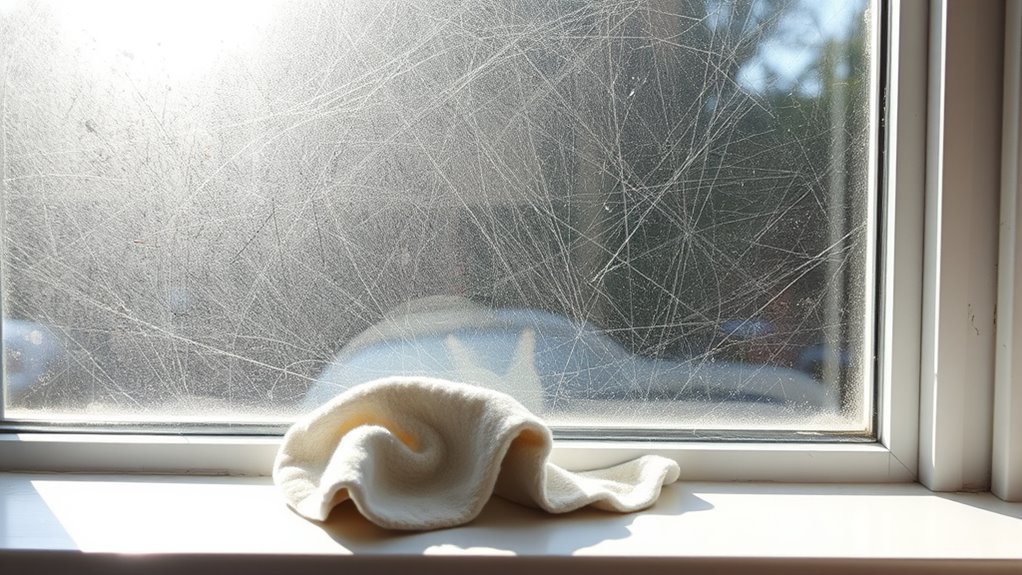
You might not realize how much the type of cloth you use affects your windowsill’s condition. Using dirty or abrasive fabrics can scratch surfaces and spread grime instead of removing it. To keep your windowsills spotless, make sure you clean and choose your cloths carefully.
Cloth Material Importance
Because using the wrong cloth can do more harm than good, it’s essential to choose your cleaning material carefully. Your cloth selection directly impacts how well you clean and protect your windowsills. Opting for the right fabric, like microfiber, offers several benefits that make your task easier and safer. Here’s what you should keep in mind:
- Microfiber benefits include trapping dust without scratching surfaces.
- Avoid cloths with embedded dirt to prevent smearing and damage.
- Soft materials help maintain the integrity of paint and finish.
- Using fresh, clean cloths prevents spreading grime.
- Select cloths that absorb moisture efficiently for faster drying.
Choosing the right cloth gives you the freedom to clean effectively without worrying about unintended damage. Make your cloth choice count!
Risks of Abrasive Fabrics
Picking the right cloth is only half the battle; using one that’s abrasive or dirty can cause serious damage to your windowsills. Abrasive materials scratch surfaces, dull finishes, and trap dirt, defeating your cleaning efforts. Choosing the right fabric types and ensuring they’re clean lets you maintain your windowsills’ freedom from harm.
| Fabric Type | Abrasiveness Level | Recommended Use |
|---|---|---|
| Microfiber | Low | Best for delicate windowsills |
| Cotton Flannel | Medium | Good for regular cleaning |
| Terry Cloth | High | Avoid on sensitive surfaces |
| Scrubbing Pad | Very High | Not suitable for windowsills |
| Old Rags | Variable | Risky if dirty or abrasive |
Avoid abrasive fabrics to keep your windowsills smooth and damage-free.
Cleaning Cloth Maintenance
Although it’s tempting to reuse the same cloth for multiple cleaning sessions, using a dirty or abrasive cloth can undo all your hard work by spreading grime and causing scratches. To keep your windowsills spotless and damage-free, pay attention to cleaning cloth maintenance. Here’s how to maintain your cloths for freedom from extra cleaning hassles:
- Increase cleaning frequency to avoid buildup on cloths.
- Wash cloths separately to prevent dirt transfer.
- Use gentle detergents to preserve cloth softness.
- Store cloths in a clean, dry place to avoid mildew.
- Replace worn or abrasive cloths promptly.
Proper cloth storage and regular cleaning frequency guarantee your cloths stay effective, letting you clean windowsills freely without worry about damage or grime spread.
Neglecting Regular Maintenance and Cleaning
When you skip regular maintenance and cleaning, dirt and grime quickly build up on your windowsills, making them harder to clean over time. Sticking to a maintenance schedule and performing regular inspection can save you effort and keep your windowsills looking fresh. Don’t wait for stubborn stains to appear before you act.
| Task | Frequency |
|---|---|
| Dusting windowsills | Weekly |
| Deep cleaning | Monthly |
| Inspection for damage | Quarterly |
Applying Too Much Pressure While Scrubbing
Regular cleaning keeps your windowsills in good shape, but how you clean them matters just as much as how often. Applying too much pressure while scrubbing can damage finishes and wear down materials faster than you’d like. To keep your windowsills looking great without risking harm, consider these points about pressure techniques and scrubbing methods:
- Use gentle pressure to avoid scratching or gouging surfaces
- Opt for soft-bristle brushes or microfiber cloths
- Avoid aggressive scrubbing motions that can strip paint or sealant
- Test your scrubbing method on a small area first
- Let cleaning solutions loosen grime before scrubbing
Not Protecting Surrounding Areas From Cleaner
Accidents with cleaning solutions can easily damage walls, flooring, or furniture near your windowsills if you’re not careful. To avoid this, it’s essential to take protective measures before you start cleaning. Lay down old towels, plastic sheets, or newspapers to shield surrounding surfaces from drips and spills. This simple step saves you from unwanted stains or warping caused by harsh chemicals. You don’t want to trade a clean windowsill for damaged walls or ruined floors. Be mindful of overspray or runoff, especially if you’re using sprays or liquid cleaners. By protecting the area around your windowsill, you maintain both the cleanliness and integrity of your space. Taking these precautions lets you clean freely without worrying about collateral damage.
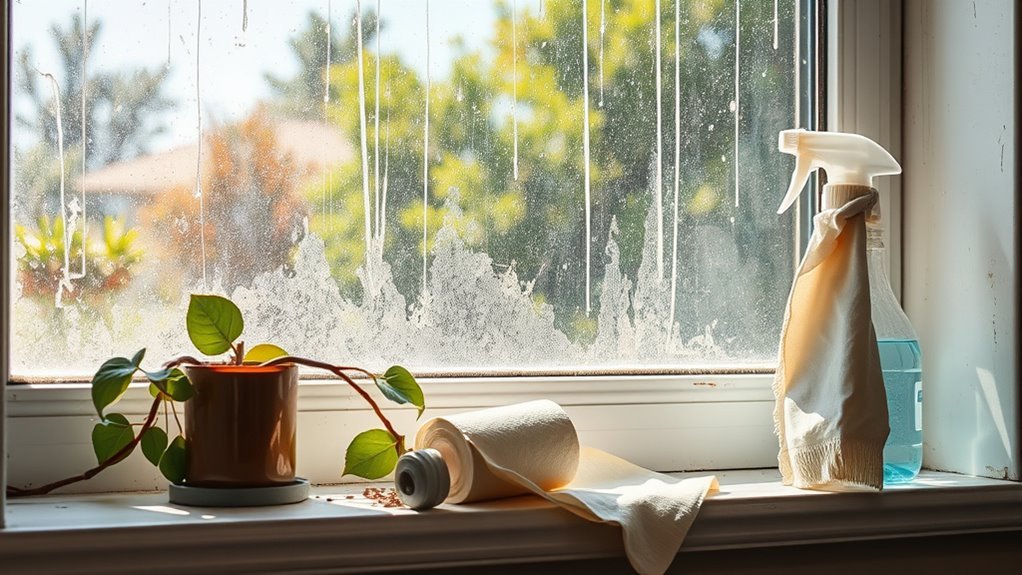
Skipping the Drying Step After Cleaning
One common mistake you might make after cleaning your windowsills is skipping the drying step. Leaving moisture behind can lead to damage or mold growth, restricting your home’s fresh vibe. To maintain freedom from future hassle, embrace effective drying techniques and moisture control. Here’s what you need to know:
Never skip drying your windowsills after cleaning to prevent mold and damage, keeping your home fresh and hassle-free.
- Use a clean, dry microfiber cloth to absorb excess water immediately.
- Open nearby windows or doors to promote airflow and speed drying.
- Avoid air drying in humid conditions; it traps moisture.
- Consider using a small fan for targeted drying.
- Regularly inspect windowsills for lingering dampness to prevent damage.
Frequently Asked Questions
What Is the Best Time of Day to Clean Windowsills?
Oh sure, cleaning windowsills at noon when the sun’s blazing is everyone’s dream, right? Actually, you’ll want to avoid that. The best time is when morning sunlight gently warms your space, making grime easier to spot but not drying your cleaner too fast. Evening shade works wonders too, letting you clean without streaks or smudges. So, grab your freedom from dirt during these cooler, calmer parts of the day!
Can Natural Cleaning Products Effectively Clean Windowsills?
You can definitely use natural cleaners to clean your windowsills effectively. Vinegar solutions, for example, work wonders by cutting through dirt and grime without harsh chemicals. They’re safe, eco-friendly, and give you the freedom to keep your space fresh and clean naturally. Just mix vinegar with water, spray it on, and wipe away. You’ll enjoy a sparkling windowsill while staying true to a greener lifestyle.
How Often Should Windowsills Be Cleaned for Optimal Care?
For ideal care, you should set a regular cleaning frequency for your windowsills—ideally once every two weeks. This keeps dust and grime from building up, making your maintenance easier and quicker. To enjoy your space freely, try simple maintenance tips like wiping with a damp cloth and using natural cleaners. Staying consistent means less hassle and more time to relax, giving you the freedom to enjoy a fresh, bright home without the stress.
Are There Specific Tools Recommended for Cleaning Window Screens?
You might think scrubbing window screens is a chore, but using the right tools makes it almost effortless. Screen brushes, designed with soft bristles, gently lift dirt without damaging the mesh. Pair them with mild cleaning solutions to break down grime without harsh chemicals. This combo lets you free your screens from dust while preserving their delicate structure, giving you that perfect balance of cleanliness and care without any hassle or damage.
How to Prevent Mold Growth on Windowsills?
To prevent mold growth on your windowsills, you need to focus on mold prevention through moisture control. Make sure you regularly wipe down the area to keep it dry and use a dehumidifier if your space feels damp. Ventilate rooms well by opening windows or using exhaust fans. You’ve got the freedom to create a clean, mold-free zone by staying proactive and maintaining good airflow around your windowsills.