How to Clean and Deodorize Your Refrigerator
To clean and deodorize your refrigerator, start by emptying all items, discarding expired food, and grouping what’s left. Remove shelves and drawers, then wash them with warm, soapy water. Wipe interior surfaces using a mild vinegar or baking soda solution, drying thoroughly afterwards. Place an open box of baking soda or fresh citrus peels inside to neutralize odors. Organize items thoughtfully before restocking. Following these steps maintains freshness and prevents lingering smells—further details will help you perfect this routine.
Gather Necessary Cleaning Supplies
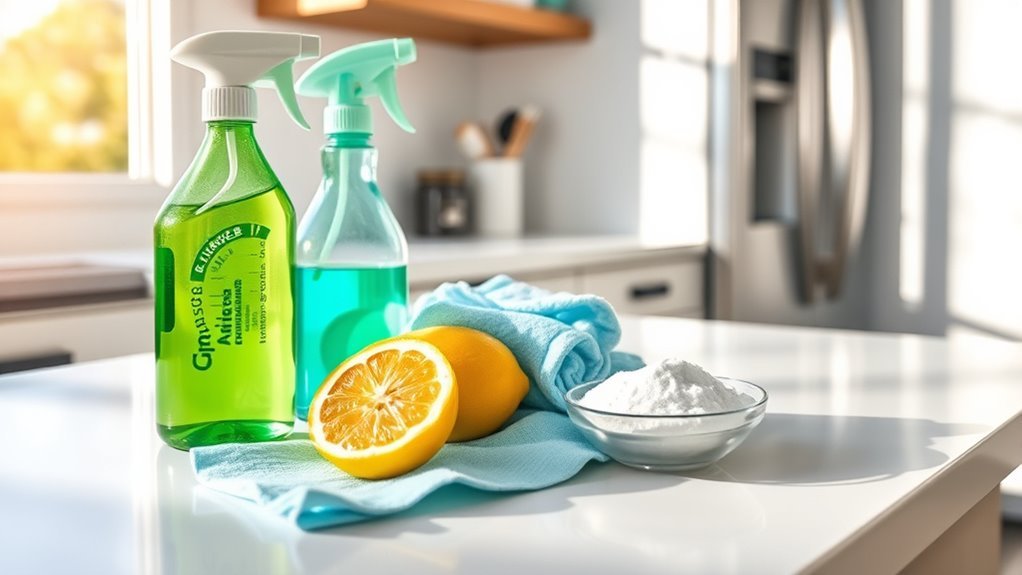
Before you begin cleaning your refrigerator, you’ll need to gather a few essential supplies to guarantee the process is efficient and thorough. Start with basic cleaning tools: microfiber cloths, a soft sponge, and a scrub brush with gentle bristles to avoid scratching surfaces. Include a spray bottle for applying solutions evenly. Choose eco friendly supplies such as a mixture of white vinegar and water or a mild baking soda solution to clean and deodorize without harsh chemicals. Have rubber gloves ready to protect your hands and a small bowl for mixing your natural cleaning agents. Collecting these precise tools and eco friendly supplies beforehand assures you maintain control over the process and enjoy a fresh, clean refrigerator while respecting your commitment to sustainability and freedom from toxins.
Empty and Organize the Refrigerator
Start by removing every item from your refrigerator to get a clear view of its contents. Carefully check each product for expiration dates and discard anything that’s past its prime. Then, sort the remaining items into categories like dairy, produce, and condiments to streamline the reorganization process.
Remove All Items
Although it might seem tedious, removing all items from your refrigerator is essential for an effective cleaning and organizing process. Start by taking out every container, bottle, and package, placing them on a clean surface nearby. This step allows you to fully access the interior surfaces for thorough refrigerator maintenance. As you remove items, consider grouping them by type or meal to simplify food storage once cleaning is complete. Removing everything gives you the freedom to inspect shelves and compartments for spills or stains that need attention. It also prevents cross-contamination during cleaning. By emptying your refrigerator completely, you create the perfect opportunity to reset your food storage system, ensuring better organization and prolonging the appliance’s efficiency and lifespan.
Check Expired Foods
Once you’ve emptied your refrigerator, take a close look at each item to check for expiration dates. Carefully inspect all packaging labels and discard any expired items immediately. Don’t rely solely on “best by” dates; assess the condition of perishable goods like dairy, meat, and leftovers for signs of spoilage. Removing expired items is essential for maintaining food safety and preventing contamination. Pay special attention to opened products, as their shelf life shortens once exposed. By methodically eliminating these items, you free up space and reduce the risk of unpleasant odors or harmful bacteria. This step guarantees your refrigerator is a clean, safe environment, letting you enjoy your food without worry while maintaining the freedom to organize efficiently.
Sort and Categorize
Before placing items back into your refrigerator, take the time to sort and categorize everything carefully. Effective fridge organization not only maximizes space but also promotes food safety by minimizing cross-contamination risks. Group similar items together, such as dairy, meats, and vegetables, and assign specific zones within your fridge for each category. This methodical approach simplifies access and helps you monitor freshness.
| Category | Storage Location |
|---|---|
| Dairy | Upper shelves |
| Meats | Bottom shelf (coldest) |
| Vegetables | Crisper drawers |
| Leftovers | Clear containers, front |
| Condiments | Door shelves |
Remove and Clean Shelves and Drawers
Start by carefully detaching the shelves and drawers to avoid any damage. Clean each piece thoroughly using a mild solution, such as warm water and gentle dish soap. Make sure to dry them completely before putting everything back in place to prevent moisture buildup.
Detach Shelves Carefully
Gently lift and slide the refrigerator shelves and drawers to detach them without applying excessive force, which could cause damage. Pay close attention to the shelf materials—glass, wire, or plastic—as each demands careful handling. Note the shelf placement before removal; take a quick photo or jot down their positions to guarantee easy reassembly. Start by loosening any clips or brackets securing the shelves, then lift the front edge slightly before sliding them out. For drawers, pull them forward until they reach a stop, then tilt upward to free them. This methodical approach prevents cracks or breaks while giving you the freedom to thoroughly clean every component. Proper detachment respects both your refrigerator’s design and your goal of a fresh, odor-free environment.
Use Mild Cleaning Solutions
Once you’ve removed the shelves and drawers, you’ll want to clean them using mild solutions that won’t damage their materials or leave harsh residues. Start by filling your sink or a basin with warm water mixed with a few drops of mild detergents. Avoid abrasive cleaners that can scratch or degrade plastic and glass. Submerge the shelves and drawers, allowing them to soak briefly to loosen grime. Use a soft sponge or cloth to gently scrub all surfaces, paying special attention to corners and crevices. For stubborn odors or stains, apply a vinegar solution—equal parts white vinegar and water—to naturally disinfect and deodorize without chemicals. Rinse everything thoroughly with clean water to remove any detergent or vinegar traces. This careful approach preserves your refrigerator components while ensuring a fresh, residue-free clean.
Dry Thoroughly Before Reinstalling
Although it might be tempting to rush, you’ll need to dry all shelves and drawers completely before putting them back in your refrigerator. Moisture left on shelf materials can cause mold, odors, and damage. Use specific drying techniques to guarantee thoroughness—air drying is effective for glass, while wiping with a microfiber cloth suits plastic surfaces.
| Shelf Material | Recommended Drying Technique |
|---|---|
| Glass | Air dry on towel-lined surface |
| Plastic | Wipe with microfiber cloth |
| Metal | Towel dry, then air dry |
| Wire racks | Air dry fully before reinstall |
Taking this careful drying step preserves your fridge’s cleanliness and extends the life of its components, giving you freedom from recurring odors or mold buildup.
Clean the Interior Surfaces
The interior surfaces of your refrigerator are where spills, stains, and odors often accumulate, so cleaning them thoroughly is essential. Start by removing all shelves and drawers to access every corner easily. Use a mixture of warm water and mild dish soap to wipe down the interior surfaces, focusing on corners and crevices where grime collects. For stubborn spots, apply a paste of baking soda and water, let it sit briefly, then scrub gently with a soft cloth or sponge. Avoid harsh chemicals that could damage surfaces or leave harmful residues. Rinse with a clean damp cloth to remove any soap or baking soda residue. Dry each surface completely before replacing shelves and drawers. These cleaning techniques help maintain a fresh, hygienic environment, giving you the freedom to store your food confidently.
Deodorize Using Natural Solutions

While cleaning removes visible grime, deodorizing tackles lingering odors that can affect your food’s freshness. Start by placing an open box of baking soda in your fridge—its natural absorbent properties neutralize odors efficiently. Next, prepare a vinegar solution by mixing equal parts water and white vinegar in a spray bottle; wipe down surfaces to eliminate stubborn smells and bacteria. For a revitalizing touch, add a few drops of essential oils like lemon or eucalyptus to cotton balls and place them on a shelf. Finally, tuck in fresh citrus peels, such as lemon or orange, in a small dish to naturally release pleasant aromas. These simple, natural solutions keep your refrigerator smelling clean without harsh chemicals, helping you maintain a fresh environment for your food.
Maintain Freshness With Preventative Tips
To keep your refrigerator consistently fresh, you’ll need to adopt a set of preventative habits that minimize odor buildup and spoilage. Start with regular preventative maintenance: check expiration dates weekly and promptly discard spoiled items. Wipe spills immediately to prevent bacteria growth and odors. Use airtight containers to store food, limiting moisture and odor transfer. Keep a small box of baking soda inside, replacing it every three months to absorb lingering smells. Maintain proper temperature settings between 37°F and 40°F to slow bacterial growth. Clean refrigerator shelves and drawers monthly with mild soap and water to remove residue. These freshness tips guarantee your fridge stays clean longer, giving you the freedom to enjoy fresh food without frequent deep cleans or unpleasant surprises.
Reorganize and Restock Your Refrigerator

After you’ve cleaned and maintained your refrigerator, it’s important to reorganize and restock it thoughtfully to maximize efficiency and freshness. Start by grouping similar items together: dairy, vegetables, condiments, and meats each have ideal storage zones. Use clear containers or bins to keep smaller items contained and visible. Label shelves or containers to maintain consistent refrigerator organization. Place frequently used items at eye level for easy access, while storing less-used products higher or lower. Make certain raw meats are on the lowest shelf to prevent cross-contamination. Check expiration dates as you restock, removing any expired goods. Maintain proper spacing for air circulation, which preserves food freshness and reduces spoilage. With strategic food storage, your refrigerator will support your lifestyle freedom by minimizing waste and saving time.
Frequently Asked Questions
How Often Should I Deep Clean My Refrigerator?
You should deep clean your refrigerator about once a month to keep it fresh and efficient. Sticking to a monthly schedule helps prevent odors and bacteria buildup. Gather your cleaning supplies beforehand—mild detergent, baking soda, and microfiber cloths work great. Take your time removing all items, wiping shelves, and checking expiration dates. This methodical approach gives you freedom from last-minute scrambles and keeps your fridge in top shape consistently.
Can I Use Bleach to Clean My Fridge Interior?
Imagine trying to fix a delicate watch with a hammer—it’s too harsh. Using bleach inside your fridge is similar; it’s effective but can be too strong, risking damage and lingering odors. Instead, consider bleach alternatives like baking soda or vinegar for refrigerator maintenance. They clean well without harsh chemicals, keeping your space fresh and safe. This method gives you freedom from toxic residues while ensuring your fridge stays spotless and odor-free.
What’S the Best Way to Clean Refrigerator Door Seals?
To clean refrigerator door seals effectively, start with seal maintenance by gently wiping them down using a mild cleaning solution like diluted dish soap or vinegar mixed with water. Use a soft cloth or an old toothbrush to reach grooves and remove dirt or mold without damaging the rubber. Make sure to dry the seals thoroughly to prevent moisture buildup. Regularly doing this keeps your seals flexible and your fridge airtight, giving you more freedom from energy waste and food spoilage.
How Do I Clean a Refrigerator With a Bad Odor Quickly?
You might think quick fixes won’t tackle stubborn fridge smells, but they can. Start by removing all food, then wipe surfaces with a mix of warm water and baking soda—an effective odor neutralizer. Place an open box of baking soda or activated charcoal inside to absorb lingering scents. For a fast deodorizing boost, use odor neutralizer sprays designed for refrigerators. This method frees you from unwanted smells without lengthy scrubbing or harsh chemicals.
Is It Safe to Clean the Fridge While It’S Still Plugged In?
You can clean your fridge while it’s plugged in, but take safety precautions seriously. Avoid using too much water or harsh chemicals near electrical components to prevent shocks. Use gentle cleaning tools like soft cloths and non-abrasive sponges to protect surfaces. Unplugging is safer if you’re doing a deep clean or working around electrical parts. Staying cautious lets you maintain freedom in your home without risking accidents.