How to Clean Your Home After Oven
After using your oven, start by gathering gloves, a scrub brush, and cleaning supplies. Remove oven racks and soak them in warm, soapy water for easy scrubbing. Prepare a homemade cleaner with baking soda and vinegar, then apply it inside the oven, avoiding vents. Wipe down the oven door and nearby surfaces to remove spills and grease. Finish by sprinkling baking soda inside to absorb odors. Keeping this routine helps your kitchen stay fresh and ready—explore more for deeper care tips.
Gather Essential Cleaning Supplies

Before you plunge into cleaning your oven, make sure you’ve gathered all the essential supplies. Having the right cleaning tools on hand sets you free from unnecessary trips and frustration. Start with a supply checklist that includes gloves to protect your hands, a sturdy scrub brush, and a non-abrasive sponge. You’ll also want a reliable oven cleaner or a simple mix of baking soda and vinegar for a natural touch. Don’t forget a microfiber cloth for wiping down surfaces and a bucket of warm water to rinse away grime. Being prepared with these essentials lets you tackle the job efficiently and regain your kitchen’s sparkle without hassle. With your supply checklist ready, you’re one step closer to reclaiming your space and time.
Remove Oven Racks and Accessories
Start by taking out all the oven racks and any accessories inside. This step frees up space and makes your cleaning process smoother. Whether you have wire racks, flat racks, or specialty racks, removing them is essential for thorough oven accessories maintenance.
Begin by removing all oven racks and accessories to create space and ensure thorough cleaning.
Here’s how to handle this efficiently:
- Slide each oven rack out gently to avoid bending or damage.
- Remove any trays, thermometers, or other accessories carefully.
- Inspect each item for wear or damage as part of your maintenance routine.
Clean Oven Racks Separately
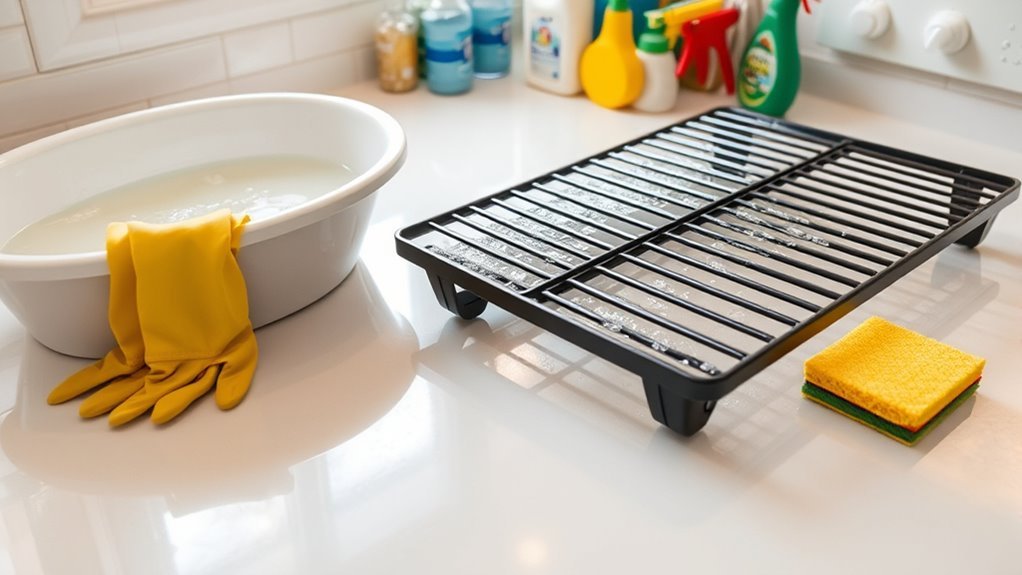
You’ll want to soak your oven racks in warm, soapy water to loosen grime before scrubbing. Using a non-abrasive brush or sponge helps remove stuck-on residue without damaging the finish. These simple steps make cleaning racks much easier and more effective.
Soaking Techniques
A simple way to make cleaning your oven racks easier is to soak them separately from the oven interior. This lets you free up time and energy while tough grime loosens up effortlessly. To get the best results, choose your soaking solutions wisely and plan for effective durations.
Here’s a quick guide to soaking your racks:
- Fill a bathtub or large basin with hot water and add a strong soaking solution like dish soap or baking soda mixed with vinegar.
- Submerge the racks fully to guarantee every corner gets treated.
- Let them soak for at least 4 hours—or overnight if grime is stubborn—for maximum loosening.
Scrubbing Tips
Grab a sturdy brush or sponge to tackle the grime on your oven racks after soaking. Cleaning them separately lets you focus on stubborn spots without messing up the rest of your oven. Use effective scrubbing techniques by applying firm, consistent pressure with a scrub brush, working in small sections to break down baked-on residue. Don’t rush—let the soak loosen the gunk first, then your scrubbing will require less effort. If you want, switch between a stiff scrub brush and a softer sponge to handle different textures. Rinse thoroughly to wash away loosened debris and cleaning agents. By isolating the racks, you keep the rest of your oven cleaner and make your job easier, giving you more freedom to enjoy a spotless kitchen without extra hassle.
Prepare a Homemade Oven Cleaner
You’ll need a few simple ingredients like baking soda, vinegar, and water to make an effective homemade oven cleaner. Mix them carefully following a basic guide to get the right consistency. Then, apply the mixture evenly and let it sit for the best results.
Essential Ingredients Needed
Before diving into the cleaning process, it’s important to gather a few simple ingredients that you probably already have at home. Using natural cleaners not only protects your health but also guarantees chemical safety, giving you peace of mind while you clean your oven.
Here are the essential ingredients you’ll need:
- Baking Soda – A gentle abrasive that lifts grime without harsh chemicals.
- White Vinegar – Cuts through grease and helps dissolve tough stains naturally.
- Lemon Juice – Adds a fresh scent and boosts cleaning power with natural acidity.
Mixing Instructions Guide
Although it might seem tricky at first, mixing your homemade oven cleaner is simple and quick. Start by combining 1/2 cup of baking soda with a few tablespoons of water to form a spreadable paste. The key is to get the right mixing ratios: too watery, and it won’t stick; too thick, and it won’t spread evenly. You can also add a splash of white vinegar for extra cleaning power, but mix it separately before application to avoid premature fizzing. These cleaning techniques guarantee your solution tackles grease and grime effectively. Remember, precise mixing ratios not only make your cleaner efficient but also save you from wasting ingredients. With this guide, you’re free to craft a powerful, eco-friendly oven cleaner tailored to your needs.
Application Tips and Tricks
Once your homemade oven cleaner is ready, applying it correctly makes all the difference in tackling stubborn grime. To set yourself free from tough oven mess, follow these oven cleaning hacks for effective scrubbing:
- Spray evenly: Coat the oven interior generously, focusing on greasy spots. Let it sit for 15-20 minutes to break down buildup.
- Use a scrub brush or sponge: Apply firm pressure in circular motions. This effective scrubbing loosens grime without damaging surfaces.
- Wipe with a damp cloth: Remove residue with warm water, repeating if needed until the oven shines.
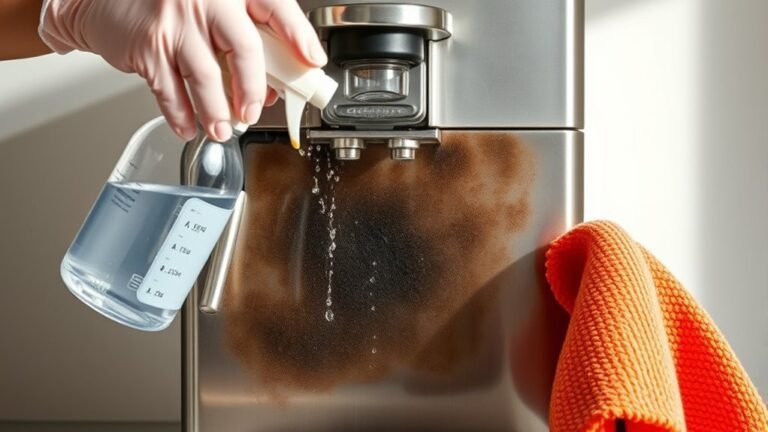
Apply Cleaner to Oven Interior
Start by choosing a cleaner that’s right for your oven type—whether it’s a commercial oven cleaner or a natural solution like baking soda and vinegar. Knowing your oven cleaner options helps you pick one that suits your needs without restricting your freedom to use what feels best. When applying, aim for effective application by spreading the cleaner evenly across the oven interior, avoiding vents or heating elements. Use gloves to protect your hands and a sponge or cloth to reach every corner. Don’t rush; let the cleaner sit as instructed to break down grime efficiently. By applying the cleaner thoughtfully, you set the stage for a smoother, more thorough clean, giving your oven the fresh start it deserves with minimal hassle.
Scrub Stubborn Oven Stains

Tackle stubborn oven stains by gently scrubbing with a non-abrasive sponge or brush after letting your cleaner sit. This approach guarantees effective scrubbing without damaging your oven’s surface. To get those tough spots under control, follow these steps:
- Use circular motions to break down baked-on grime, focusing on the most stubborn stains first.
- Rinse your sponge or brush regularly to avoid spreading residue and keep scrubbing effective.
- For extremely persistent stains, apply a paste of baking soda and water, let it rest, then scrub again.
Wipe Down Oven Door and Glass
Give your oven door and glass a thorough wipe down to remove fingerprints, grease, and food splatters. Mastering oven door maintenance keeps your kitchen fresh and your cooking space clear. Use the right glass cleaning techniques to avoid streaks and damage.
| Step | Tool Needed | Tip for Success |
|---|---|---|
| 1. Spray cleaner | Glass cleaner | Use a gentle, non-abrasive spray |
| 2. Let sit | None | Allow cleaner to break down grime |
| 3. Wipe down | Microfiber cloth | Wipe in circular motions |
| 4. Buff dry | Dry cloth | Guarantee no streaks remain |
Stay free from grime and enjoy a sparkling oven door every time!
Clean Surrounding Kitchen Surfaces
Although cleaning the oven is essential, don’t forget to wipe down the surrounding kitchen surfaces to keep your cooking area hygienic and fresh. Maintaining kitchen hygiene means tackling more than just the oven itself—you want every surface around it clean and safe. Focus on these key areas for effective surface sanitization:
Remember to clean not just the oven but also all surrounding kitchen surfaces for complete hygiene.
- Countertops: Use a gentle but effective cleaner to remove grease and food particles.
- Backsplash: Wipe down tiles or panels to prevent buildup from splatters.
- Handles and knobs: These high-touch spots harbor germs, so sanitize them thoroughly.
Eliminate Lingering Oven Odors
How can you get rid of stubborn odors that linger after cleaning your oven? Start by sprinkling baking soda inside the oven, letting it sit overnight. Baking soda naturally absorbs odors without harsh chemicals, giving you a fresh start. The next day, wipe it away with a damp cloth. To further combat smells, use odor neutralizers designed for kitchen use—these products trap and eliminate odors rather than masking them. Keep your kitchen ventilated by opening windows or turning on an exhaust fan to help stale air escape. By combining baking soda’s natural power with targeted odor neutralizers and good airflow, you can reclaim your kitchen’s fresh, inviting atmosphere and enjoy cooking without unwanted smells hanging around.
Maintain Oven Cleanliness Regularly
To keep your oven in top shape, you should clean it regularly before grime and spills build up. Sticking to a regular cleaning schedule not only extends your oven’s life but also frees you from tough, time-consuming scrubs later. Here are three oven maintenance tips to simplify your routine:
- Wipe spills immediately after the oven cools to prevent stubborn stains.
- Schedule a deep clean monthly to tackle grease and food debris.
- Check and replace oven seals if you notice heat escaping, ensuring efficient cooking.
Frequently Asked Questions
Can I Use Commercial Oven Cleaners Instead of Homemade Solutions?
You can definitely use commercial oven cleaners if you want quicker results, but keep in mind homemade alternatives often offer great cleaning effectiveness without harsh chemicals. If you prefer freedom from strong fumes and want something eco-friendly, those DIY solutions might be your best bet. However, commercial cleaners usually work faster on tough grime. It’s all about what fits your lifestyle and comfort level with ingredients—you’ve got options to suit your freedom and needs.
How Often Should I Deep Clean My Oven for Best Results?
Did you know that 60% of people forget to deep clean their oven regularly? For best results, you should follow frequency guidelines suggesting a deep clean every 3-6 months, depending on how often you use it. Setting cleaning schedules helps you stay on track without feeling overwhelmed. This way, you maintain a fresh kitchen and enjoy your freedom, knowing your oven’s always ready for your next cooking adventure.
Are There Any Safety Precautions When Using Oven Cleaning Chemicals?
When using oven cleaning chemicals, you’ve got to prioritize oven safety to avoid chemical exposure. Always wear gloves and guarantee good ventilation by opening windows or turning on fans. Don’t mix different cleaners, and keep pets and kids away while you work. If you accidentally inhale fumes or get chemicals on your skin, rinse immediately and seek medical advice if needed. Staying cautious helps you clean freely without risks.
What Should I Do if My Oven Has a Self-Cleaning Function?
When your oven’s self-cleaning function kicks in, it’s like setting your kitchen free from grime’s stubborn chains. You’ll want to remove racks and any large debris first. Then, use self-cleaning tips by locking the oven door and starting the cycle—usually lasting a few hours. Remember, after it cools, wipe away ash with a damp cloth. This smart oven maintenance keeps your cooking space fresh and ready, giving you more freedom to enjoy life.
Can Oven Cleaning Damage the Appliance’S Heating Elements?
You might worry if oven cleaning can damage the heating elements, but with proper oven maintenance, it usually won’t. Just avoid harsh chemicals or abrasive tools directly on the elements, and never soak them. Taking care of your heating elements means gently wiping them down and letting the oven cool fully before cleaning. This way, you keep your appliance in great shape, giving you the freedom to enjoy hassle-free cooking without unexpected repairs.