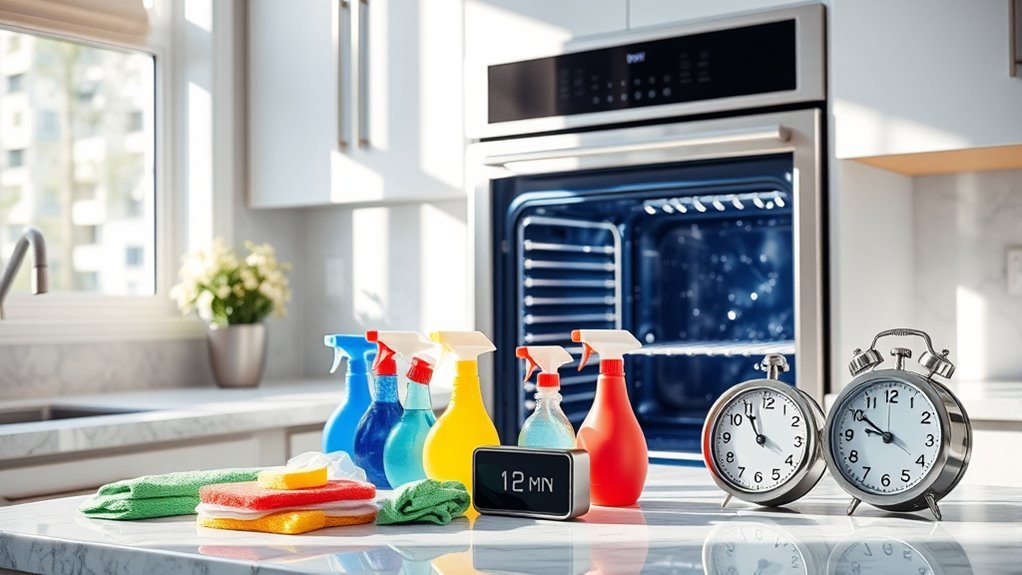
How to Clean Your Oven in 10 Minutes
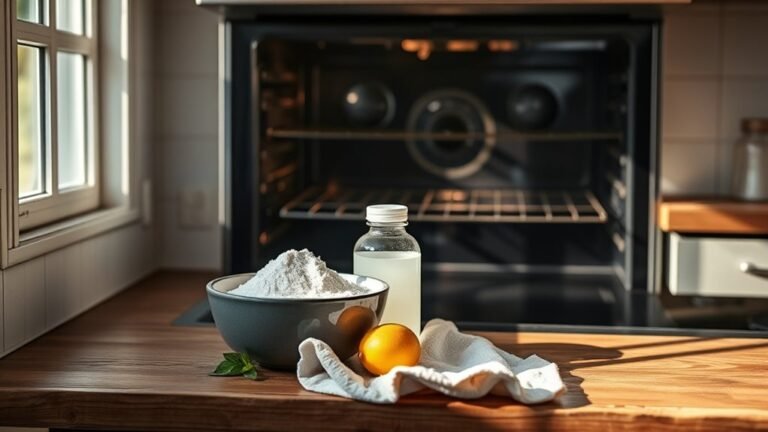
To clean your oven in 10 minutes, start by removing the racks and any accessories. Mix baking soda with water to make a thick paste and spread it on greasy spots inside the oven. Let it sit for 5 minutes while you soak the racks in warm, soapy water. Spray vinegar over the paste for extra shine, then gently scrub stubborn areas. Rinse and dry racks before placing them back. Keep going to find out how to perfect this quick cleaning routine.
Gather Your Cleaning Supplies

Before you begin cleaning your oven, make sure you’ve gathered all the necessary supplies. Having the right cleaning tools at hand saves time and keeps you in control of the process. You’ll want a sturdy scrub brush, a non-abrasive sponge, and a spray bottle for applying solutions. If you’re aiming for freedom from harsh chemicals, consider eco friendly options like vinegar, baking soda, and lemon juice. These natural cleaners tackle grime without compromising your health or the environment. Grab a microfiber cloth for wiping down surfaces afterward. By choosing eco friendly options and effective cleaning tools, you’re not only maintaining your oven but also embracing a lifestyle that values simplicity and sustainability. This preparation sets you up for a quick, efficient clean that fits your independent spirit.
Remove Oven Racks and Accessories
Start by carefully taking out the oven racks to give yourself full access to the interior. Next, set aside any oven accessories like trays or thermometers to clean separately. This step makes it easier to clean both the racks and the oven thoroughly.
Take Out Oven Racks
Slide out the oven racks carefully to give yourself full access to the interior. Removing these racks is a key step in your oven maintenance routine, ensuring you can clean every corner effectively. Keeping up with this task as part of your cleaning frequency will help maintain your oven’s performance and extend its life.
Here’s how to take them out smoothly:
- Let the oven cool completely to avoid burns.
- Grasp the front of each rack firmly.
- Pull the rack straight out, tilting slightly if needed.
- Set the racks aside on a protected surface.
Set Aside Oven Accessories
Once you’ve removed the oven racks, you’ll want to set aside any additional accessories like thermometers, rotisseries, or broiler pans. Handling these items separately not only guarantees oven safety but also makes the cleaning process smoother. Place each accessory in a designated spot where they won’t get damaged or lost—this keeps your accessory organization on point. Keeping everything organized lets you work freely without clutter slowing you down. Plus, it prevents accidents from sharp edges or stubborn grease residues during cleaning. Remember, some accessories might require special care or different cleaning methods, so separating them helps you treat each one properly. Setting these aside early means you can focus on the oven’s interior without distractions, making your quick cleaning session efficient and safe.
Prepare a Baking Soda Paste

Before you can tackle the grime inside your oven, you’ll need to prepare a simple baking soda paste that acts as a powerful, natural cleaner. Baking soda benefits include its gentle abrasiveness and deodorizing power, making it perfect for oven cleaning without harsh chemicals. To get your paste right, focus on the consistency—it should be thick enough to stick to surfaces but spreadable.
Create a thick, spreadable baking soda paste to naturally and effectively tackle oven grime without harsh chemicals.
Here’s how to prepare it:
- Mix 1/2 cup of baking soda with a few tablespoons of water.
- Stir slowly, adding water bit by bit.
- Aim for a spreadable, peanut butter-like paste consistency.
- Adjust by adding more baking soda or water as needed.
This paste will help you reclaim your oven’s freedom from stubborn grime.
Apply the Paste to Oven Surfaces
Once you’ve prepared the baking soda paste, start by targeting the greasiest spots inside your oven. Make sure to spread the paste evenly and apply it thickly to those stubborn areas. This will help break down the grime more effectively as it sits.
Prepare the Cleaning Paste
Mixing your own cleaning paste lets you tackle tough oven grime without harsh chemicals. Embracing natural alternatives not only protects your health but also aligns with eco-friendly cleaning techniques. Here’s how to prepare a simple, effective paste:
- Combine 1/2 cup baking soda with a few tablespoons of water until it forms a spreadable paste.
- Add a splash of lemon juice or white vinegar to boost grease-cutting power naturally.
- Mix thoroughly to create a consistent texture that sticks well to surfaces.
- Use a spatula or your hands to apply the paste evenly over the oven interior, avoiding heating elements.
This approach empowers you with freedom from commercial cleaners, providing a safe, efficient way to refresh your oven quickly.
Target Greasy Areas
Start by identifying the three greasiest spots inside your oven—these usually include the bottom surface, the back wall, and around the door edges. These target spots tend to trap the most stubborn grime, so focusing your efforts here will maximize grease removal. Don’t waste time spreading paste everywhere; zero in on these areas where buildup is heaviest. This approach lets you reclaim your freedom from scrubbing drudgery without unnecessary effort. By concentrating the cleaning paste on these key grease hotspots, you guarantee it works efficiently, breaking down tough residues fast. Remember, precision in targeting these greasy zones means less elbow grease for you and a quicker path to a spotless oven. Keep your focus sharp, and you’ll enjoy the freedom of a clean oven in no time.
Apply Evenly and Thick
A thick, even layer of cleaning paste is key to tackling oven grime effectively. When applying, remember these oven cleaning techniques to maximize your freedom from scrubbing stress. First, wear gloves to protect your skin. Second, use a spatula or brush for smooth, controlled spreading. Third, cover all greasy spots with a generous amount—don’t be shy! Fourth, avoid applying too thinly; a thicker paste means better grime breakdown. Here are some paste application tips to keep in mind:
- Start from the back, moving forward for total coverage.
- Apply paste in consistent strokes to prevent patchiness.
- Focus on stubborn, baked-on areas with extra thickness.
- Leave no surface untouched for an even clean.
With these steps, you’ll enjoy a free, spotless oven faster.
Let the Paste Sit for 5 Minutes
Once you’ve applied the cleaning paste evenly, let it sit for 5 minutes to break down the grime and grease. This brief wait is essential for maximizing the paste’s effectiveness, allowing it to penetrate stubborn residues without requiring harsh scrubbing. During this time, you’re using a smart cleaning technique that works with the paste’s natural power rather than against it. Trusting this process frees you from wasting energy on endless scrubbing and lets the paste do the heavy lifting. So take a moment, step back, and enjoy a quick break knowing the grime is loosening up. This simple pause is a key step toward reclaiming your oven’s sparkle efficiently and effortlessly, giving you more freedom to focus on what really matters.
Wipe Down the Oven Interior

Before wiping down the oven interior, make sure to remove any loose debris to avoid spreading dirt around. Use safe cleaning solutions that won’t damage your oven’s surfaces or leave harmful residues. This will help you clean effectively while protecting your appliance.
Choose Safe Cleaning Solutions
Although oven cleaners can be harsh, choosing safe cleaning solutions guarantees you protect both your oven and your health. To keep things simple and free from harmful chemicals, consider these eco friendly options that assure chemical safety:
- Use a mixture of baking soda and water to create a gentle paste.
- Try white vinegar spray, which naturally cuts through grease without toxins.
- Opt for commercial cleaners labeled as non-toxic and biodegradable.
- Make sure to ventilate the area well to avoid inhaling fumes.
Remove Loose Debris First
After selecting a safe cleaning solution, you’ll want to remove any loose debris inside your oven. Grab your cleaning tools—like a soft brush or a damp cloth—and gently sweep away crumbs, burnt bits, and any other oven debris. Clearing out these particles first makes your job easier and prevents spreading grime when you apply your cleaner. Don’t rush this step; it’s about freeing your oven from buildup so your cleaning solution can work effectively. By tackling oven debris upfront, you set the stage for a faster, more thorough clean. Remember, a quick wipe-down before scrubbing means less elbow grease later. This approach gives you the freedom to maintain a spotless oven without spending hours scrubbing away stubborn messes.
Spray Vinegar for Extra Shine
A simple spray bottle filled with vinegar can make your oven gleam like new. The vinegar benefits go beyond just cleaning—it naturally cuts grease and adds a shine enhancement that plastic or chemical sprays can’t match. Here’s how to use it effectively:
- Fill a spray bottle with equal parts white vinegar and water.
- Spray the vinegar solution evenly across your oven’s interior surfaces.
- Let it sit for a few minutes to break down grime and boost the shine.
- Wipe with a clean cloth or paper towel to reveal a streak-free, sparkling finish.
Using vinegar lets you clean freely without harsh chemicals, leaving your oven bright and fresh with minimal effort.
Scrub Stubborn Spots Gently
Tackle stubborn spots by scrubbing them gently to avoid damaging your oven’s surface. When you encounter stubborn stains, don’t rush into harsh scrubbing. Instead, use a soft sponge or cloth with a bit of baking soda paste or your preferred cleaner. Gentle scrubbing breaks down grime without scratching or wearing down the finish. Focus on circular motions, applying just enough pressure to lift the dirt. If a spot resists, let the cleaner sit a bit longer before trying again. This method lets you maintain your oven’s look while freeing it from those tough spots. Remember, patience and gentle scrubbing are your allies in keeping your oven clean and functional without sacrificing its surface.
Clean Oven Racks Separately
Oven racks deserve their own cleaning routine to get them truly spotless. Tackling them separately lets you choose the best cleaning methods without damaging your oven’s interior. Here’s a quick, freeing way to clean your oven racks:
- Remove the oven rack carefully and take it to a large sink or bathtub.
- Soak the rack in warm, soapy water for 10-15 minutes to loosen grime.
- Use a scrub brush or sponge to scrub away grease and baked-on food.
- Rinse thoroughly and dry completely before putting it back.
Replace Racks and Final Touches
Once the racks are completely dry, you can place them back inside, ensuring they slide in smoothly without scratching the oven walls. Proper rack placement is key to maximizing your oven’s efficiency and freedom to cook whatever you want. Take a moment for a final inspection — check for any leftover grime or missed spots inside the oven.
Here’s a quick checklist to wrap up:
| Task | What to Do |
|---|---|
| Rack Placement | Insert racks evenly spaced |
| Final Inspection | Wipe away any missed residue |
| Oven Door | Clean glass and seals if needed |
With everything in place, your oven is ready to help you create your next culinary adventure — clean, efficient, and yours to command.
Frequently Asked Questions
Can I Use Commercial Oven Cleaners Instead of Baking Soda Paste?
You can definitely use commercial oven cleaners instead of baking soda paste if you want quicker results. Just remember, these oven cleaner alternatives often contain strong chemicals, so you’ll need to follow safety precautions carefully—wear gloves, guarantee good ventilation, and avoid skin contact. If you prefer a more natural approach, baking soda paste is safer but takes longer. Ultimately, it’s your choice to balance convenience with safety and freedom in your cleaning routine.
How Often Should I Deep Clean My Oven for Best Results?
For flawless food freedom, frequent oven maintenance frequency is key. You should deep clean your oven every three to six months to enjoy deep cleaning benefits like improved efficiency and longer appliance life. Regular care prevents pesky buildup, saving you time and hassle later. Keeping your oven spotless means you’re free to focus on what matters—whipping up delicious dishes without worry, knowing your kitchen’s in perfect condition.
Is It Safe to Clean a Self-Cleaning Oven Manually?
You can manually clean your self-cleaning oven, but you need to be aware of self-cleaning limitations. These ovens are designed to handle high heat to burn off grime, so manual cleaning might risk damaging sensitive parts. If you choose to clean it yourself, take manual cleaning precautions like avoiding harsh chemicals and scrubbing gently to protect the oven’s interior. This way, you keep your freedom to clean while preserving your oven’s function.
What Should I Do if My Oven Has a Strong Chemical Smell After Cleaning?
If your oven has a strong chemical smell after cleaning, don’t worry—you’ve got options. Open all windows and doors to air it out, and run the oven at a low temperature for 15-20 minutes to help burn off any leftover odors. Using natural oven cleaning tips, like baking soda and vinegar, can prevent harsh chemical odors next time. These chemical odor solutions help keep your space fresh, so you can enjoy freedom from stink and stress.
Can I Clean the Oven Door Glass With the Same Method?
When it comes to cleaning your oven door, don’t throw the baby out with the bathwater! While you can use the same basic approach, the glass on your oven door needs a gentler touch. Instead of harsh chemicals, grab a good glass cleaner to avoid streaks and damage. This way, your oven door stays spotless and clear, giving you the freedom to enjoy a sparkling kitchen without any fuss.