How to Remove Stubborn Stains From Dryer
To remove stubborn stains from your dryer, first identify the stain type—dye transfer, grease, or rust—then unplug the machine and clear out lint for safety. Use natural cleaners like a baking soda paste or a vinegar-water solution on the stains, letting it sit before wiping clean. For rust or tough residue, gentle scrubbing and specific treatments help. Keep up with routine wipe-downs and maintenance to prevent future stains. If you want to master deeper cleaning and stain prevention tips, there’s more to explore ahead.
Identifying Common Dryer Stains

Before you can effectively remove stains from your dryer, you need to know what types of stains you’re dealing with. Common stain types include fabric dye transfers, which happen when colored clothes bleed onto whites or lighter fabrics. These stains often appear as patches of unexpected color and can be tricky to tackle if you don’t identify them early. You might also see grease or oil stains from laundry items or residue build-up from detergent. Recognizing fabric dye stains is especially important because they require different removal methods than, say, rust or lint marks. By pinpointing the exact kind of stain, you free yourself from guesswork and get closer to restoring your dryer’s clean, fresh look—an essential step toward taking control and keeping your laundry space spotless.
Essential Tools and Cleaning Supplies
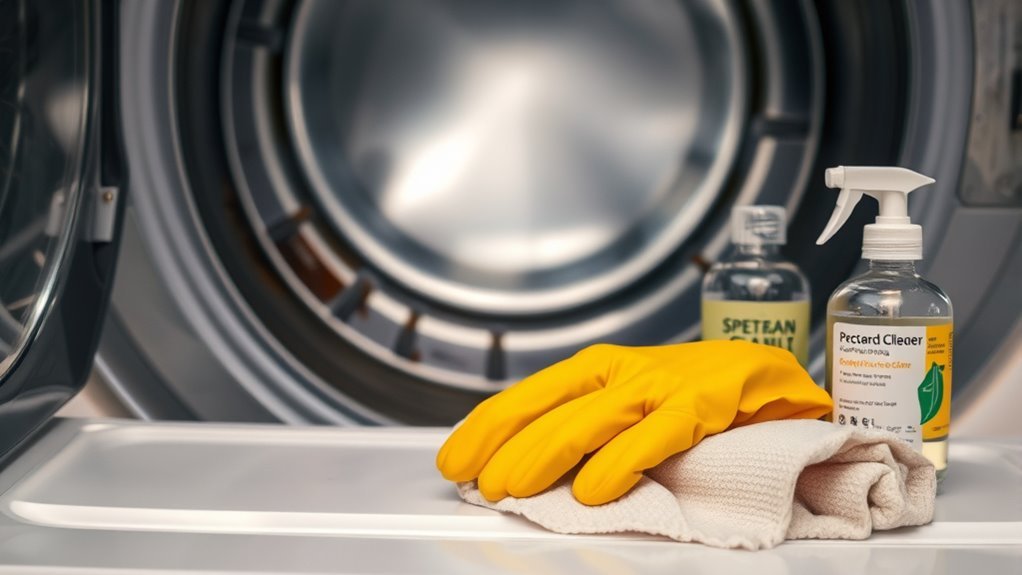
Tackling stubborn dryer stains is much easier when you have the right tools and cleaning supplies on hand. To free yourself from those annoying marks, gather essential cleaning tools like microfiber cloths, soft-bristle brushes, and a spray bottle. These will help you reach every corner without damaging your dryer’s surface. When it comes to stain removers, opt for gentle yet effective options—think vinegar, baking soda, or a commercial cleaner designed for appliances. Avoid harsh chemicals that could limit your options or harm the machine. Having these essentials ready lets you take control, making the cleaning process straightforward and efficient. With the right cleaning tools and stain removers, you’re empowered to restore your dryer’s look and keep your laundry space fresh and stain-free.
Preparing Your Dryer for Cleaning
Now that you’ve gathered the right tools and cleaners, it’s time to get your dryer ready for cleaning. First, unplug your dryer to guarantee dryer safety—this simple step prevents accidents and lets you clean without worry. Remove any clothes or lint from the drum and lint trap, giving you clear access to stubborn stains. Wipe down the exterior and door with a damp cloth to remove surface dust. Set up a well-ventilated area around your dryer to keep fumes at bay during cleaning. Make this preparation part of your regular cleaning routine to maintain efficiency and prolong your dryer’s life. Taking these steps frees you from worry, making stain removal easier and safer every time.
Using Natural Cleaners to Remove Stains
While commercial cleaners can be effective, you might find natural cleaners gentler and just as efficient for removing stubborn dryer stains. Start by making a baking soda paste—mix baking soda with a bit of water until you get a spreadable consistency. Apply this paste directly to the stains and let it sit for 15 minutes. Then, use a damp cloth to scrub gently. For tougher spots, spray a vinegar solution made of equal parts white vinegar and water. The vinegar helps break down residue without harsh chemicals. After treating the stains, wipe the area clean with a damp cloth and let it dry. Using these natural methods not only frees you from strong chemicals but also keeps your dryer fresh and stain-free with minimal effort.
Tackling Rust and Tough Residue

If you’re dealing with rust or tough residue inside your dryer, the first step is to figure out where it’s coming from. Rust often shows up from metal parts or water exposure, so pinpointing the source helps you choose the right cleaning method. Once you know the cause, you can use targeted solutions to safely remove those stubborn stains.
Identifying Rust Sources
Anyone dealing with stubborn stains on their dryer should first pinpoint where the rust is coming from. Understanding rust origins helps you tackle the problem efficiently and maintain your freedom from annoying residues. Rust often forms due to moisture, scratches, or contact with certain household items. Here’s a quick guide to common rust sources:
| Rust Source | Common Household Items Involved |
|---|---|
| Water exposure | Leaky hoses, spills |
| Metal contact | Keys, coins, tools |
| Scratches | Sharp objects, abrasive cleaning |
| Humidity | Poor ventilation, damp laundry rooms |
| Chemical reactions | Detergent residue, bleach |
Identifying these origins empowers you to prevent future rust and keeps your dryer looking fresh and stain-free.
Effective Cleaning Solutions
Because rust and tough residue can stubbornly cling to your dryer’s surface, using the right cleaning solutions is essential to remove them effectively without causing damage. Start with a mixture of white vinegar and baking soda—this combo works wonders for breaking down rust and lifting stubborn stains. Apply the paste, let it sit for 10-15 minutes, then scrub gently with a soft brush. For tougher spots, lemon juice combined with salt acts as a natural abrasive that won’t harm your dryer. Remember, these cleaning hacks not only tackle rust but also prevent it from coming back. Avoid harsh chemicals that might damage your appliance. With these simple stain removal methods, you’ll keep your dryer looking fresh and free, giving you the freedom to focus on what matters most.
Preventing Future Stains and Build-up
While removing stubborn stains is essential, preventing them from returning is even more effective. To keep your dryer looking fresh, focus on stain prevention by addressing spills and leaks immediately. Wipe down the drum after each use to stop residues from settling and turning into tough stains. Incorporating routine maintenance into your schedule lets you catch small issues before they escalate. Check seals and gaskets regularly to verify they’re intact and clean, preventing grime buildup. By staying proactive, you’ll free yourself from constant scrubbing and keep your dryer in great shape longer. Taking these simple steps means you’re not just cleaning stains—you’re creating a hassle-free routine that preserves your dryer’s condition and your peace of mind.
Maintaining Dryer Efficiency and Cleanliness
Keeping your dryer free from stains and buildup goes hand in hand with maintaining its efficiency and cleanliness. To enjoy freedom from constant repairs and high energy bills, you need to adopt smart dryer maintenance tips and stick to a proper cleaning frequency.
| Task | Recommended Frequency |
|---|---|
| Clean lint filter | After every use |
| Wipe drum interior | Monthly |
| Vacuum vent hose | Every 6 months |
| Inspect exterior seals | Every 3 months |
Frequently Asked Questions
Can Dryer Sheets Cause Stains Inside the Dryer?
Yes, dryer sheets can cause stains inside your dryer if you’re not careful. Over time, dryer sheet residue can build up on the drum and vents, leaving those annoying fabric softener stains. These stains not only look bad but can also affect your dryer’s performance. To keep your freedom from dealing with sticky messes, it’s best to use dryer sheets sparingly or switch to alternatives like wool dryer balls.
How Often Should I Deep Clean My Dryer Drum?
Oh, you know, you could deep clean your dryer drum once in a blue moon and hope for the best—but why gamble with your freedom and fresh laundry? For ideal dryer maintenance, it’s wise to set your cleaning frequency to every 3-6 months. This way, you avoid funky smells and stubborn stains, keeping your laundry game strong and your dryer humming happily. Freedom means fresh clothes, not a science experiment in your drum!
Are Commercial Stain Removers Safe for Dryers?
You might wonder if commercial stain removers are safe for your dryer. While some can be harsh and damage the drum or seals, you’ve got freedom with DIY stain removers that use gentle, natural ingredients instead. These options align perfectly with your desire for easy dryer cleaning tips. Just make sure whatever you use won’t leave residues or harm your appliance, and always test a small area first to keep your dryer in great shape.
Can a Stained Dryer Affect Clothes Drying Time?
When your dryer’s looking a bit under the weather, it can quietly chip away at dryer efficiency. You might notice your clothes taking longer to dry, which isn’t exactly the freedom you seek after a long day. Those stubborn stains can block airflow or trap lint, making your dryer work harder. Keeping up with stain prevention isn’t just about looks—it helps your machine run smoothly and gets your laundry done faster.
Should I Unplug the Dryer Before Cleaning Stains?
Yes, you should definitely unplug your dryer before cleaning stains. Taking safety precautions like disconnecting power helps avoid any accidental shocks or damage while you’re working on it. Whether you’re using mild cleaners or more intensive cleaning methods, unplugging guarantees you have full control and freedom to clean thoroughly without risks. It’s a simple step that keeps you safe and lets you focus on making your dryer spotless.