Budget-Friendly DIY Cleaning Products for Grease
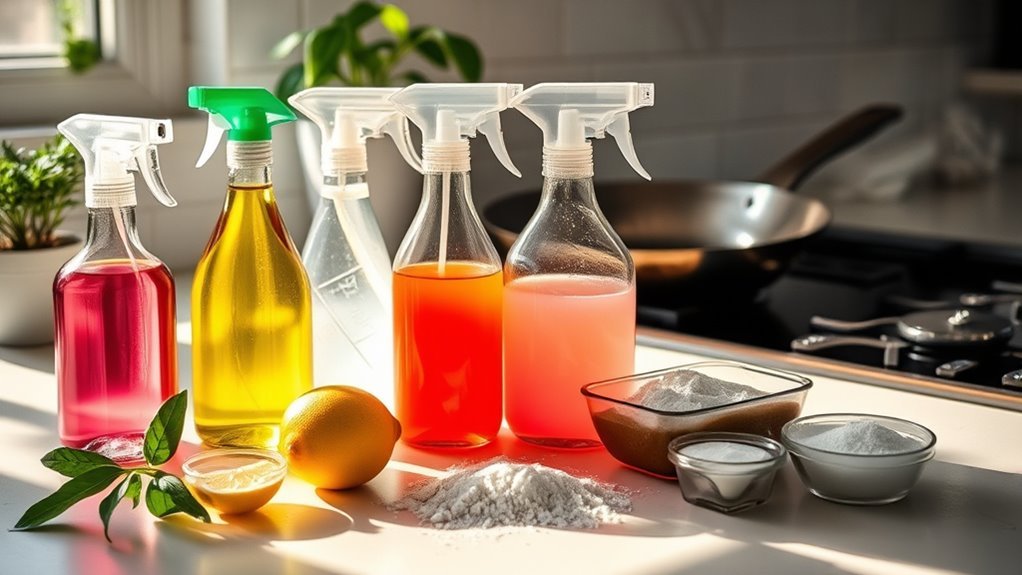
You can easily make budget-friendly DIY grease cleaners using common ingredients like baking soda, white vinegar, lemon juice, and dish soap. Mix baking soda with dish soap for a powerful paste to scrub tough stains, or infuse citrus peels in vinegar for a natural degreaser spray. Lemon and salt also create an effective scrub for greasy surfaces. These options save money and avoid harsh chemicals—keep going to discover exactly how to prepare and use them for best results.
Essential Ingredients for DIY Grease Cleaners
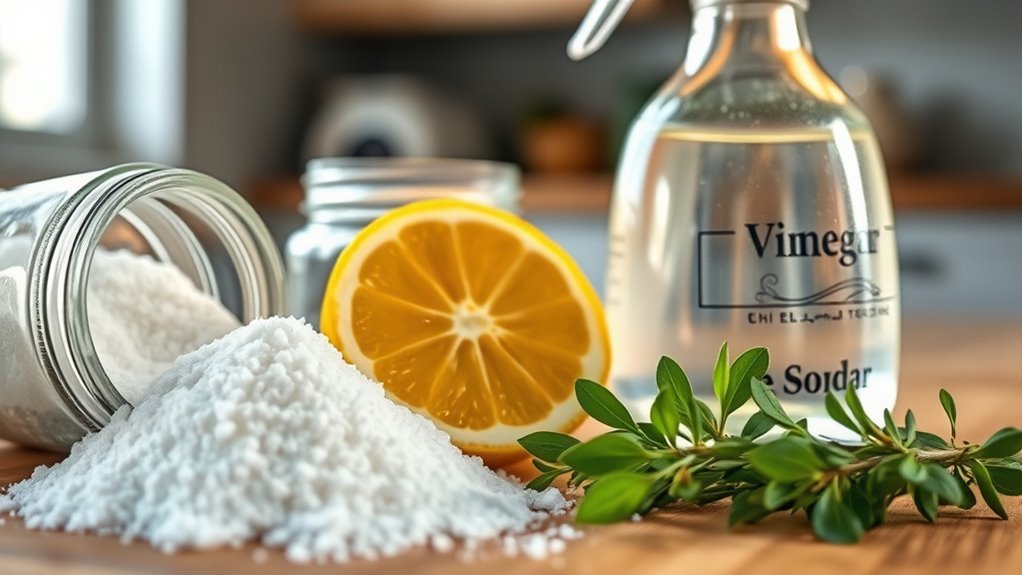
Although tackling grease buildup can be tough, knowing the right ingredients makes it much easier to create effective DIY cleaners. You’ll want to start with materials that break down stubborn residues like cooking oil, which is common in grease spots. Ingredients such as baking soda and dish soap are essential because they cut through oily grime without harsh chemicals. White vinegar is another powerful component; its acidic nature dissolves grease effectively. For tougher jobs, adding a natural degreaser like lemon juice can boost your cleaner’s strength. By adapting these ingredients to your cleaning habits, you take control of your space without relying on expensive or toxic products. This approach not only saves money but also aligns with your desire for freedom and simplicity in maintaining a clean kitchen. Adding a few drops of essential oils can enhance the cleaning power and leave a fresh scent behind.
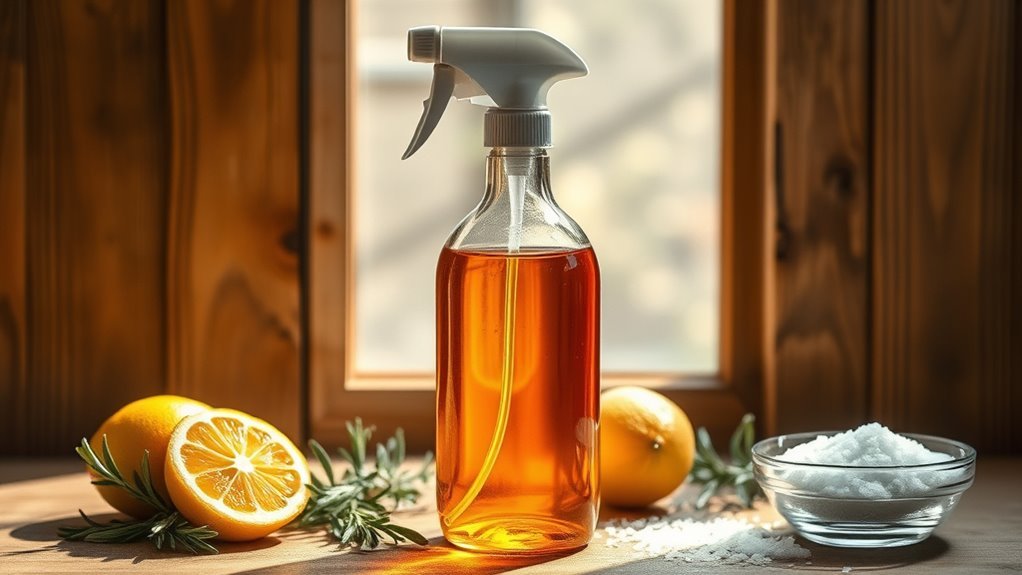
How to Make a Citrus Vinegar Degreaser
When you combine the natural cleaning power of vinegar with the fresh, grease-cutting properties of citrus, you get an effective and eco-friendly degreaser. To make your own citrus vinegar degreaser, start by filling a glass jar with citrus peels—orange, lemon, or lime work well due to their citrus benefits like natural oils that break down grease. Pour white vinegar over the peels until fully submerged, sealing the jar. Let it infuse for two weeks in a cool, dark place, allowing vinegar properties like acidity to extract grease-fighting compounds from the peels. Afterward, strain the liquid into a spray bottle. You now have a powerful, budget-friendly cleaner that cuts grease without harsh chemicals—perfect for kitchens and surfaces where you want freedom from toxins. For best results, store your degreaser in glass spray bottles to maintain its effectiveness and eco-friendliness.
Baking Soda and Dish Soap Paste for Tough Stains

To tackle tough grease stains, mix two parts baking soda with one part dish soap to create a thick paste. Apply it directly to the stain and let it sit for 10-15 minutes before scrubbing gently with a sponge or brush. This combination breaks down grease effectively without harsh chemicals, making it perfect for stubborn messes. Using baking soda as a gentle abrasive helps lift grease without damaging fabric fibers.
Mixing Ratios Guide
Since tough stains require a stronger approach, you’ll want to mix baking soda and dish soap in precise ratios to create an effective paste. The ideal mixing technique involves combining 2 parts baking soda with 1 part dish soap. This ratio balances abrasion with grease-cutting power, ensuring the paste isn’t too runny or too dry. Start by placing the baking soda in a bowl, then add the dish soap gradually, stirring to achieve a smooth, spreadable consistency. Avoid excess dilution; too much soap thins the paste, reducing its effectiveness. If needed, adjust the dilution ratios slightly to fit the stain’s severity, but keep close to the 2:1 guideline for best results. Mastering these mixing techniques gives you control and freedom to tackle grease tough and stubborn.
Application Tips
Although the paste is powerful, applying it correctly is key to maximizing its grease-fighting effectiveness. You want to focus on effective application techniques to get the best results on various cleaning surfaces. First, apply a small amount of the paste directly to the stain. Next, use a soft cloth or sponge to gently scrub in circular motions. Let it sit for 10-15 minutes before rinsing with warm water.
| Step | Tip |
|---|---|
| Apply | Use enough paste to cover stain |
| Scrub | Circular motions, avoid harsh scrubbing |
| Wait | Let paste sit 10-15 minutes |
| Rinse | Warm water, wipe clean |
Following these steps guarantees your surfaces are grease-free without damage.
Using Lemon and Salt as a Natural Scrub
When you combine lemon and salt, you create a powerful natural scrub that effectively cuts through grease and grime. To make your own salt scrub, start by zesting a fresh lemon to capture its essential oils, which boost cleaning power and leave a fresh scent. Mix about two tablespoons of coarse salt with the lemon zest and enough lemon juice to form a paste. Apply this scrub directly to greasy surfaces, using circular motions to break down buildup without scratching. The acidity in lemon helps dissolve grease, while the salt acts as a gentle abrasive to lift residue. After scrubbing, rinse thoroughly with warm water. This budget-friendly method gives you freedom from harsh chemicals, letting you clean naturally and efficiently with items you likely already have at home. For best results, regularly wipe surfaces to prevent grease buildup and keep cleaning easier over time.
Crafting a Homemade Castile Soap Spray
If you want a versatile and gentle cleaner that tackles grease without harsh chemicals, crafting a homemade Castile soap spray is an excellent choice. Castile soap benefits include its biodegradable nature and ability to cut through grease while being safe for most surfaces. To make your spray, simply mix:
Create a gentle, biodegradable grease cleaner with homemade Castile soap spray—safe, effective, and chemical-free.
- 1 tablespoon of liquid Castile soap
- 2 cups of warm water
- A few drops of your favorite essential oil (optional for scent)
Pour this mixture into a spray bottle for easy spray application. This allows you to target greasy spots precisely and control the amount you use, reducing waste. You’ll enjoy an effective, budget-friendly cleaner that respects your space and values your freedom from synthetic chemicals. For enhanced grease removal, you can combine this spray with the natural fizzing action of baking soda and vinegar to lift stubborn grime effectively.
Tips for Effective Grease Removal and Surface Care
When tackling grease, choosing natural ingredients like vinegar, baking soda, and lemon juice can boost your cleaning power without harsh chemicals. You’ll want to apply these gently to protect your surfaces from damage while still breaking down stubborn grease. Remember, testing your solution on a small area first helps guarantee your surfaces stay spotless and safe. Using natural cleaners is not only effective but also environmentally friendly and safe for regular use.
Natural Grease-Fighting Ingredients
Although tackling grease can be challenging, using natural ingredients like vinegar, baking soda, and lemon juice can make the process more effective and eco-friendly. These natural alternatives offer powerful grease removal without harsh chemicals, giving you freedom from toxic cleaners. Here’s why they work well:
- Vinegar: Its acidity breaks down grease, cutting through buildup on surfaces.
- Baking soda: A gentle abrasive that lifts grease without scratching and neutralizes odors.
- Lemon juice: Contains natural acids that dissolve grease and leave a fresh scent.
Safe Surface Cleaning Methods
Since grease can quickly damage surfaces if not handled properly, you’ll want to use cleaning methods that remove buildup effectively while protecting your countertops, stovetops, and appliances. Tailoring your approach by surface types and adhering to a suitable cleaning frequency helps maintain both appearance and durability. For example, sealed granite needs gentle cleaners and less frequent cleaning, while stainless steel benefits from regular wipe-downs to avoid streaks.
| Surface Type | Recommended Cleaner | Cleaning Frequency |
|---|---|---|
| Sealed Granite | Mild dish soap + water | Weekly |
| Stainless Steel | Vinegar-water solution | After each use |
| Ceramic Stovetop | Baking soda paste | Twice weekly |
| Painted Cabinets | Warm soapy water | Biweekly |
Following these guidelines guarantees effective grease removal without harming your surfaces.
Frequently Asked Questions
Can These DIY Cleaners Be Used on Non-Kitchen Surfaces?
You can definitely use these DIY cleaners on non kitchen surfaces, thanks to their impressive cleaning versatility. They work well on things like countertops, bathroom tiles, and even some upholstery. Just be sure to test a small area first to avoid any damage, especially on delicate materials. This way, you get freedom to tackle grease and grime throughout your home without relying on harsh chemicals.
How Should I Store Homemade Grease Cleaners Safely?
Did you know that nearly 60% of household accidents involve improperly stored chemicals? To keep your homemade grease cleaners safe, always label containers clearly with ingredients and date made. Store them in a cool, dry place away from direct sunlight to maintain effectiveness—room temperature is usually best. Keep them out of reach of children and pets, and use airtight containers to prevent spills. These simple steps help you enjoy freedom while staying safe.
Are These DIY Products Safe for Septic Systems?
You’ll be glad to know that most DIY cleaning products with eco friendly ingredients prioritize septic safety. Since they avoid harsh chemicals found in commercial cleaners, they’re less likely to disrupt your system’s natural bacteria balance. However, you should still use these cleaners in moderation and avoid excessive amounts of oils or grease, which can clog your septic tank. Sticking to natural, biodegradable components helps you keep both your home and the environment happy.
Can I Use These Cleaners on Stainless Steel Appliances?
You’d think cleaning stainless steel appliances would be rocket science, but it’s simpler than you imagine. For stainless steel care, avoid anything too abrasive or acidic since that can dull the finish. Gentle DIY cleaners like diluted vinegar or mild soap work wonders and support your appliance maintenance without harsh chemicals. Just wipe with a soft cloth following the grain, and you’ll keep your appliances gleaming, ensuring they last while giving you the freedom to clean safely.
How Long Do These Homemade Cleaners Remain Effective?
You’ll find that the shelf life of homemade cleaners varies, but typically, their effectiveness duration is around one to two weeks when stored properly. Because they lack preservatives, these solutions can lose potency over time or develop mold. To keep them working well, store them in airtight containers away from heat and sunlight. If you notice any changes in smell or appearance, it’s best to mix a fresh batch to maintain cleaning power.


