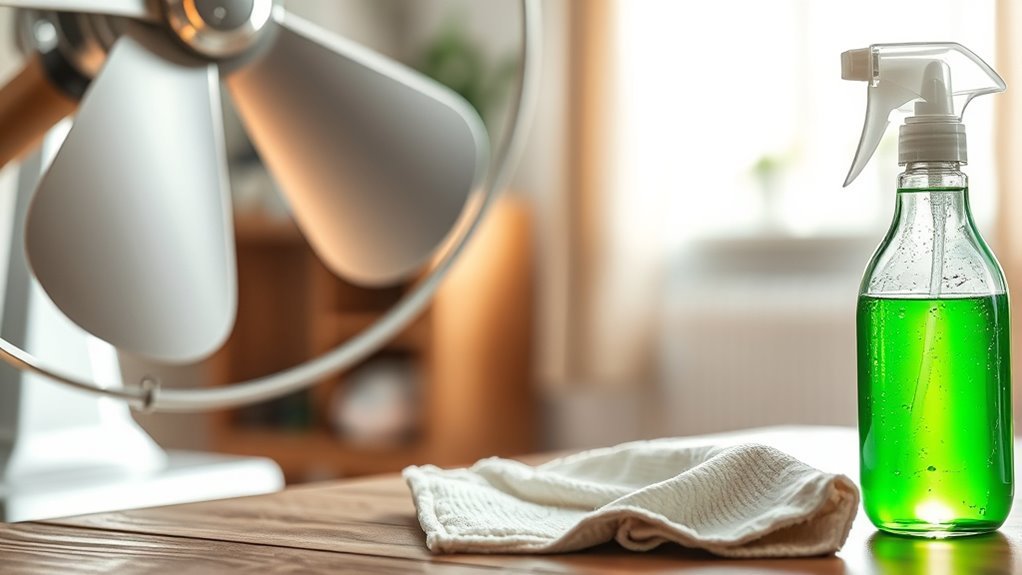
DIY Cleaner for Fan Surfaces
You can make a safe, effective fan cleaner using common ingredients like white vinegar, distilled water, and mild dish soap. Mix 1 cup water with ½ cup vinegar and a tablespoon of soap in a spray bottle. This combo cuts grease and dust without harsh chemicals. Always unplug your fan before cleaning and use a soft cloth to avoid damage. Keeping your fan clean regularly prolongs its life and efficiency. Find out how else to maintain and care for your fan for the best results.
Benefits of Using a Homemade Fan Cleaner
Although you can buy commercial fan cleaners, making your own homemade cleaner offers several advantages. You gain control over the ingredients, avoiding harsh chemicals that may harm your fan or indoor air quality. This freedom lets you tailor the cleaner’s strength to your needs, ensuring effective dust and grime removal without residue. Homemade benefits also include cost savings—common household items often serve as effective cleaning agents, freeing you from pricey store-bought products. Additionally, you reduce environmental impact by minimizing packaging waste and using biodegradable components. With a DIY cleaner, you enjoy a practical, efficient solution that’s both safe and sustainable. Embracing these cleaner advantages empowers you to maintain your fan surfaces with confidence and care, on your own terms. Using natural ingredients like vinegar and baking soda allows you to create a biodegradable cleaning product that is gentle on both your fan and the environment.
Essential Ingredients for Making Your Cleaner
You’ll want to gather a few key ingredients to create an effective fan cleaner. Natural options like vinegar, baking soda, and lemon juice are great for cutting grease and grime without harsh chemicals. If you prefer something stronger, safe chemical alternatives like mild detergents or rubbing alcohol can also work well without damaging your fan surfaces.
Natural Cleaning Ingredients
Since fan surfaces tend to collect dust and grease, choosing natural cleaning ingredients that effectively break down grime without leaving harmful residues is crucial. You want natural cleaning solutions that are safe, efficient, and eco-friendly ingredients that respect your space and the planet.
Here are four essentials to include in your DIY cleaner:
- White vinegar – cuts grease and dissolves mineral buildup.
- Baking soda – provides gentle abrasion and deodorizes.
- Castile soap – a plant-based cleaner that breaks down dirt.
- Essential oils (like lemon or tea tree) – add antibacterial properties and fresh scent.
Using these ingredients guarantees you maintain a clean fan without harsh chemicals, giving you freedom to breathe easy and clean responsibly.
Safe Chemical Options
When tackling tough grime on fan surfaces, incorporating safe chemical options can boost your cleaner’s effectiveness without compromising health or the environment. You’ll want to focus on safe alternatives like white vinegar and hydrogen peroxide, which break down grease and kill bacteria efficiently. These ingredients align perfectly with green cleaning principles, ensuring your DIY cleaner stays eco-friendly and non-toxic. Avoid harsh chemicals like ammonia or bleach; they can damage surfaces and pose health risks. Instead, combine vinegar with a mild dish soap to cut through dirt while keeping it safe for you and your home. Remember, using these safe chemical options gives you powerful cleaning results without sacrificing your freedom to maintain a healthy, green living space.
Step-by-Step Guide to Preparing the DIY Solution
Preparing the DIY cleaner requires just three simple ingredients you probably already have at home. This effective formula supports your freedom from harsh chemicals and aligns perfectly with smart fan maintenance techniques. Here’s how to prepare it:
- Measure 1 cup of distilled water to avoid mineral residue on fan surfaces.
- Add 1/2 cup of white vinegar, a natural degreaser that cuts through dust and grime.
- Mix in 1 tablespoon of mild dish soap to lift stubborn dirt without damaging finishes.
- Stir gently in a spray bottle, ensuring the solution blends well but avoids excessive suds.
This straightforward recipe exemplifies practical DIY cleaning solutions, offering you a safe, economical way to keep fan blades spotless and functioning efficiently. For best results, always use non-abrasive cleaners to protect the finish of your fan surfaces.
How to Safely Clean Fan Blades and Surfaces
Although cleaning fan blades might seem straightforward, doing it safely guarantees you avoid damage and maintain peak performance. Start by unplugging the fan to prevent accidents. Use a soft cloth dampened with your DIY cleaner, avoiding excessive moisture that can harm electrical parts. Gently wipe each blade and surface, paying attention to dust buildup. Stick to a regular cleaning frequency—ideally every 1-3 months—to support consistent fan maintenance and prolong its lifespan. Always follow the manufacturer’s instructions to ensure proper care and avoid voiding your warranty.
| Cleaning Frequency | Method | Notes |
|---|---|---|
| Monthly | Damp cloth | For heavy dust accumulation |
| Every 2 months | Vacuum + wipe | Light dust, less effort |
| Every 3 months | DIY cleaner | Maintains peak performance |
| As needed | Compressed air | Hard-to-reach spots |
| Before storage | Full clean | Prevents dust buildup |
Tips for Maintaining Your Fan Between Cleanings
To keep your fan running smoothly, make dusting a quick weekly habit to prevent buildup. Consider using protective covers when the fan isn’t in use to minimize dirt accumulation. Also, regularly check the blade alignment to guarantee quiet operation and efficient airflow. Scheduling regular maintenance sessions helps ensure efficient fan operation and prolongs its lifespan.
Regular Dusting Routine
Even if you clean your fan thoroughly once a month, dust can quickly accumulate between deep cleanings. To keep your fan running smoothly and looking fresh, establishing a regular dusting routine is key. Here’s how to manage dust accumulation effectively without increasing your cleaning frequency:
- Use a microfiber cloth or an electrostatic duster to trap dust rather than spread it.
- Dust your fan blades and motor housing weekly to prevent buildup.
- Turn the fan off and verify blades are still before dusting for safety.
- Pay attention to less obvious spots like vents and blade edges where dust settles.
Use Protective Covers
While regular dusting helps, using protective covers can greatly reduce how often you need to clean your fan. Fan protection starts with choosing the right cover materials—opt for breathable fabrics like mesh or cotton that block dust without restricting airflow. These covers act as a barrier, preventing dust buildup on blades and grills, saving you time and effort. When your fan’s off, slip on the cover to keep dirt and pet hair away. Make sure the cover fits snugly to avoid slipping or gaps. You’ll enjoy cleaner fan surfaces longer, cutting down on deep cleans. Using protective covers is an easy, practical step that keeps your fan running efficiently and your space feeling fresh—giving you more freedom from constant maintenance.
Check Blade Alignment
Although your fan may seem fine after cleaning, misaligned blades can reduce its efficiency and cause unnecessary noise. Regular fan blade maintenance guarantees smooth operation and extends your fan’s lifespan. For a quick fan alignment check, follow these steps:
- Turn off the fan and visually inspect each blade for uneven spacing or tilt.
- Gently spin the blades by hand to feel for resistance or wobbling.
- Use a ruler or straight edge to measure blade heights and angles, adjusting screws or brackets as needed.
- After adjustments, power on the fan to confirm quiet, balanced rotation.
Keeping your blades aligned frees you from constant repairs and noisy distractions, letting you enjoy a steady, effective breeze—your fan’s true freedom.
Eco-Friendly Alternatives to Commercial Cleaners
When it comes to cleaning fan surfaces, you don’t have to rely on harsh chemicals found in commercial cleaners. Instead, you can embrace eco-friendly benefits by crafting your own solutions with sustainable materials. Simple ingredients like white vinegar, baking soda, and lemon juice work wonders. These natural agents effectively cut through dust and grime without leaving toxic residues behind. Using microfiber cloths made from sustainable fibers complements your cleaning, trapping dirt without chemical sprays. Choosing these eco-friendly options not only protects your health but also reduces environmental impact by avoiding plastic bottles and synthetic compounds. By making this switch, you gain freedom from harmful substances while promoting a cleaner home and planet. It’s a practical, responsible approach that aligns perfectly with your values. For added freshness and antibacterial properties, consider adding essential oils to your homemade cleaner recipes.
Troubleshooting Common Cleaning Challenges
Even the best DIY cleaner can encounter stubborn dust or residue that won’t budge easily from fan surfaces. To tackle these common challenges, consider the following:
Stubborn dust on fan surfaces? Try gentle scrubbing and letting your DIY cleaner sit for better results.
- Adjust cleaning frequency: Increase how often you clean to prevent buildup of stubborn stains, making each session easier.
- Use gentle abrasion: Lightly scrub with a soft-bristle brush or microfiber cloth to lift tough grime without damaging surfaces.
- Apply cleaner strategically: Let your DIY solution sit for a few minutes on stubborn spots to break down residue before wiping.
- Test alternative ingredients: If residue persists, experiment with adding mild vinegar or baking soda to your cleaner for enhanced effectiveness.
- Always unplug the fan before cleaning to ensure safety while handling motor and blades, as recommended in cleaning techniques.
Frequently Asked Questions
Can This Cleaner Be Used on Ceiling Fan Motor Parts?
You shouldn’t use this cleaner on ceiling fan motor parts because motor maintenance requires avoiding moisture and harsh chemicals that might damage internal components. The cleaner ingredients are typically designed for surface grime, not sensitive electronics or moving parts. Instead, gently dust the motor housing and use a dry cloth or compressed air to keep it clean. This way, you maintain your fan’s freedom to run smoothly without risking damage.
How Long Does the DIY Cleaner Solution Stay Effective?
Did you know most homemade cleaners start losing their effectiveness after about a week? When it comes to cleaner longevity, your DIY solution generally stays effective for up to 7 days if stored in a cool, dark place. Beyond that, its solution effectiveness drops, meaning it won’t clean as well or could even leave residue. To enjoy freedom from frequent mixing, label your bottle with the date and refresh weekly for best results.
Is This Cleaner Safe for Fans With Wooden Blades?
You’ll want to be cautious with cleaning methods on wooden blades since harsh solutions can damage the finish. Using a gentle, water-based cleaner keeps your fan maintenance safe and effective without warping or discoloring the wood. Avoid soaking the blades—just lightly dampen a soft cloth and wipe gently. This approach preserves the wood’s integrity while keeping your fan running smoothly, giving you freedom from heavy chemicals and costly repairs.
Can the DIY Cleaner Remove Sticky Residues or Only Dust?
Think of your fan blades as a canvas—dust is like a light sketch, while sticky residue is a stubborn smudge. This DIY cleaner isn’t just for dust; its sticky residue removal capability means it tackles those tough spots with impressive cleaning efficiency. You’ll find it practical for restoring your fan’s finish without harsh chemicals, giving you the freedom to maintain a fresh, clean space effortlessly and confidently.
How Often Should I Clean My Fan During Allergy Season?
During allergy season, you should increase your cleaning frequency to keep allergy triggers like dust and pollen at bay. Aim to clean your fan surfaces at least once a week, or more if you notice buildup. This helps prevent allergens from circulating and affecting your breathing. Regular cleaning not only improves air quality but also gives you freedom from constant sneezing and discomfort, making your space more comfortable and healthy.


