Cleaning Techniques for Oven Owners
To clean your oven effectively, start by removing racks and clearing loose debris. Use a baking soda paste and vinegar spray to gently dissolve grease without harsh chemicals. Soak racks in warm, soapy water, then scrub and dry them before reinstalling. For self-cleaning ovens, run cycles every few months, ventilate well, and avoid abrasive tools. Regular maintenance prevents buildup and odors. Keep following these methods to master oven care and guarantee peak performance.
Understanding Different Types of Oven Cleaners

Although you might be tempted to grab the first oven cleaner you see, understanding the different types available will help you choose the most effective and safest option for your oven. Chemical cleaners are powerful and can quickly dissolve stubborn grease and baked-on food, but they often contain harsh substances that require careful handling and ventilation. On the other hand, eco friendly options use natural ingredients and biodegradable formulas, offering a safer alternative for both you and the environment. These may take longer to work but reduce exposure to toxic fumes. By weighing the efficiency of chemical cleaners against the safety and sustainability of eco friendly options, you can select a product that aligns with your priorities—whether that’s speed or environmental responsibility—granting you the freedom to maintain a clean oven without compromise. Additionally, using non-toxic commercial oven cleaner can simplify the cleaning process while avoiding harsh chemicals.
Preparing Your Oven for Cleaning
Before you start cleaning, take out the oven racks and set them aside for separate cleaning. Next, clear away any loose debris or crumbs from the oven’s interior to prevent smearing during the cleaning process. These steps guarantee your cleaning efforts are more effective and thorough. Inspecting the racks closely helps determine the appropriate cleaning approach to use for the best results.
Remove Oven Racks
Start by carefully sliding out the oven racks to give yourself full access to the interior surfaces. Removing the racks not only simplifies cleaning but also protects them from harsh chemicals. Pay attention to rack organization; note their original positions so you can replace them correctly. Different rack materials, like chrome or porcelain-coated steel, require specific cleaning methods to avoid damage.
- Identify rack materials to choose appropriate cleaning agents.
- Label or photograph rack positions for easy reinstallation.
- Gently pull racks out, avoiding bending or warping.
- Soak racks in warm, soapy water or use a specialized cleaner for stubborn grime.
Following these steps guarantees thorough cleaning while preserving your racks’ integrity and your oven’s freedom of use.
Clear Loose Debris
Three simple tools—a brush, a vacuum, and a damp cloth—are all you need to clear loose debris from your oven. Start by gently sweeping away loose particles from the oven floor, walls, and corners using the brush. This initial debris removal prevents dirt from spreading during deeper cleaning. Next, use the vacuum to carefully suck up the loosened particles, focusing on crevices where crumbs accumulate. Finally, wipe down all surfaces with a damp cloth to catch any remaining fine dust. This methodical debris removal guarantees your oven is free from loose particles, creating a clean slate for more intensive cleaning steps. Taking these precise steps gives you control, making the cleaning process efficient and your oven ready for ideal use.
Using Baking Soda and Vinegar for Natural Cleaning
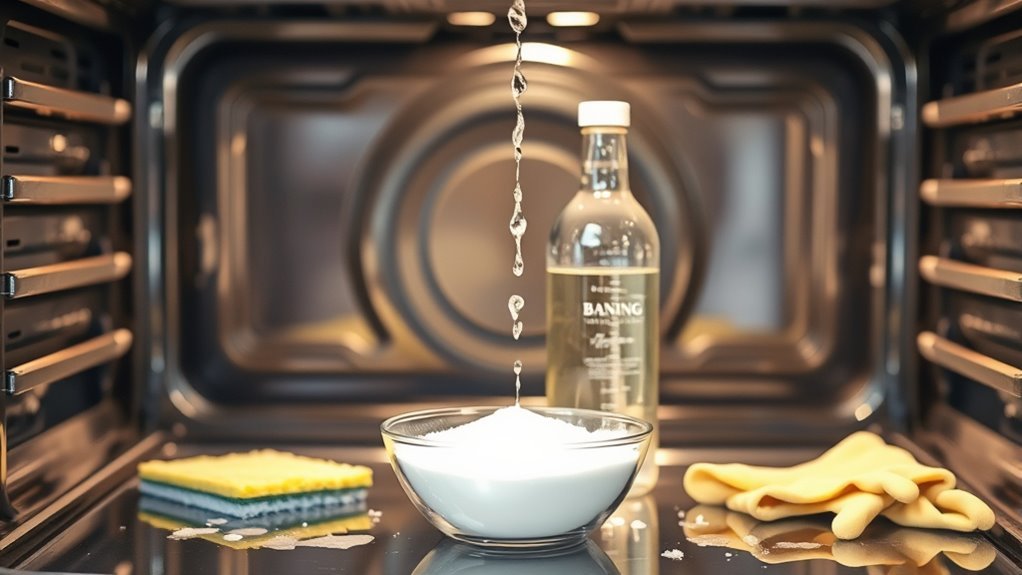
Natural cleaning agents like baking soda and vinegar offer an effective, non-toxic way to tackle oven grime. You’ll appreciate the baking soda benefits—it acts as a gentle abrasive that lifts dirt without scratching surfaces. Vinegar properties include natural acidity that dissolves grease and neutralizes odors, making it ideal for oven cleaning.
Here’s how to use them efficiently:
- Sprinkle baking soda over the oven’s interior surfaces.
- Spray vinegar onto the baking soda to trigger a foaming reaction.
- Let the mixture sit for 15-20 minutes to break down grime.
- Wipe away with a damp cloth or sponge, rinsing as needed.
This method frees you from harsh chemicals and keeps your oven clean with minimal effort. For enhanced cleaning, you can also add essential oils like lemon or eucalyptus to boost antibacterial effects and leave a fresh scent.
How to Clean Oven Racks Effectively
Although cleaning the oven interior is essential, you shouldn’t overlook the racks, which often accumulate stubborn grease and food residue. To clean your oven rack effectively, start by removing it from the oven. Soak it in warm, soapy water for 30 minutes to loosen grime. Use appropriate cleaning tools, such as a scrub brush or non-abrasive sponge, to avoid damaging the rack’s finish. Rinse thoroughly and dry before placing it back.
Regular cleaning of the oven racks helps maintain a sparkling oven and prevents buildup that can affect cooking performance.
| Step | Cleaning Tools | Result |
|---|---|---|
| Soak in soapy water | Basin, detergent | Softened grime |
| Scrub gently | Brush, sponge | Cleaned oven rack |
| Rinse and dry | Water, cloth | Ready for reuse |
Following this method guarantees your oven rack stays clean without harsh chemicals.
Removing Stubborn Grease and Baked-On Food
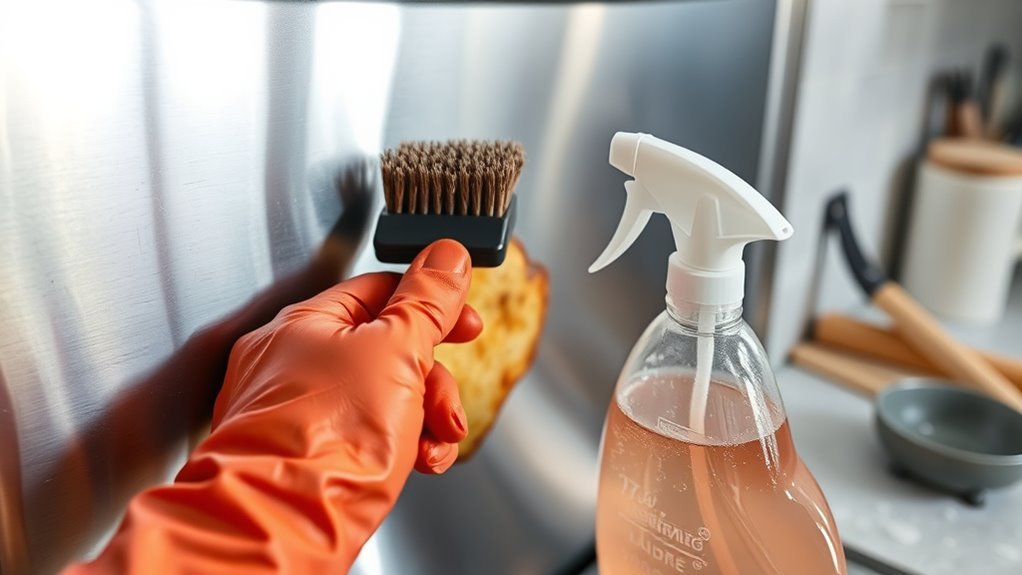
Tackling stubborn grease and baked-on food requires a targeted approach to restore your oven’s cleanliness effectively. To handle grease removal and baked-on stains, follow these steps:
- Preheat the oven slightly to soften grease and food residues, making them easier to remove.
- Apply a baking soda paste (baking soda and water) directly to the affected areas; let it sit for at least 30 minutes to break down tough stains.
- Use a plastic scraper or non-abrasive sponge to gently lift the softened grease and baked-on food without damaging the oven’s surface.
- Wipe the area clean with a damp cloth, then finish with a vinegar spray to neutralize odors and cut through any remaining residue.
Following this methodical process guarantees effective grease removal while maintaining your oven’s integrity. Remember to ensure proper ventilation during cleaning to reduce fumes from cleaning products.
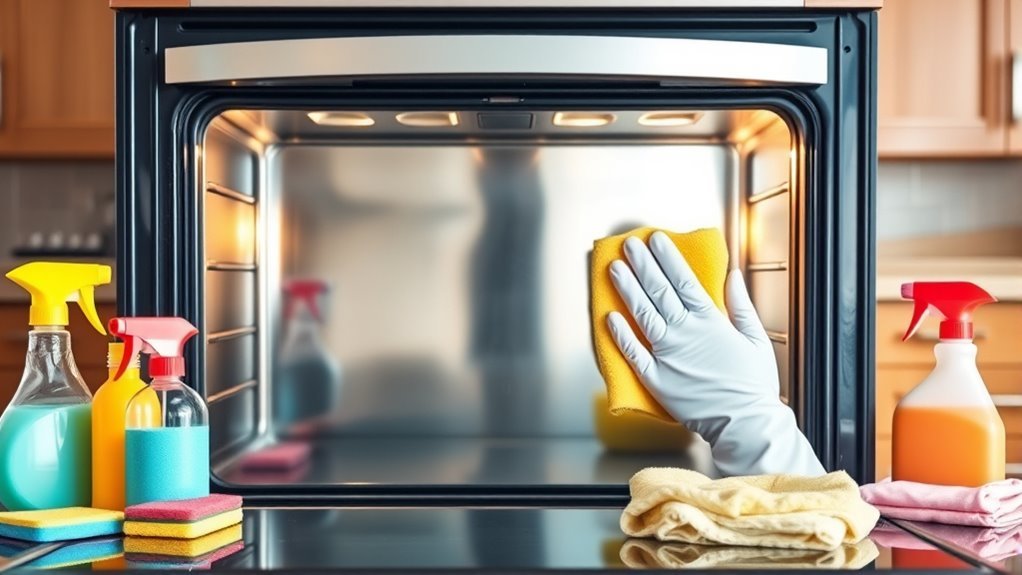
Cleaning the Oven Door and Glass
To effectively clean your oven door and glass, start by removing any grease buildup with a suitable degreaser or a mixture of baking soda and water. Use a soft cloth or sponge to avoid scratching the glass surface while scrubbing gently. Finally, polish the glass with a microfiber cloth to restore its clarity and shine. Regular maintenance with proper cleaning tools like microfiber cloths helps preserve the oven’s appearance and functionality.
Removing Grease Buildup
When grease accumulates on your oven door and glass, it not only diminishes visibility but can also affect the oven’s efficiency. To maintain peak performance and clear viewing, address grease buildup promptly. Follow these steps:
- Identify grease traps on the door and glass areas where residue collects.
- Use a degreasing cleaner suited for ovens to break down tough grease.
- Apply the cleaner with a non-abrasive cloth, focusing on stubborn spots.
- Wipe thoroughly with a damp cloth and dry to prevent streaks.
Maintain a regular cleaning frequency—ideally after every few uses—to prevent excessive buildup. This proactive approach guarantees your oven remains efficient and your cooking experience unhindered by grime.
Polishing Glass Surfaces
After removing grease buildup, the next step is to polish the oven door and glass surfaces for a clear, streak-free finish. Start by selecting suitable glass cleaner options; you can choose between commercial glass cleaners or a homemade solution of vinegar and water. Spray the cleaner evenly, avoiding excess moisture that can seep into seals. Use a microfiber cloth for polishing techniques—its fine fibers prevent scratches and absorb residue effectively. Wipe in gentle, circular motions to lift smudges without leaving streaks. For stubborn spots, apply cleaner directly and let it sit briefly before wiping. Regular polishing not only maintains aesthetic appeal but also guarantees better visibility inside the oven, enhancing your overall cooking experience. By following these steps, you’ll confidently restore your oven’s glass to pristine condition.
Tips for Self-Cleaning Ovens
How often should you use the self-cleaning feature on your oven? Generally, running self cleaning modes every 3 to 6 months supports ideal oven maintenance without overburdening the appliance. To get the best results, follow these tips:
- Remove racks and accessories to avoid discoloration or damage.
- Wipe loose debris before starting, improving cleaning efficiency.
- Ventilate the area well to dissipate smoke and odors.
- After completion, let the oven cool completely before wiping away ash with a damp cloth.
Avoiding Damage While Cleaning Your Oven
When cleaning your oven, choose gentle cleaning agents to protect its surfaces from harsh chemicals. Avoid abrasive tools that can scratch the interior or glass, preserving the oven’s finish. Taking these precautions guarantees your oven stays functional and looking new over time. Additionally, using baking soda paste is an effective and natural way to remove tough stains without damaging the oven’s surfaces.
Use Gentle Cleaning Agents
Although it might be tempting to reach for harsh chemicals, using gentle cleaning agents is essential to protect your oven’s surfaces and components from damage. Opting for mild solutions helps maintain your oven’s integrity and prolongs its lifespan. Consider these guidelines:
- Choose gentle abrasives like baking soda for scrubbing without scratching.
- Use natural alternatives such as vinegar or lemon juice to break down grease safely.
- Avoid bleach or ammonia-based products that can corrode metal parts and damage coatings.
- Always dilute concentrated cleaners and test on a small area before full application.
Prevent Scratching Surfaces
To prevent scratching your oven’s surfaces, you’ll want to use only soft materials and gentle techniques during cleaning. Avoid abrasive scrubbers or steel wool, as these can cause permanent damage. Opt for microfiber cloths or soft sponges that provide effective cleaning without compromising the finish. When tackling stubborn stains, apply a mild cleaning agent and let it sit briefly to loosen debris, reducing the need for vigorous scrubbing. Always test any cleaning product on a small, inconspicuous area first to guarantee surface protection. Maintain a consistent, light pressure to minimize friction and guarantee scratching prevention. By carefully selecting your tools and cleaning methods, you’ll extend your oven’s lifespan and keep it looking pristine, all while maintaining the freedom to clean confidently without fear of damage.
Maintaining a Clean Oven With Regular Care
Regularly cleaning your oven at least once a month can prevent the buildup of grease and food residue that impairs its performance. Consistent oven care guarantees longevity and peak function. To maintain your oven with regular maintenance, follow these steps:
- Wipe spills immediately to avoid stubborn stains.
- Use a gentle cleaner suited for your oven type to protect surfaces.
- Remove and clean racks separately for thorough dirt removal.
- Inspect door seals regularly to guarantee heat efficiency.
- Establishing a regular cleaning schedule helps prevent overwhelming grime buildup and ensures optimal oven performance.
Deodorizing Your Oven After Cleaning
Keeping your oven clean stops grime buildup, but odors can still linger after scrubbing. To fully eliminate oven odor, use natural deodorants that are safe and effective. After cleaning, place a small bowl with one of these natural deodorants inside the oven, then heat it at a low temperature for 15–20 minutes. This activates the deodorizing properties and refreshes the air. Here’s a quick guide:
| Natural Deodorant | Method |
|---|---|
| Lemon slices | Heat at 200°F |
| Baking soda | Leave overnight |
| Vinegar | Heat at 250°F |
These methods neutralize odors without harsh chemicals, letting you enjoy a fresh oven environment and the freedom to cook with confidence.
Frequently Asked Questions
Can I Use Oven Cleaner on a Microwave Oven?
You shouldn’t use oven cleaner on a microwave because it can damage the interior and affect oven safety. Instead, focus on microwave cleaning methods designed for that appliance. Use a mixture of water and vinegar or lemon juice to loosen grime safely. Avoid harsh chemicals, and never spray cleaner directly inside; always apply it to a cloth. This way, you maintain your microwave’s integrity while enjoying the freedom of easy, effective cleaning.
How Often Should a Commercial Kitchen Oven Be Professionally Cleaned?
You should schedule commercial cleaning for your kitchen oven at least quarterly to guarantee ideal oven maintenance. Regular professional cleanings help prevent grease buildup, reduce fire risks, and extend your oven’s lifespan. If your kitchen operates heavily, monthly cleanings might be necessary. Staying consistent with commercial cleaning not only keeps your equipment efficient but also frees you from unexpected breakdowns, letting you focus more on your culinary creativity and less on repairs.
Is It Safe to Use Steam Cleaners Inside Ovens?
Yes, you can use steam cleaners inside ovens, but you should take steam cleaning precautions seriously. Steam cleaner benefits include effectively loosening grime and killing bacteria without harsh chemicals, giving you freedom from toxic residues. However, avoid sensitive electronic components and verify the oven is cool before steam cleaning to prevent damage. Always follow your steam cleaner’s instructions and test on a small area first to keep your oven safe and clean.
What Are the Best Gloves to Protect Hands During Oven Cleaning?
When cleaning your oven, you’ll want gloves that protect you from both heat and harsh chemicals. Heat resistant gloves shield your hands from burns caused by hot surfaces, while chemical resistant gloves prevent irritation from strong cleaning agents. Look for gloves combining these features, often made from silicone or nitrile. This way, you maintain freedom to clean thoroughly without risking your skin, ensuring safety and comfort throughout the process.
Can Oven Cleaning Damage the Heating Elements?
Imagine your oven’s heating elements as the heartbeats of a well-oiled machine; treat them carelessly, and the rhythm falters. When it comes to oven cleaning safety, you must avoid harsh chemicals or abrasive tools that can damage these delicate parts. Proper heating element maintenance means using gentle cleaners and soft cloths, preserving their function and your freedom to cook without worry. Protecting them guarantees your oven runs smoothly for years to come.


