How to Clean Your Printer Safely
To clean your printer safely, first unplug it and gather supplies like microfiber cloths, distilled water, and isopropyl alcohol. Use a soft, damp cloth to gently clean the exterior and carefully remove ink cartridges to wipe their nozzles. Clear any paper jams and dust from the paper path, then clean rollers by rotating and wiping them with a lightly dampened cloth. Finish by running a test print to guarantee smooth operation. Keep going to discover detailed tips for each step.
Gather Necessary Cleaning Supplies
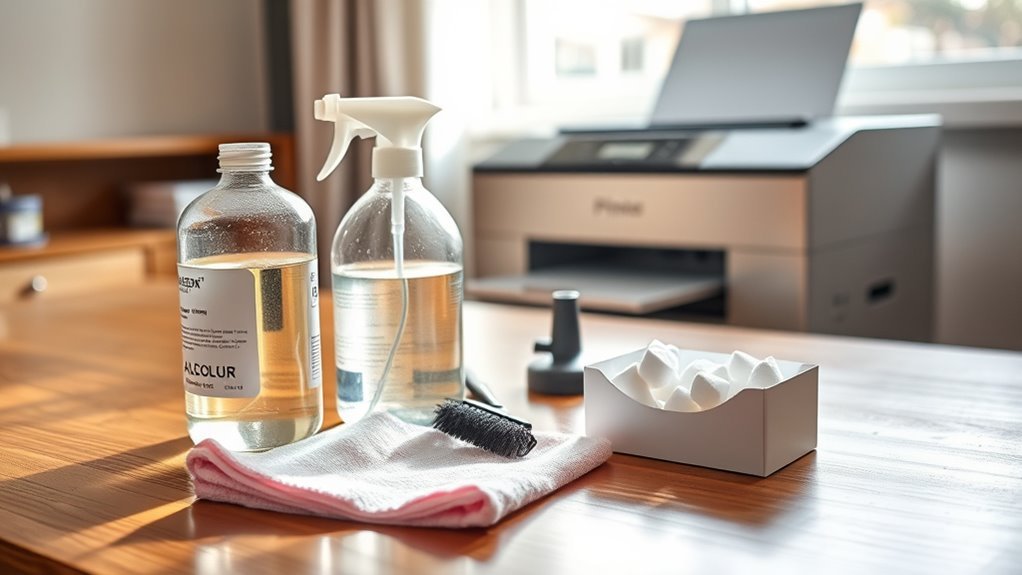
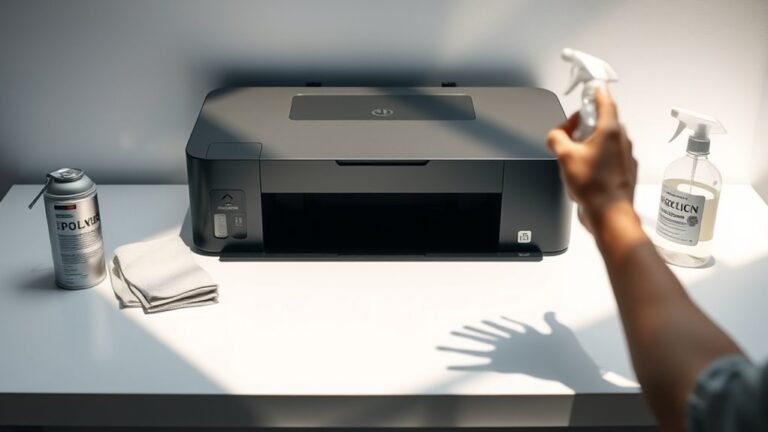
Before you begin cleaning your printer, make certain you have all the necessary supplies on hand. You’ll want reliable cleaning tools like microfiber cloths, cotton swabs, and soft brushes to reach tight spots without causing damage. Isopropyl alcohol or specialized printer cleaning solutions are essential maintenance supplies that effectively remove ink residue and dust without harming delicate components. Avoid harsh chemicals that could void your warranty or corrode parts. Having a small vacuum designed for electronics can help clear out dust and debris efficiently. Preparing these cleaning tools and maintenance supplies ahead of time guarantees you can work quickly and confidently, preserving your printer’s functionality and extending its lifespan. Gathering the right materials sets the stage for a safe, thorough cleaning process that keeps you in control. It is also important to power off and unplug your printer before starting the cleaning process to ensure safety and prevent damage.
Power Off and Unplug the Printer
Once you’ve gathered all your cleaning supplies, the next step is to confirm your printer is completely powered off and unplugged. This vital action guarantees printer safety by eliminating the risk of electrical hazards. Even if your printer appears off, it may still draw power, so physically unplugging it from the outlet is essential. This step protects you from potential shocks and prevents damage to the internal components during cleaning. Don’t just rely on the power button; turn off the printer, wait a few moments for any residual power to dissipate, then unplug it. Taking these precautions gives you the freedom to clean confidently and thoroughly, knowing you’ve eliminated any chance of electrical accidents. Prioritizing printer safety starts here.
Clean the Exterior Surfaces
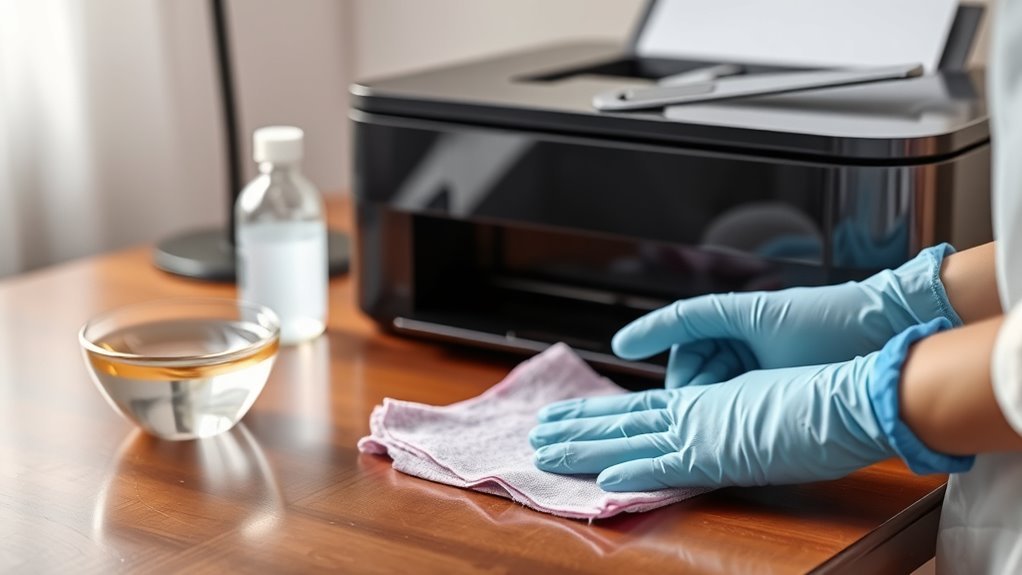
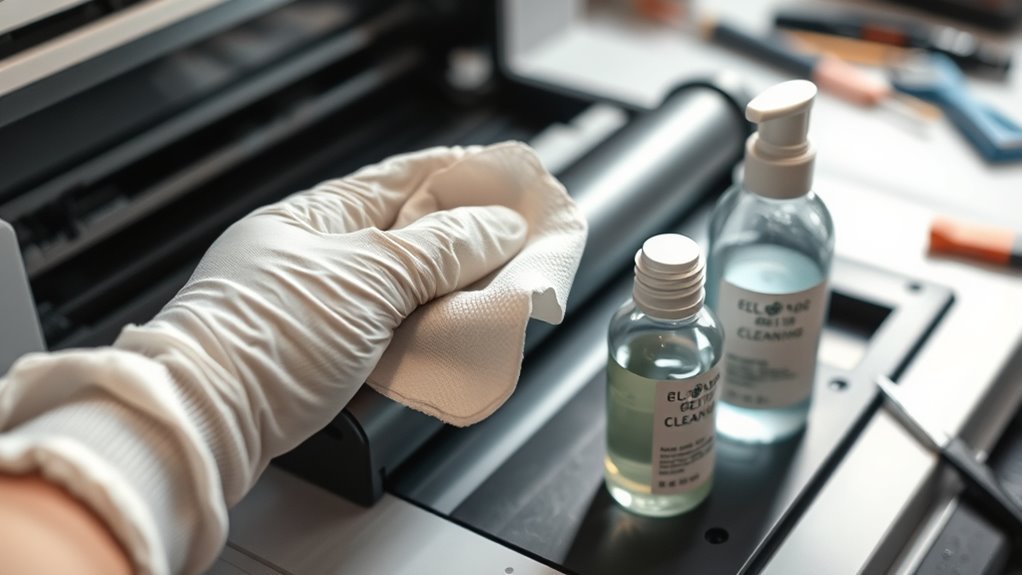
You’ll want to start by selecting a soft, lint-free cloth to avoid scratching your printer’s surface. Dampen the cloth slightly with a gentle cleaning solution like diluted dish soap or a screen-safe cleaner. Avoid harsh chemicals to keep the exterior looking clean without causing damage.
Choose the Right Cloth
Selecting the right cloth is essential for safely cleaning your printer’s exterior without causing damage. You’ll want to choose microfiber cloths or other lint free materials to avoid scratches and residue. These materials gently lift dirt and dust without harming delicate surfaces, giving you the freedom to clean confidently. Avoid rough or abrasive fabrics that might leave marks or fibers behind. Here’s a quick guide to help you pick your cleaning companion:
| Cloth Type | Emotion Evoked |
|---|---|
| Microfiber cloths | Confidence |
| Lint free materials | Peace of mind |
| Cotton cloths | Caution |
| Paper towels | Risk |
| Abrasive fabrics | Regret |
Stick to soft, lint free cloths to keep your printer looking pristine without worry.
Use Gentle Cleaning Solutions
While cleaning your printer’s exterior, it’s important to use gentle cleaning solutions that won’t damage the surface or seep into sensitive components. Opt for products with safe ingredients like diluted isopropyl alcohol or mild dish soap mixed with water. Avoid harsh chemicals such as ammonia or bleach, which can cause discoloration or corrosion. Apply your gentle solutions to a soft cloth rather than spraying directly, preventing liquid from entering vents or buttons. This approach keeps your printer’s finish intact while effectively removing dust, fingerprints, and smudges. By choosing gentle solutions with safe ingredients, you maintain your printer’s appearance and functionality without risking damage. This careful method guarantees you can clean freely and confidently, preserving your device for long-term use.
Remove and Clean Ink Cartridges or Toner
Before you clean your printer’s ink or toner cartridges, make sure to power off the device and carefully remove each cartridge according to the manufacturer’s instructions. Use a lint-free cloth and distilled water or a recommended cleaning solution to gently wipe away any ink buildup or toner dust. Handling toner cartridges with care is essential to avoid spills, so always store them on a protected surface while cleaning.
Cartridge Removal Steps
To safely remove your printer’s ink cartridges or toner, you’ll need to start by powering off the device and unplugging it to avoid any electrical issues. Knowing your cartridge types helps you handle them right, preserving their lifespan. Open the printer cover gently, locate the cartridge holder, and press the release tab to lift out each cartridge carefully.
| Step | Action |
|---|---|
| 1. Power Off & Unplug | Confirm safety before handling |
| 2. Open Printer Cover | Access cartridge compartment |
| 3. Release Cartridge | Press the tab and lift cartridges |
Following these steps protects your printer and cartridges, giving you the freedom to clean or replace them without hassle.
Cleaning Ink Cartridge Tips
Since ink cartridges can clog or dry out over time, you’ll want to clean them carefully to maintain print quality and extend their life. Start by gently removing the cartridges from your printer following the proper cartridge removal steps. Use a lint-free cloth dampened with distilled water or a specialized ink cartridge cleaner to wipe away any dried ink or debris from the cartridge’s nozzles and contacts. Avoid using harsh chemicals or excessive moisture, as this can damage the cartridge. Regular ink cartridge maintenance helps prevent common printing problems like streaks or faded prints. If you’re troubleshooting printing issues, cleaning the cartridges is often the first effective step. After cleaning, let the cartridges dry completely before reinstalling them to guarantee peak performance and freedom from errors.
Toner Cartridge Care
While cleaning ink cartridges helps maintain your printer’s output, toner cartridges require a different approach due to their unique components and powder-based ink. When handling toner types, avoid touching the drum surface to prevent damage. Always remove the cartridge carefully and use a soft, lint-free cloth to wipe away excess toner powder. Never use water or liquid cleaners, as moisture can ruin the toner. To extend cartridge lifespan, store unused cartridges in a cool, dry place away from direct sunlight. If you notice printing issues, gently shake the cartridge to redistribute toner evenly before replacement. By following these steps, you’ll maintain print quality and enjoy greater freedom from costly repairs or premature cartridge replacement.
Clear Paper Jams and Dust From Paper Path
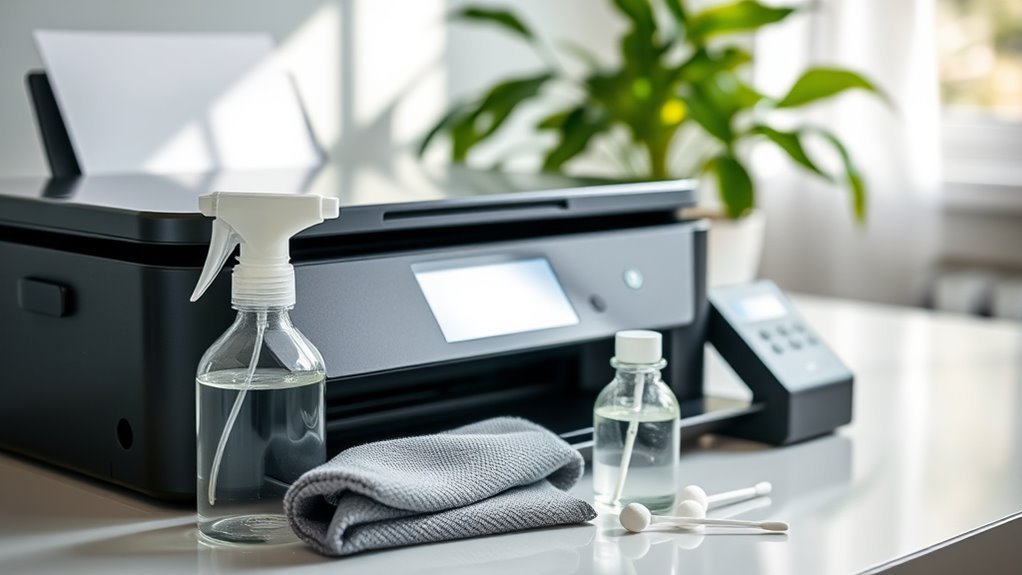
Three key steps will help you clear paper jams and remove dust from your printer’s paper path efficiently. First, turn off your printer and unplug it to guarantee safety. Open all accessible panels to locate the jammed paper carefully. Gently pull out the stuck paper in the direction of the paper path to avoid tearing. Second, inspect the paper path for any small scraps or debris, using a flashlight if needed. Remove dust and particles with a soft, lint-free cloth or a small vacuum designed for electronics. Finally, close all panels securely and plug your printer back in. Regularly clearing jams and dust from the paper path prevents damage and keeps your printer running smoothly, granting you the freedom to print without interruptions. Using gentle cleaning tools like a microfiber cloth helps avoid damage during maintenance.
Clean the Printer Rollers
Cleaning your printer rollers at least twice a year helps maintain smooth paper feeding and prevents jams. To start, power off and unplug your printer for safety. Open the printer cover to access the rollers—usually rubber or silicone cylinders that guide paper. Use a lint-free cloth slightly dampened with distilled water or isopropyl alcohol. Gently rotate each roller while wiping to remove dust, ink, and debris. Avoid soaking the rollers to prevent damage. These roller cleaning techniques guarantee consistent paper grip and help you avoid costly repairs. Regular roller care is one of the essential printer maintenance tips that keeps your device running freely and efficiently. Taking a few minutes for this task preserves your printer’s reliability and your freedom from frustrating paper jams. For best results, use isopropyl alcohol sparingly on a cloth to safely disinfect and clean the rollers without causing moisture damage.
Perform a Test Print to Ensure Proper Function
After you’ve carefully cleaned the printer rollers, the next step is to perform a test print to confirm everything is working correctly. This step guarantees your printer maintains excellent print quality and helps you catch any issues early. When you run the test print, focus on these key points:
- Check for consistent ink or toner distribution without smudges or streaks.
- Verify that paper feeds smoothly without jams or misalignments.
- Observe color accuracy and sharpness in text and images.
If you notice problems, use these troubleshooting tips: clean the print heads, realign cartridges, or check for software updates. Performing this test print empowers you to maintain your printer’s freedom to deliver crisp, reliable results every time.
Frequently Asked Questions
Can I Use Household Cleaners on My Printer?
You shouldn’t use household cleaners on your printer because they can damage sensitive parts and affect printer maintenance. Instead, stick to cleaning solutions designed specifically for electronics or a slightly damp, lint-free cloth. Avoid harsh chemicals or abrasive materials that might harm the printer’s surface or internal components. Keeping your printer clean with the right products guarantees it runs smoothly and lasts longer, giving you the freedom to print whenever you need.
How Often Should I Clean My Printer?
Imagine your printer as a trusty steed, ready to gallop whenever you need it. To keep it running smoothly, stick to a regular cleaning schedule—ideally every three to six months depending on usage. Printer maintenance isn’t just about looks; it prevents ink clogs and paper jams, giving you the freedom to print without hassle. So, set reminders and treat your printer right to enjoy seamless, efficient printing every time.
Is It Safe to Clean the Printer Heads Myself?
Yes, you can safely perform printer head maintenance yourself, as long as you use the right cleaning tools and follow instructions carefully. Avoid harsh chemicals and opt for manufacturer-recommended cleaning solutions or kits designed for your printer model. Be gentle when handling delicate parts to prevent damage. Taking control of this process not only saves you money but also gives you freedom to keep your printer running smoothly without relying on professionals.
What Should I Do if My Printer Still Malfunctions After Cleaning?
If your printer still malfunctions after cleaning, don’t worry. Start by running built-in printer troubleshooting tips like checking ink levels, paper jams, or connectivity issues. Common printer issues such as driver problems or outdated firmware can also cause trouble, so update them if needed. If problems persist, consider restarting your device or reinstalling the printer software. When all else fails, reaching out to customer support or a professional technician might be your best move.
Can Cleaning Improve Print Quality?
Yes, cleaning can definitely improve print quality. Dust, ink buildup, and debris often cause streaks or faded prints, so using proper cleaning methods helps remove these obstacles. You’ll want to focus on cleaning the print heads and rollers carefully to restore smooth ink flow. Regular maintenance not only boosts print quality but also extends your printer’s life, giving you more freedom to print confidently without constant issues.