How to Clean Washer in Office Spaces
To clean your office washer effectively, first identify if it’s front or top load, then unplug and empty it. Remove and soak dispensers in warm, soapy water, scrub the drum and door seals with a soft cloth, and dry thoroughly. Run a hot cycle with vinegar or bleach for deep cleaning, taking safety precautions. Keep hoses and filters maintained, and schedule regular cleanings based on usage to avoid buildup. Learn simple steps to maintain freshness and efficiency longer.
Assessing the Type of Washer in Your Office
How do you identify the type of washer in your office? Start by looking at the washer’s door. Front load washers have a door on the front, allowing you to load clothes horizontally. These models often have a sleek design and a clear window. In contrast, top load washers have a lid on the top, opening vertically. Knowing this distinction is essential because cleaning methods differ between front load washers and top load washers. Front load washers often require attention to door seals and detergent drawers, while top load washers need cleaning inside the drum and agitator. Recognizing your washer type lets you approach maintenance efficiently, saving time and effort. This clarity supports your goal of maintaining a clean, freedom-friendly workspace without unnecessary hassle. Regularly inspecting and cleaning components like filters and seals is important to ensure optimal appliance performance.
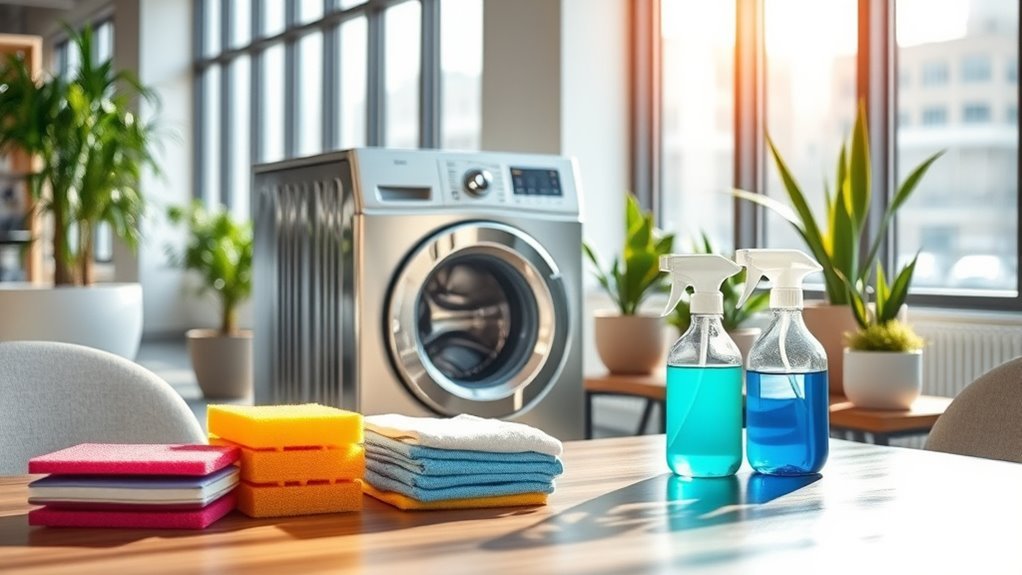
Gathering Necessary Cleaning Supplies
Before you start cleaning, make certain you have all the necessary supplies on hand to avoid interruptions. Having the right cleaning tools and eco friendly supplies helps you work efficiently and responsibly. Here’s a quick checklist to prepare you:
| Cleaning Tools | Eco Friendly Supplies |
|---|---|
| Microfiber cloths | Natural detergent |
| Soft-bristle brush | Vinegar |
| Spray bottle | Baking soda |
These items are essential for tackling washer grime without harsh chemicals, keeping your office environment safe. Grab these before you begin to maintain momentum and guarantee a thorough, green clean. Prioritize supplies that reduce waste and chemical exposure, aligning with your freedom to choose sustainable options. Choosing biodegradable materials also helps prevent pollution and protects ecosystems.
Preparing the Washer for Cleaning

Once you’ve gathered your eco-friendly cleaning supplies, the next step is to prepare the washer itself. Start by unplugging the machine to guarantee safety during cleaning. Remove any laundry and check for leftover items in pockets or drum corners. Follow washer preparation tips by inspecting seals and gaskets for visible mold or debris; wipe these areas with a damp cloth to loosen grime. Next, open the door and leave it ajar to air out moisture and prevent mold buildup. Refer to your office cleaning checklist to confirm you’ve addressed all parts of the machine before proceeding. This preparation stage is vital—it sets the foundation for a thorough, effective clean that keeps your office washer running efficiently and hygienically.
Cleaning the Detergent Dispenser and Fabric Softener Tray
Since detergent dispensers and fabric softener trays often accumulate residue and buildup, cleaning them regularly is crucial to maintain your washer’s performance. Start by removing both components carefully, then soak them in warm water mixed with a bit of vinegar or mild detergent. Use a soft brush or cloth to scrub away detergent residue and softener buildup, focusing on corners and crevices where gunk tends to hide. Rinse thoroughly under running water to guarantee all residue is gone. Dry completely before reinserting to prevent mold and mildew growth. Regularly maintaining these parts prevents clogging and guarantees your office washer runs efficiently, giving you the freedom to trust it without hassle. Don’t skip this step—it’s a simple way to keep your washer in top shape. Routine cleaning also helps avoid costly repairs by preventing buildup-related damage over time.
Removing and Cleaning the Washer Drum
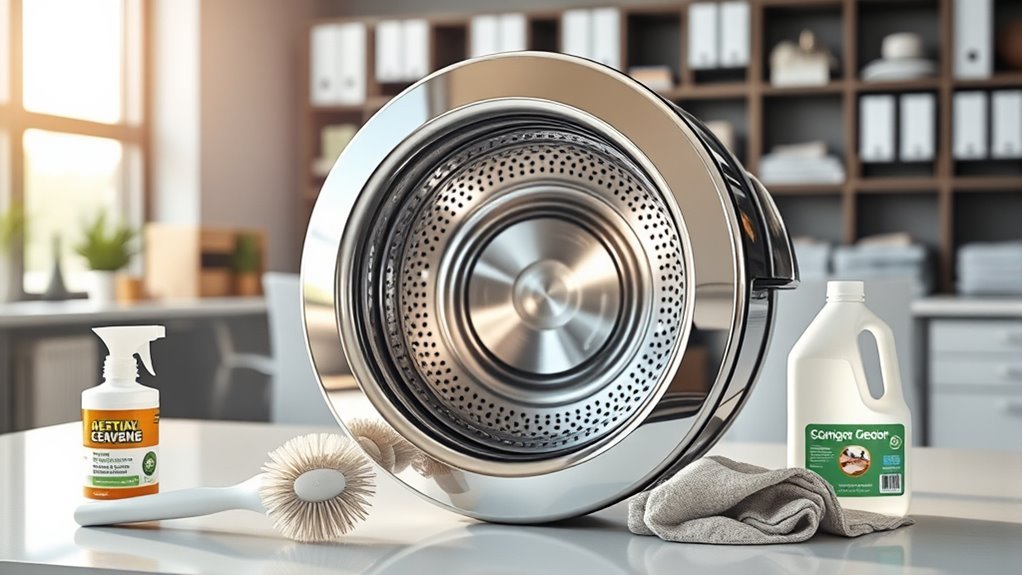
Start by carefully removing the washer drum to access areas where dirt, lint, and detergent buildup often hide. This step is essential for effective drum cleaning and overall washer maintenance. Once the drum is out, follow these steps:
- Inspect the drum for visible grime and residues.
- Use a soft brush and mild detergent to scrub the drum’s interior and exterior.
- Rinse thoroughly with clean water to remove cleaning agents.
- Dry the drum completely before reassembling to prevent rust or mold.
- Check and clean any seals or gaskets around the drum for trapped debris.
Dealing With Mold and Mildew Buildup
After cleaning the drum and seals, you might notice spots of mold or mildew forming, especially in damp, hidden areas. To tackle this, act quickly with effective mildew solutions like a mix of water and baking soda or specialized cleaners designed for washers. Scrub affected areas thoroughly using a soft brush to remove buildup without damaging surfaces. For mold prevention, keep the washer dry by leaving the door and detergent drawer open after use to allow air circulation. Regularly wipe down seals and crevices to stop moisture from settling. Addressing mold and mildew promptly not only maintains hygiene but also extends your washer’s lifespan, giving you freedom from persistent odors and potential health risks. Staying proactive with these steps guarantees a clean, efficient machine in your office space. Using natural alternatives such as vinegar and baking soda can also enhance cleaning effectiveness while being eco-friendly.
Running a Cleaning Cycle With Vinegar or Bleach
You’ll need to decide whether vinegar or bleach is best for your washer’s cleaning cycle based on the type of buildup. Set your machine to the hottest, longest cycle to maximize effectiveness. Always follow safety guidelines, like ensuring good ventilation and never mixing cleaning agents. Using natural solutions such as vinegar and water can provide an effective and eco-friendly cleaning alternative.
Choosing Between Vinegar Bleach
How do you decide whether to use vinegar or bleach when running a cleaning cycle for your office washer? Both have distinct advantages, so your choice depends on the specific needs of your machine and environment.
Consider these points:
- Vinegar benefits include natural deodorizing and mineral deposit removal without harsh chemicals.
- Bleach effectiveness shines in disinfecting and killing mold or bacteria quickly.
- Use vinegar for routine maintenance to keep the washer fresh and residue-free.
- Opt for bleach when you face stubborn stains or a serious sanitation issue.
- Avoid mixing vinegar and bleach to prevent toxic fumes.
Setting Proper Cleaning Cycle
While selecting vinegar or bleach is important, setting the proper cleaning cycle guarantees your office washer gets the most effective cleanse. Start by choosing the hottest wash settings available, as high temperatures help break down residue and kill bacteria. Select a cleaning cycle designed for heavy-duty or deep cleaning—these cycles run longer and provide thorough agitation, ensuring the vinegar or bleach reaches all internal components. Avoid quick or eco-friendly cycles; they don’t allow enough time for a full clean. Before starting, leave the drum empty and add your chosen cleaning agent directly into the detergent dispenser or drum per instructions. Running the right cleaning cycle not only refreshes your washer but also extends its lifespan, giving you the freedom to focus on your work, not maintenance hassles.
Safety Precautions During Cleaning
Because vinegar and bleach can produce strong fumes and potentially damage your washer if misused, it’s vital to follow safety precautions during the cleaning cycle. When running a cleaning cycle with these chemicals, always prioritize your safety and proper chemical handling. Here’s what you should keep in mind:
- Wear appropriate protective gear such as gloves and goggles to shield your skin and eyes.
- Never mix vinegar and bleach; combining them creates toxic chlorine gas.
- Ascertain the area is well-ventilated to avoid inhaling harmful fumes.
- Use the recommended amount of chemical to prevent damage to the washer.
- Rinse the washer thoroughly after the cycle to remove any residue.
Cleaning the Washer Door and Seals
The washer door and seals often trap dirt, detergent residue, and moisture, making them prime spots for mold and unpleasant odors. To keep your office washer fresh, start by inspecting the door materials—whether glass or plastic, they can accumulate grime that’s easy to overlook. Use a soft cloth dampened with a mild detergent to wipe down the door thoroughly. For seal maintenance, focus on the rubber gasket around the door; it’s essential to clean every fold and crevice where buildup hides. Avoid harsh chemicals that can damage the seals. After cleaning, dry the seals completely to prevent moisture retention. Regular attention to these areas not only improves hygiene but also extends the washer’s life, giving you freedom from constant odor issues and costly repairs. Using a soft sponge or cloth helps avoid damaging sensitive surfaces during cleaning.
Maintaining the Washer to Prevent Future Buildup
Cleaning the washer door and seals is a great start, but preventing buildup requires consistent maintenance. To keep your office washer running smoothly, adopt these preventive measures through routine inspections and timely actions. You’ll save time and avoid costly repairs by staying proactive.
Regular maintenance is key to preventing buildup and ensuring your office washer runs efficiently.
- Check hoses and connections regularly for leaks or wear.
- Run an empty hot water cycle with vinegar monthly to dissolve residue.
- Leave the door open after use to air dry the interior.
- Clean detergent dispensers to prevent clogs and mold growth.
- Inspect and clean the lint filter or trap frequently.
- Regular maintenance boosts appliance efficiency and helps avoid costly repairs.
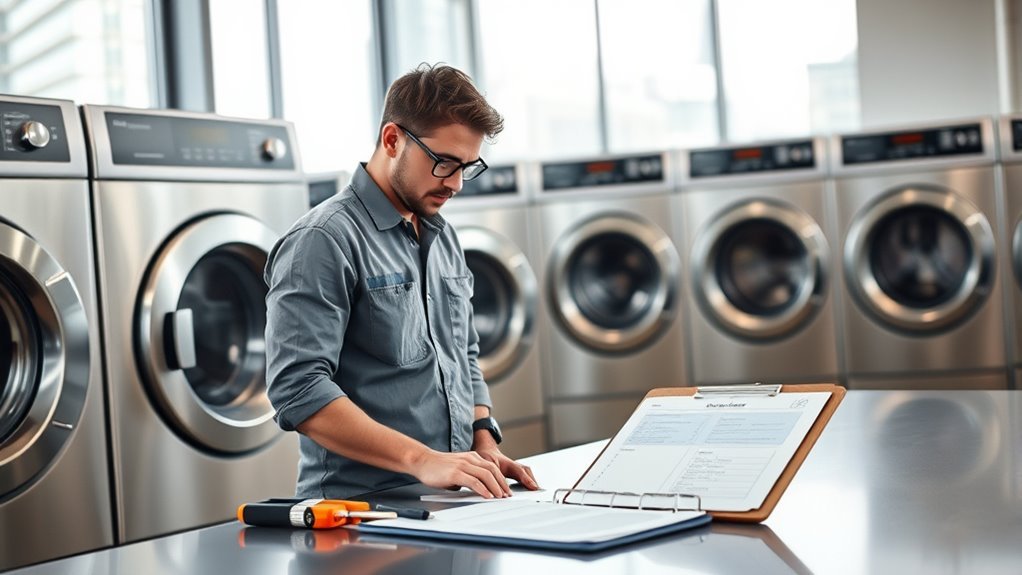
Scheduling Regular Cleaning for Office Washers
You should set a clear cleaning schedule based on how often the washer is used to prevent buildup effectively. Coordinate maintenance during low-traffic hours to minimize disruption in the office. Sticking to these guidelines guarantees your washer stays clean and reliable.
Cleaning Frequency Guidelines
Regularly scheduling washer maintenance is vital to keep office machines running efficiently and prevent odors or buildup. Establishing a clear cleaning schedule guarantees you avoid downtime and maintain a fresh environment. Frequency recommendations depend on usage intensity and office size, but here’s a practical guideline:
- Light use (1-2 loads/day): clean monthly
- Moderate use (3-5 loads/day): clean biweekly
- Heavy use (6+ loads/day): clean weekly
- Check and clean detergent dispensers monthly
- Inspect door seals and filters every two weeks
Adhering to these frequency recommendations allows you to stay ahead of grime and keeps washers in top shape. Set your cleaning schedule to fit your office’s specific needs, giving you freedom from unexpected maintenance issues.
Coordinating Maintenance Times
Though scheduling maintenance can be challenging in busy office environments, coordinating washer cleaning times guarantees minimal disruption and consistent machine performance. You’ll want to plan cleaning during low-traffic hours, like early mornings or late afternoons, to avoid interfering with daily operations. Communicate clearly with your team by coordinating staff responsibilities and informing them about upcoming maintenance. Use shared calendars or scheduling tools to streamline this process and prevent overlaps. Regular, well-timed maintenance not only extends the washer’s lifespan but also keeps your office running smoothly without unexpected downtime. By taking control of scheduling maintenance and involving your staff in the process, you maintain freedom over your workspace while ensuring washers stay clean and efficient.
Frequently Asked Questions
Can Commercial Washers Be Used for Personal Laundry in Office Spaces?
You might wonder if commercial washers in office spaces can handle your personal laundry. It really depends on your office’s personal laundry policies—some allow it, others don’t. Even if permitted, you should follow washer usage etiquette: avoid overloading, use proper detergents, and respect others’ time. Staying mindful guarantees everyone enjoys the convenience without conflicts, giving you the freedom to manage your laundry smoothly and responsibly in a shared environment.
What Is the Average Lifespan of an Office Washer?
Like the faithful sword in a hero’s hand, an office washer’s average lifespan is around 10 to 15 years. But this depends on washer lifespan factors like usage frequency, water quality, and maintenance. If you stick to washer maintenance tips—regular cleaning, checking seals, and avoiding overload—you’ll extend its service. Staying proactive means your washer won’t just survive but thrive, giving you freedom from constant repairs and replacements.
How Do Energy-Efficient Washers Impact Cleaning Routines?
Energy-efficient washers boost your cleaning efficiency by using less water and electricity, leading to significant energy savings. They often have advanced cycles that target stains better, so your cleaning routines become quicker and more effective. You’ll spend less time and resources maintaining cleanliness, freeing you up for other tasks. Embracing these washers means you’re not just cutting costs but also supporting a more sustainable, hassle-free workflow.
Are There Specific Cleaning Products Safe for All Washer Brands?
Did you know 75% of washers can be damaged by harsh chemicals? When choosing cleaning products, look for specific product recommendations that mention suitability for multiple brands to avoid brand compatibility issues. Products like affresh or OxiClean are generally safe for most washers, but always check your washer’s manual. Using the right cleaner guarantees efficient maintenance without voiding warranties, giving you freedom to keep your machine running smoothly without guesswork.
Can Washer Cleaning Affect Office Warranties or Service Agreements?
You should always check warranty implications before cleaning your washer, as using unauthorized products or methods might void coverage. Service agreements often specify approved maintenance procedures, so deviating could impact your support eligibility. To keep your freedom intact, follow manufacturer guidelines and consult your service contract. That way, you maintain both ideal washer performance and your right to repairs without unexpected costs or limitations.


