
Common Mistakes When Cleaning Ceilings
When cleaning ceilings, don’t use harsh chemicals that can damage paint, and avoid applying too much pressure which may harm the surface. Always test cleaning solutions on a small area first to prevent discoloration. Pay attention to your ceiling’s texture—different types need different approaches. Remember to use proper tools and remove dust before any wet cleaning. Also, prioritize safety with stable ladders and protective gear. Keep these tips in mind, and you’ll discover even more effective ways to clean ceilings properly.
Using Harsh Chemicals That Damage Paint
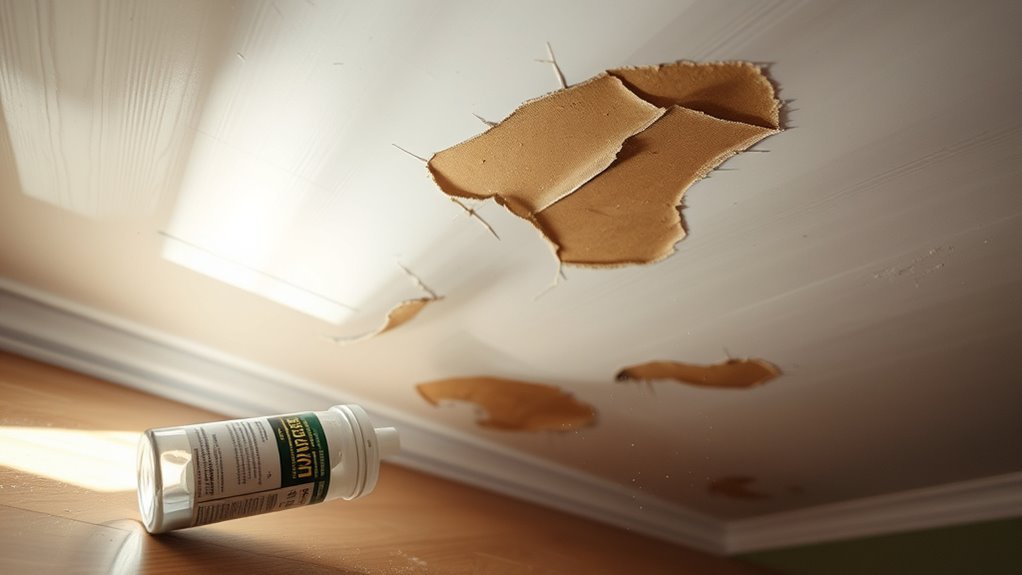
One common mistake people make when cleaning ceilings is using harsh chemicals that can damage the paint. If you want to maintain your ceiling’s appearance and avoid costly repainting, you should opt for gentle chemical alternatives. These alternatives effectively clean without compromising paint preservation. Instead of strong solvents or bleach, consider mild detergents mixed with water or eco-friendly cleaning solutions specifically designed for painted surfaces. Always test any cleaner on a small, inconspicuous area first to verify it won’t cause discoloration or peeling. By choosing safer chemical options, you protect your ceiling’s finish and enjoy a cleaner space without unnecessary damage. This approach gives you the freedom to refresh your ceilings confidently and keep them looking their best over time. Using gentler, natural cleaning solutions helps protect the ceiling’s condition and prevents costly repairs.
Applying Excessive Pressure While Cleaning
When cleaning your ceiling, pressing too hard can damage the paint and surface texture. You’ll want to use gentle, consistent pressure to avoid over-scrubbing and causing wear. Learning the right technique guarantees your ceiling stays clean without harm.
Risks of Over-Scrubbing
Excessive pressure while cleaning ceilings can cause more harm than good. When you over scrub, you risk damaging the paint, weakening the surface, or even creating permanent marks. These over scrubbing consequences not only affect the ceiling’s appearance but can lead to costly repairs. To maintain your ceiling’s integrity, you need to understand that gentle cleaning is often more effective. Avoid scrubbing too hard or using abrasive tools. Instead, follow simple ceiling maintenance tips like using soft cloths and mild cleaning solutions. This approach preserves the finish while removing dirt and stains. Remember, your goal is to clean without compromising the ceiling’s condition. Over scrubbing may seem thorough, but it often shortens your ceiling’s lifespan and undermines your freedom to enjoy a beautiful space.
Proper Pressure Techniques
Applying the right amount of pressure is essential to cleaning your ceiling effectively without causing damage. When you apply too much force, you risk damaging the paint, drywall, or texture. Proper pressure application means using just enough to remove dirt and stains while preserving the surface integrity. Start by testing a small, inconspicuous area and adjust your pressure accordingly. If you notice any damage or paint peeling, reduce the pressure immediately. Pressure adjustment is key—you want to maintain control without overdoing it. Using tools with adjustable settings or soft cleaning materials can help you find the perfect balance. Remember, gentle, consistent strokes often yield better results than heavy scrubbing. This approach lets you clean freely, avoiding costly repairs or surface degradation.
Neglecting to Test Cleaning Solutions First

Why risk damaging your ceiling by skipping a simple test of cleaning solutions? Before applying any product broadly, you need to confirm solution compatibility. Proper testing techniques help you avoid discoloration, peeling, or weakening of ceiling material. Here’s how to proceed:
- Select a small, inconspicuous area for testing.
- Apply a minimal amount of the cleaning solution.
- Wait for the recommended time to observe any reaction.
- Check for color changes, texture shifts, or residue.
- Adjust your choice based on these results.
Overlooking Ceiling Texture Differences
You need to recognize the type of ceiling texture before cleaning to avoid damage. Different textures, like popcorn or smooth finishes, require specific cleaning methods. Adjusting your technique guarantees effective cleaning without ruining the surface.
Identify Texture Types
A crucial step often missed when cleaning ceilings is identifying the texture type first. Proper texture identification guarantees you choose the right cleaning approach, preventing damage and promoting effective texture maintenance. Ceilings come in various finishes, each requiring unique care.
Here are key texture types to recognize:
- Smooth: Flat, easy to clean with gentle wiping.
- Popcorn: Bumpy, fragile, avoid excessive moisture.
- Knockdown: Slightly raised, needs soft brushes.
- Orange Peel: Subtle, requires light dusting.
- Stipple: Raised patterns, careful vacuuming preferred.
Adjust Cleaning Techniques
Knowing your ceiling’s texture is only half the battle; adjusting your cleaning methods accordingly is what prevents damage and guarantees a thorough job. Overlooking texture differences often leads to wasted effort or surface harm. Tailor your adjustment methods and cleaning strategies based on texture to clean efficiently and freely.
| Texture Type | Recommended Cleaning Strategy | Key Adjustment Method |
|---|---|---|
| Smooth | Damp microfiber cloth | Gentle wiping, no scrubbing |
| Popcorn | Soft brush, vacuum attachment | Avoid moisture, light dust |
| Textured (knockdown) | Sponge with mild detergent | Dab gently, avoid excess water |
Use this as a quick guide to adjust your approach. Being precise with techniques lets you maintain your ceiling’s integrity while freeing yourself from unnecessary rework.
Ignoring Safety Precautions and Equipment
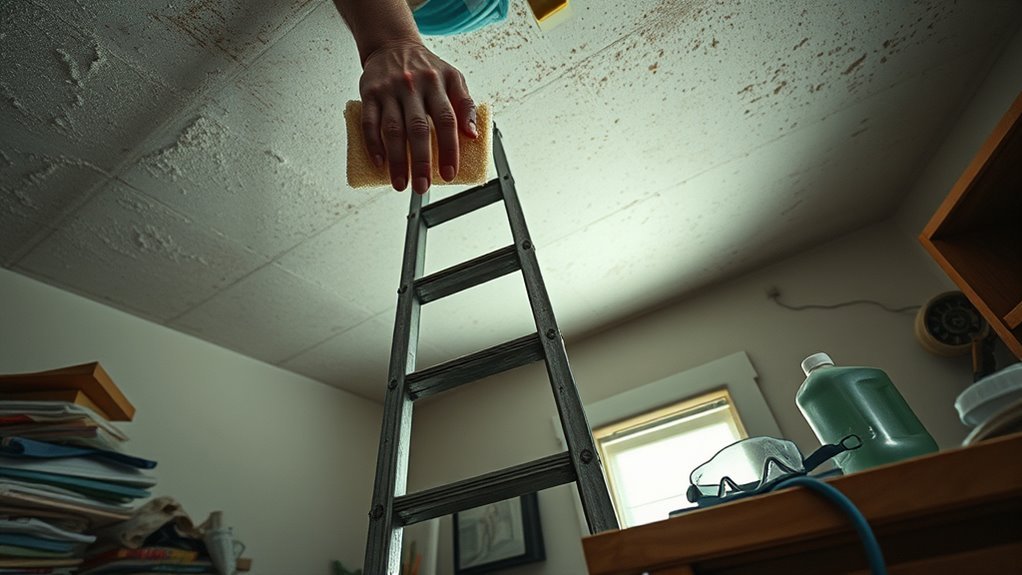
Although it might seem tedious, ignoring safety precautions and proper equipment when cleaning ceilings can lead to serious accidents or damage. You need to respect safety gear to avoid cleaning hazards that can hurt you or ruin your space. Here’s what you shouldn’t skip:
- Wear protective eyewear to shield against dust and debris.
- Use gloves to prevent skin irritation from cleaning agents.
- Secure a stable ladder or step stool to avoid falls.
- Verify good ventilation to reduce inhalation of fumes.
- Turn off electrical fixtures to prevent shocks.
Neglecting these safety measures not only puts you at risk but can also cause costly damage. By prioritizing safety, you maintain your freedom to clean efficiently and confidently without unexpected setbacks. Additionally, ensuring to turn off power when working around electrical fixtures is crucial to avoid potential hazards.
Using Improper Tools for Ceiling Cleaning
Three common mistakes people make when cleaning ceilings involve using the wrong tools, which can damage surfaces or make the job harder than it needs to be. You’ve got to select cleaning tools that match your ceiling materials. For example, a rough scrub brush can scratch delicate plaster, while an abrasive sponge might harm textured or painted surfaces. Using an overly heavy or wet tool can cause water stains or structural damage, especially with drywall ceilings. Extendable dusters designed for ceilings help you reach high spots without strain, preserving both your freedom to move and the ceiling’s integrity. Always check the ceiling material before choosing tools; microfiber cloths or soft brushes work best for most surfaces, ensuring effective cleaning without compromising the ceiling’s finish or texture.
Failing to Remove Dust Before Wet Cleaning
One essential step many overlook is removing dust before wet cleaning your ceiling. Skipping this leads to smeared surfaces and trapped grime, making your effort less effective. Dust accumulation demands attention, especially if your cleaning frequency is low. Before you wet-clean, guarantee you:
- Use a soft duster or microfiber cloth to capture loose dust
- Vacuum with a brush attachment for stubborn particles
- Pay attention to corners and edges where dust settles
- Avoid pressing too hard to prevent damage
- Schedule regular dusting sessions to reduce buildup
Consistent maintenance, such as cleaning with a microfiber cloth, helps preserve the ceiling’s condition and prevents dust buildup.
Frequently Asked Questions
How Often Should Ceilings Be Cleaned to Prevent Buildup?
Did you know indoor dust can accumulate up to 40 pounds per year in a typical home? To avoid that, your cleaning frequency matters. For buildup prevention, aim to clean your ceilings every six months, or more often in kitchens and bathrooms where moisture and grease speed up dirt collection. Regular cleaning keeps your space fresh without demanding too much effort, giving you freedom from stubborn grime and maintaining a healthy environment effortlessly.
Can Ceiling Cleaning Improve Indoor Air Quality?
Yes, cleaning your ceiling can definitely improve indoor air quality. When dust accumulation builds up, it can circulate allergens and irritants throughout your space. Also, addressing ceiling mold promptly helps prevent harmful spores from spreading, which can affect your breathing. By regularly cleaning and maintaining your ceiling, you reduce airborne contaminants, making the air fresher and healthier to breathe—giving you the freedom to enjoy a cleaner, more comfortable home environment.
Are There Eco-Friendly Ceiling Cleaning Solutions?
Did you know that 60% of people prefer using eco friendly products at home? If you want to clean your ceilings without harming the planet, natural alternatives like vinegar, baking soda, and lemon juice work wonders. They’re effective, affordable, and free from harsh chemicals. Using these options lets you maintain a fresh ceiling while embracing a healthier, more sustainable lifestyle—giving you freedom from toxic cleaners and peace of mind.
How Do I Clean Ceilings With Water Stains?
To tackle water stain removal on your ceiling, start by mixing a gentle solution of water and mild detergent or vinegar. Use a sponge to apply it carefully, avoiding oversaturation. Ceiling cleaning techniques often include spot treating stains first, then gently wiping the area. For stubborn stains, a diluted bleach solution can work, but test a small spot first. Always guarantee proper ventilation and protect your floors before you begin.
What Is the Best Way to Clean Ceiling Light Fixtures?
Cleaning ceiling light fixtures can feel like climbing Mount Everest, but with the right light fixture maintenance, it’s easier than you think. Start by turning off the power to avoid shocks. Use a soft cloth and gentle cleaning supplies like mild soap mixed with water. Carefully wipe down the fixture, removing dust and grime without damaging delicate parts. You’ll free your space from dirt and keep your lights shining bright effortlessly.


