How to Speed up Clear Coat Drying Time
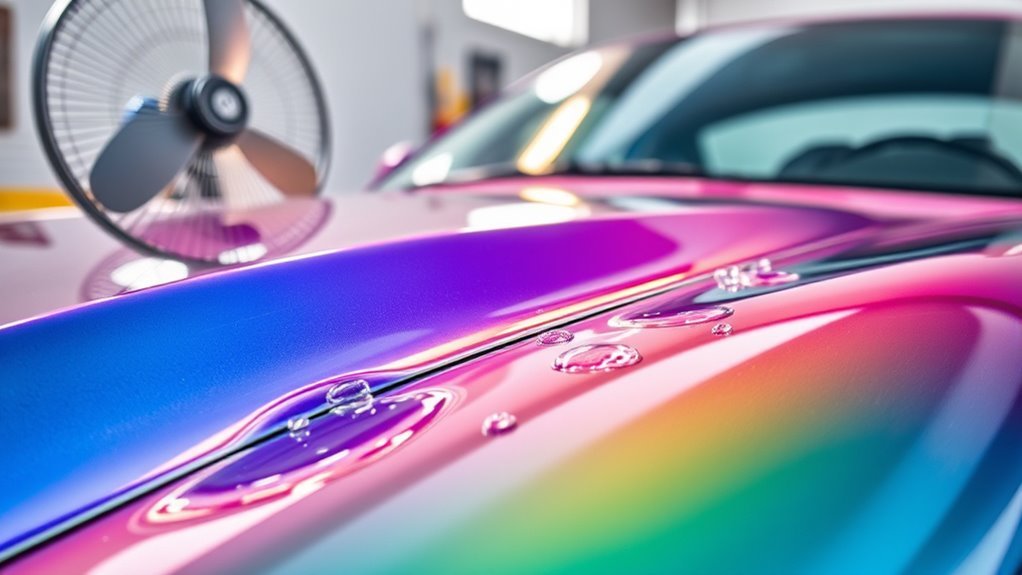
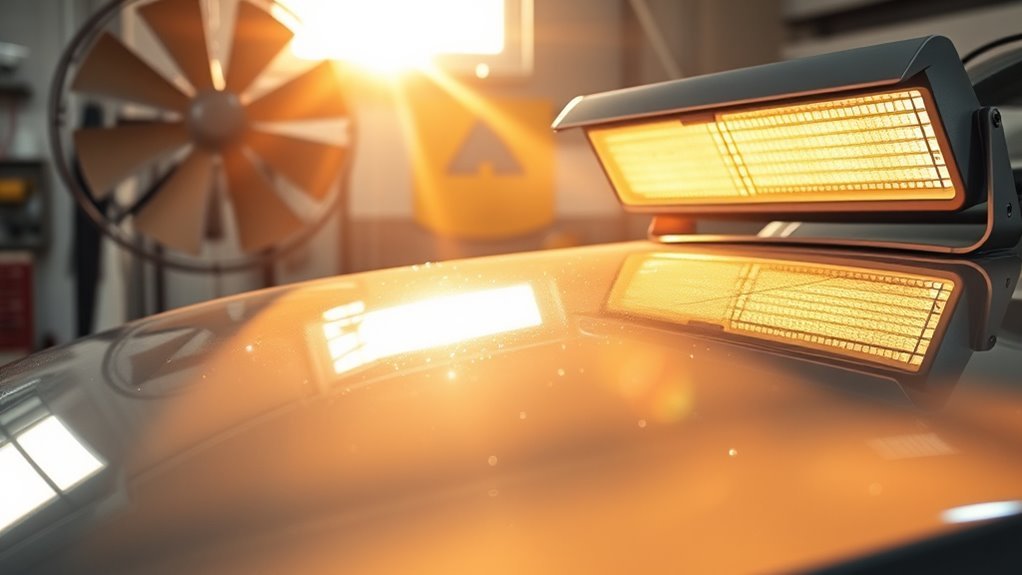
To speed up clear coat drying time, optimize your workspace’s temperature and humidity. Use heat lamps or fans to enhance airflow. Prior to application, guarantee surfaces are meticulously cleaned and free of contaminants, as this improves adhesion and reduces drying duration. Apply thinner coats for quicker results, and always prioritize safety with adequate ventilation and protective gear. By maintaining these practices, you can achieve a flawless finish efficiently—there’s more to discover about best practices in clear coat application.
##
When applying a clear coat, it’s crucial to grasp the factors that impact drying time in order to achieve the perfect finish you desire. In this article, we will explore how environmental conditions such as temperature and humidity significantly affect the drying process, and we’ll provide you with practical tips to optimize these factors for the best results. By understanding the ideal temperature range, utilizing techniques like heat lamps or fans, and applying thinner coats, you can enhance the drying efficiency of your clear coat application. By the end of this article, you will be equipped with the knowledge to ensure your clear coat cures properly, allowing you to confidently explore various finishes.
Preparation For Cleaning
Before you begin the cleaning process, it’s important to gather the right materials and tools to guarantee a thorough preparation. Start by evaluating the surface you’ll be cleaning; understanding its condition helps determine the appropriate cleaning techniques. Make sure you have microfiber cloths, a gentle cleaner, and any necessary scrubbing tools at hand. Rinse the area with water to eliminate loose debris, promoting effective surface preparation. If you’re dealing with stubborn contaminants, consider a dedicated cleaner suited for your specific surface type. Remember, the cleaner the surface, the better the clear coat will adhere, speeding up the drying time. This meticulous preparation lays the groundwork for a successful application, allowing you to achieve that desired flawless finish.
Tools and Chemical Required
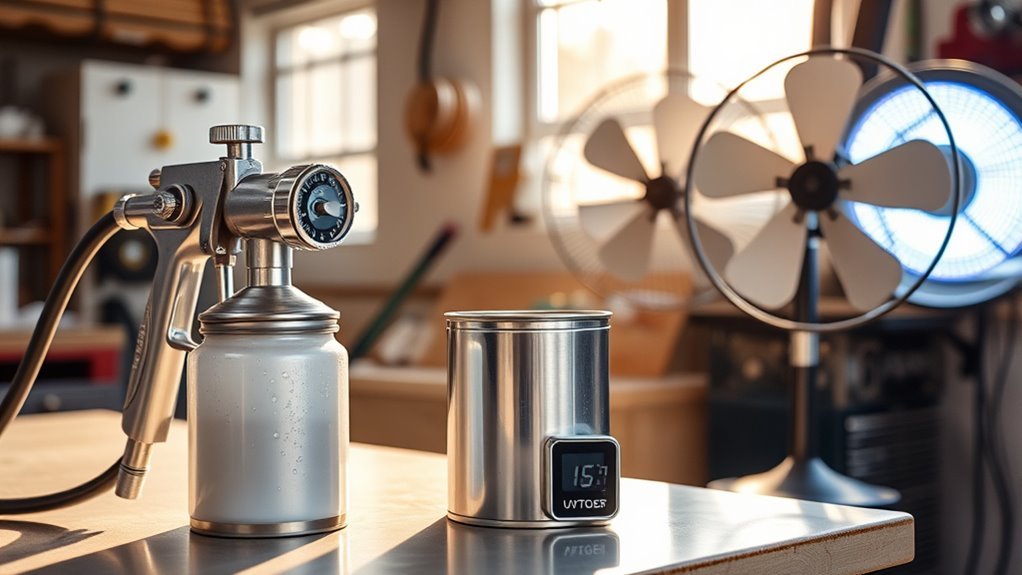
To achieve ideal results in clear coat application, having the right tools and chemicals on hand is crucial. A quality spray gun guarantees an even application, while a drying accelerator can greatly reduce drying time, giving you more freedom in your project schedule. Here’s a quick reference table for your needs:
| Tool/Chemical | Purpose |
|---|---|
| Spray Gun | Guarantees even coat application |
| Drying Accelerator | Speeds up drying process |
| Clear Coat | Provides protective layer |
| Masking Tape | Protects non-coated areas |
With these tools and chemicals, you’ll be well-equipped to achieve a professional finish while minimizing downtime. Choose wisely, and enjoy the freedom of efficient clear coat application.
How to Clean:
Step 1: Gather Your Cleaning Supplies
- Microfiber cloths: These are gentle on surfaces and effective for dust and dirt removal.
- Soft brushes: A detailing brush can help reach into crevices and corners.
- Mild solvent: Isopropyl alcohol or a dedicated automotive cleaner is ideal for tougher grime.
- Bucket or spray bottle: For mixing solutions or applying cleaners.
- Protective gear: Gloves and a mask may be necessary when using solvents, especially in poorly ventilated areas.
Step 2: Prepare the Area
- Choose a well-ventilated space: Open windows or work outdoors if possible to avoid inhaling fumes from cleaners.
- Protect surrounding areas: Lay down drop cloths or old newspapers to prevent any accidental spills from damaging other surfaces.
Step 3: Remove Loose Dirt and Debris
- Start with a dry microfiber cloth or soft brush: Gently wipe the surface to remove any loose dust, dirt, or debris.
- Pay attention to crevices: Use a soft brush to get into tighter spaces where dirt may accumulate.
Step 4: Apply Cleaner
- Choose the appropriate cleaner: For general cleaning, a mild soap solution or automotive cleaner works well. For tougher grime, use isopropyl alcohol.
- Dampen a microfiber cloth or spray the cleaner: Ensure it’s not soaking wet, as excess liquid can lead to streaks or damage.
Step 5: Clean the Surface
- Wipe the surface thoroughly: Using the dampened cloth, wipe in a circular motion to lift dirt without scratching the surface.
- For stubborn spots: Let the cleaner sit for a minute before wiping, then use a soft brush to scrub gently.
Step 6: Rinse and Dry
- Rinse with clean water if necessary: If you’ve used a soap solution, make sure to wipe down with a clean, damp cloth to remove any residue.
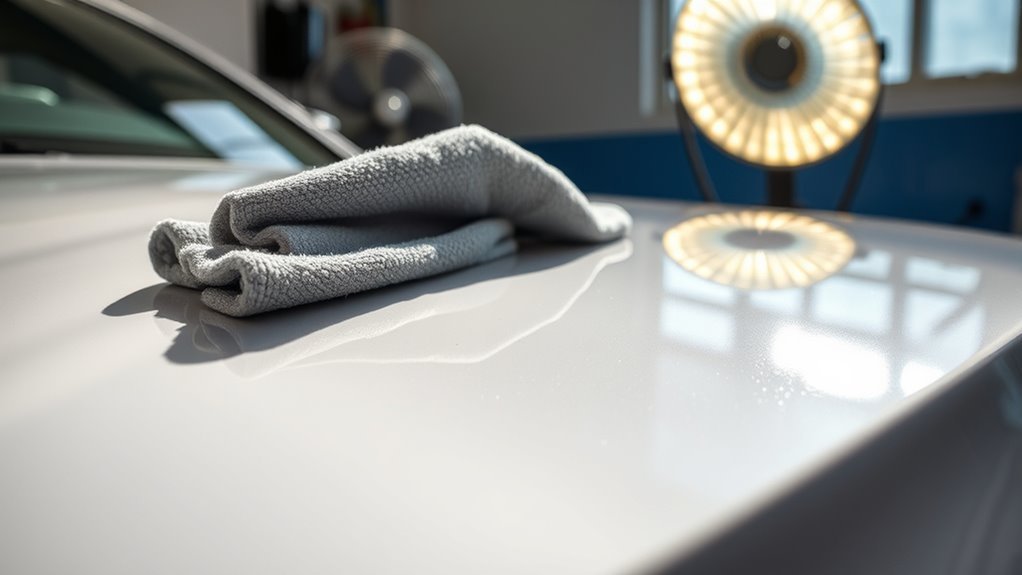
- Dry the surface completely: Use a clean, dry microfiber cloth to ensure no moisture remains, which can interfere with clear coat adhesion.
Step 7: Inspect the Surface
- Check for any missed spots: Look for areas that may need additional cleaning or touch-ups.
- Ensure the surface is completely dry: This is crucial before proceeding with the application of the clear coat.
Step 8: Prepare for Clear Coat Application
- Ensure the surface is free of contaminants: Double-check that no dust or debris is present.
- Follow up with a final wipe: If desired, a final pass with a clean microfiber cloth can ensure maximum cleanliness before applying the clear coat.
To maintain optimal results, consider establishing a cleaning schedule to keep the surface consistently free from buildup before applying the clear coat.
Safety Consideration
Once the surface is thoroughly cleaned and prepared, it’s important to take into account safety precautions when applying clear coat. Adequate ventilation is vital—make sure you’re working in a well-ventilated area to minimize exposure to harmful fumes. Open windows, use fans, or even consider a respirator if you’re in a confined space. Personal protective equipment (PPE) is non-negotiable; wear gloves, goggles, and a mask to shield yourself from overspray and toxic particles. It’s essential to keep your skin and eyes protected during the application process. Additionally, be aware of potential fire hazards by keeping flammable materials away from your workspace. Prioritizing these safety considerations not only protects you but also enhances your overall project experience.
Tips to keep clean for long time
Maintaining the pristine condition of your clear coat requires diligence and the right techniques. To keep your finish looking great, regularly wash your vehicle with a pH-balanced car shampoo; this helps in maintaining shine and prevents dirt buildup. Use microfiber towels for drying, as they’re less abrasive and aid in preventing scratches. Consider applying a high-quality wax or sealant every few months to create a protective layer that enhances shine and guards against environmental contaminants. Park in shaded areas or use car covers to minimize UV exposure and prevent oxidation. Finally, avoid automatic car washes with harsh brushes; instead, opt for touchless systems or hand washes for ideal care. Applying a protective sealant can also help shield surfaces from stains and moisture, prolonging the clear coat’s life. Following these steps will guarantee your clear coat remains vibrant and protected.
Frequently Asked Questions
Can I Use a Heater to Speed up Drying Time?
Absolutely, you can use a heater to speed up drying time! Just be cautious with the heat settings; too high can cause issues like bubbles or warping. For best results, use drying techniques that maintain a steady, moderate temperature. Position the heater several feet away to guarantee even heat distribution. This’ll help your clear coat cure faster while giving you the freedom to move on to your next project without unnecessary delays.
Does Humidity Affect Clear Coat Drying?
Yes, humidity levels greatly affect clear coat drying. High humidity creates a moist environment, which can slow the evaporation of solvents in the clear coat, leading to extended drying times. In contrast, low humidity provides better drying conditions, allowing the clear coat to cure more quickly and evenly. To achieve ideal results, aim for a controlled environment with moderate humidity levels, ensuring your clear coat dries efficiently and effectively, offering the freedom of a flawless finish.
What Temperature Is Ideal for Drying Clear Coat?
For best results, the ideal temperature for drying clear coat hovers around 70 to 80 degrees Fahrenheit. At this sweet spot, you’ll find that drying techniques become more effective, allowing the coat to cure evenly without imperfections. Temperatures below or above this range can lead to issues like bubbling or uneven gloss. So, when you’re prepping your project, make sure your space stays within this ideal temperature range for the finest finish possible.
How Long Should I Wait Before Applying a Second Coat?
You should wait about 30 minutes to an hour before applying a second coat of clear coat, depending on the manufacturer’s instructions and environmental conditions. Confirm the first coat is tack-free but not fully cured. This second coat timing is essential for maximum adhesion and finish. If you apply it too soon, it may lead to runs or imperfections. Always check the specific product’s guidelines for the best results in your clear coat application.
Can I Use a Fan to Accelerate the Drying Process?
Yes, you can use a fan to accelerate the drying process. Position the fan to create ideal airflow direction across the surface, ensuring it doesn’t blow directly onto the wet coat, which could lead to uneven drying. Instead, aim for a gentle breeze that promotes evaporation without disturbing the finish. Proper fan placement can help you achieve that desired freedom of a quick dry while maintaining a smooth, flawless appearance on your project.


