How Do You Clean a Heat Exchanger
To clean a heat exchanger, first confirm the maintenance schedule and isolate the unit. Assess the fouling type to select appropriate cleaning chemicals, such as acidic solutions for mineral deposits or alkaline detergents for organic residues. Secure safety gear before disconnecting the unit, draining fluids, and applying the chosen cleaning solution. Rinse thoroughly, inspect for any remaining deposits, and reconnect the system. Implement preventative maintenance practices to prolong cleanliness and efficiency. Discover additional tips for peak performance ahead.
##
When it comes to optimizing the performance and longevity of your heat exchanger, understanding the importance of regular cleaning is crucial. This article will provide you with comprehensive insights into the various cleaning methods available, including chemical cleaning, mechanical cleaning, and flushing. Each technique has its unique maintenance practices that, when followed diligently, can significantly enhance the efficiency of your heat exchanger. By diving into the specifics of these methods, you will gain the knowledge needed to select the right approach for your system, ensuring reliable operation and allowing you to dedicate your attention to other vital tasks.
Preparation For Cleaning
Before diving into the cleaning process, it’s essential to confirm that you’ve properly prepared your heat exchanger. Start by consulting your maintenance schedule to determine the best time for cleaning. Make sure the unit is powered down and isolated from any systems to avoid accidents. Next, assess the type of fouling present; this will guide your choice of cleaning methods. Gather any necessary documentation, such as equipment manuals, to understand your heat exchanger’s specifications. Finally, verify the availability of safety gear and protective equipment, making certain you’re ready for the task ahead. By taking these preparatory steps, you’ll set the stage for an effective and efficient cleaning process, ultimately prolonging the life of your heat exchanger.
Tools and Chemical Required
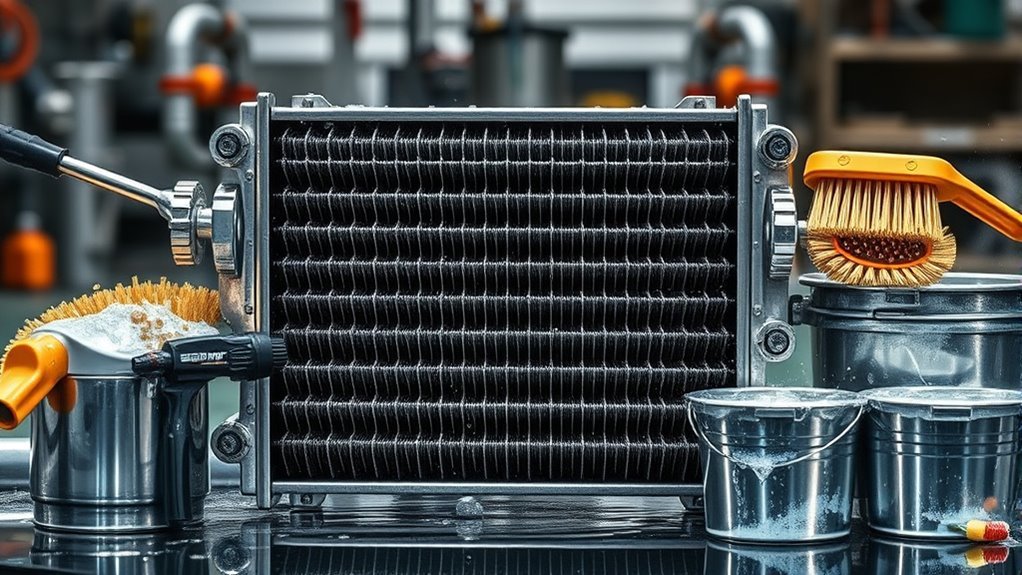
Having prepared your heat exchanger for cleaning, the next step involves gathering the appropriate tools and chemicals. You’ll need specific cleaning agents and cleaning tools to guarantee an effective process. Here’s a concise overview:
| Cleaning Agents | Cleaning Tools |
|---|---|
| Acidic solutions | High-pressure washer |
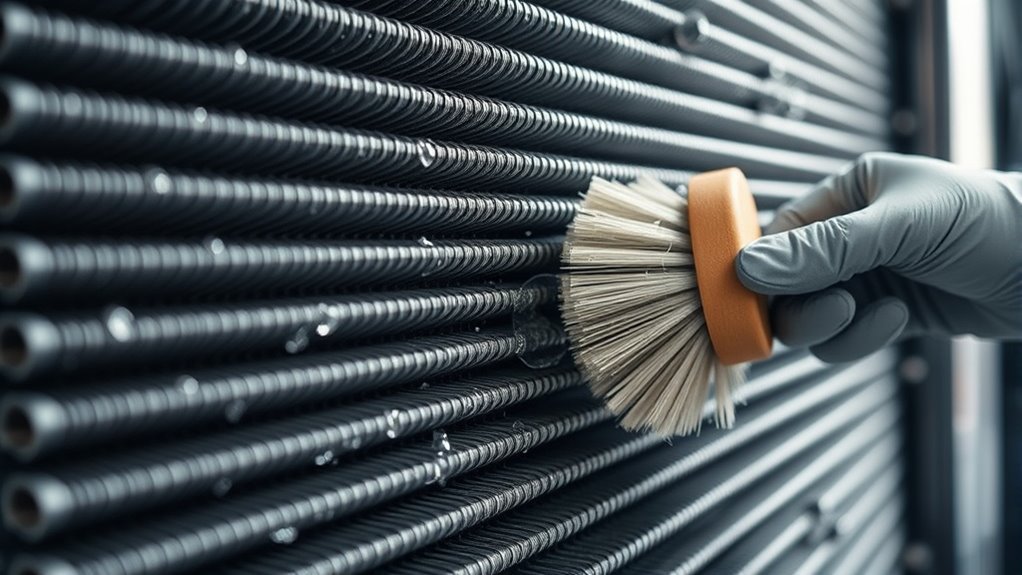
| Alkaline detergents | Soft-bristle brushes |
| Biodegradable options | Scrub pads |
Selecting the right cleaning agents can make a difference in performance, while the correct cleaning tools guarantee thoroughness. Having these resources at your disposal allows you to approach the task with confidence, knowing you’re equipped to restore your heat exchanger to peak condition efficiently.
How to Clean:
Step 1: Ensure Safety Precautions
- Begin by assessing the work environment and ensuring that all necessary safety equipment is available. This may include gloves, goggles, and protective clothing.
- Familiarize yourself with the Material Safety Data Sheets (MSDS) for any chemicals you will be using.
- Ensure proper ventilation in the area where you will be cleaning the heat exchanger to avoid inhalation of any fumes.
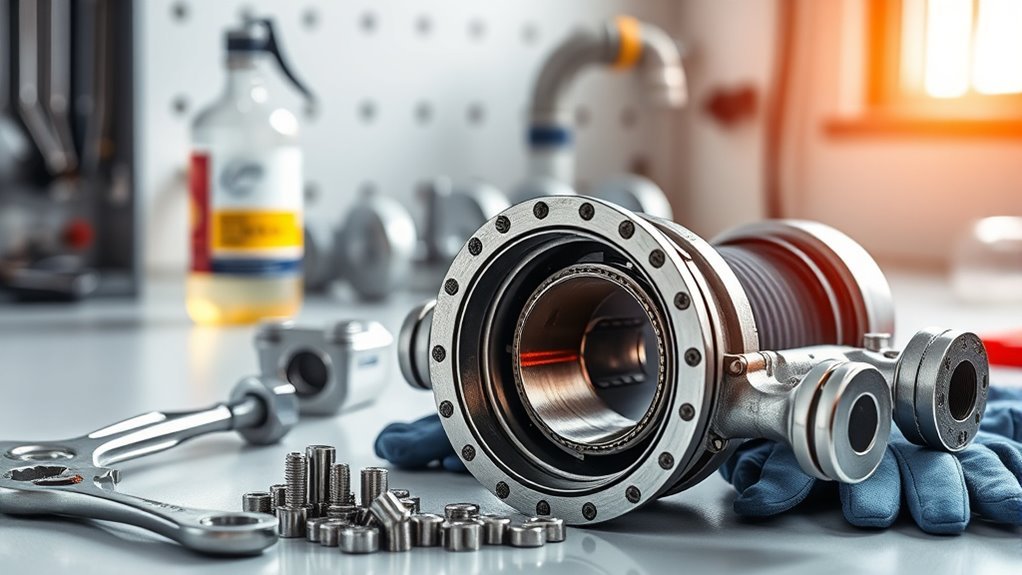
Step 2: Disconnect the Heat Exchanger
- Carefully disconnect the heat exchanger from its system. This may involve turning off valves and disconnecting pipes or electrical connections.
- Make sure to document the disconnection process, noting the orientation and connections for reassembly later.
Step 3: Drain Fluids
- Locate and open the drain valves on the heat exchanger to allow any residual fluids to exit.
- Collect the drained fluids in appropriate containers for safe disposal, following local regulations regarding hazardous waste.
Step 4: Choose Chemical Solutions
- Identify the type of fouling present in the heat exchanger. Common types include mineral deposits, organic residues, and biological growth.
- Select the appropriate chemical solution:
- Use acidic solutions for mineral deposits (e.g., hydrochloric acid).
- Use alkaline solutions for organic residues (e.g., sodium hydroxide).
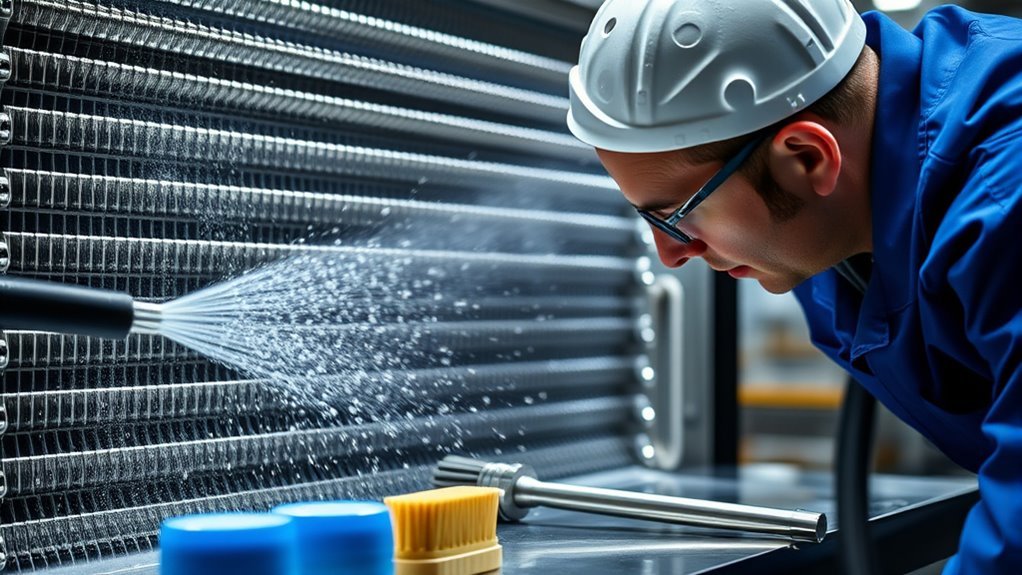
Step 5: Apply Chemical Solution
- Depending on the design of the heat exchanger, choose a cleaning method:
- Soaking: Fully submerge smaller parts in the chemical solution.
- Spraying: Use a spray bottle or pressure sprayer for larger units.
- Circulating: For complex systems, circulate the solution through the heat exchanger using a pump.
Step 6: Allow Dwell Time
- Follow the manufacturer’s recommendations for how long the cleaning solution should dwell in the heat exchanger.
- Monitor the process to ensure that the solution does not dry out or become less effective.
Step 7: Rinse Thoroughly
- After the dwell time has elapsed, thoroughly rinse the heat exchanger with clean water.
- Ensure that all chemical residues are removed to prevent any potential damage or contamination when the unit is reconnected.
Step 8: Inspect the Heat Exchanger
- After rinsing, visually inspect the heat exchanger for any remaining deposits or fouling.
- Use a soft brush or cloth to remove stubborn residues if necessary.
Step 9: Reconnect to the System
- Once the heat exchanger is clean and dry, carefully reconnect it to the system, ensuring all connections are secure.
- Reopen any valves that were closed during the disconnection process and check for leaks.
Step 10: Final Check
- Perform a final inspection to ensure everything is in order before resuming normal operation.
- Document the cleaning process and any observations for future maintenance records.
Safety Consideration

When cleaning a heat exchanger, it’s imperative to recognize the safety considerations that accompany the process. Conducting a thorough hazard assessment is essential before you begin. You’ll want to guarantee your safety and that of others around you.
- Always wear appropriate protective gear, including gloves and goggles.
- Be aware of chemical exposures and their potential effects.
- Guarantee proper ventilation in the work area to prevent inhalation of harmful substances.
- Keep emergency equipment, like eyewash stations, readily accessible.
Taking these precautions not only safeguards your well-being but also enhances your efficiency during the cleaning process. By prioritizing safety, you can operate freely and effectively, guaranteeing a successful cleaning of your heat exchanger.
Tips to keep clean for long time
While regular cleaning is essential, maintaining a heat exchanger’s cleanliness over time requires consistent monitoring and preventive measures. To achieve this, implement a routine of preventive maintenance that includes regular inspections. Schedule these inspections to identify potential issues before they escalate, ensuring peak performance. During inspections, pay close attention to signs of fouling or corrosion, addressing them immediately. Utilize proper filtration systems to minimize contaminants entering the exchanger. Additionally, monitor operating conditions, such as temperature and flow rates, to detect any anomalies early. Keeping detailed logs of maintenance activities will help track performance trends and facilitate future inspections. By following these guidelines, you can considerably extend the lifespan of your heat exchanger while ensuring efficient operation. Incorporating natural ingredients in cleaning solutions can reduce chemical buildup and promote environmental sustainability.
Frequently Asked Questions
How Often Should I Clean My Heat Exchanger?
You should aim to clean your heat exchanger at least once a year, but the cleaning frequency can vary based on its usage and surrounding conditions. If you notice a drop in efficiency or increased energy consumption, it’s time for maintenance. Integrating a regular maintenance schedule helps prevent any significant build-up, ensuring peak performance. Remember, staying proactive about cleaning can extend the lifespan of your equipment and enhance its reliability.
Can I Clean a Heat Exchanger Myself?
Sure, you can clean a heat exchanger yourself, but it’s like performing surgery on a dragon—exciting yet risky! With the right tools and knowledge, DIY cleaning can be done effectively. Just remember to take safety precautions: wear protective gear, guarantee proper ventilation, and follow manufacturer guidelines. If you’re up for the challenge, this hands-on approach might save you money, but don’t underestimate the complexity; it’s not just a simple task!
What Are Common Signs of a Dirty Heat Exchanger?
You’ll notice several signs of a dirty heat exchanger. Decreased heat exchanger efficiency is a primary indicator, often leading to higher energy bills. You might also experience inconsistent heating or cooling, unusual noises, or even frequent system cycling. Regular maintenance tips include checking for visible debris and ensuring airflow isn’t obstructed. If you spot these issues, it’s essential to address them promptly to maintain ideal performance and avoid costly repairs down the line.
Is Professional Cleaning Worth the Cost?
When weighing the cost of professional cleaning against its benefits, think of it as investing in your system’s longevity. While professional services might seem pricey upfront, they often save you money in the long run by preventing costly breakdowns and improving efficiency. You’ll likely find that the enhanced performance and reduced energy bills outweigh the initial costs, providing a clear financial advantage. In this case, investing wisely can grant you the freedom of a well-maintained system.
What Happens if I Neglect Heat Exchanger Maintenance?
Neglecting heat exchanger maintenance can considerably reduce its efficiency, leading to increased energy consumption and higher operating costs. Over time, debris and deposits accumulate, causing blockages that strain the system. This can result in overheating, potential system failures, and costly repairs. You’ll also face longer downtimes, impacting productivity. Regular maintenance is essential to avoid these consequences and guarantee your heat exchanger operates at peak performance for ideal freedom in your operations.


